

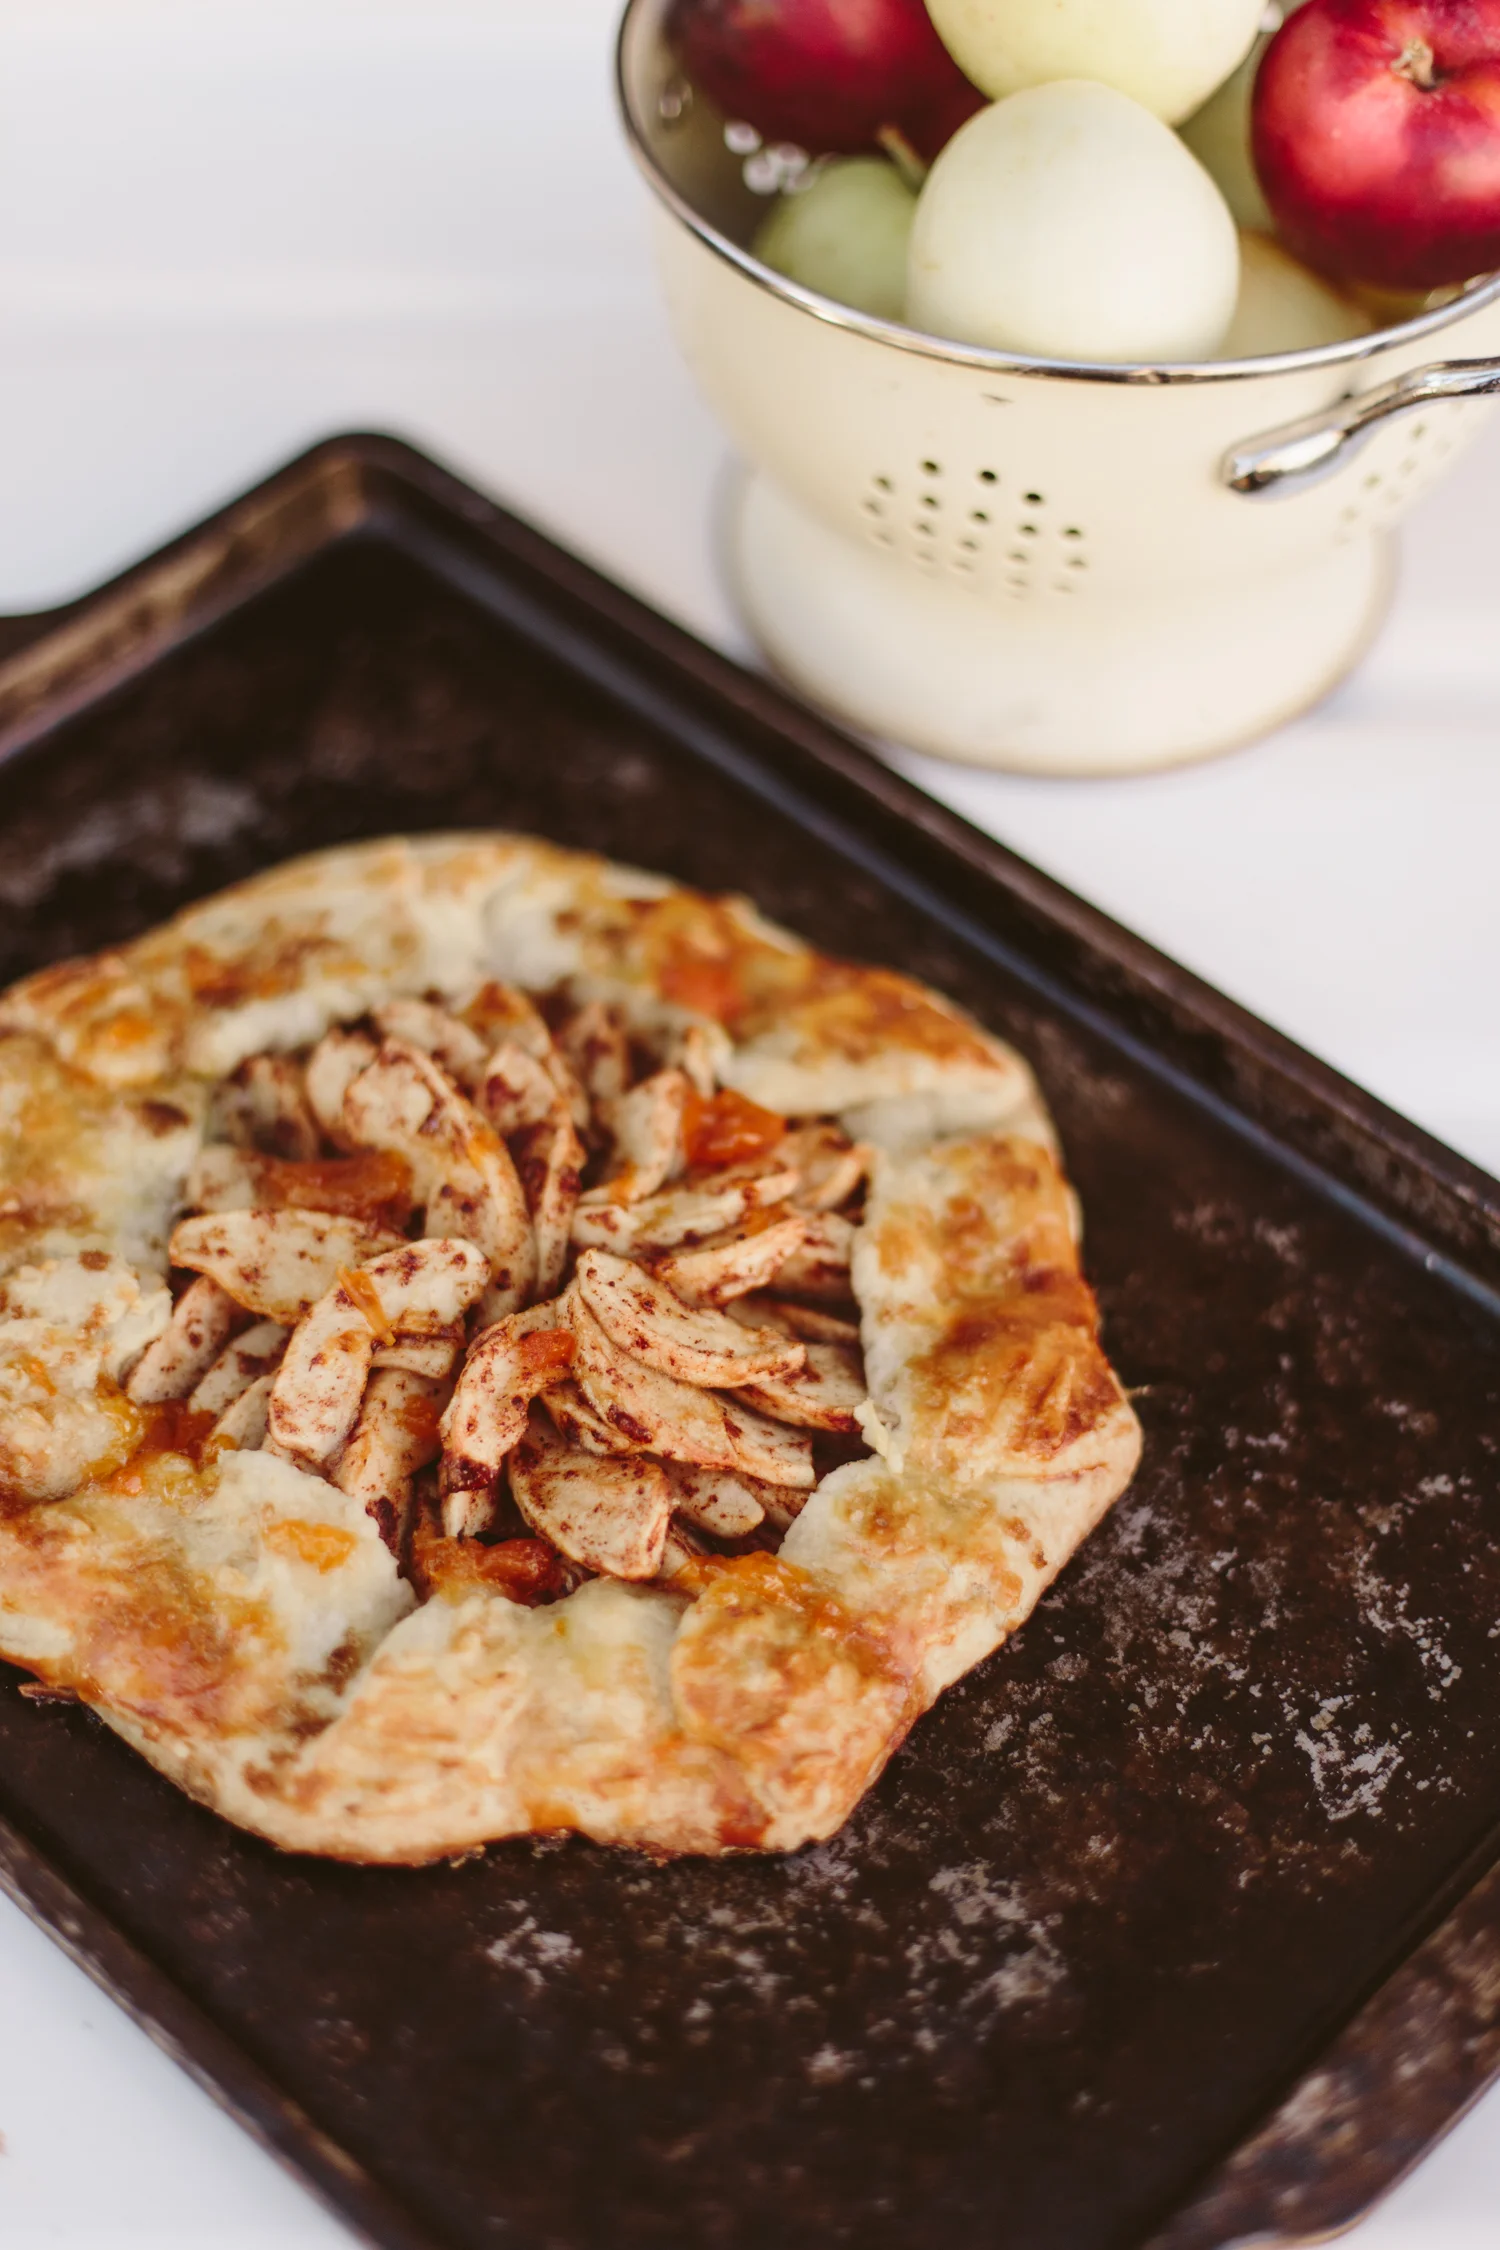
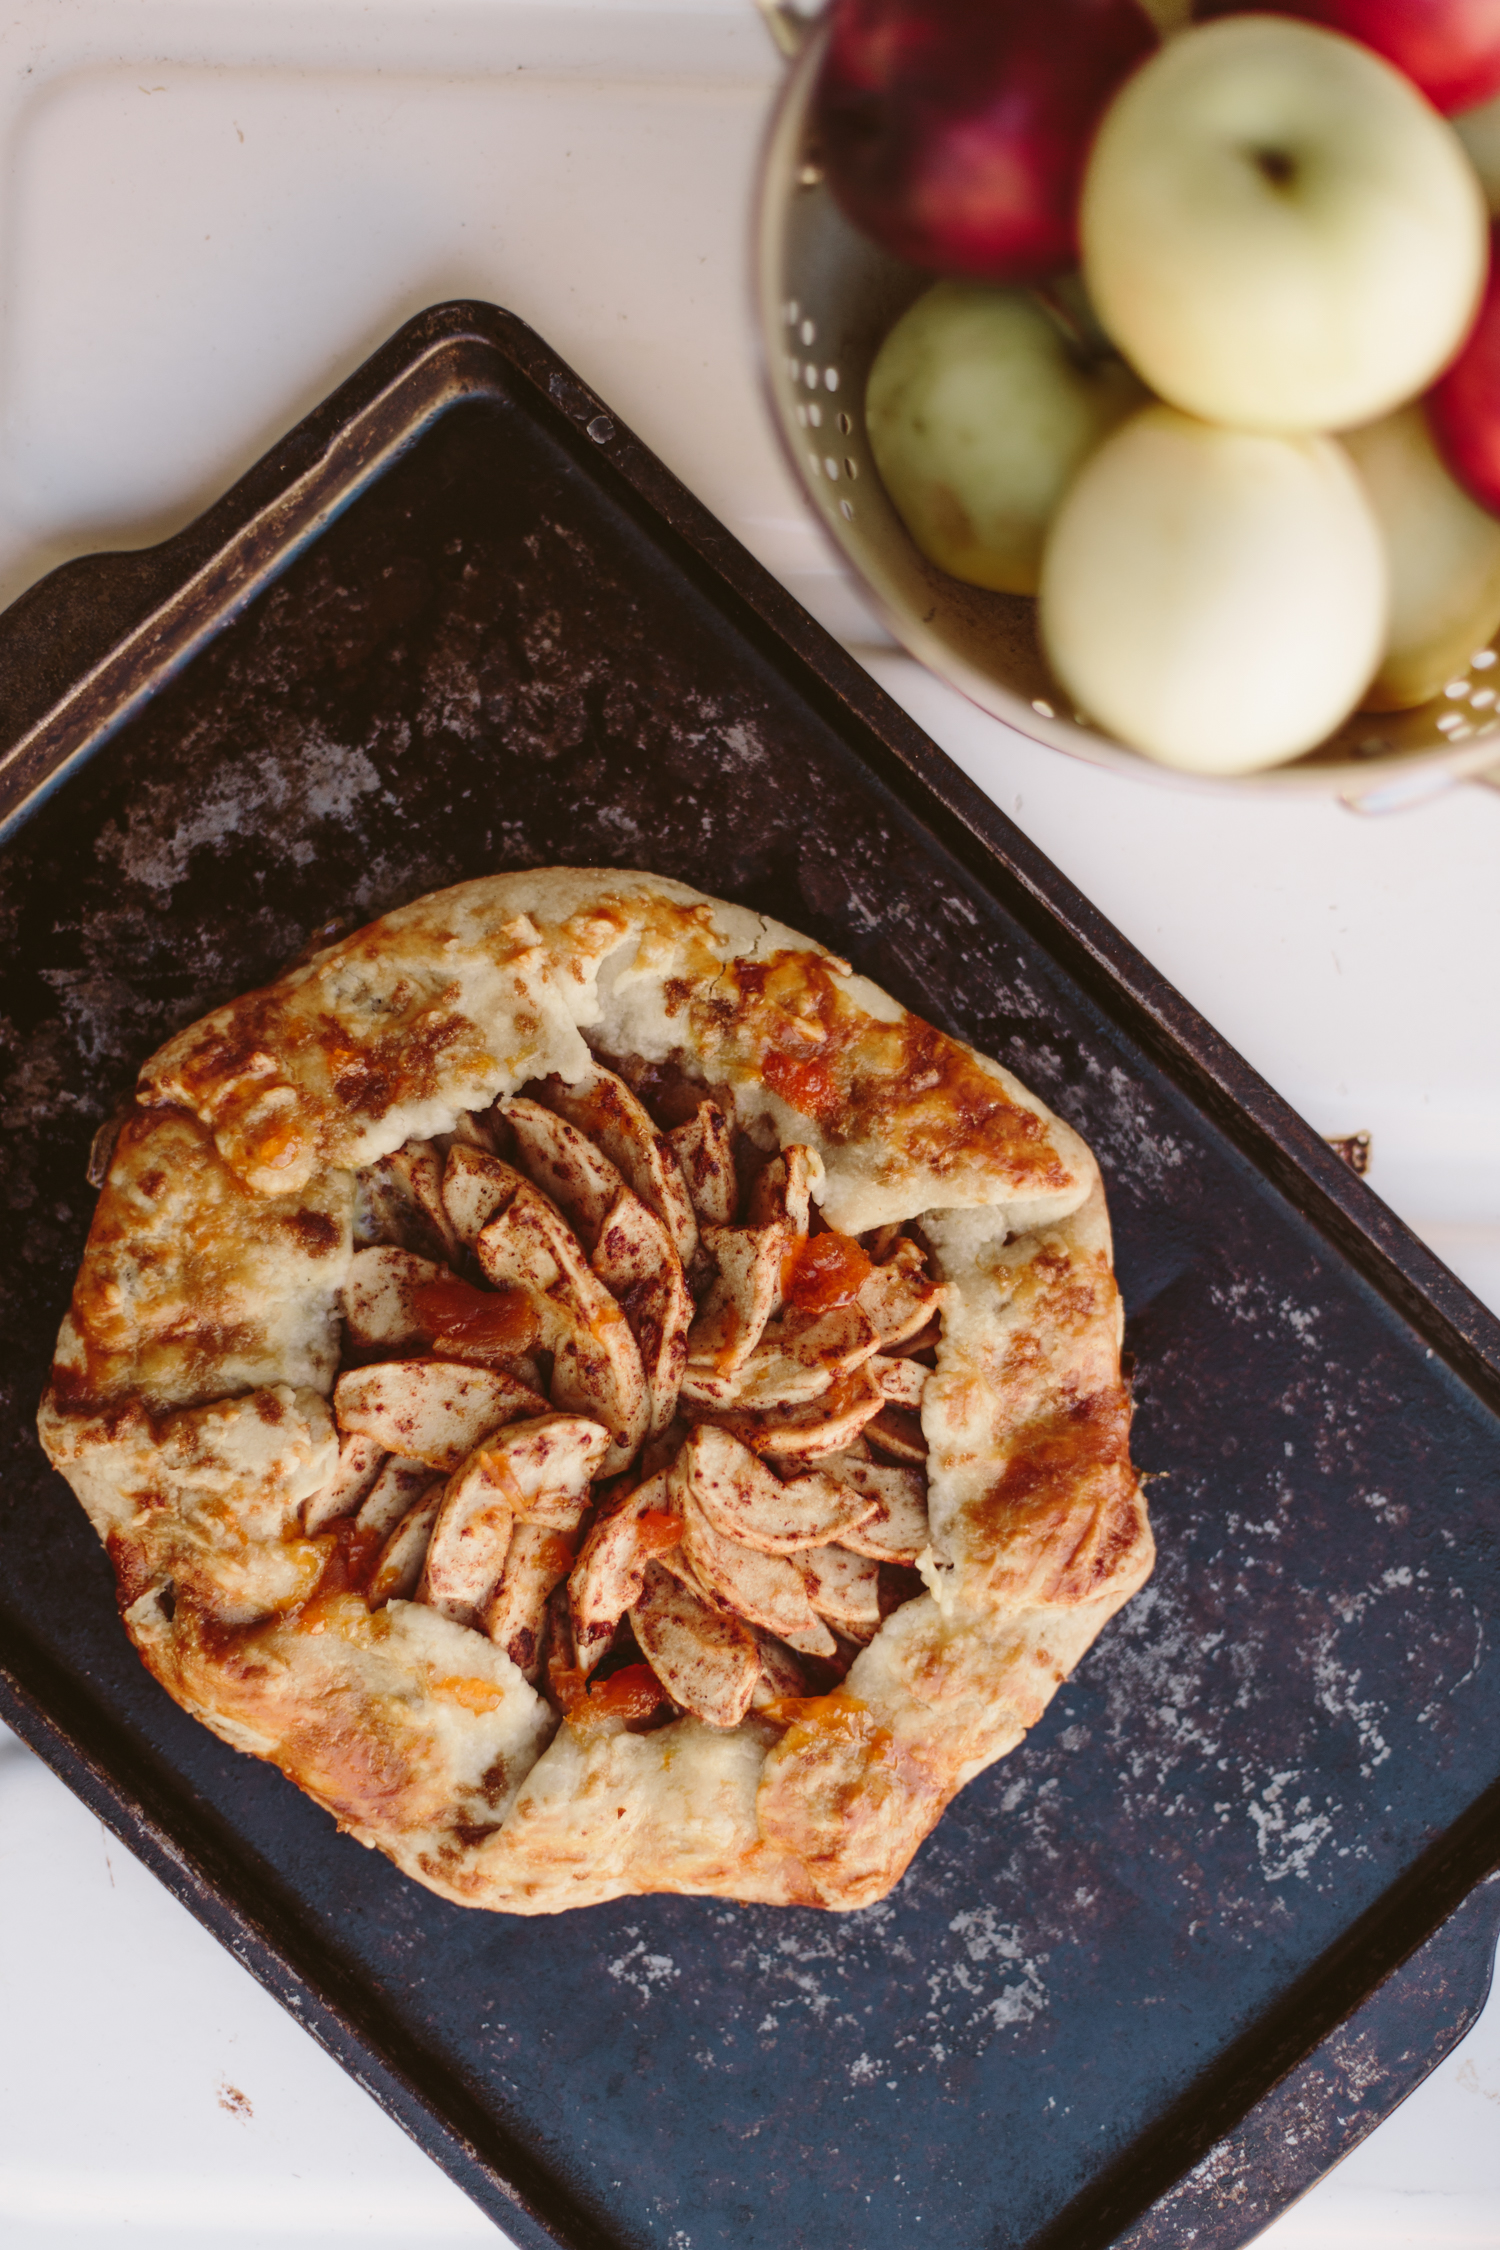
Apple Rustic Tart

My best friend came over today with her little month old baby and we got to spend the afternoon baking! My dad brought some apples from my parents’ house where they have a few apple trees so I had a ton of apples to use for recipes (I made this applesauce last week too!). My pie pans have disappeared since our move last October, so instead of making apple pies, we decide to make Apple Rustic Tarts. This recipe says that the prep is about 30 minutes but if you’re also watching a baby and a toddler it takes like 3x that long…
Apple Rustic Tart
Prep Time: 30 Minutes
Cook Time: 1 Hour
Ingredients
For the Crust
1-1/2 cups all-purpose flour
1/2 tsp salt
2 tbsp granulated sugar
1-1/2 sticks (12 tbsp) cold unsalted butter, cut into 1/2-inch pieces
1/4 cup cold water
For the Filling
1 -1/2 lbs apples (appx 3 large)
1/3 cup sugar
1 tsp cinnamon
1 tsp vanilla extract
2 tbsp unsalted butter, melted
1/8 tsp salt
For Assembly
1 tbsp all purpose flour
1 egg, beaten
2 tbsp brown sugar
1 tbsp apricot preserves, for glaze
Instructions
Prepare the crust:
Line two baking sheets with parchment paper.
In a food processor, combine the flour, salt and sugar and pulse briefly to mix.
Add the cold butter and process just until the butter is the size of peas, appx 5 seconds. Then, add the ice water to the mixture and process just until moistened and very crumbly, about 5 seconds.
Place the dough on a lightly floured surface and knead it until it comes together into a cohesive ball, just a few times. Split the dough into two equal balls.
Flour your work surface again and sprinkle one of your dough balls with flour, as well. Using a rolling pin, roll the ball into a circle appx 12 inches in diameter, turning and adding more flour as necessary so the dough doesn’t stick. Transfer the dough to the parchment-lined baking sheet and refrigerate while you prepare the filling. Repeat with the second ball of dough.
Make the filling:
Peel, core, and cut the apples into 1/8-inch-thick slices (you should have about 4 cups) and place in a large bowl.
Add the sugar, vanilla, cinnamon, melted butter, and salt; toss to combine.
Assemble the tart:
Sprinkle the flour evenly over the pastry. Arrange the apple slices on top in overlapping concentric circles to within 2 inches of the edge. Work quickly so the dough doesn’t get too warm. Fold the edges of the dough over the apples, working your way around and creating pleats as you go.
Using a pastry brush, brush the pleated dough evenly with the beaten egg. Sprinkle the brown sugar over the crust and apples. Chill the assembled tart in the fridge for 15 to 20 minutes. Prepare the second tart and place it in the fridge as well.
Preheat the oven to 350°F and set an oven rack in the center position.
Bake for 55 to 65 minutes, or until the apples are tender and the crust is golden and cooked through.
While the tart bakes, make the glaze. In a small bowl, mix the apricot jam with 1-1/2 teaspoons hot water. About 2-3 minutes before your tarts finish baking, remove them, brush the tarts with the apricot glaze, and put them back in the oven for the final two minutes. Remove and let cool.
Transfer the tart to a serving plate or cutting board. Slice and serve warm or at room temperature. The tart is best served on the day it is made, but leftovers make for a delicious breakfast treat the next day!


Project House #1
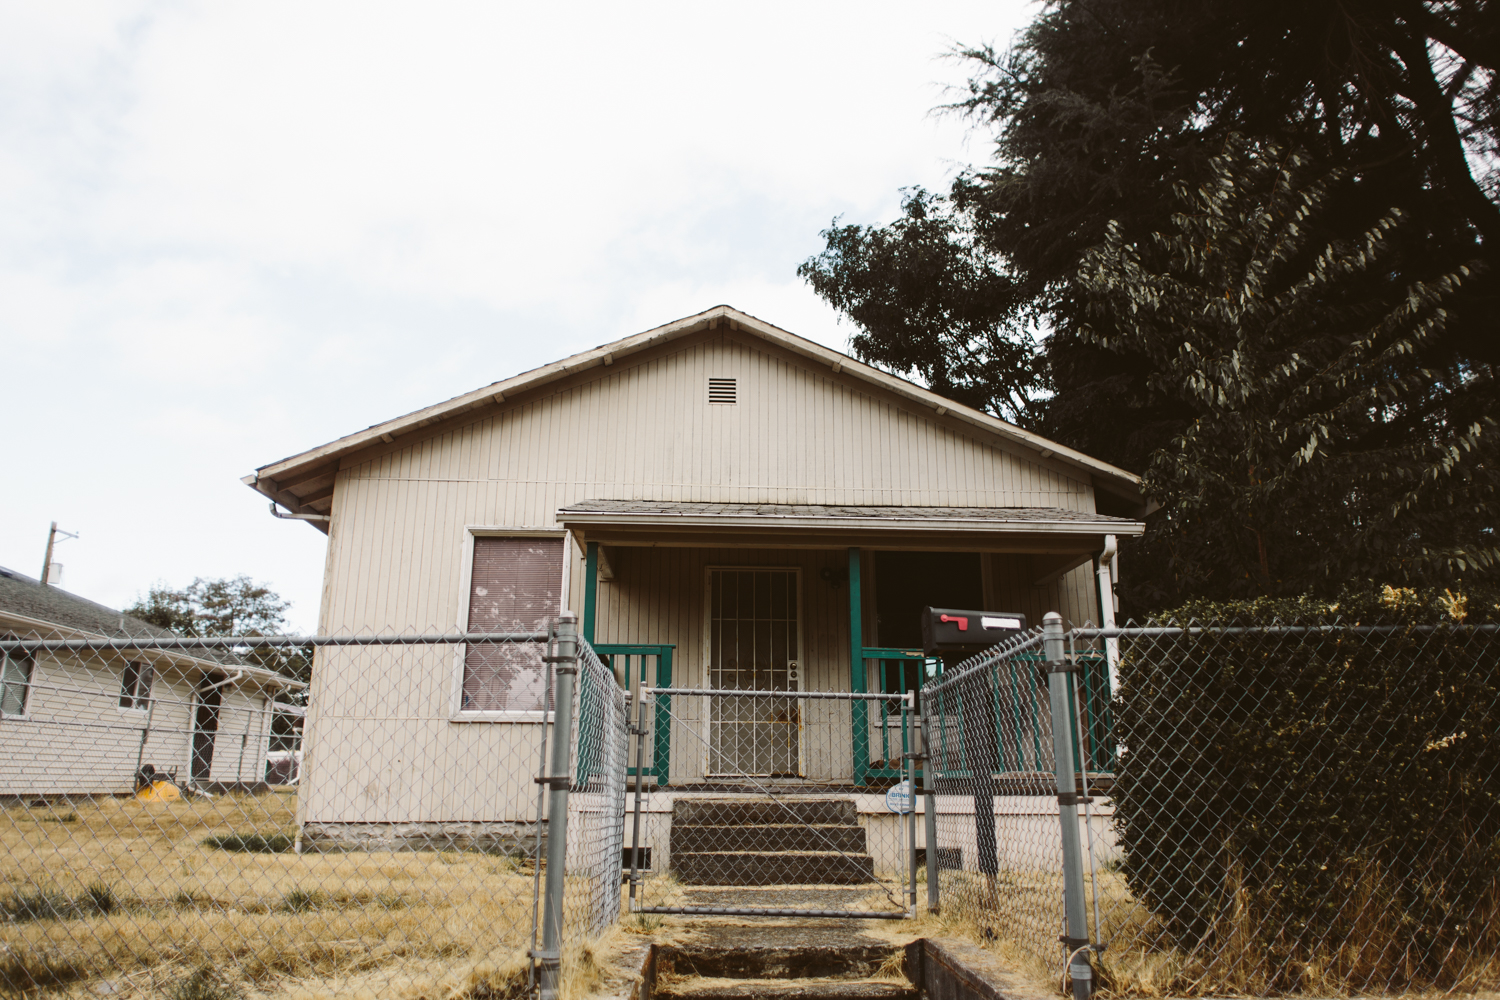
I'm so excited to share the big news that we just closed on our first flip house! This has been a long time coming, something I've been planning for over a year and have been thinking about for several years. After Jack was born I really felt like I needed to reclaim myself and in early 2018 I decided that this year I needed to give birth to something creative for myself. I vowed that in 2018 I would flip at least ONE house. I've been trying to get a house since January and have been learning the ins and outs of house flipping and real estate investing, and I still feel like I've only seen the tip of the iceberg with all this stuff, but I also know that I learn by doing so this will be a big learning process.
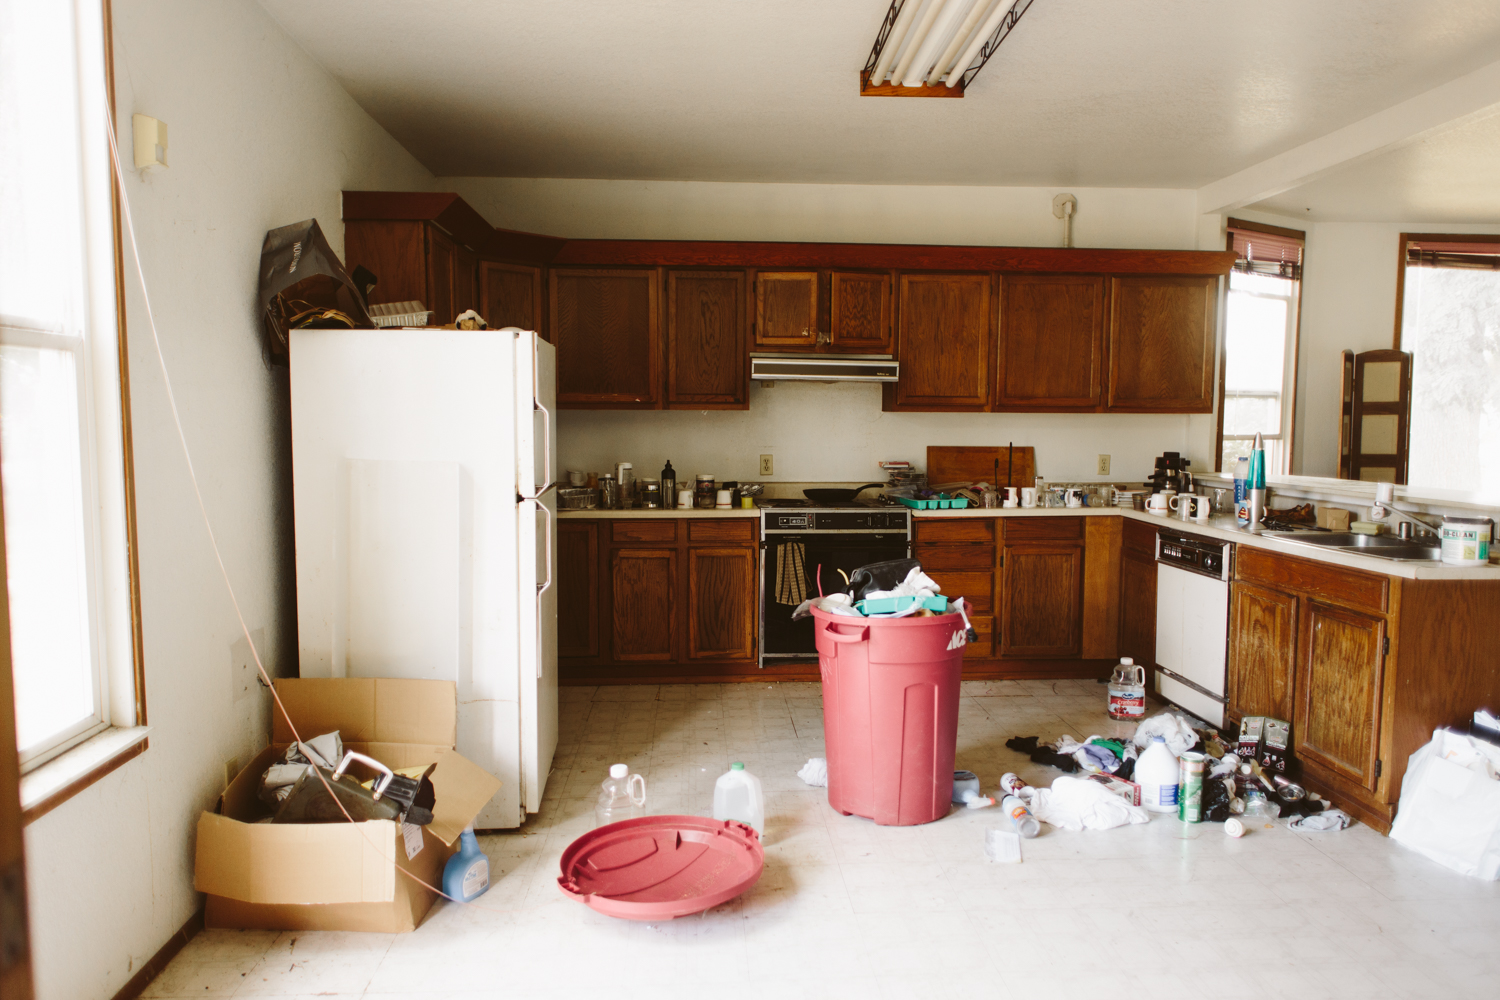
So here she is in all her day-1 glory. We just got our dumpster delivered so we can finally finish up our trash-out!
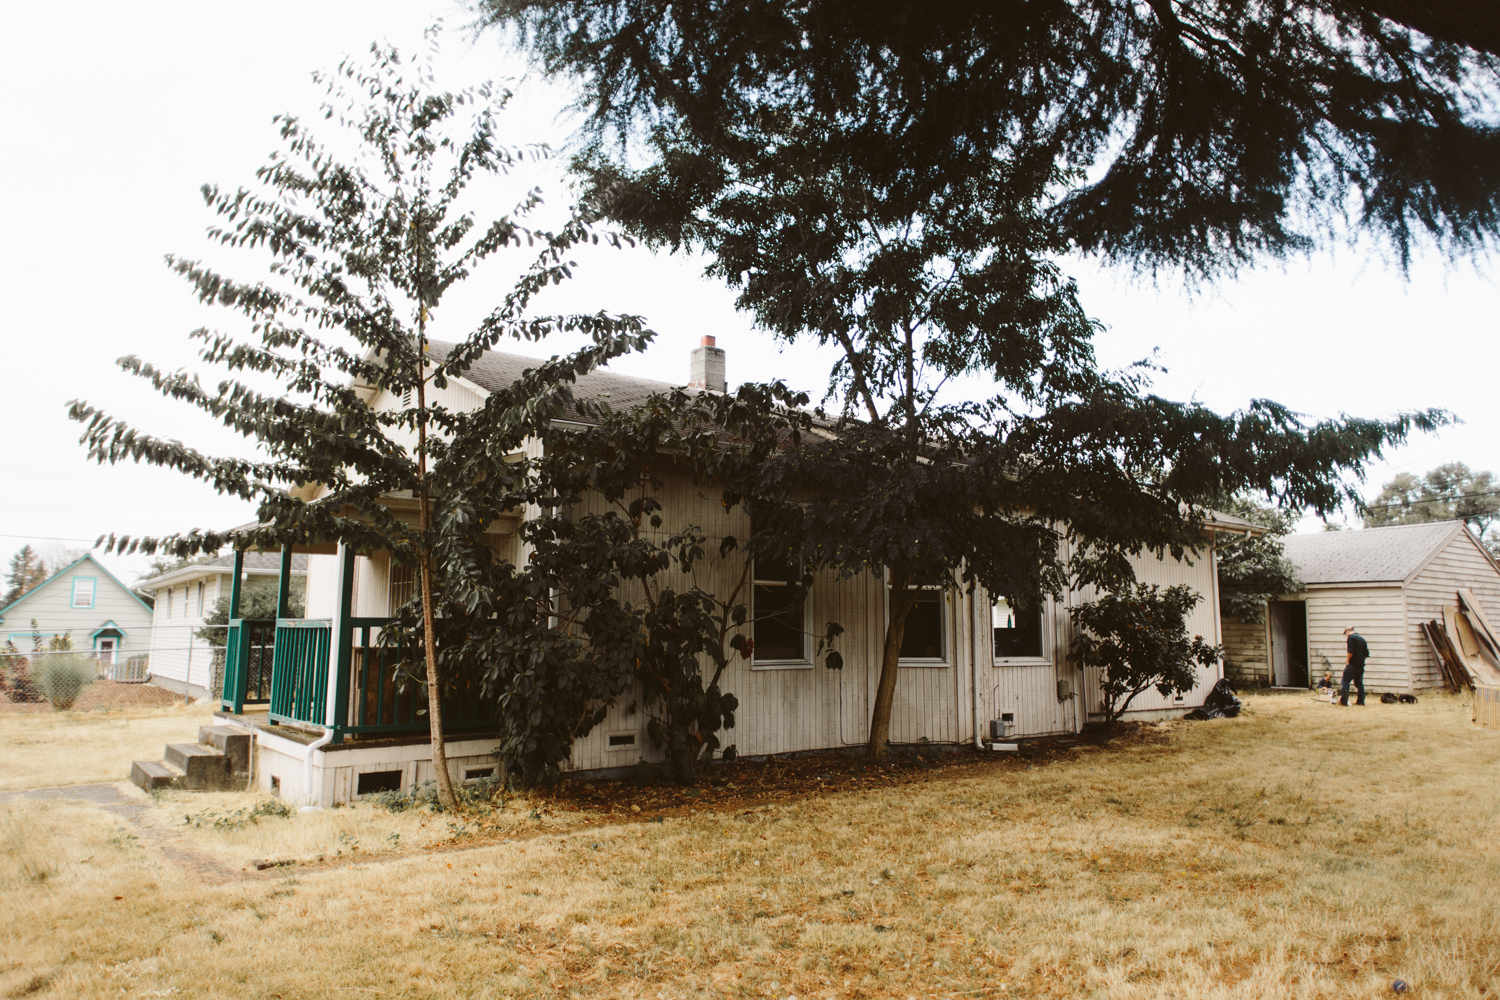
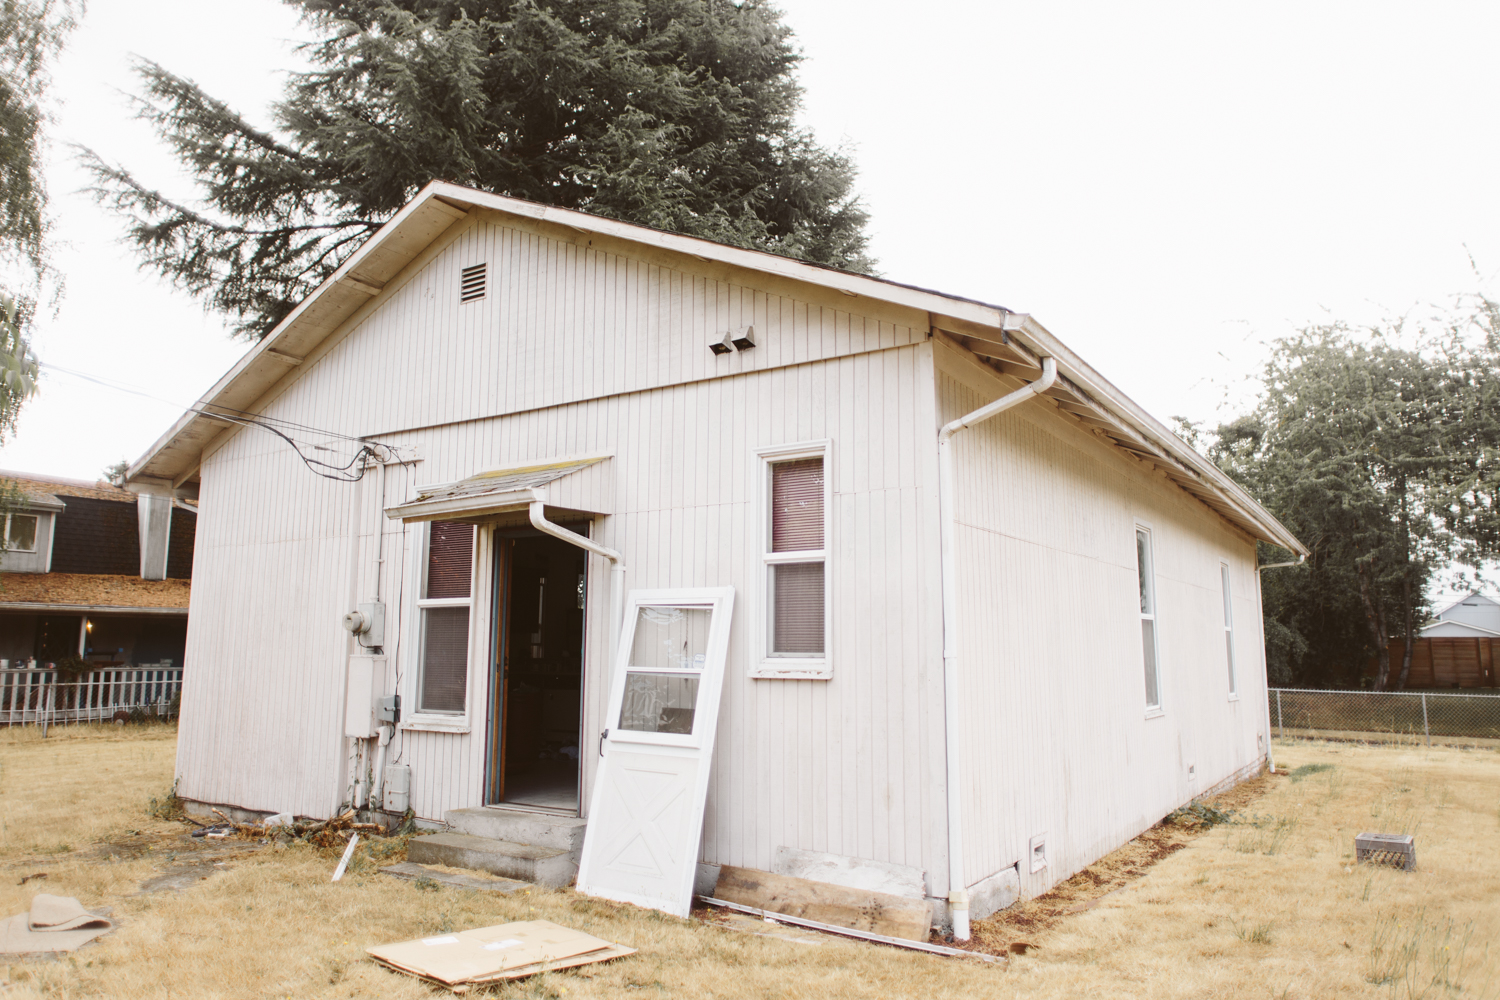
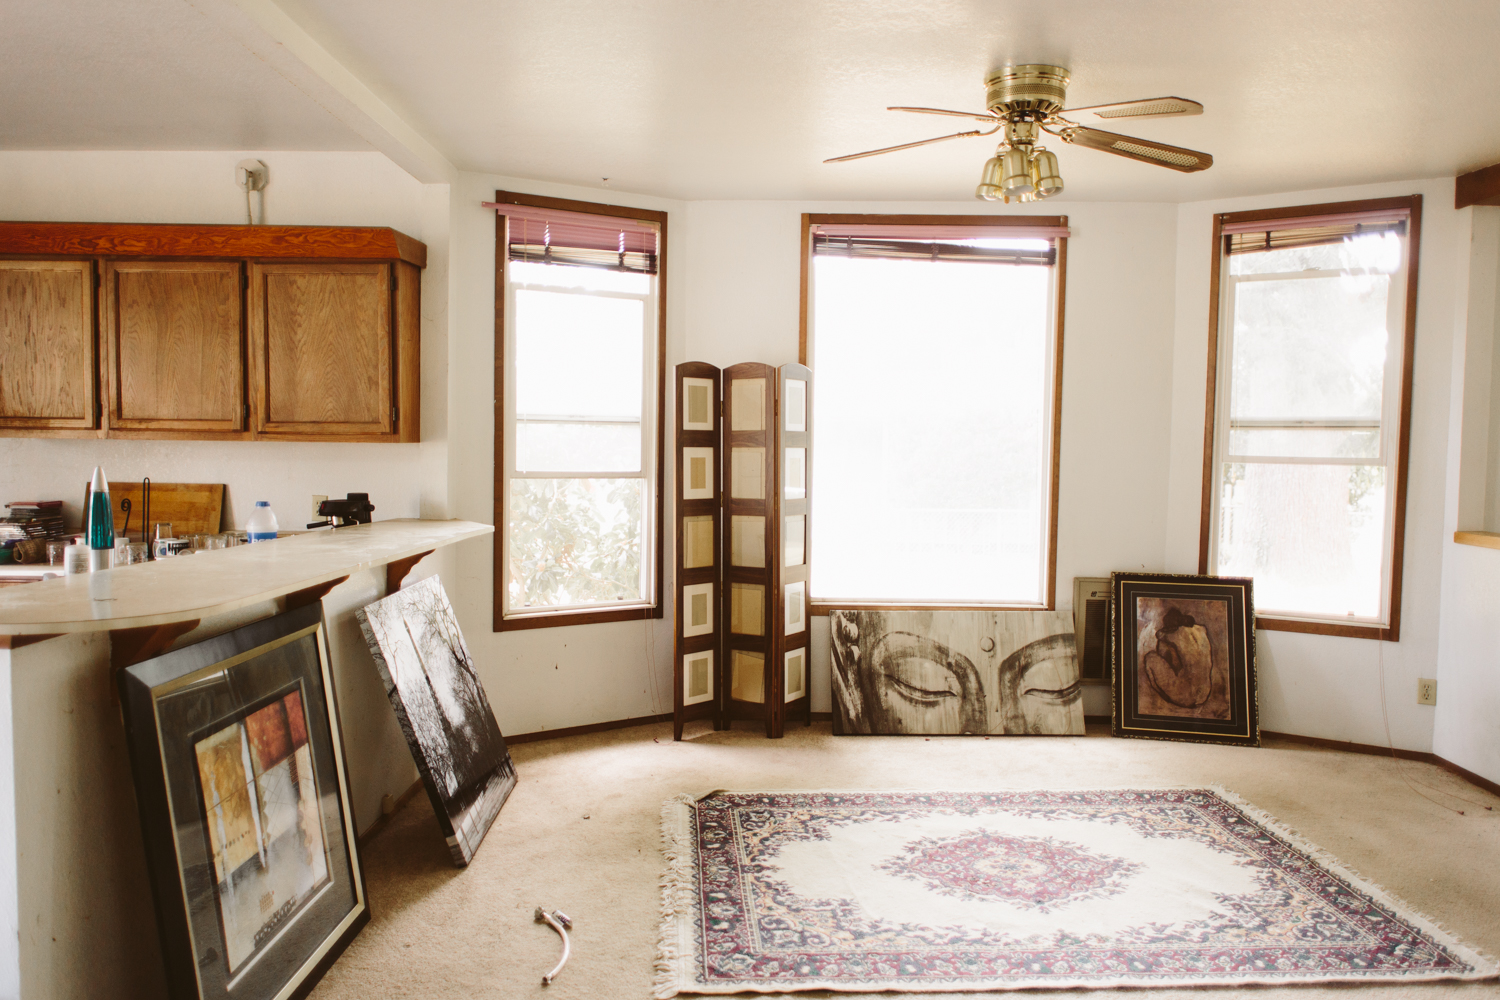
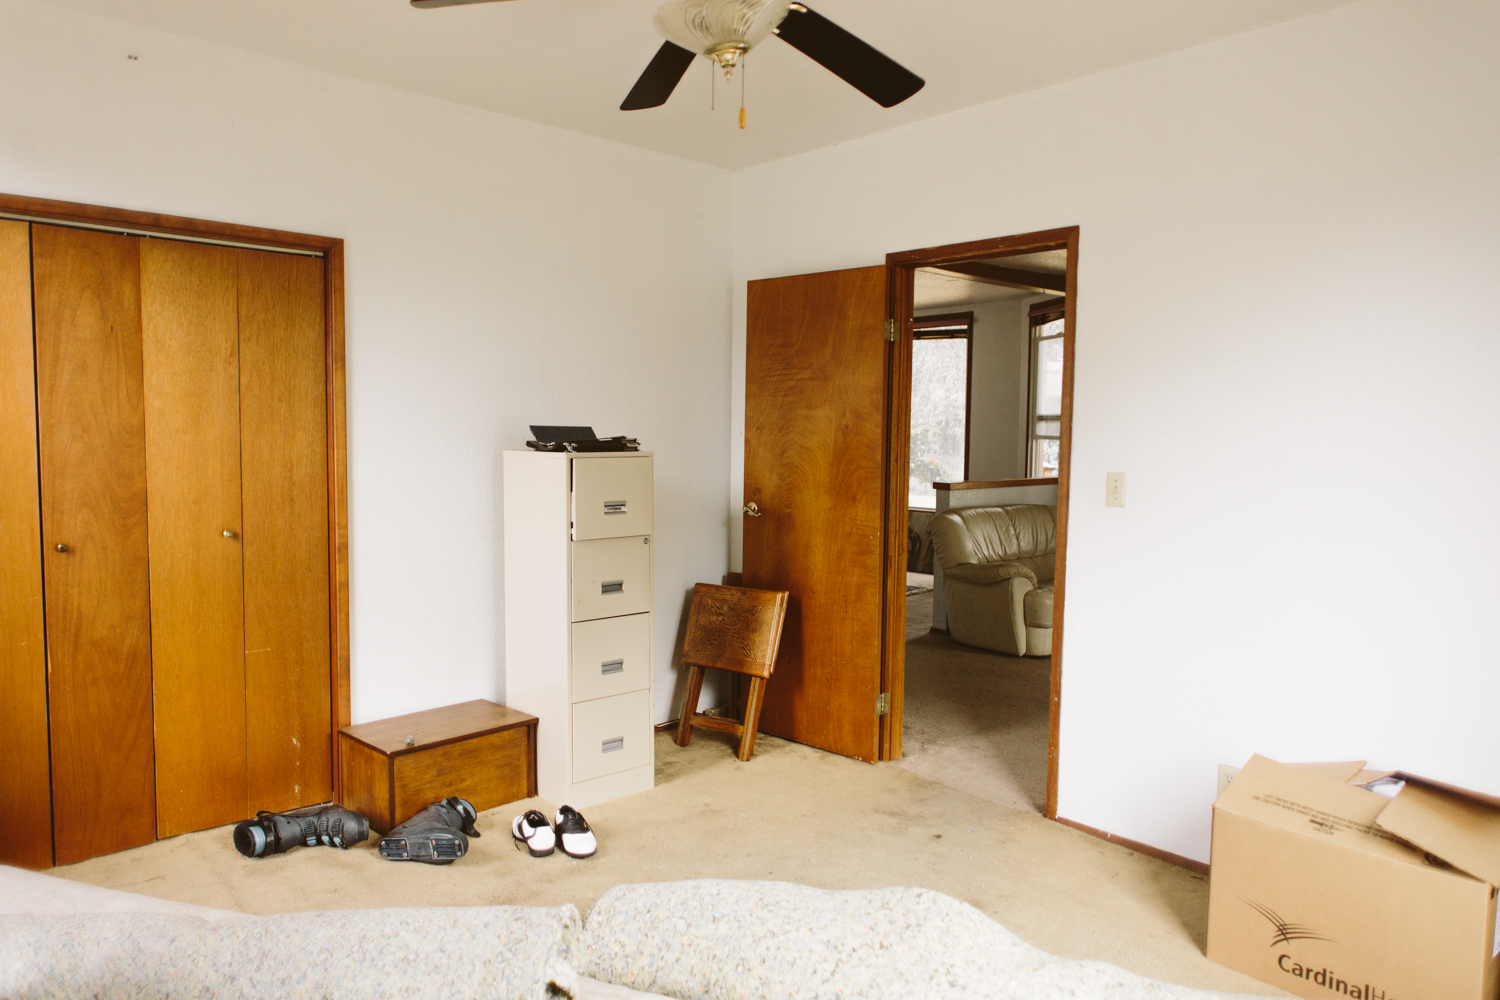
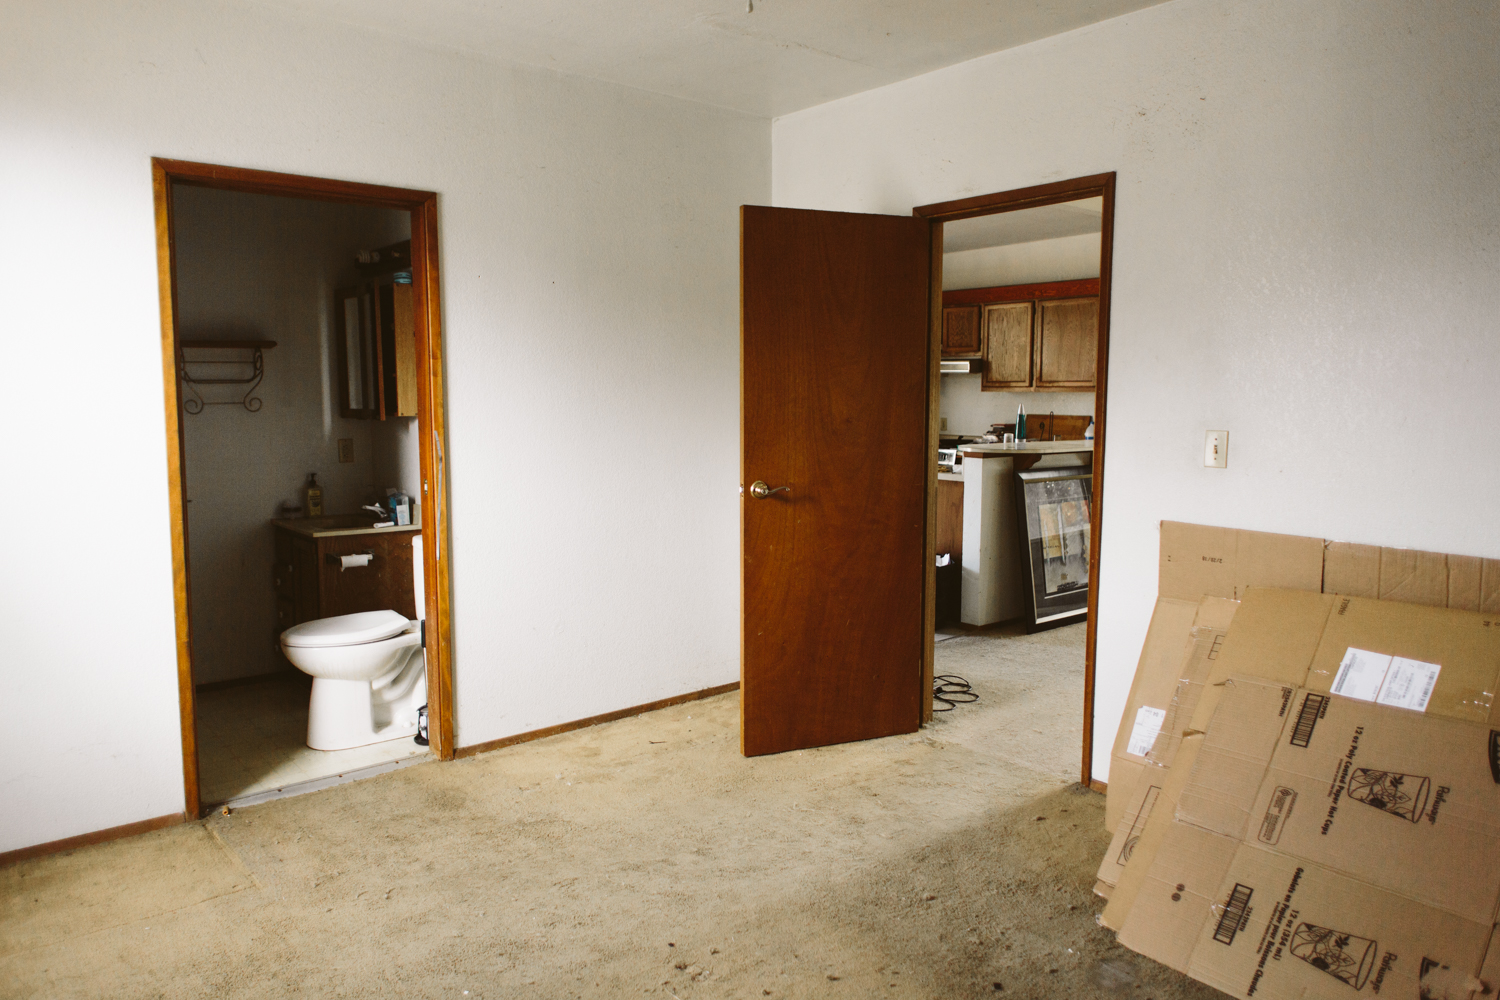
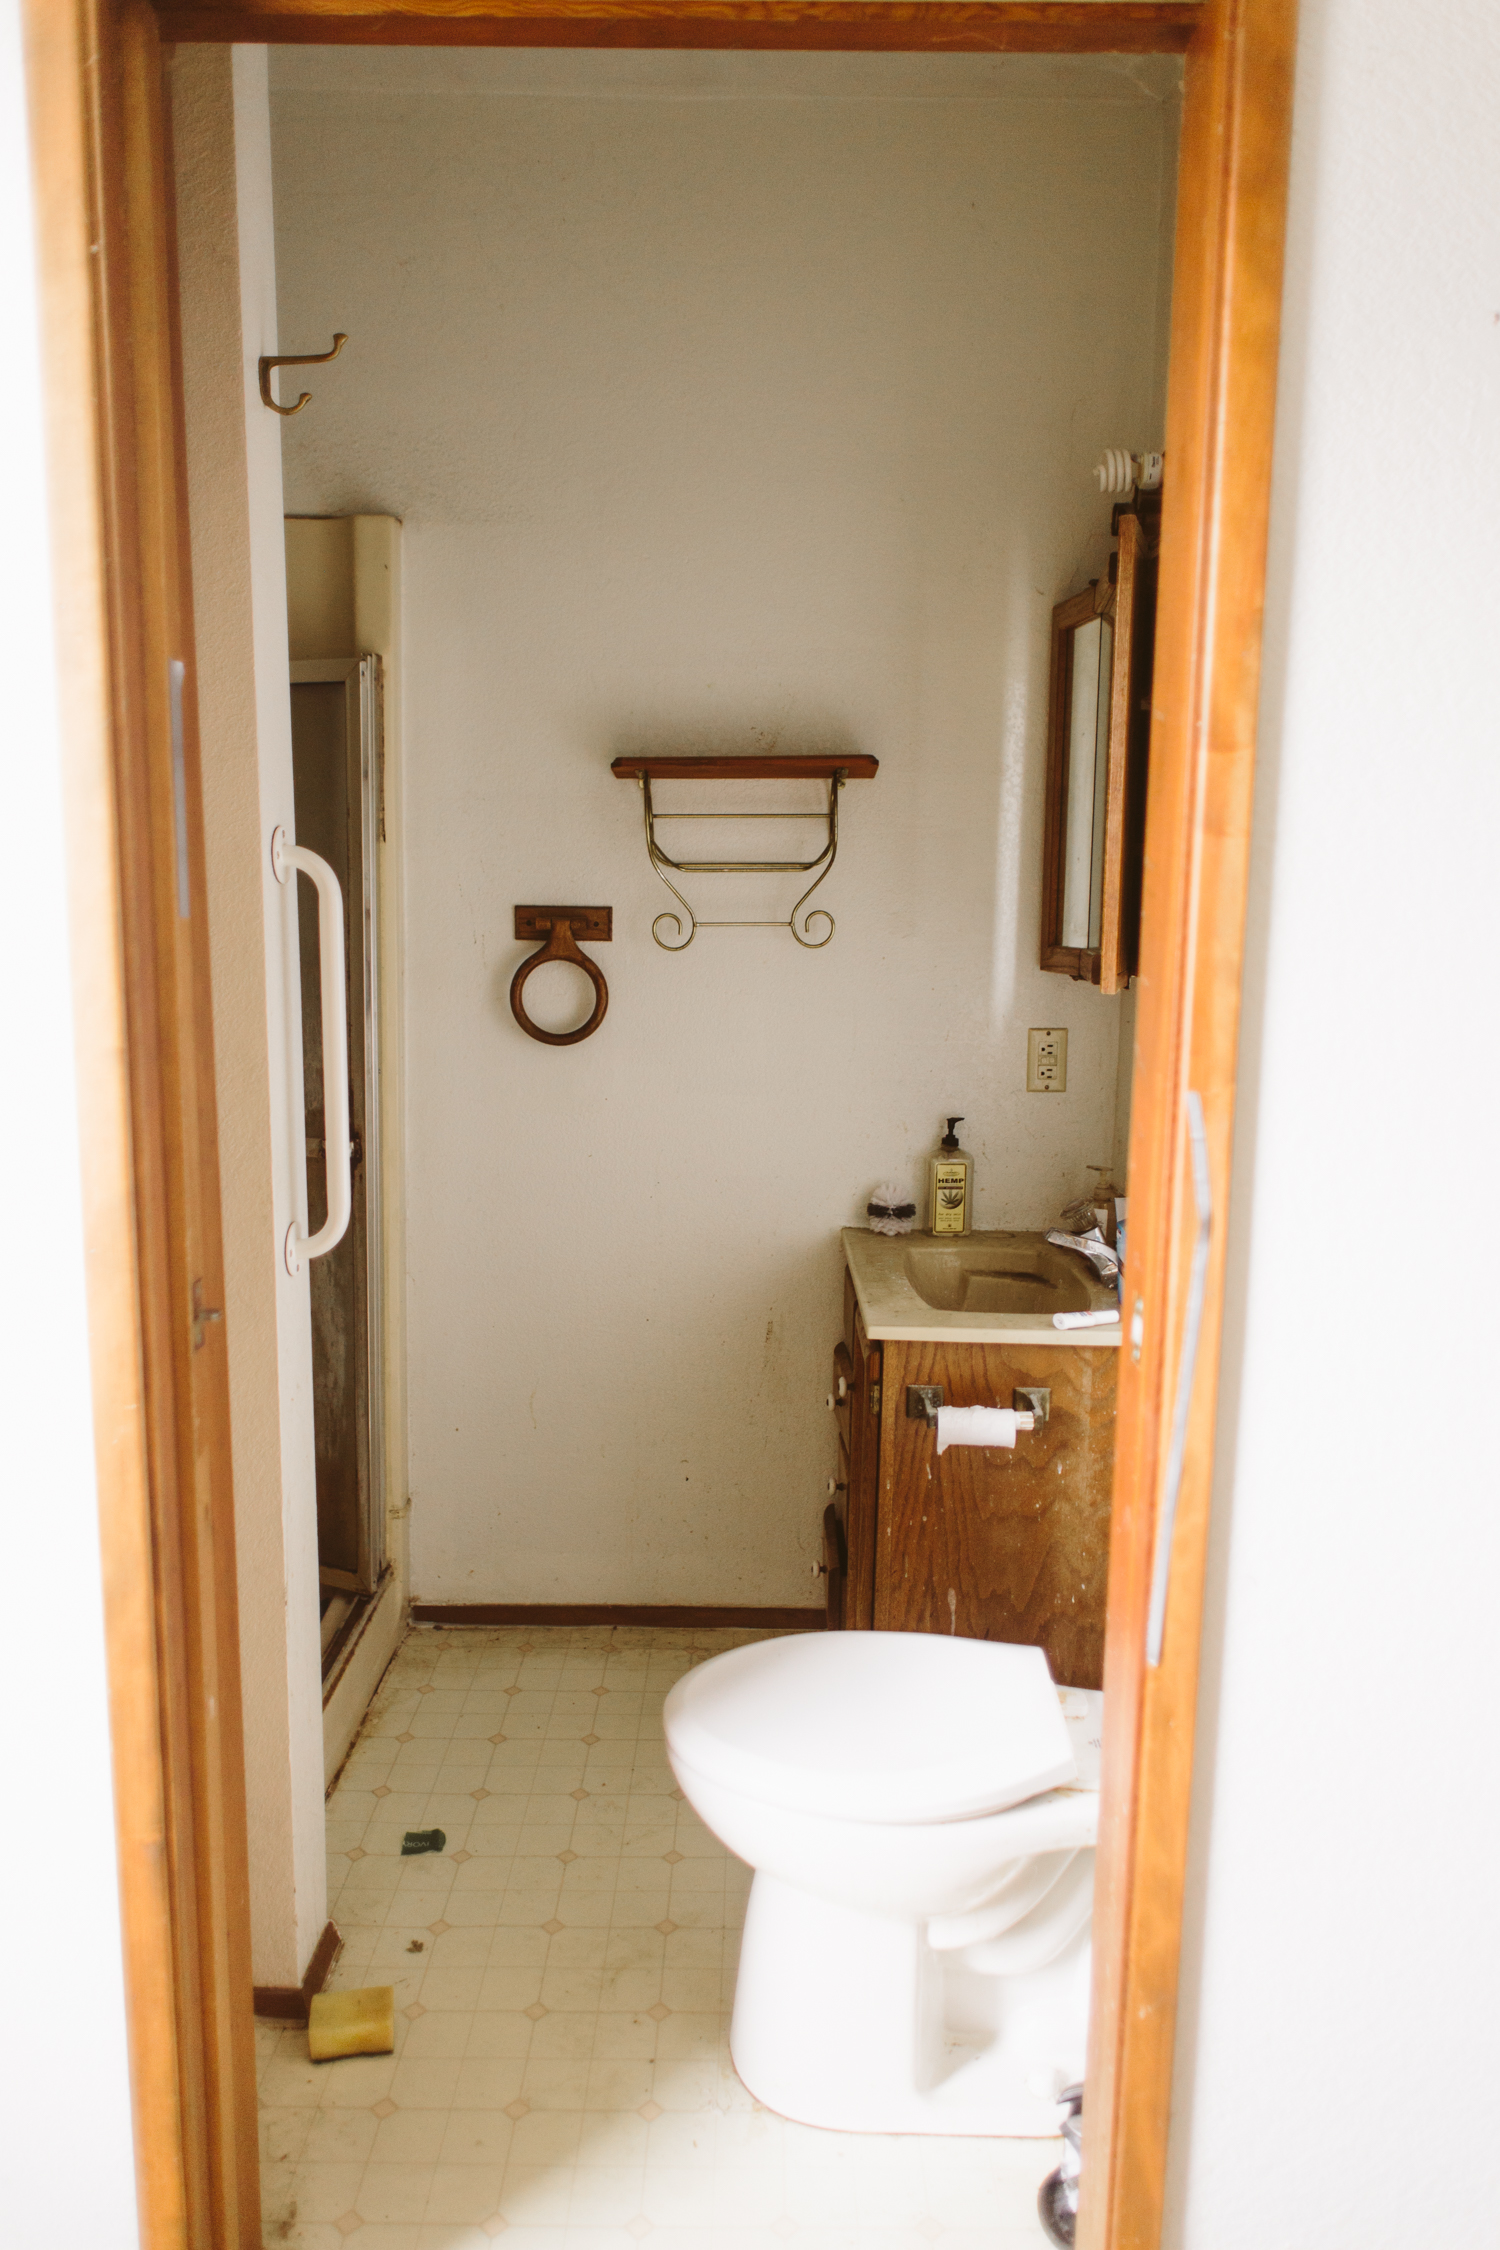
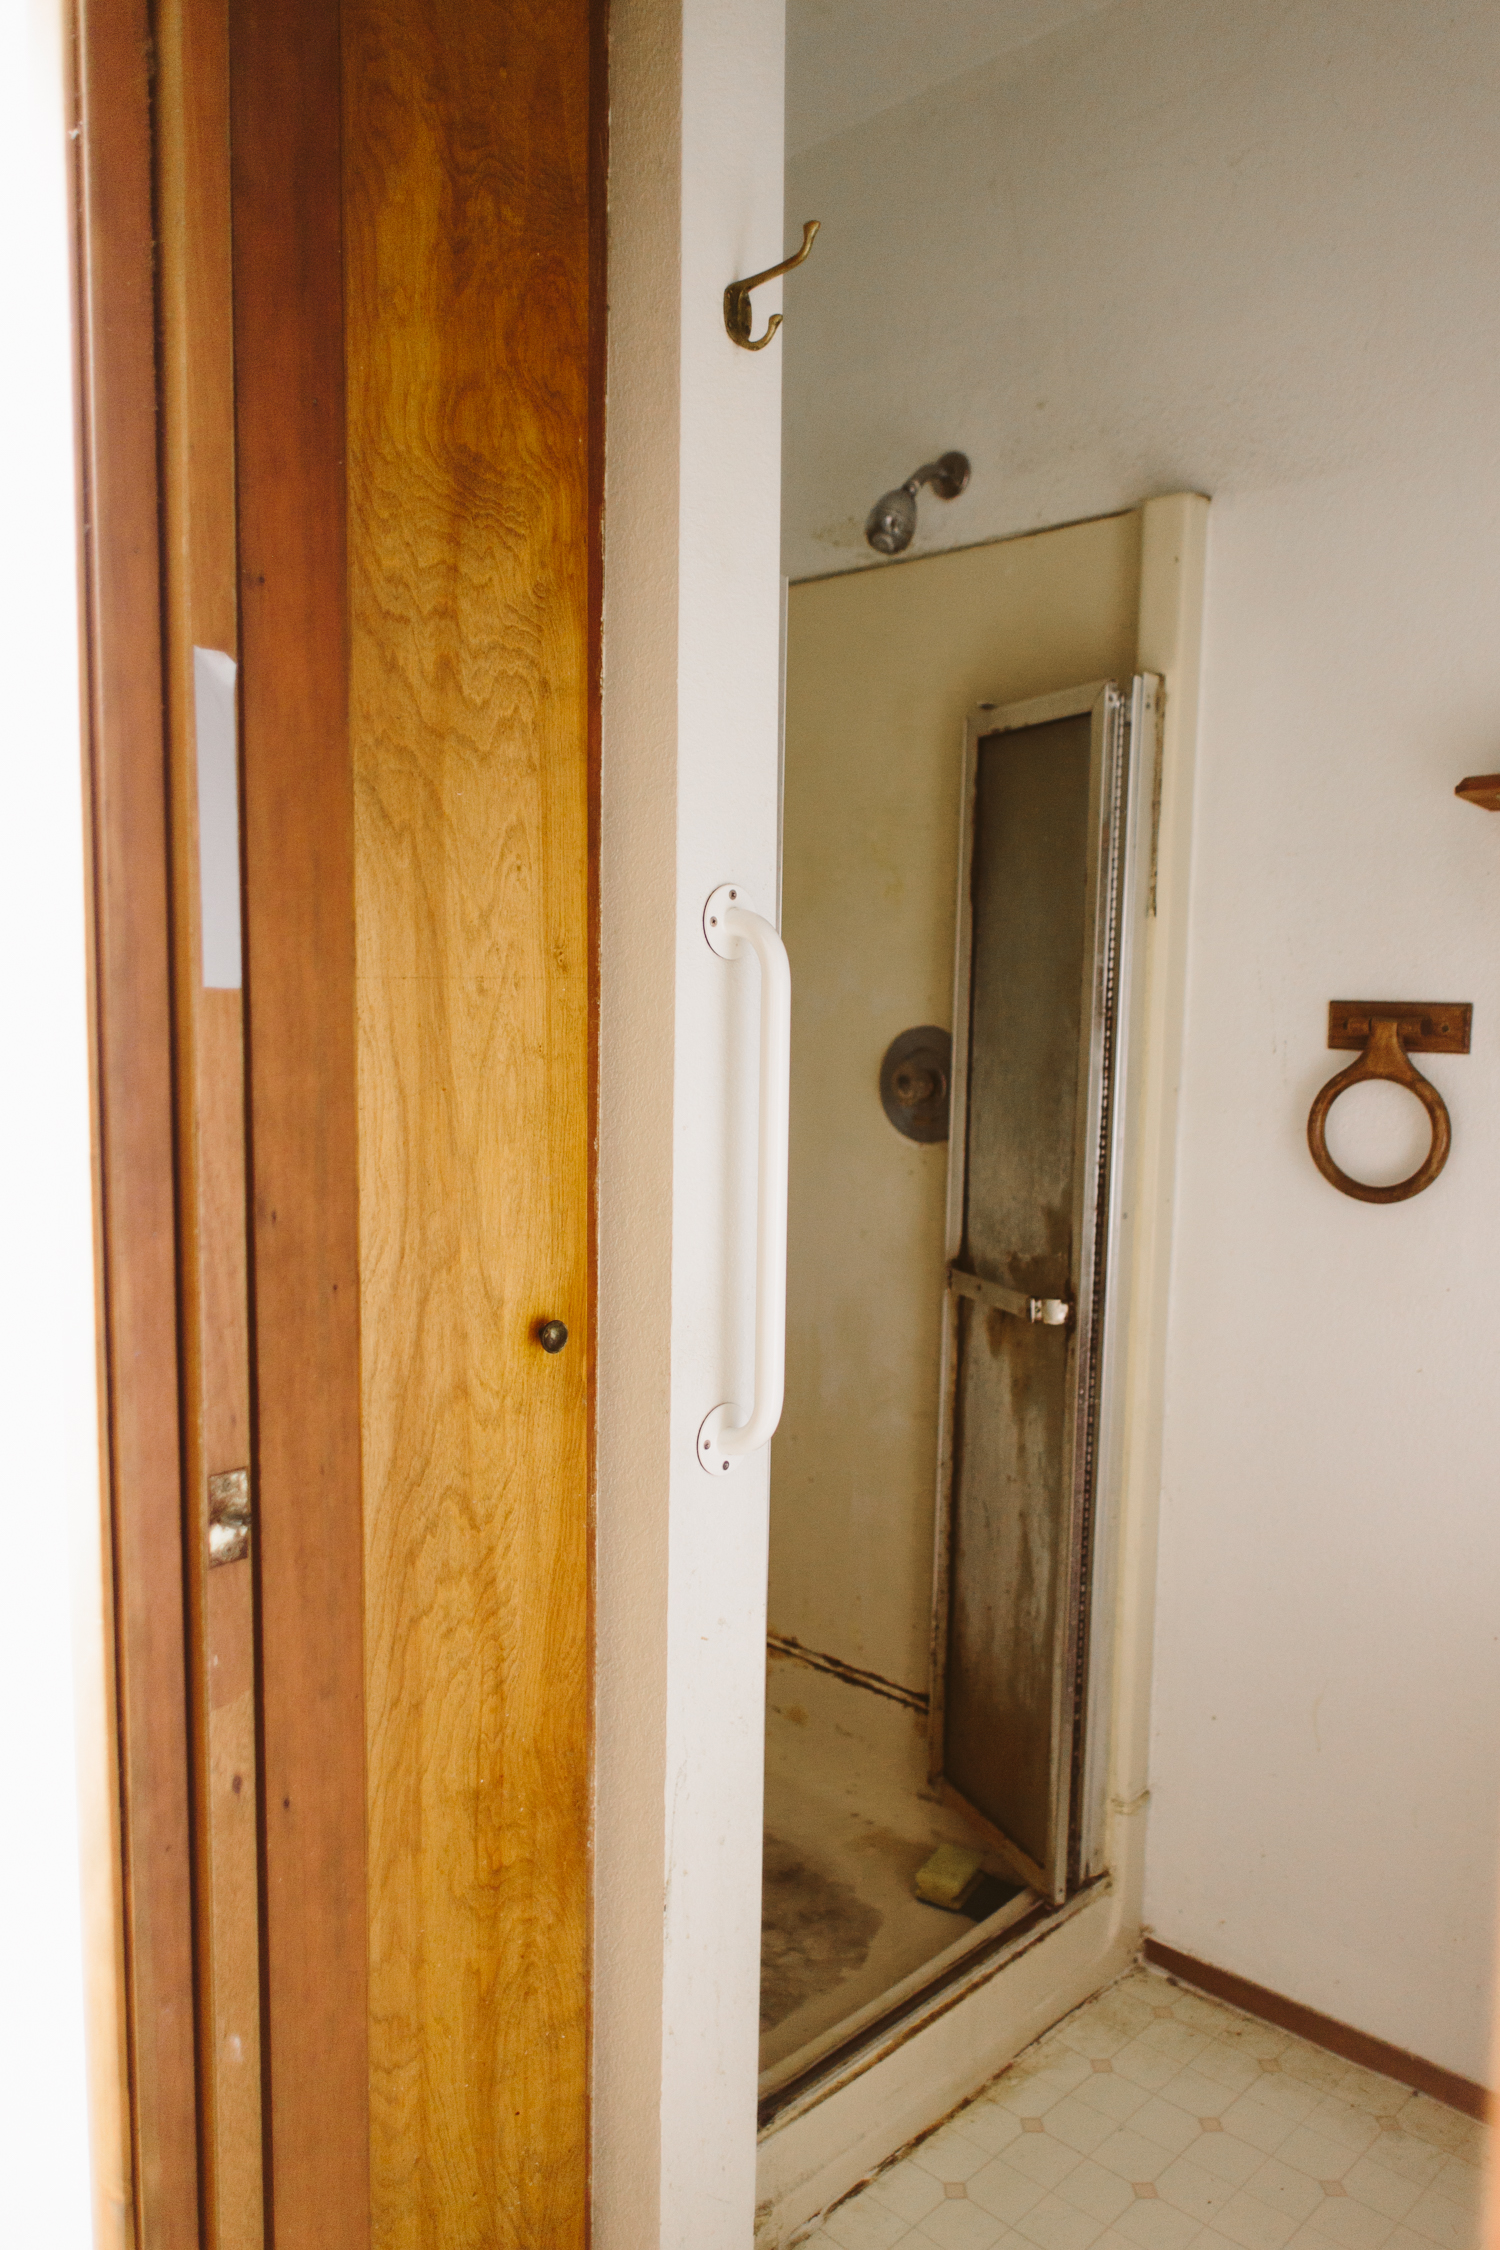
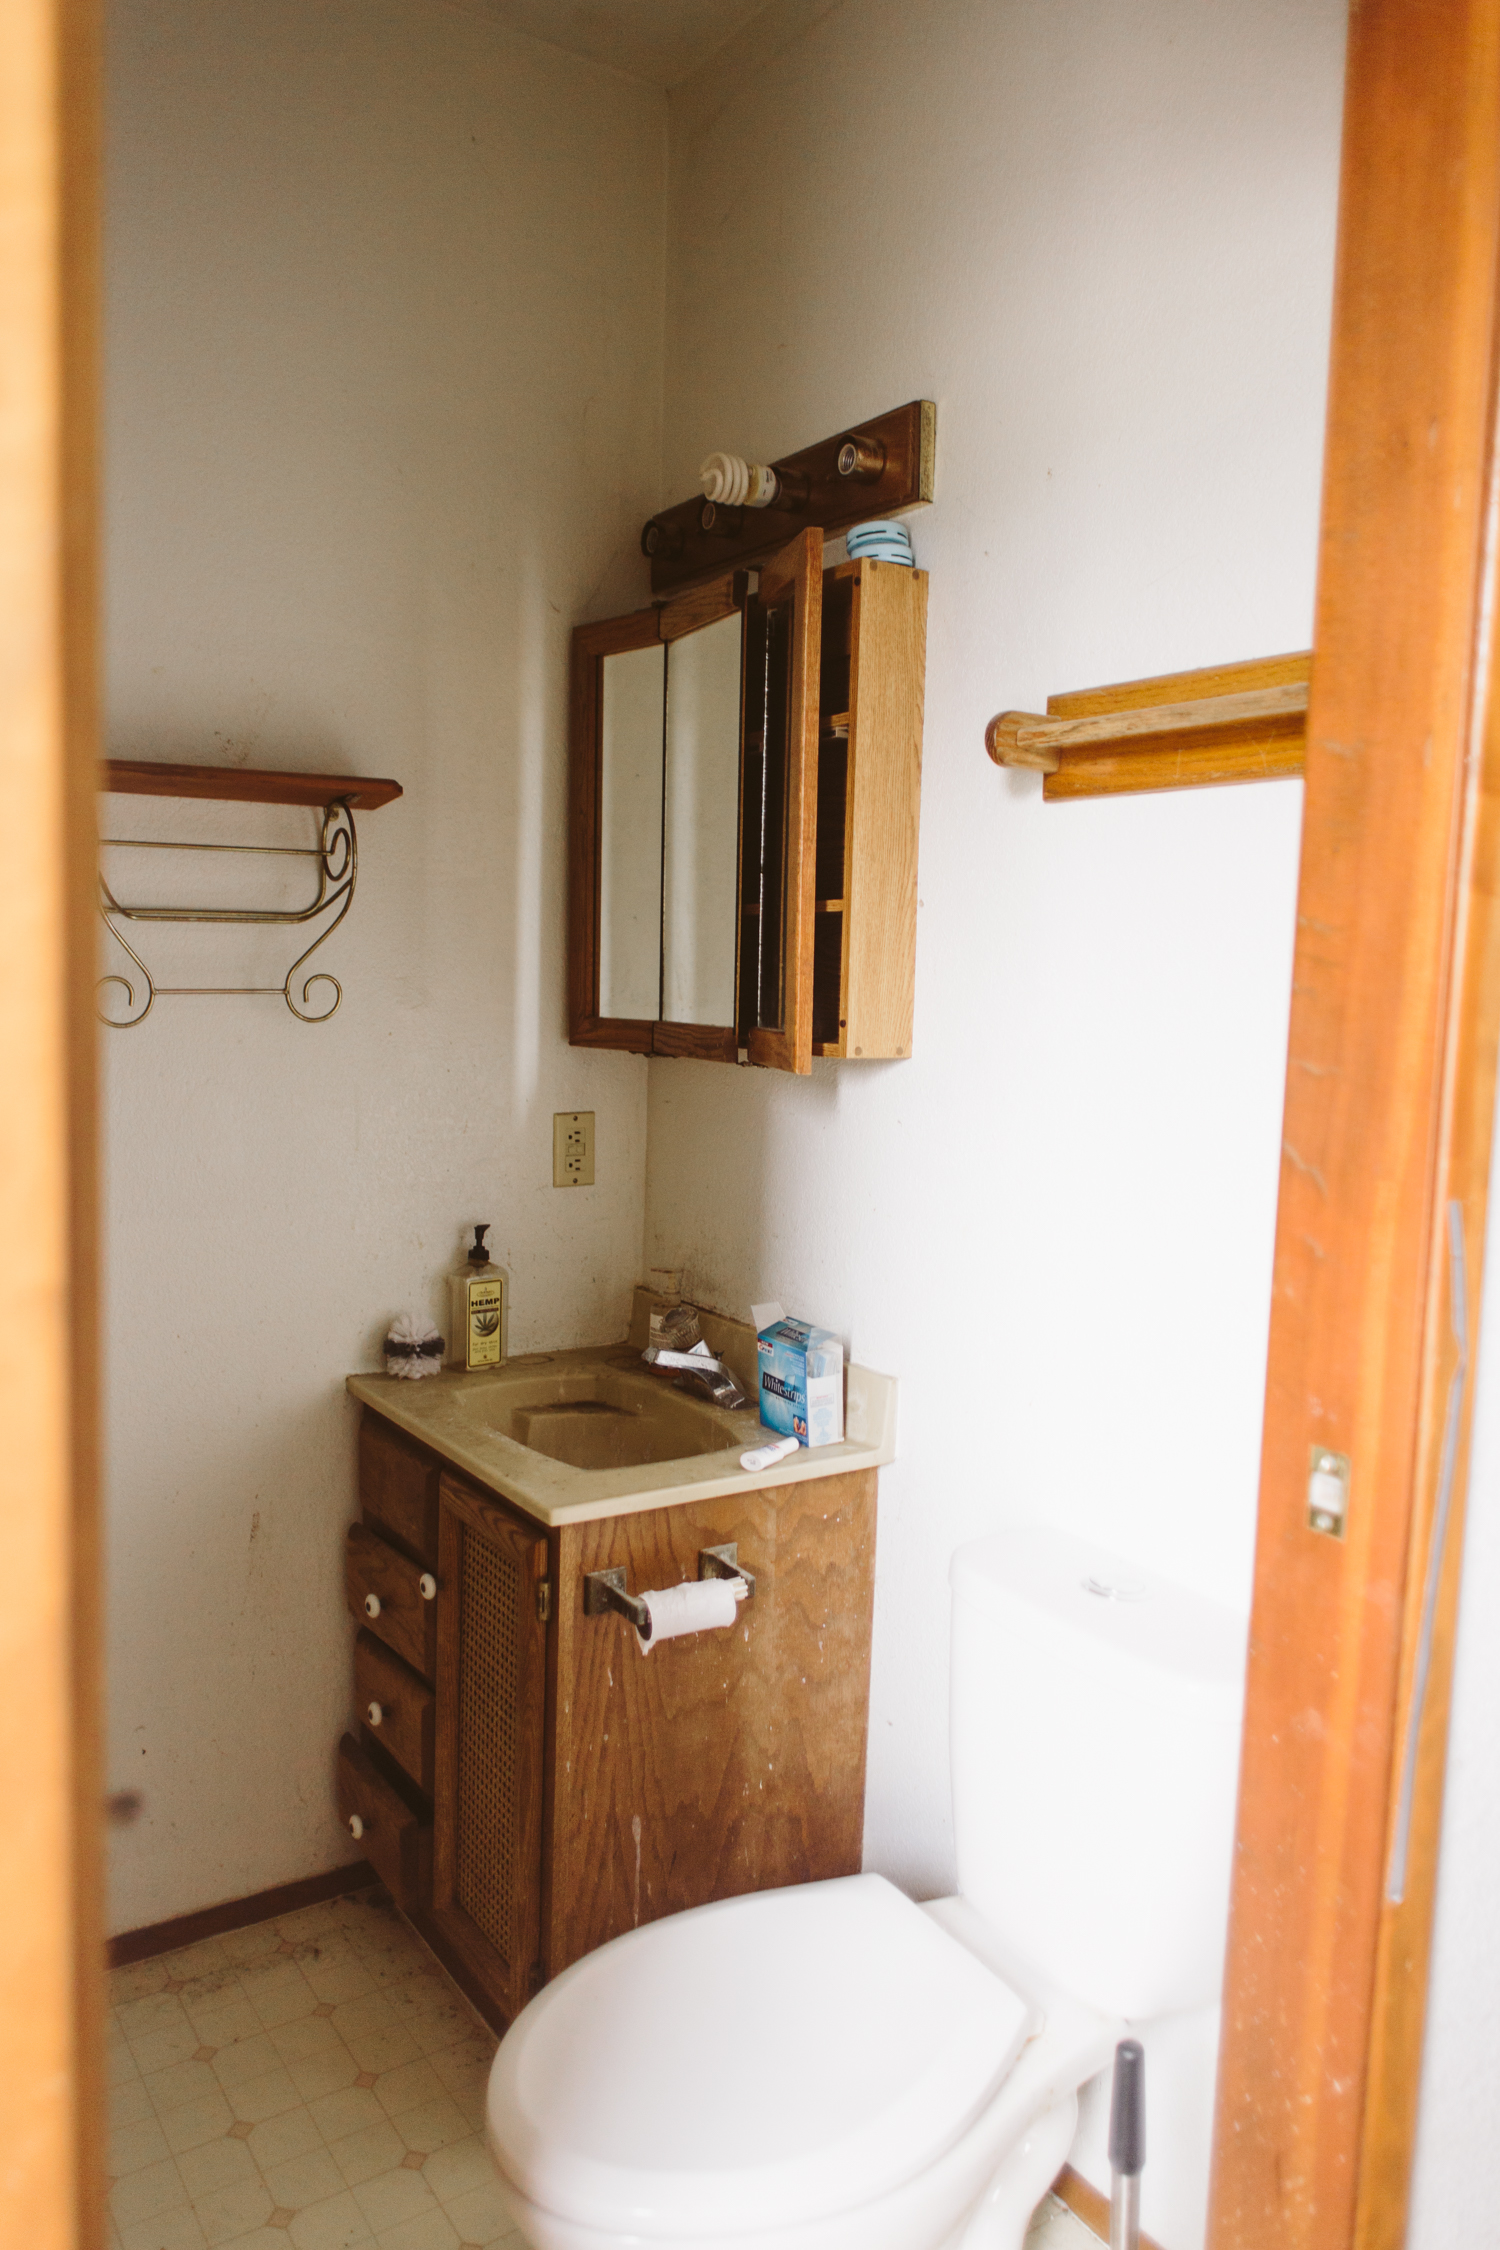
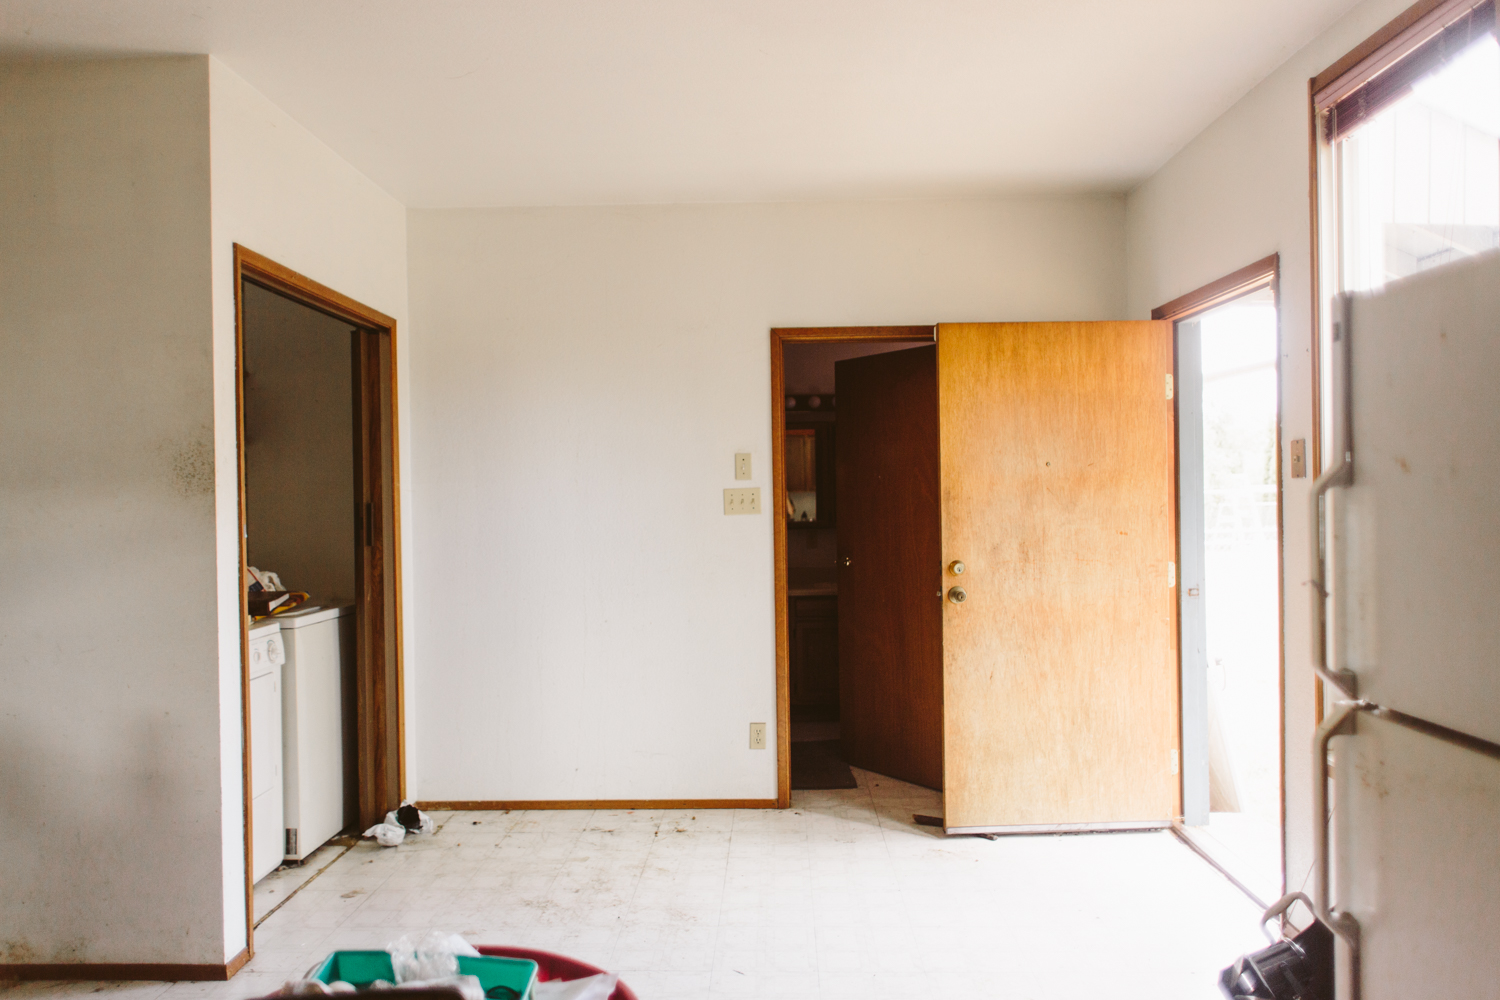
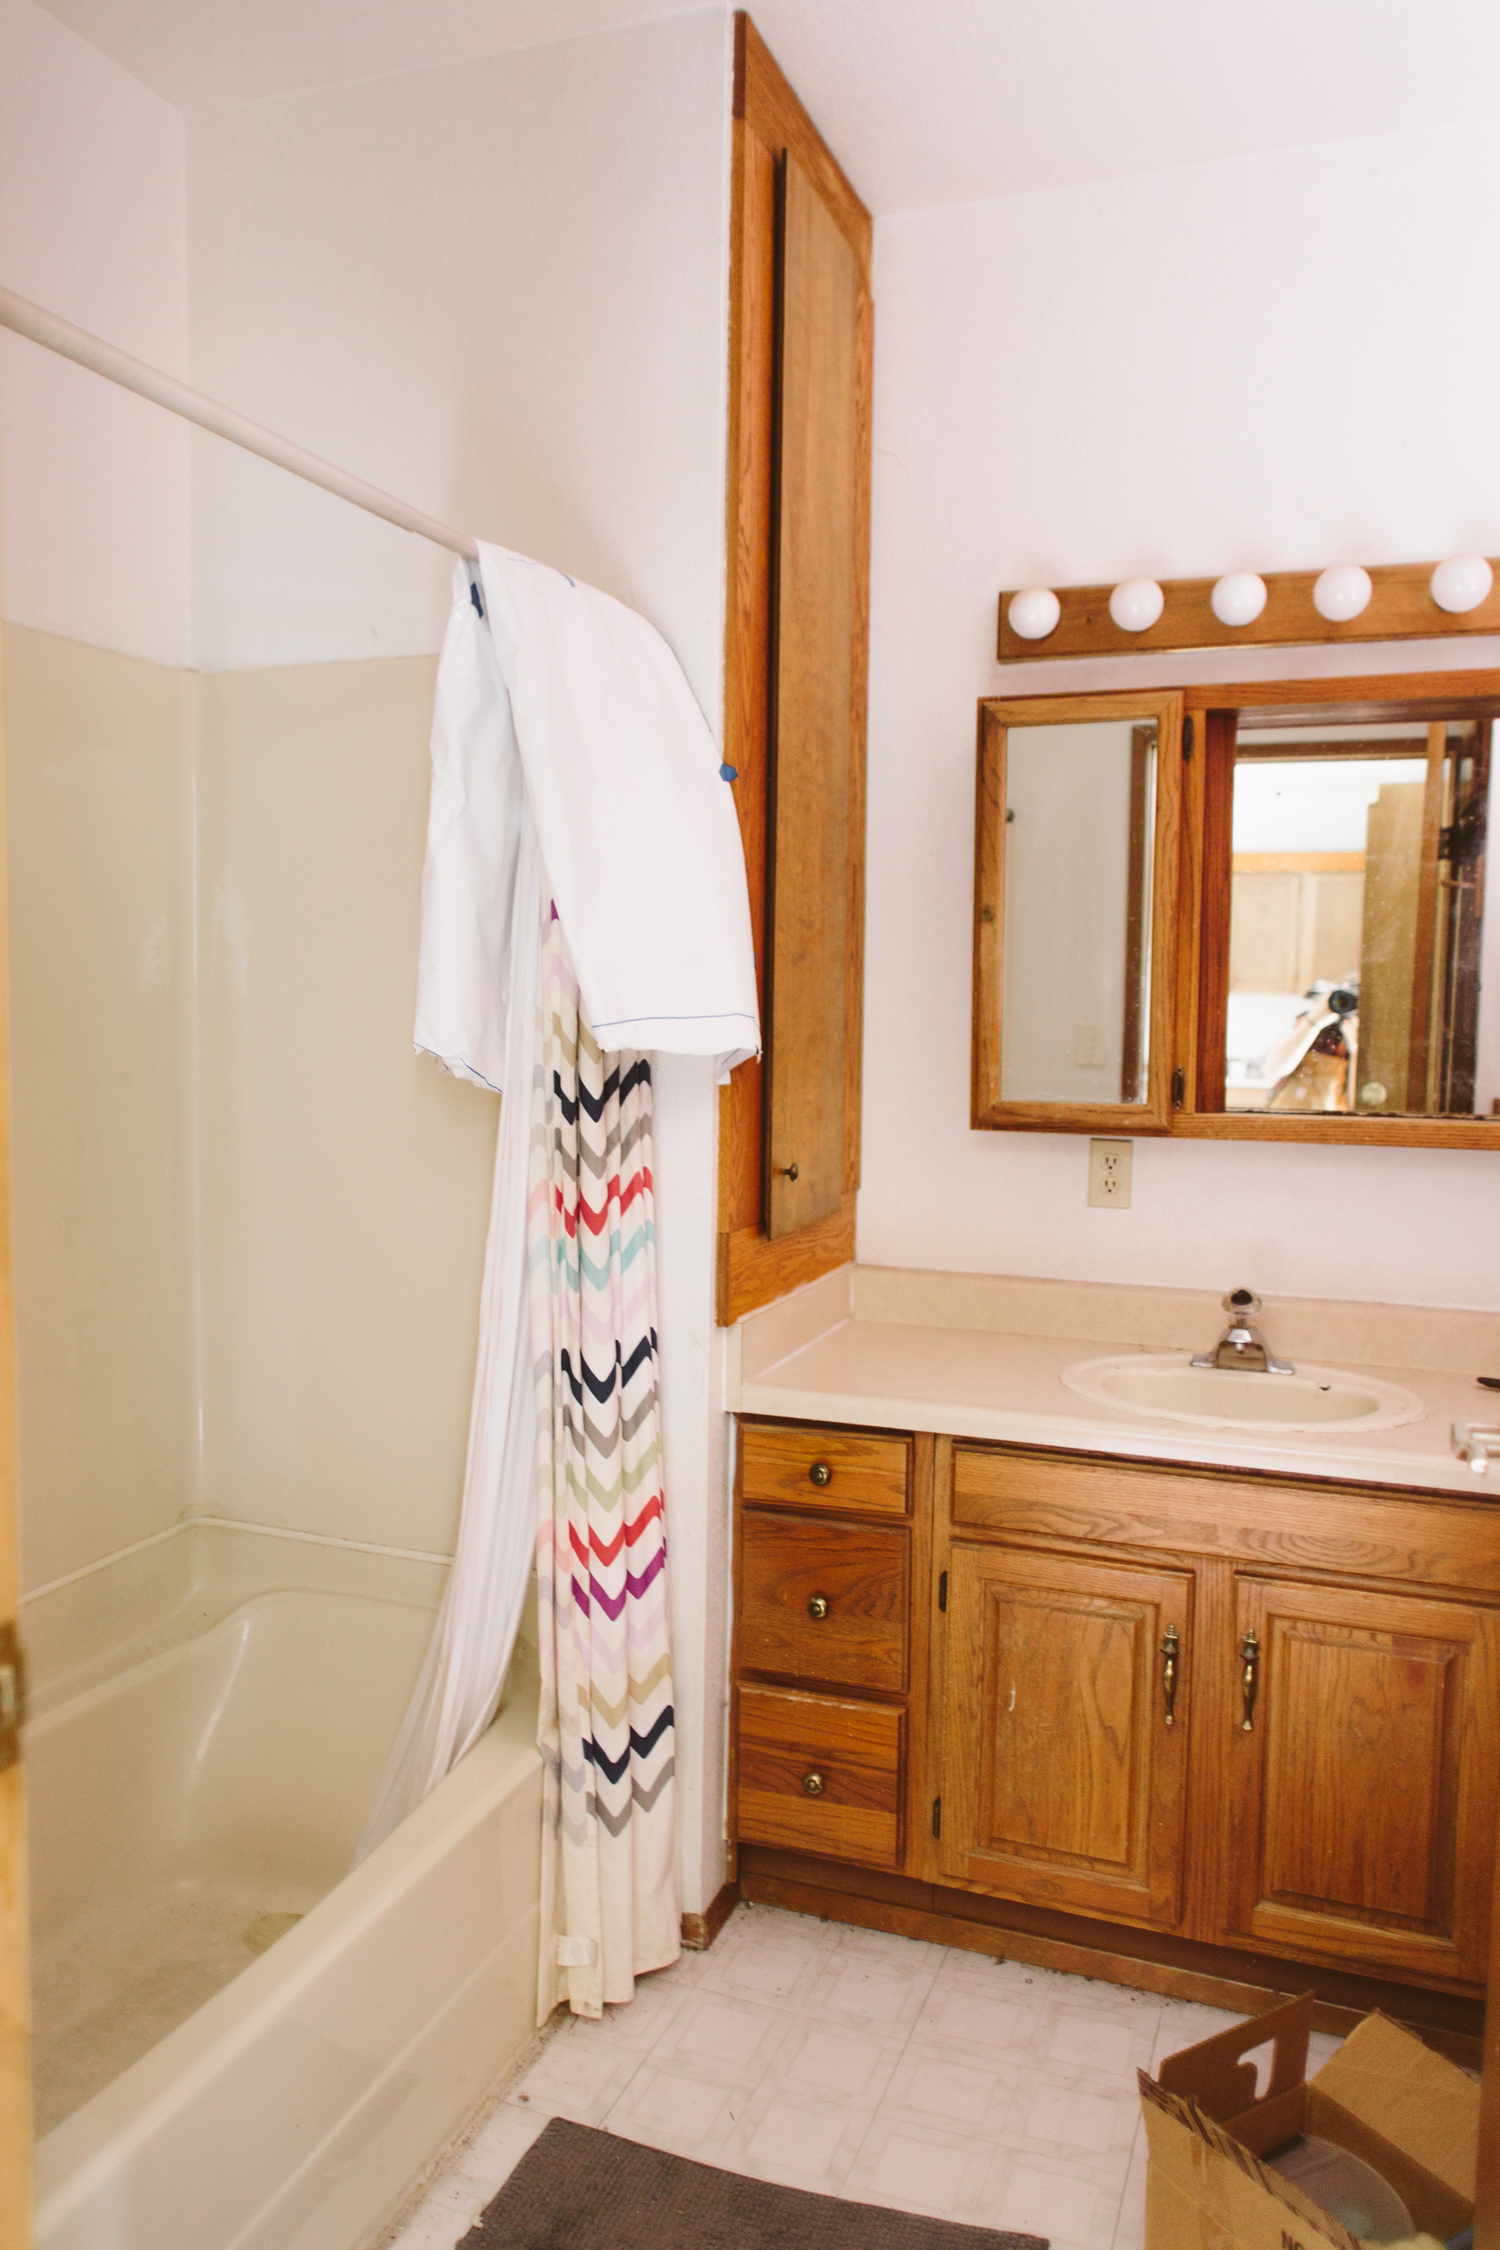
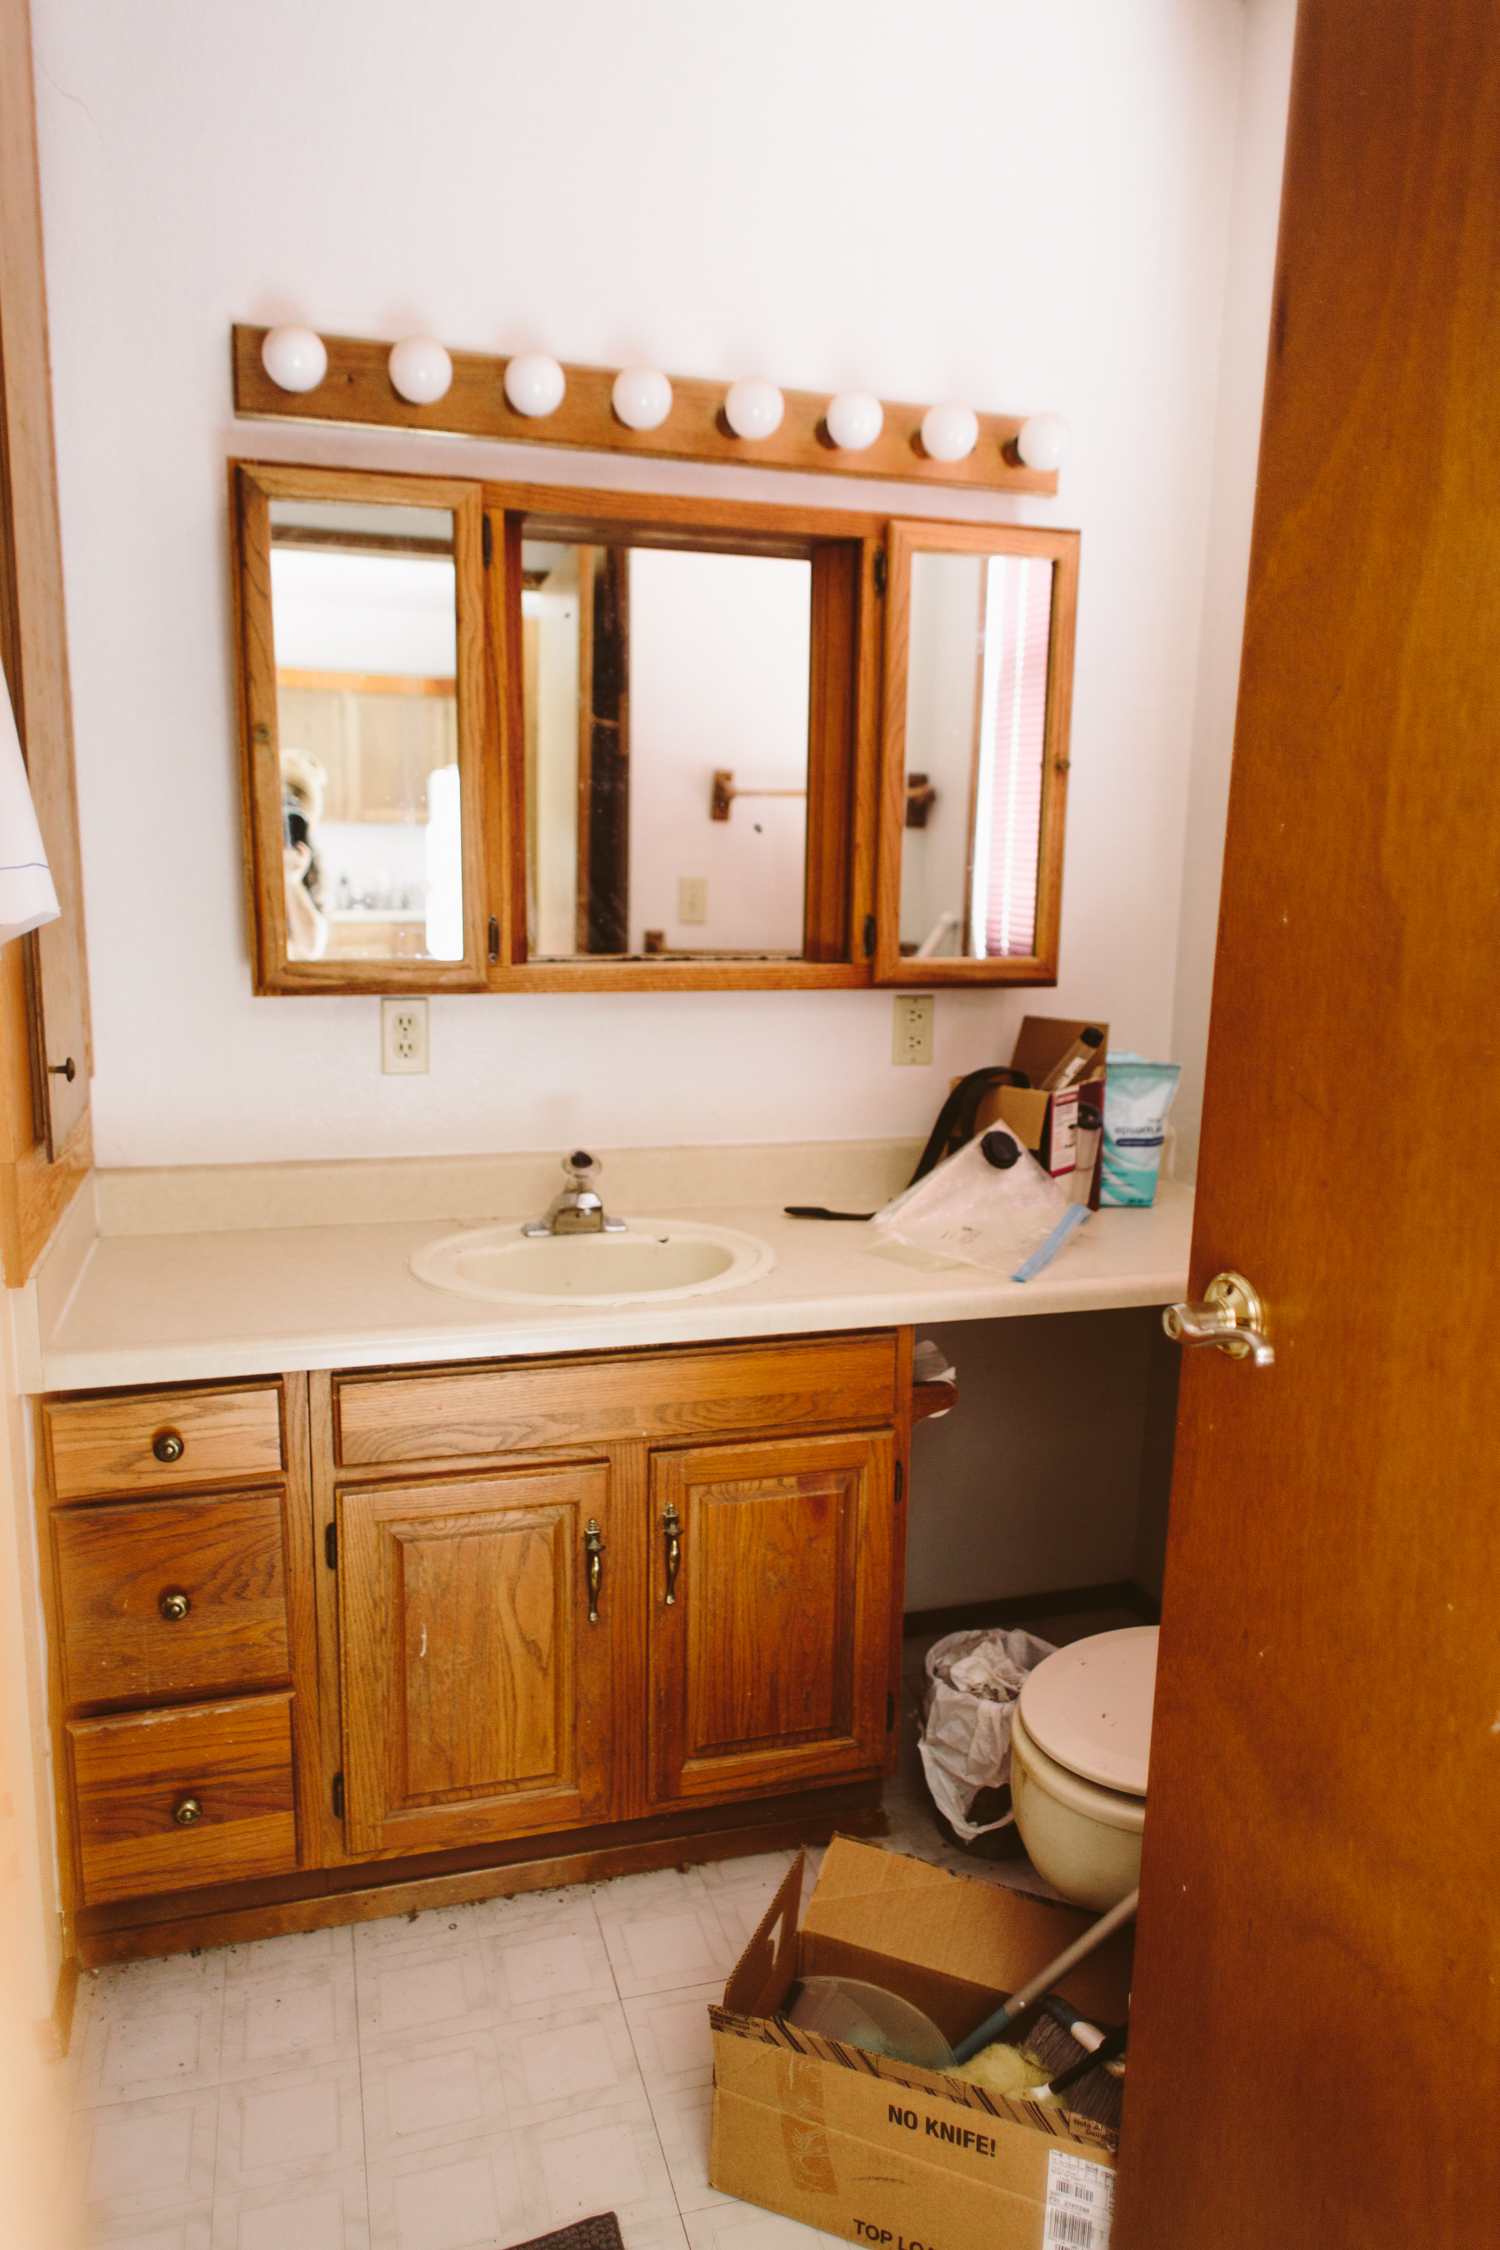
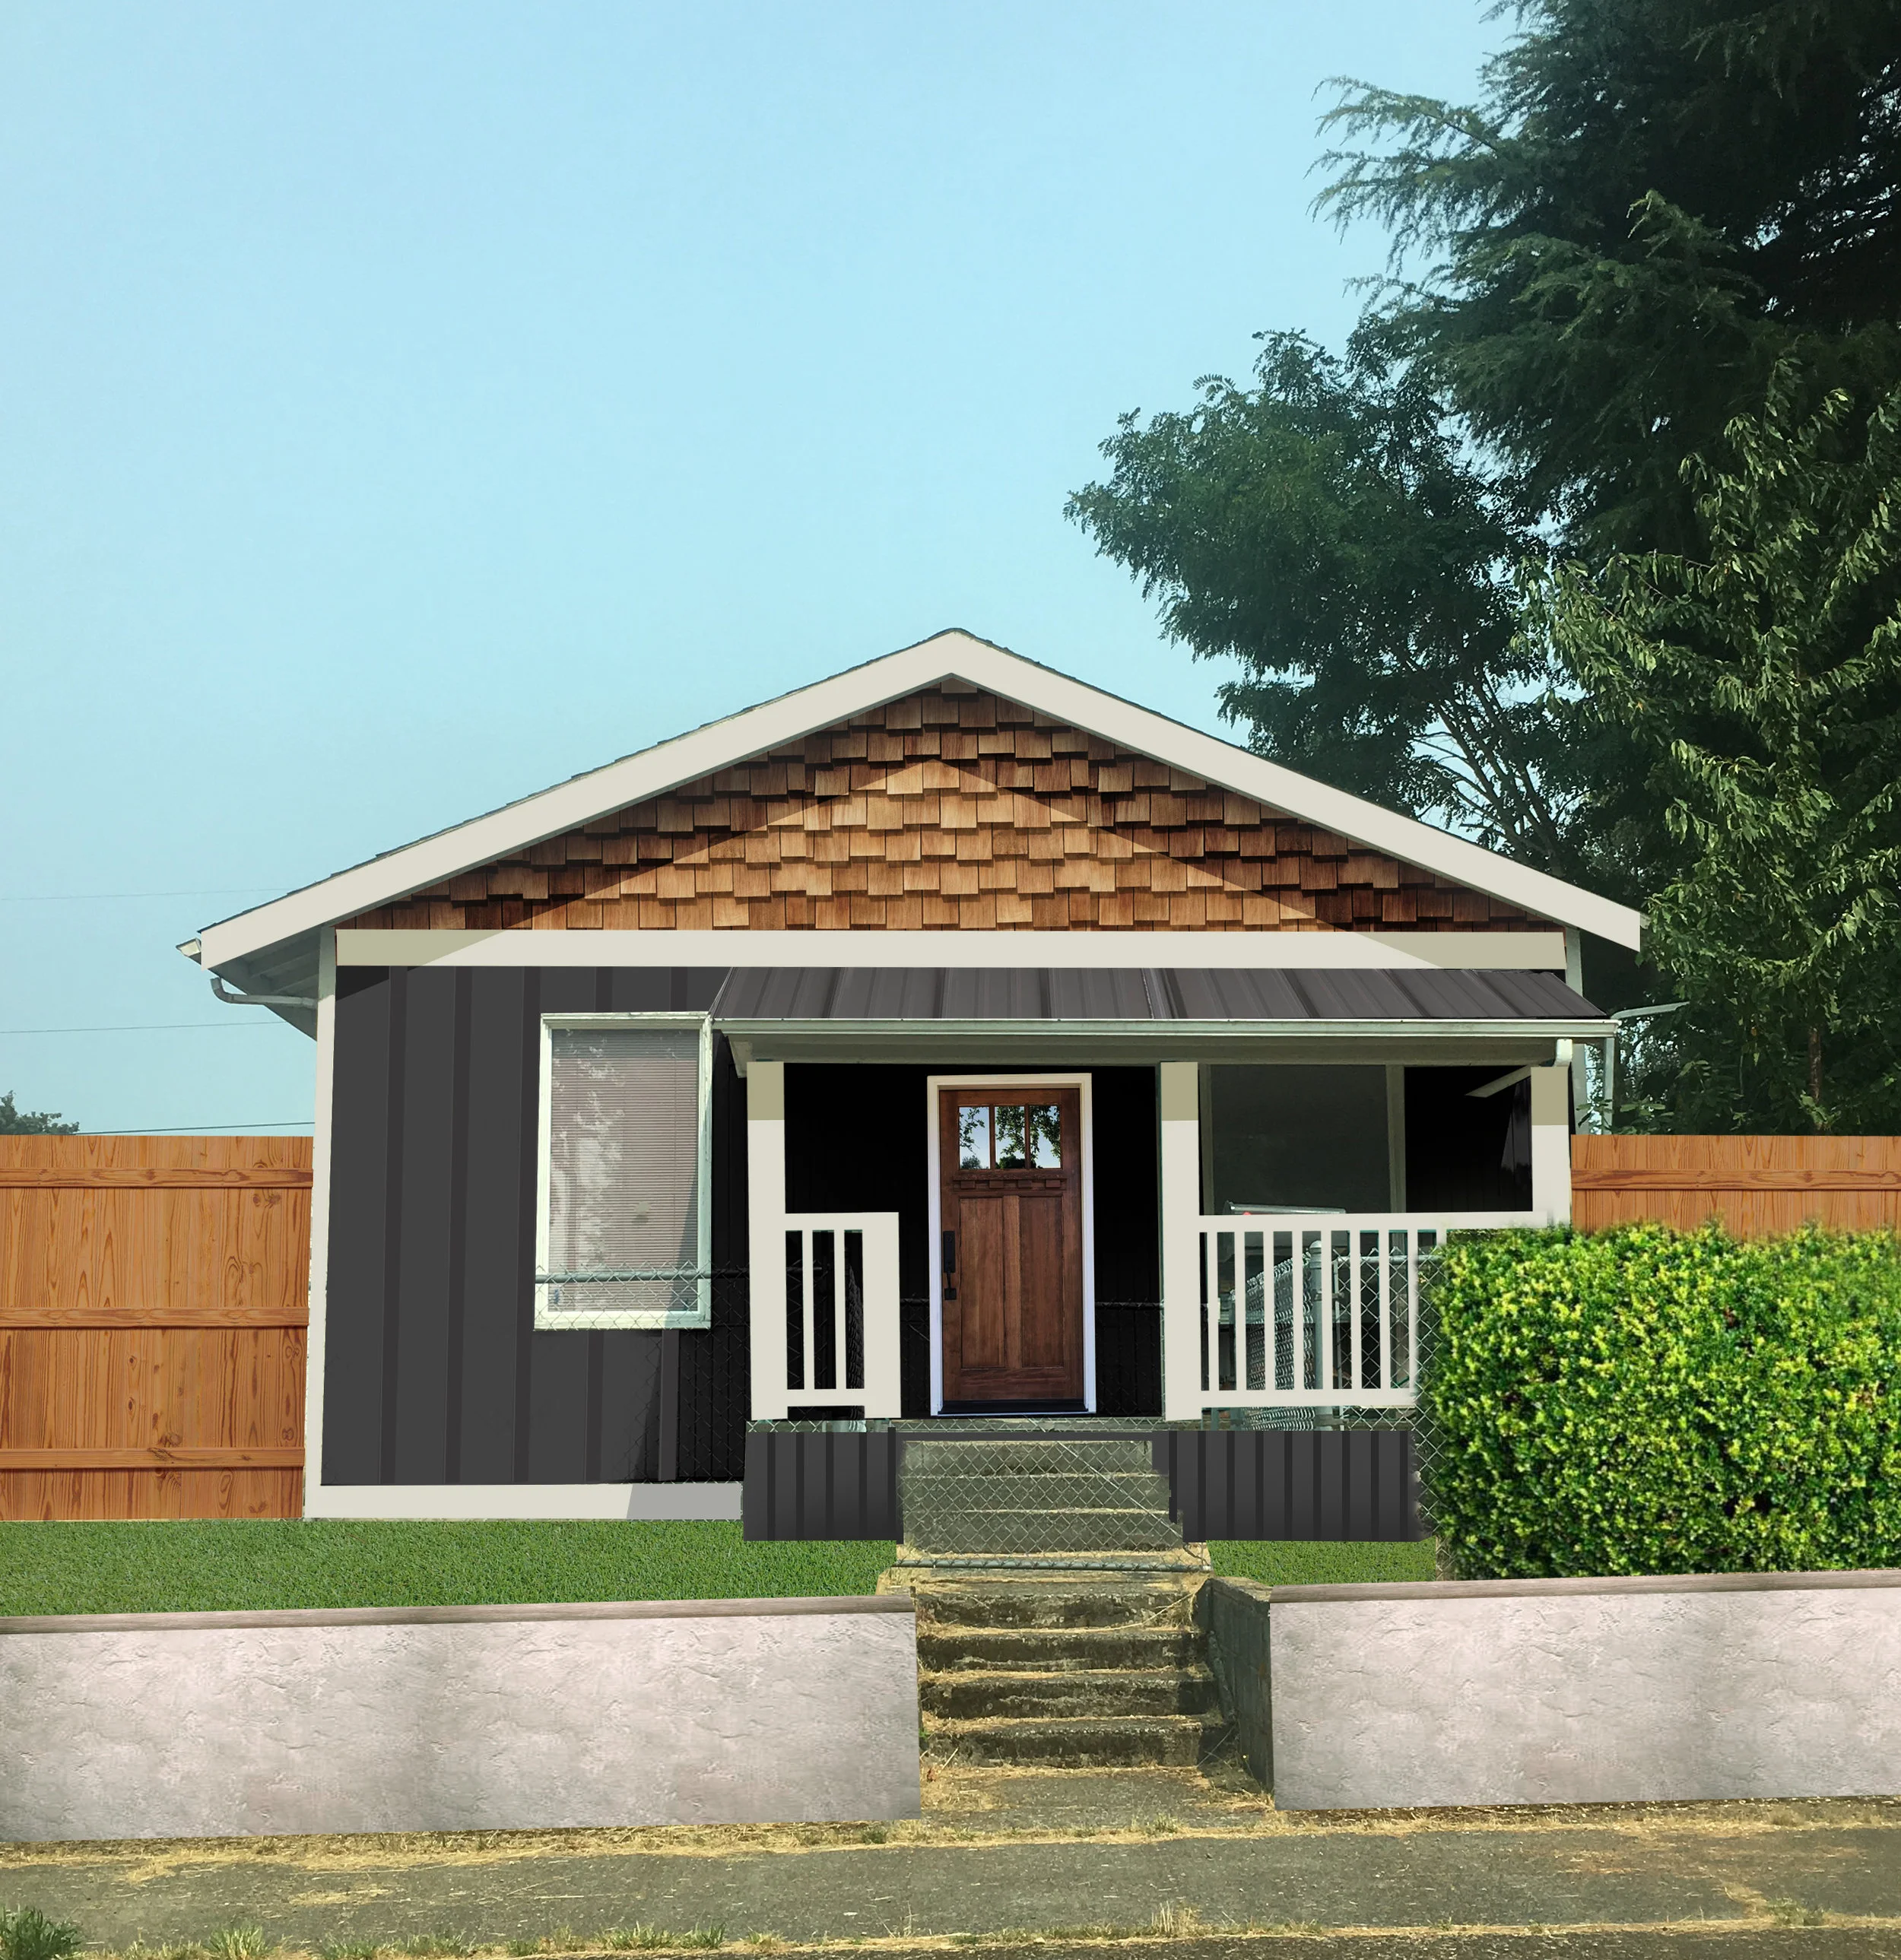
There you have it. It’s not going to need a lot in terms of any structural changes, it’s primarily a cosmetic fix, but we are adding a bedroom within the current footprint!
Here’s the original layout:

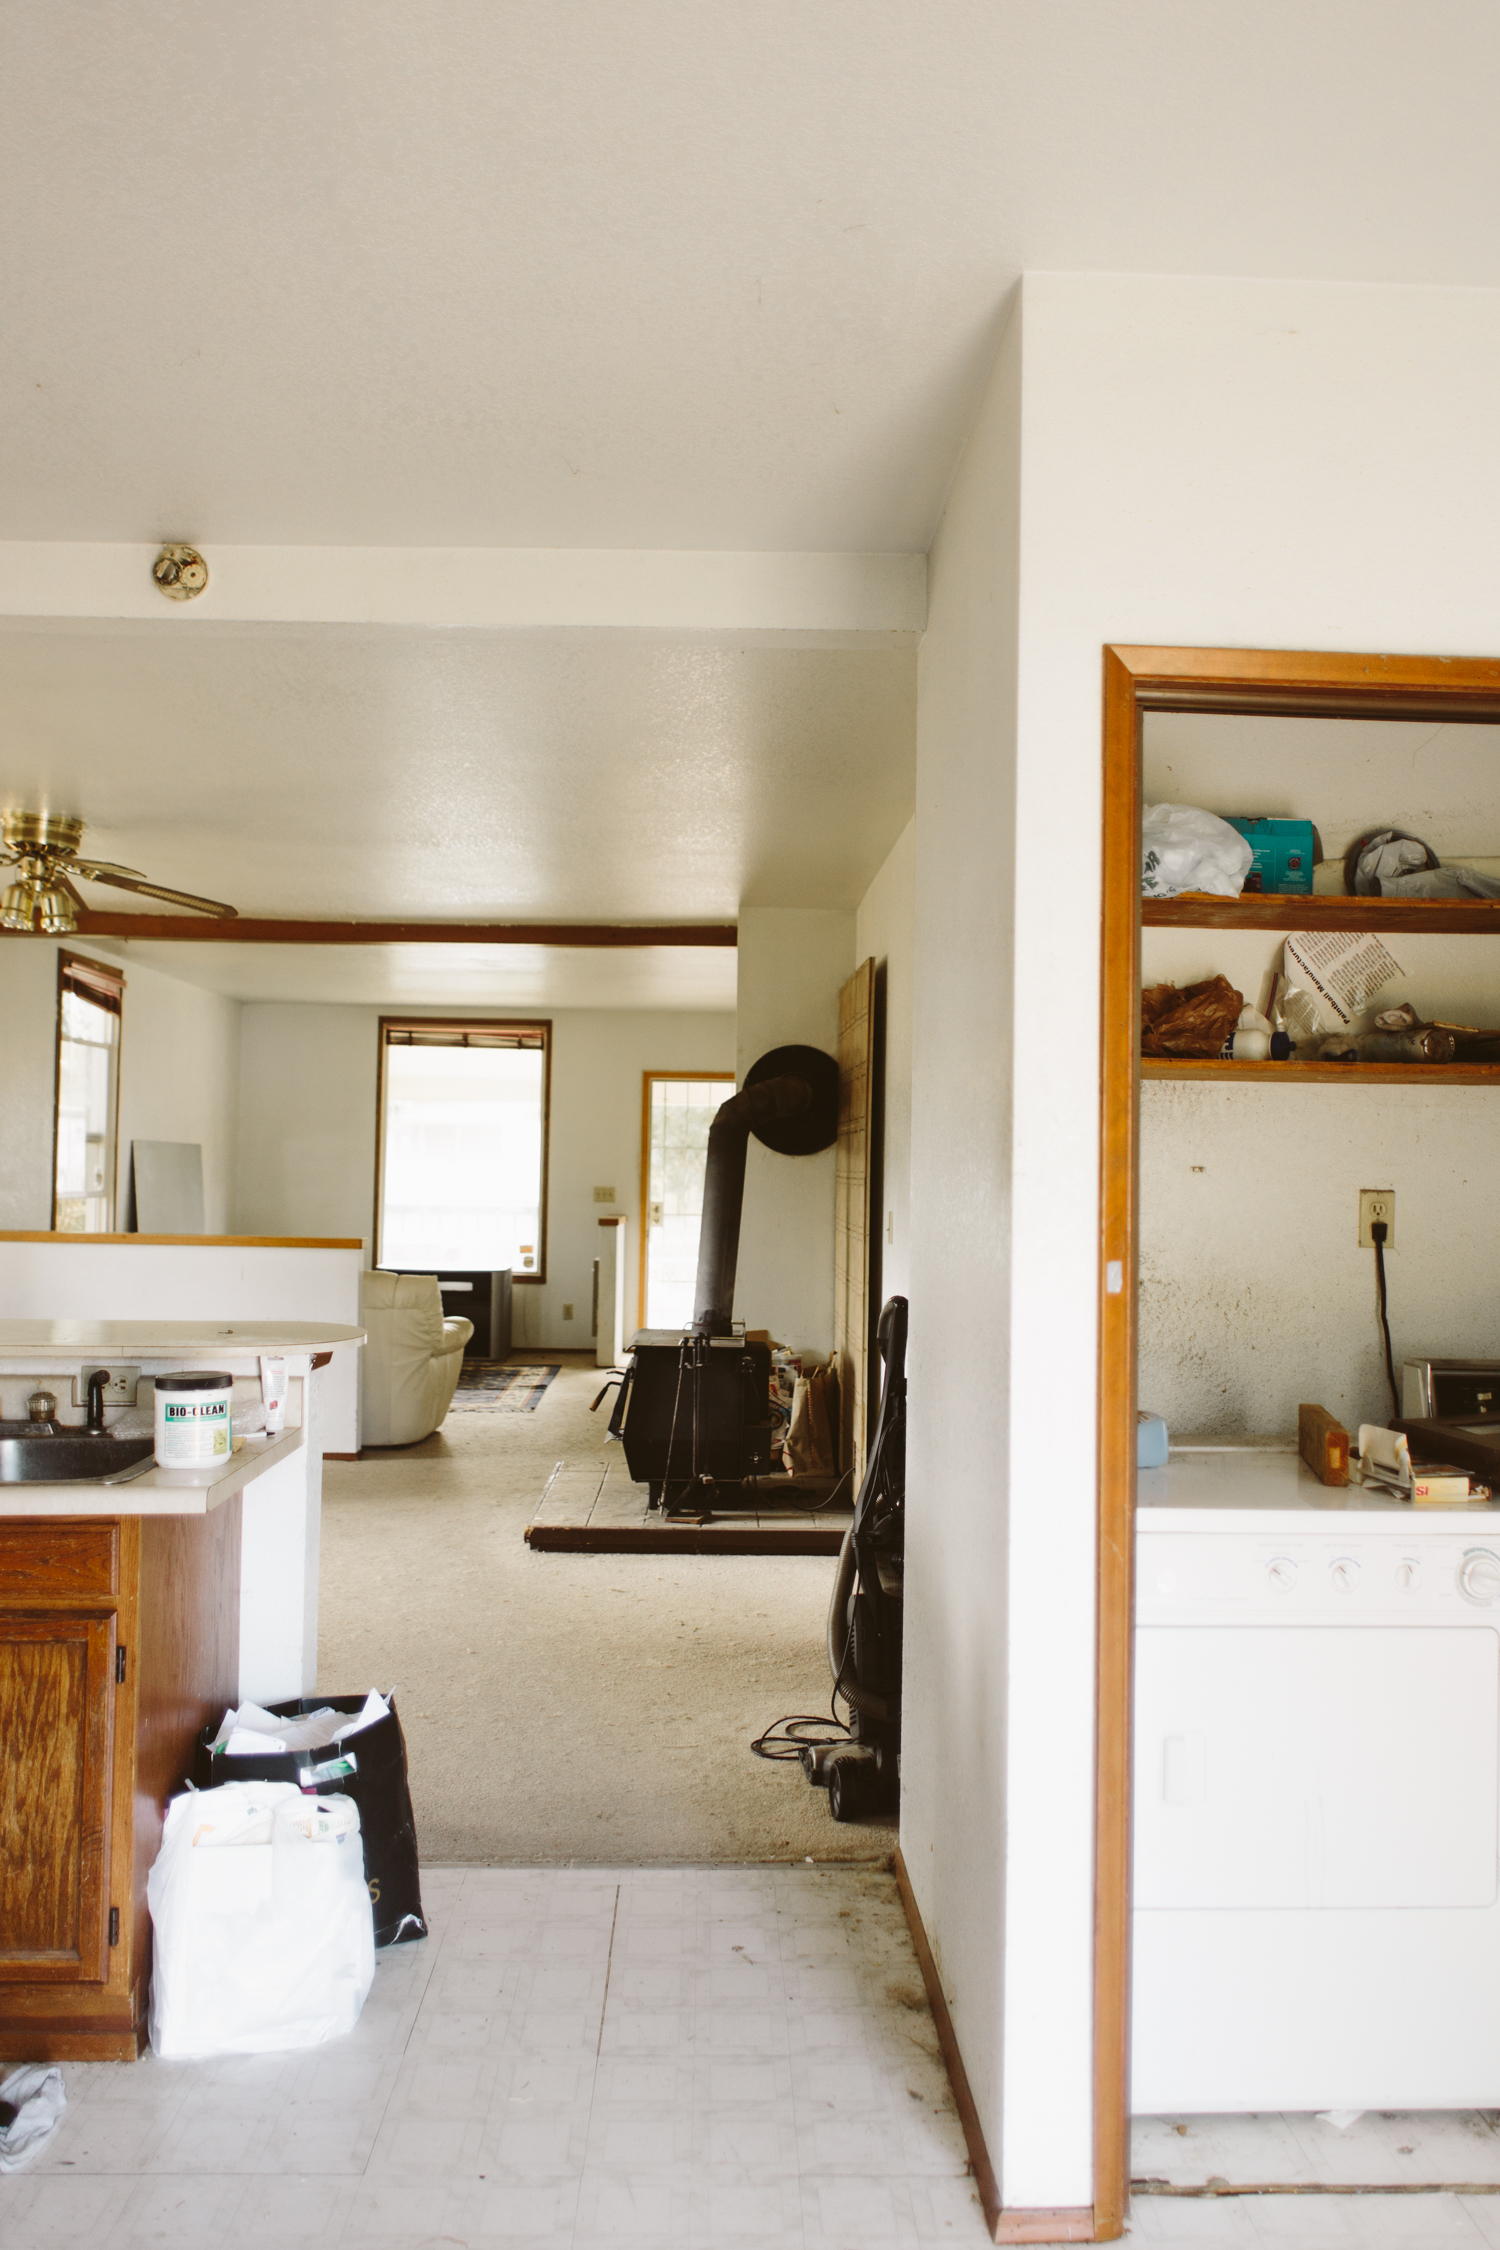
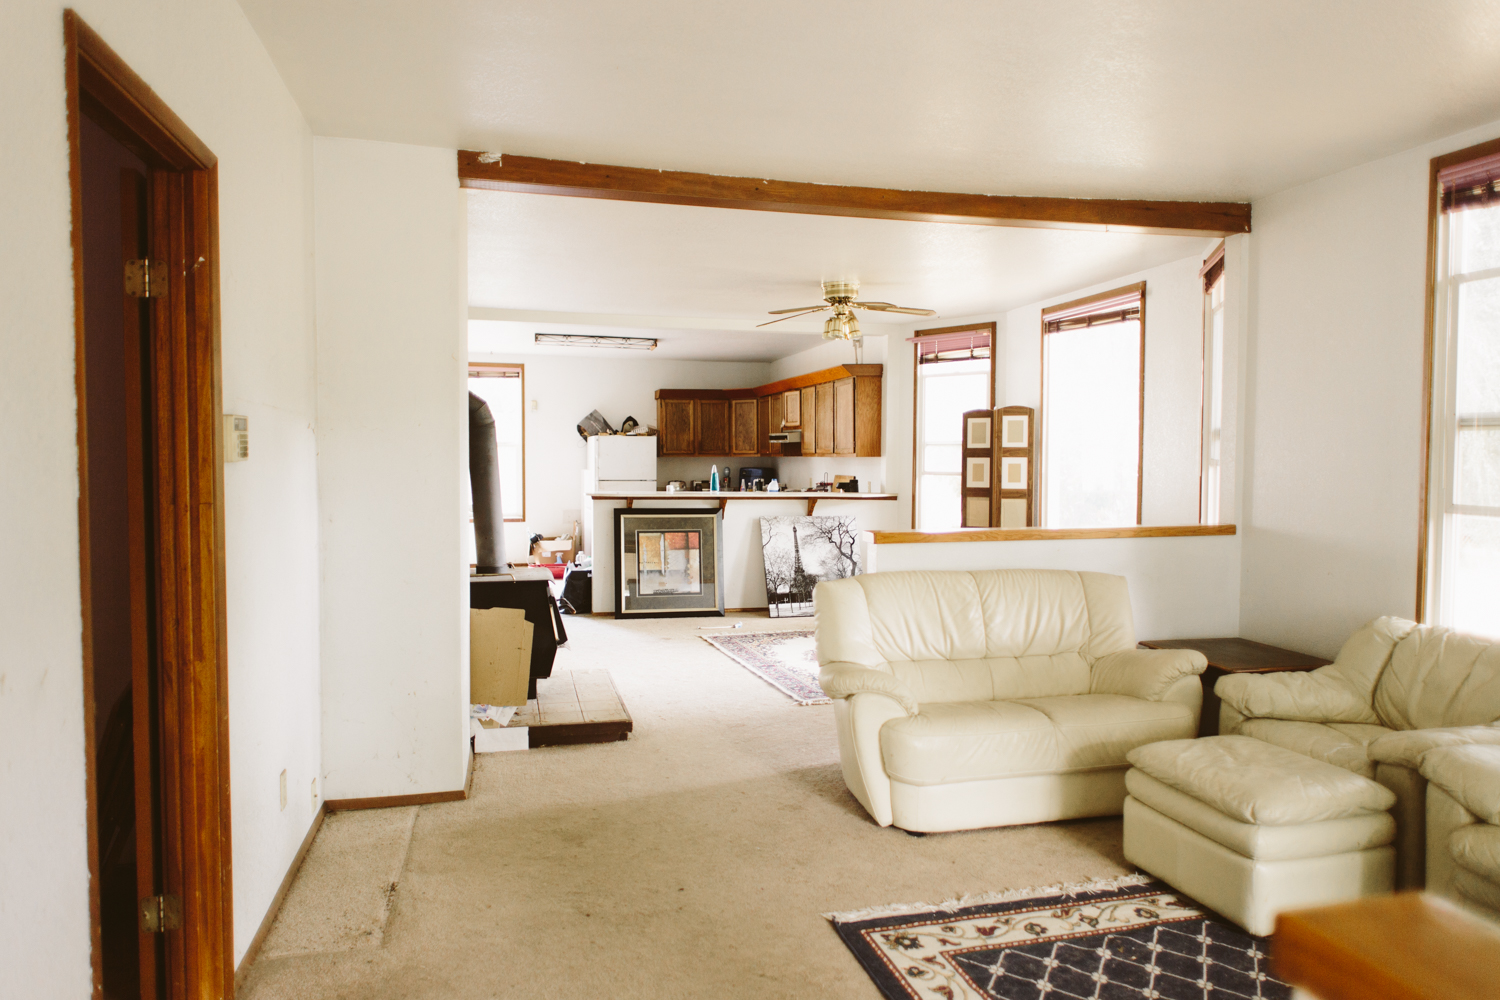
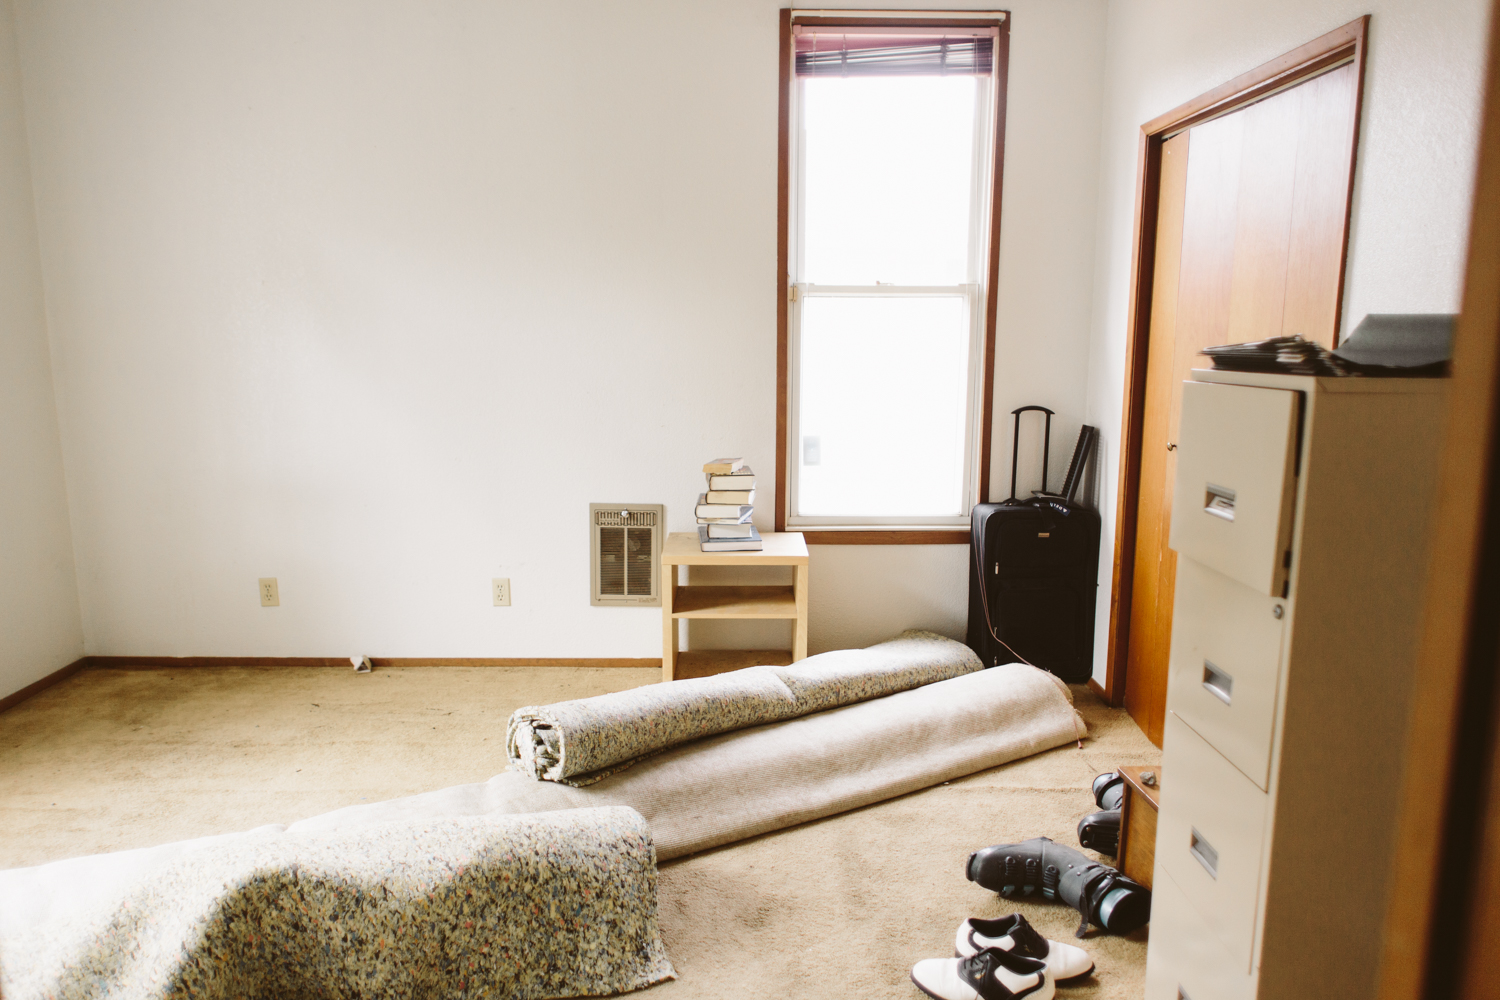
Basically one half of the house is bedrooms/bathrooms, and the other side is one big open space (with a couple pony walls) of living and kitchen. Normally I’m all about the open concept life, but for a house this size, in this neighborhood, I felt like functionally it needed a third bedroom/office.
This house has a huge yard, and a large detached garage, so it really feels like it would be a perfect spot for a small family, or a couple who might need home office space. The third bedroom will be pretty small, but for a nursery or home office I think it’ll be a great space.
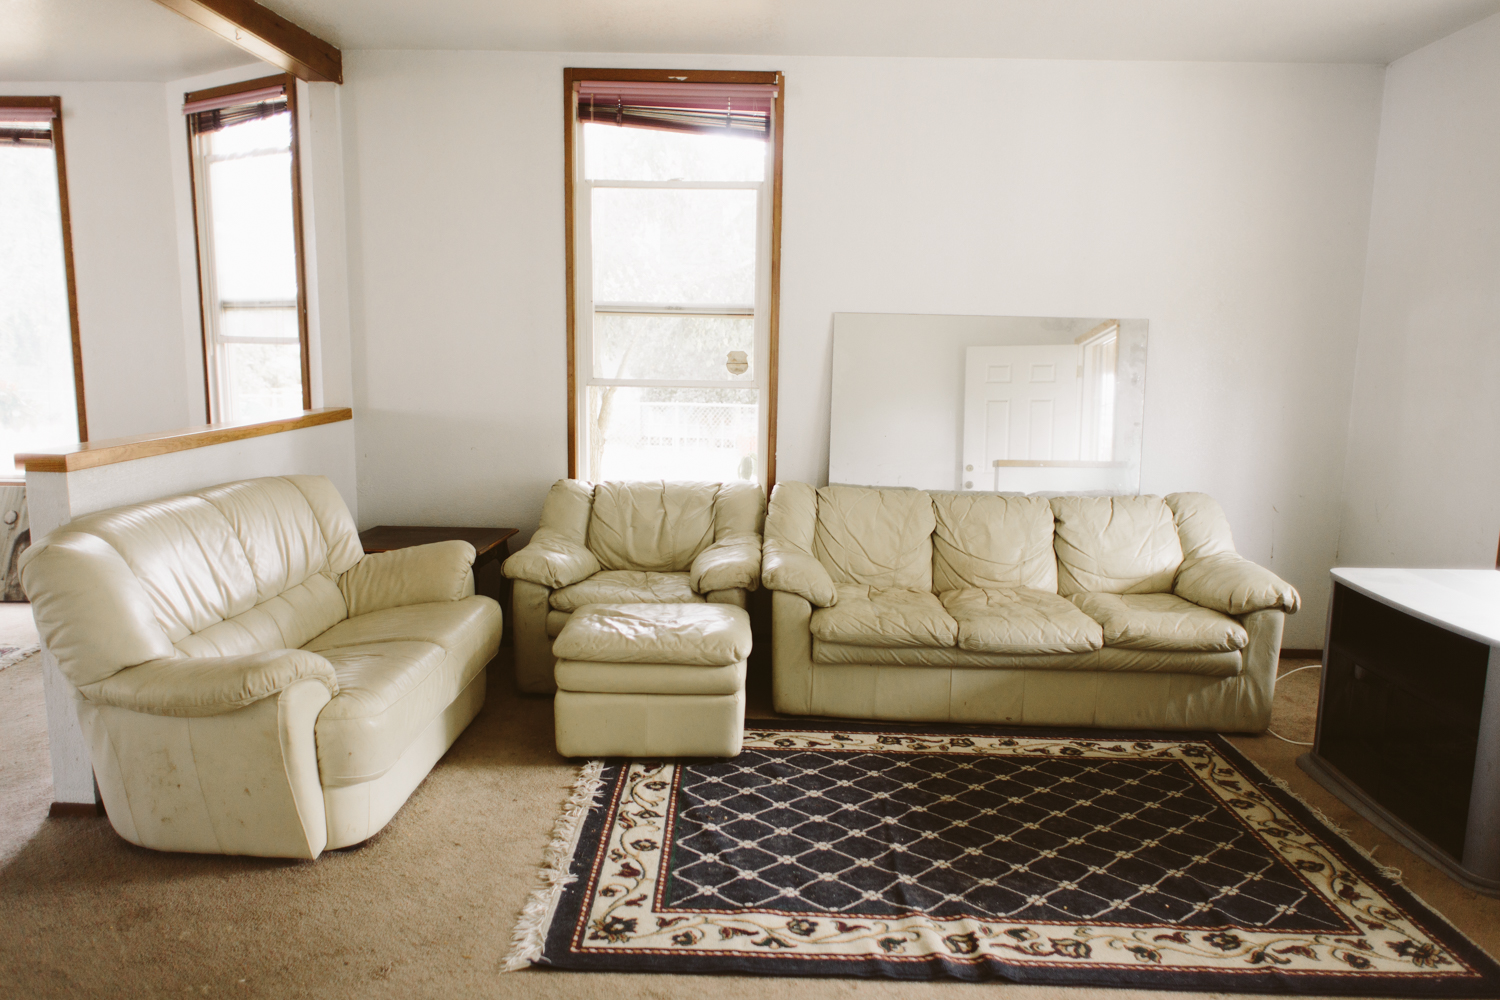
For a small family or a couple, a huge dining room isn’t necessary so I combined the kitchen and dining space in the center of the house, and it’ll be a large, open room with the living room. I also love that you’ll still be able to see the back door from the front door, which will make it feel bigger even though we’re making the living space a bit smaller. The way it was laid out before didn’t feel functional at all, even though it was larger, so I think this new layout will be more practical for actually living in the space!

One of my favorite things about this house is how big the property is. Most homes in the neighborhood are on two parcels of land, and this one is on three. Right now I have my Winnie parked there, plus there’s still a parking spot and a two car garage, so it’s got tons of space for fun to be had! The backyard is begging for a kids’ playset!
I’ll try to update here on the blog when major progress happens, but follow my Instagram Story for more quick updates!

Hi, I’m Liz
I'm an artist, writer, designer, DIY renovator, and … well basically I like to do all the things. If it’s creative I’m probably doing it. I’ve spent over 30 years voraciously pursuing a life steeped in creativity and I wholeheartedly believe creativity and joy are inextricably linked.
Read more…


Explore The Archive
- January 2025
- December 2024
- August 2024
- July 2024
- May 2024
- April 2024
- January 2024
- December 2023
- October 2023
- September 2023
- July 2023
- June 2023
- May 2023
- April 2023
- March 2023
- February 2023
- January 2023
- December 2022
- November 2022
- October 2022
- August 2022
- June 2022
- May 2022
- April 2022
- March 2022
- November 2021
- October 2021
- August 2021
- July 2021
- May 2021
- January 2021
- November 2020
- October 2020
- September 2020
- August 2020
- July 2020
- June 2020
- May 2020
- April 2020
- February 2020
- January 2020
- November 2019
- October 2019
- August 2019
- July 2019
- June 2019
- May 2019
- April 2019
- February 2019
- January 2019
- December 2018
- November 2018
- October 2018
- September 2018
- August 2018
- July 2018
- June 2018
- May 2018
- April 2018
- February 2018
- January 2018
- November 2017
- September 2017
- August 2017
- July 2017
- June 2017
- May 2017
- April 2017
- March 2017
- February 2017
- January 2017
- December 2016
- November 2016
- October 2016
- September 2016
- August 2016
- June 2016
- May 2016
- April 2016
- March 2016
- February 2016
- January 2016
- December 2015
- November 2015
- October 2015
- September 2015
- August 2015
- July 2015
- June 2015
- May 2015
- April 2015
- March 2015
- February 2015
- January 2015
- December 2014
- November 2014
- October 2014
- September 2014
- August 2014
- July 2014
- June 2014
- May 2014
- April 2014
- March 2014
- February 2014
- January 2014
- December 2013
- November 2013
- October 2013
- September 2013
- August 2013
- July 2013
- June 2013
- May 2013
- April 2013
- March 2013
- February 2013
- January 2013
- December 2012
- November 2012
- October 2012
- September 2012
- August 2012
- July 2012
- June 2012
- May 2012
- April 2012
- March 2012
- February 2012
- January 2012
- December 2011
- November 2011
- October 2011
- September 2011
- August 2011
- July 2011
- June 2011
- May 2011
- April 2011
- March 2011
- February 2011
- January 2011
- December 2010
- November 2010
- October 2010
- September 2010
- August 2010
- July 2010
- June 2010
- May 2010
- April 2010
- March 2010
- February 2010
- January 2010
- December 2009
- November 2009
- October 2009
- September 2009
- August 2009
- July 2009
- June 2009
- May 2009
- April 2009
- March 2009
- February 2009
- January 2009
- December 2008
- November 2008
- October 2008
- September 2008
- August 2008
- July 2008

VISIT THE SHOP


PRIVACY POLICY & DISCLOSURE
We are a participant in the Amazon Services LLC Associates Program, an affiliate advertising program designed to provide a means for us to earn fees by linking to Amazon.com and affiliated sites.