

DIY pergola build with LINX Pergola
Thanks to LINX Pergola for sponsoring this post

The perfect DIY pergola system doesn’t exi— just kidding, I totally found it, y’all. The most important part of this build was finding the right bracket system. I knew I wanted something simple, modern, and DIY friendly and when I came across LINX Pergola, I was immediately intrigued. Not only did LINX have the brackets that fit my vision, they also had their STIX engineered hollow timbers. They work perfectly with the brackets, are lighter than standard lumber, and can be used to hide cords for lighting.
Using LINX took a ton of guesswork out of building a pergola, the instructions were easy to understand and follow, and it was also super easy to create something totally custom because of how versatile all their different brackets are.
Lets go through how I designed and built my pergola.
Materials + Tools:
4 LINX UNIFIT base brackets
4 LINX TRIFIT corner brackets
2 12ft STIX 6x6 timbers
6 8ft STIX 6x6 timbers
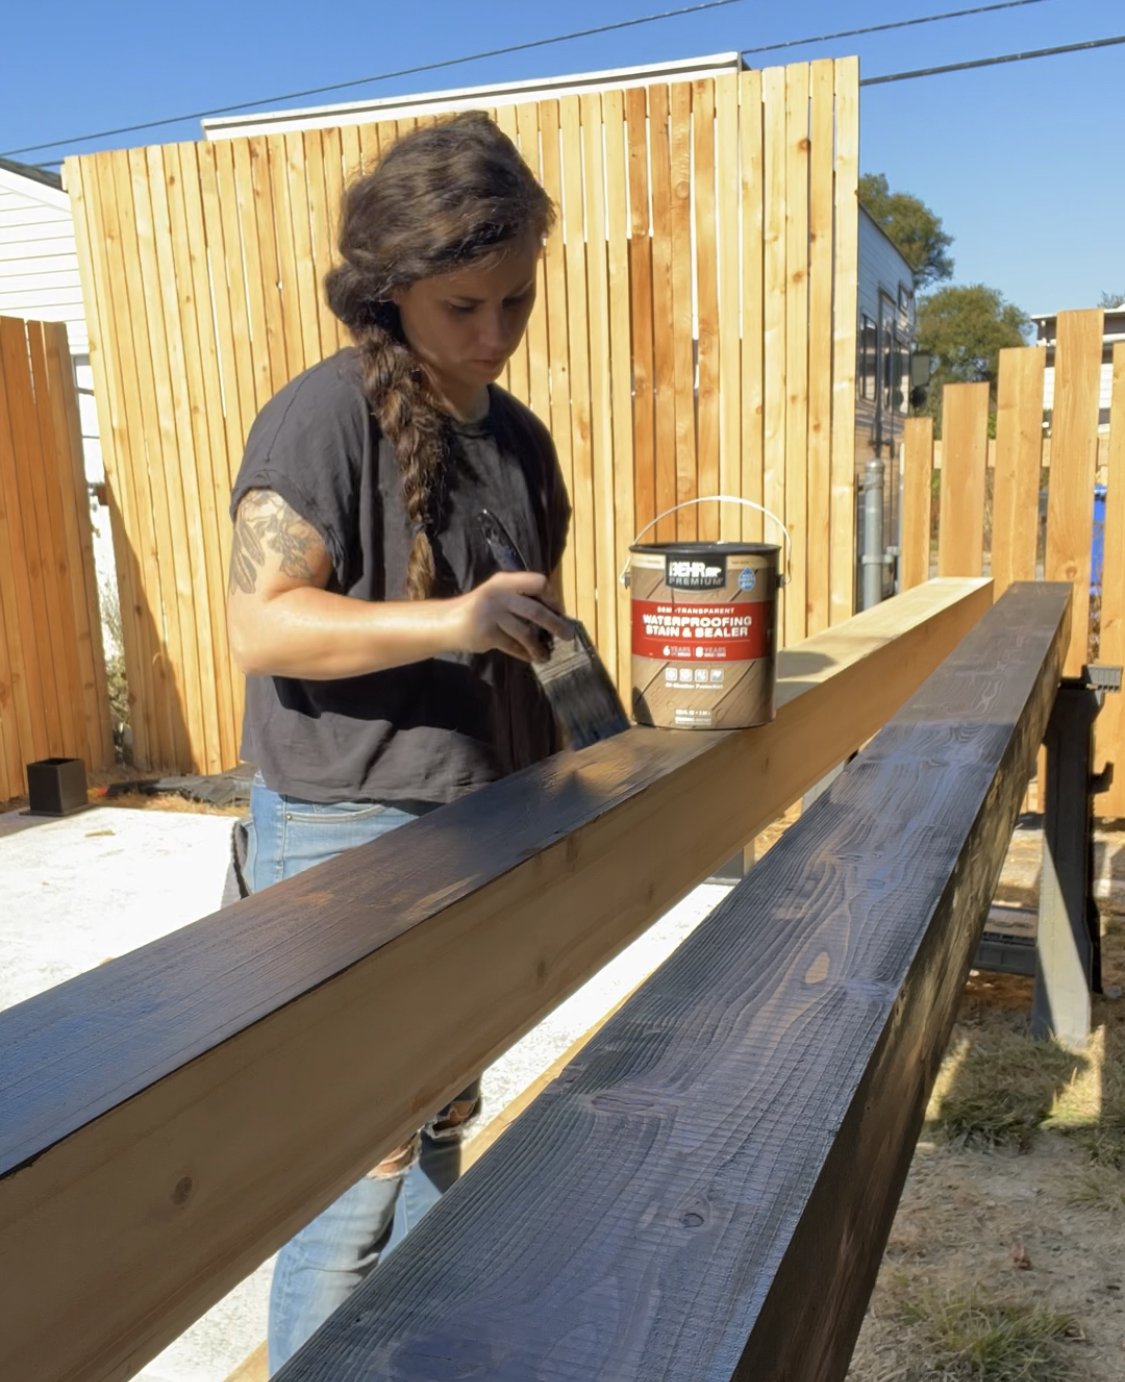
1 gal Behr semi-transparent stain in Slate
4 36x96in Wild Hog fence panels
2 6ft Wild Hog Hog Tracks kits
3 8ft cedar 2x4s
6 2x4 joist hanger brackets
16 1/4 x 4 1/2in concrete expansion anchors
Impact Driver
Rotary Hammer
I knew I wanted enough space for a sectional and some lounge chairs on our patio, so I wanted a pergola that was about 8ft by 12ft. Because the posts are 6x6, that added 1ft to the total length and width of the pergola, and when we poured our concrete patio, we made it an additional foot larger to give 6 inches of space on the outside of the pergola.
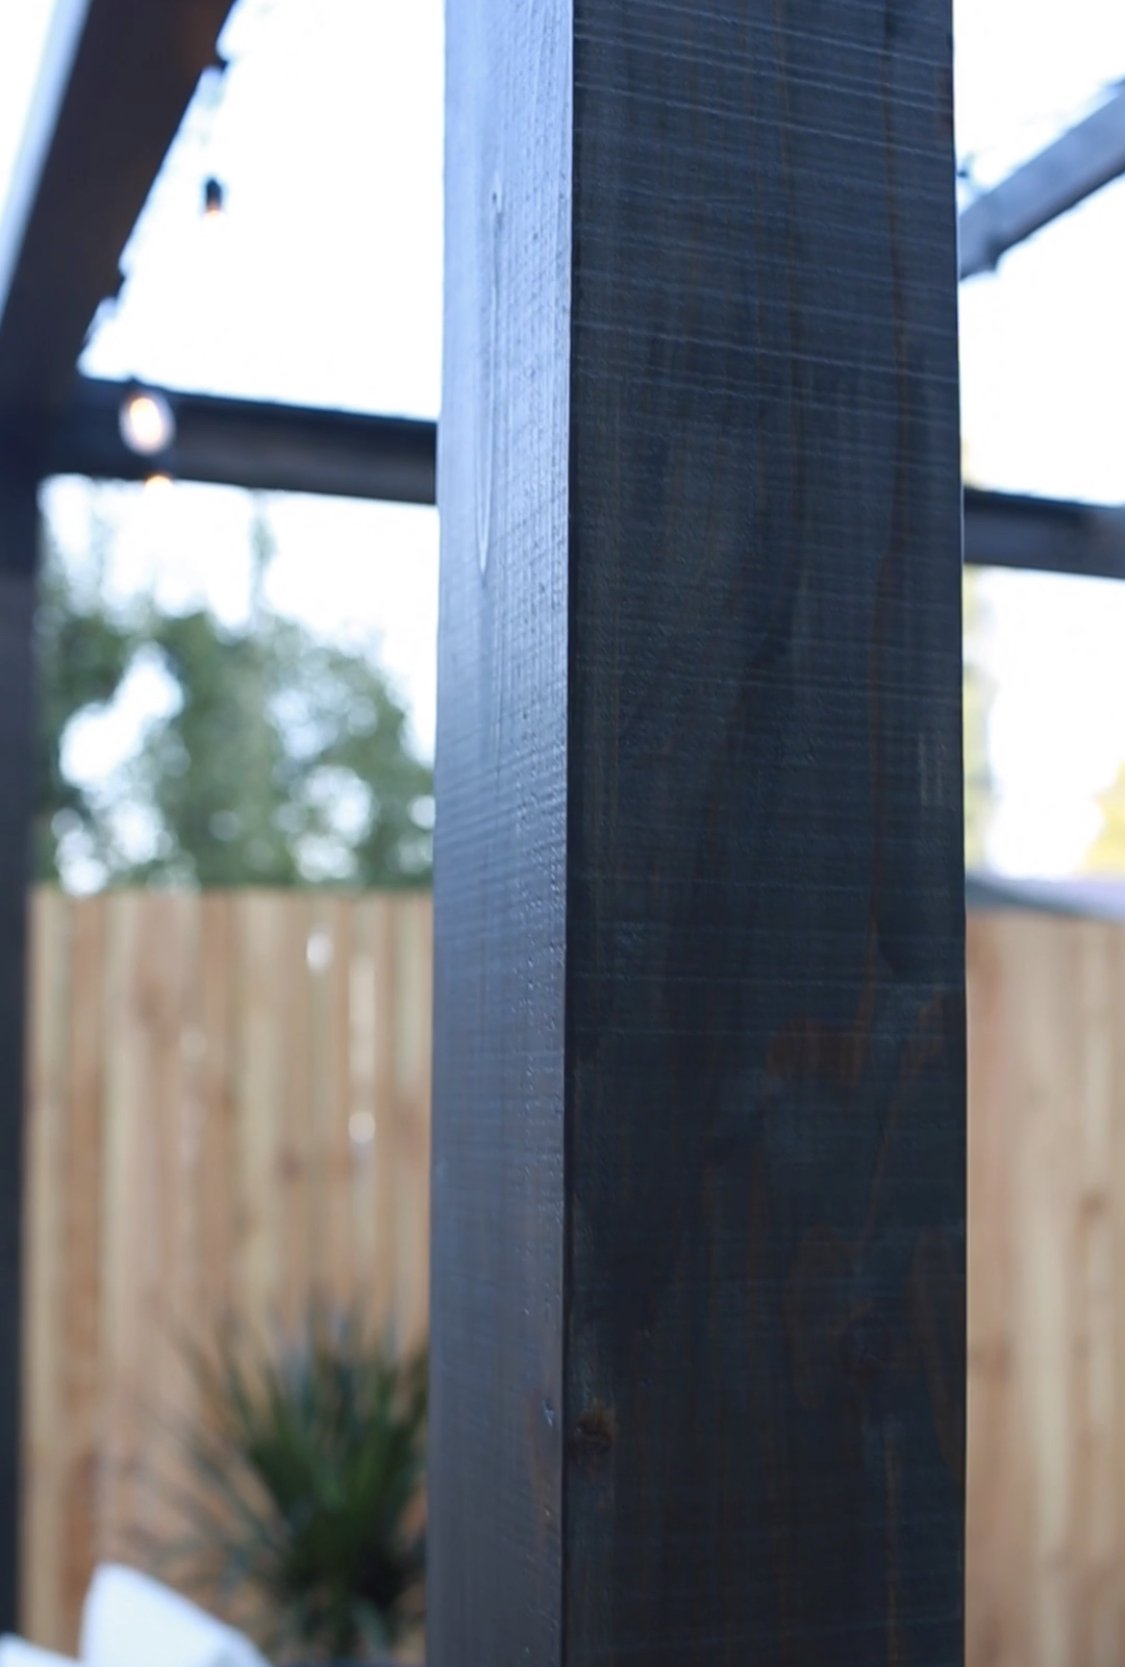
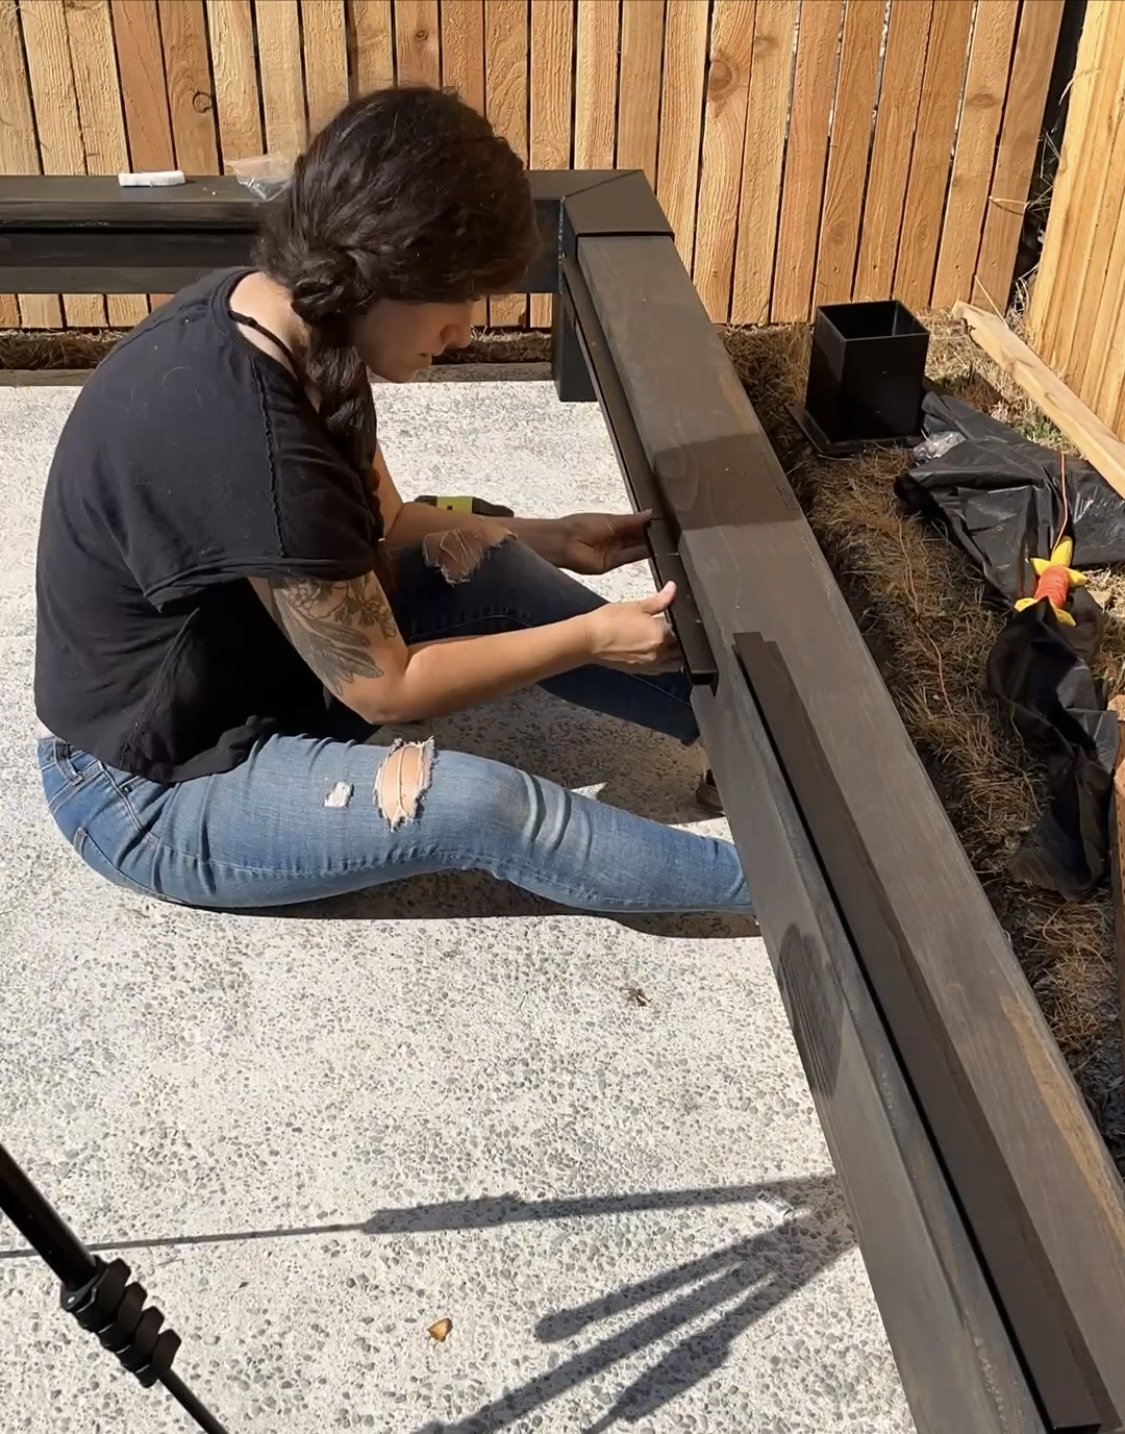
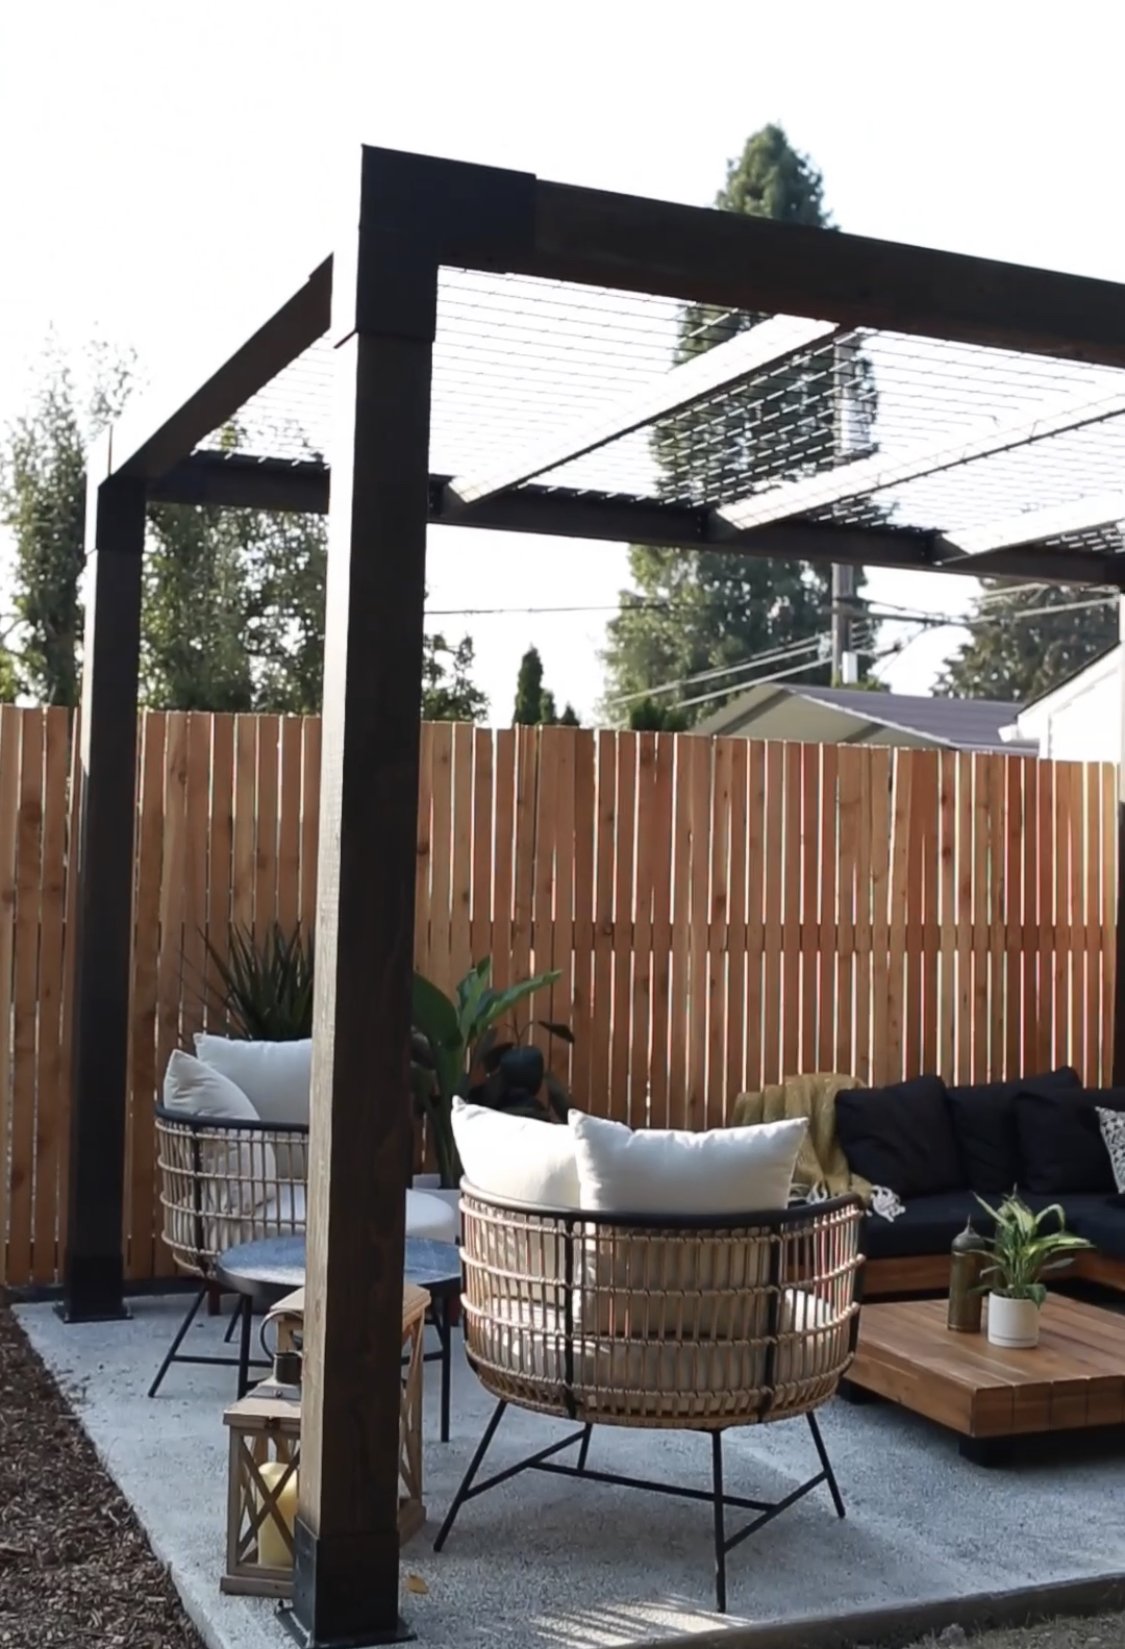
With the fencing and furniture having a lot of very warm wood tones, I didn’t want the pergola to disappear into the background, so I stained the timbers an off black color, the color Slate in Behr’s semi-transparent deck stain, to complete the modern look.
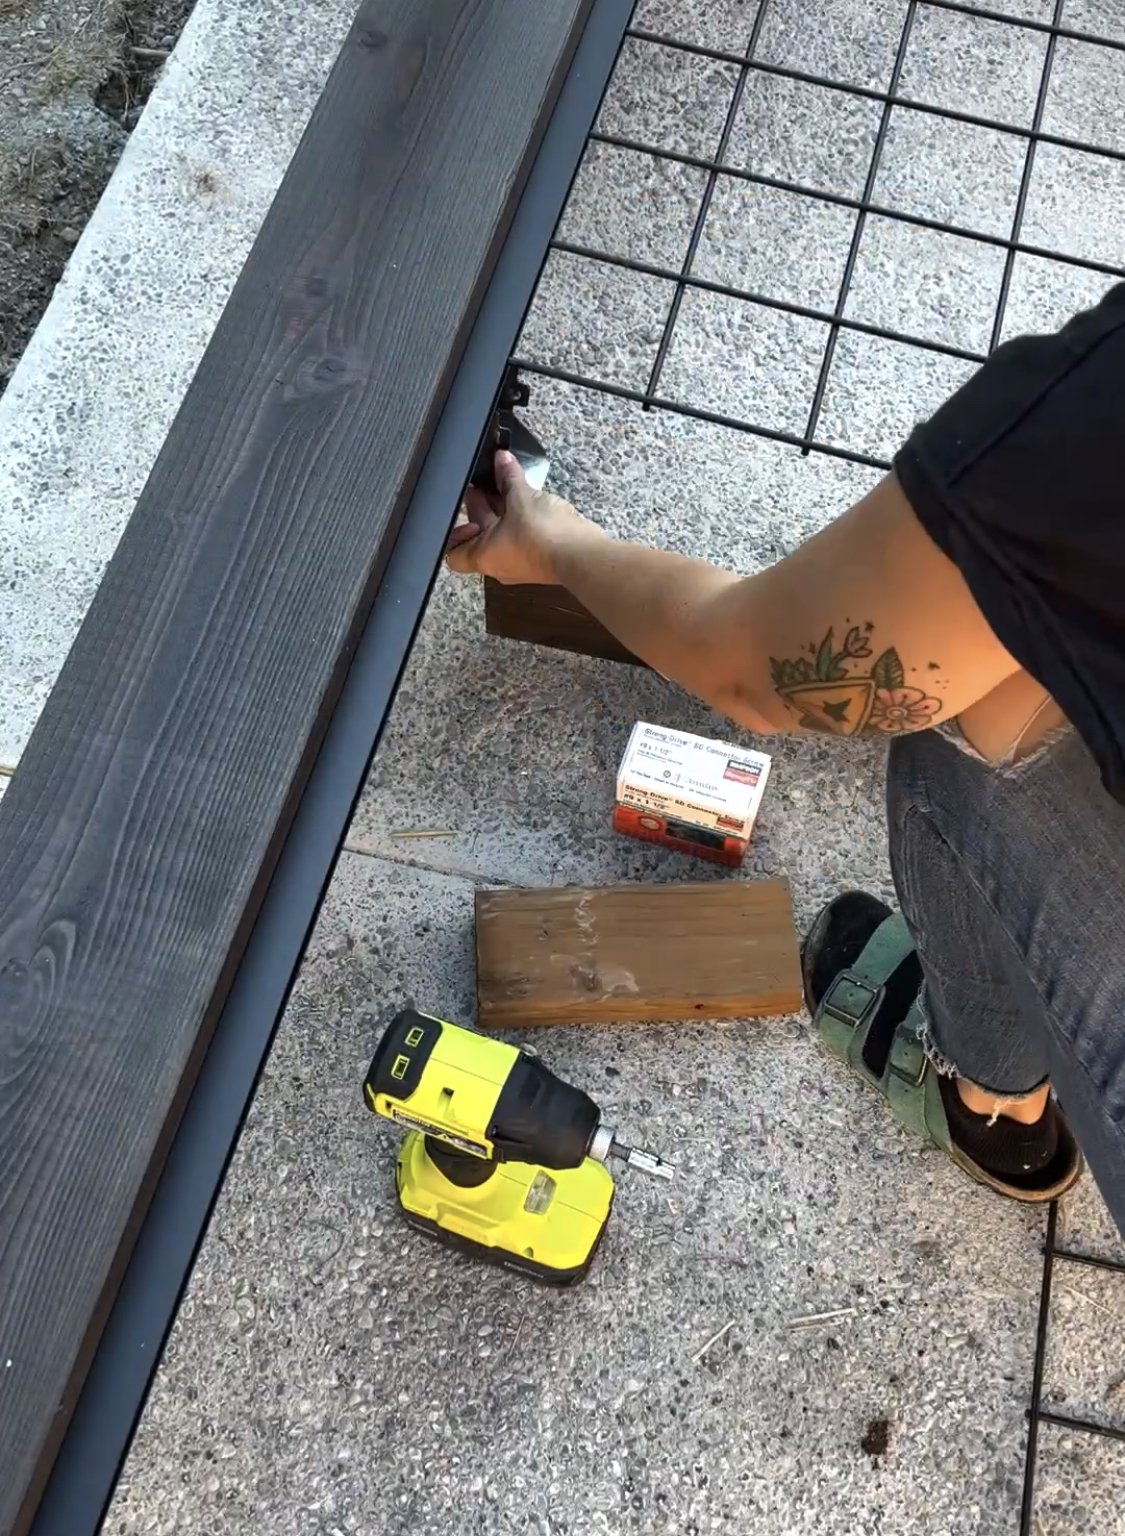
Once all the wood was stained, it was time to start assembling. You start by sliding the corner brackets onto the ends of two opposite side beams, then slide in the other two side beams to one of those to create a U shape. Finally, close up the U shape by sliding the final side, and secure with the provides screws. LINX includes all the screws as well as the driver bits, so you don’t have to worry about finding the proper screws.
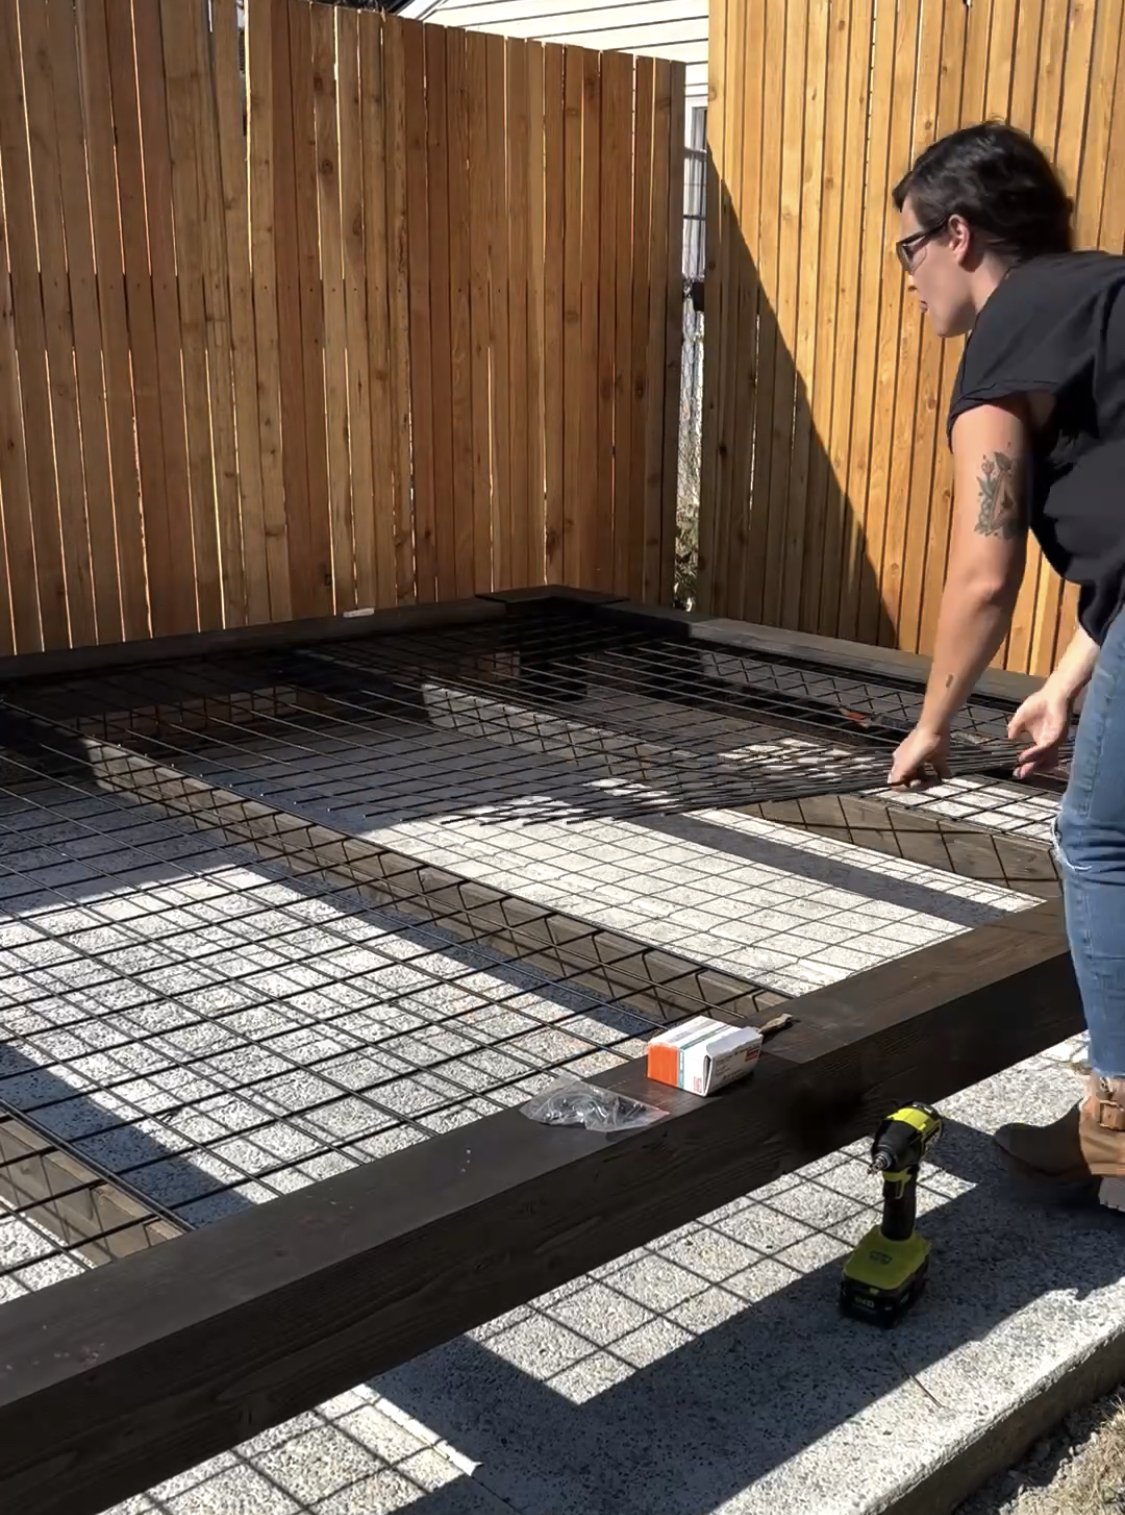
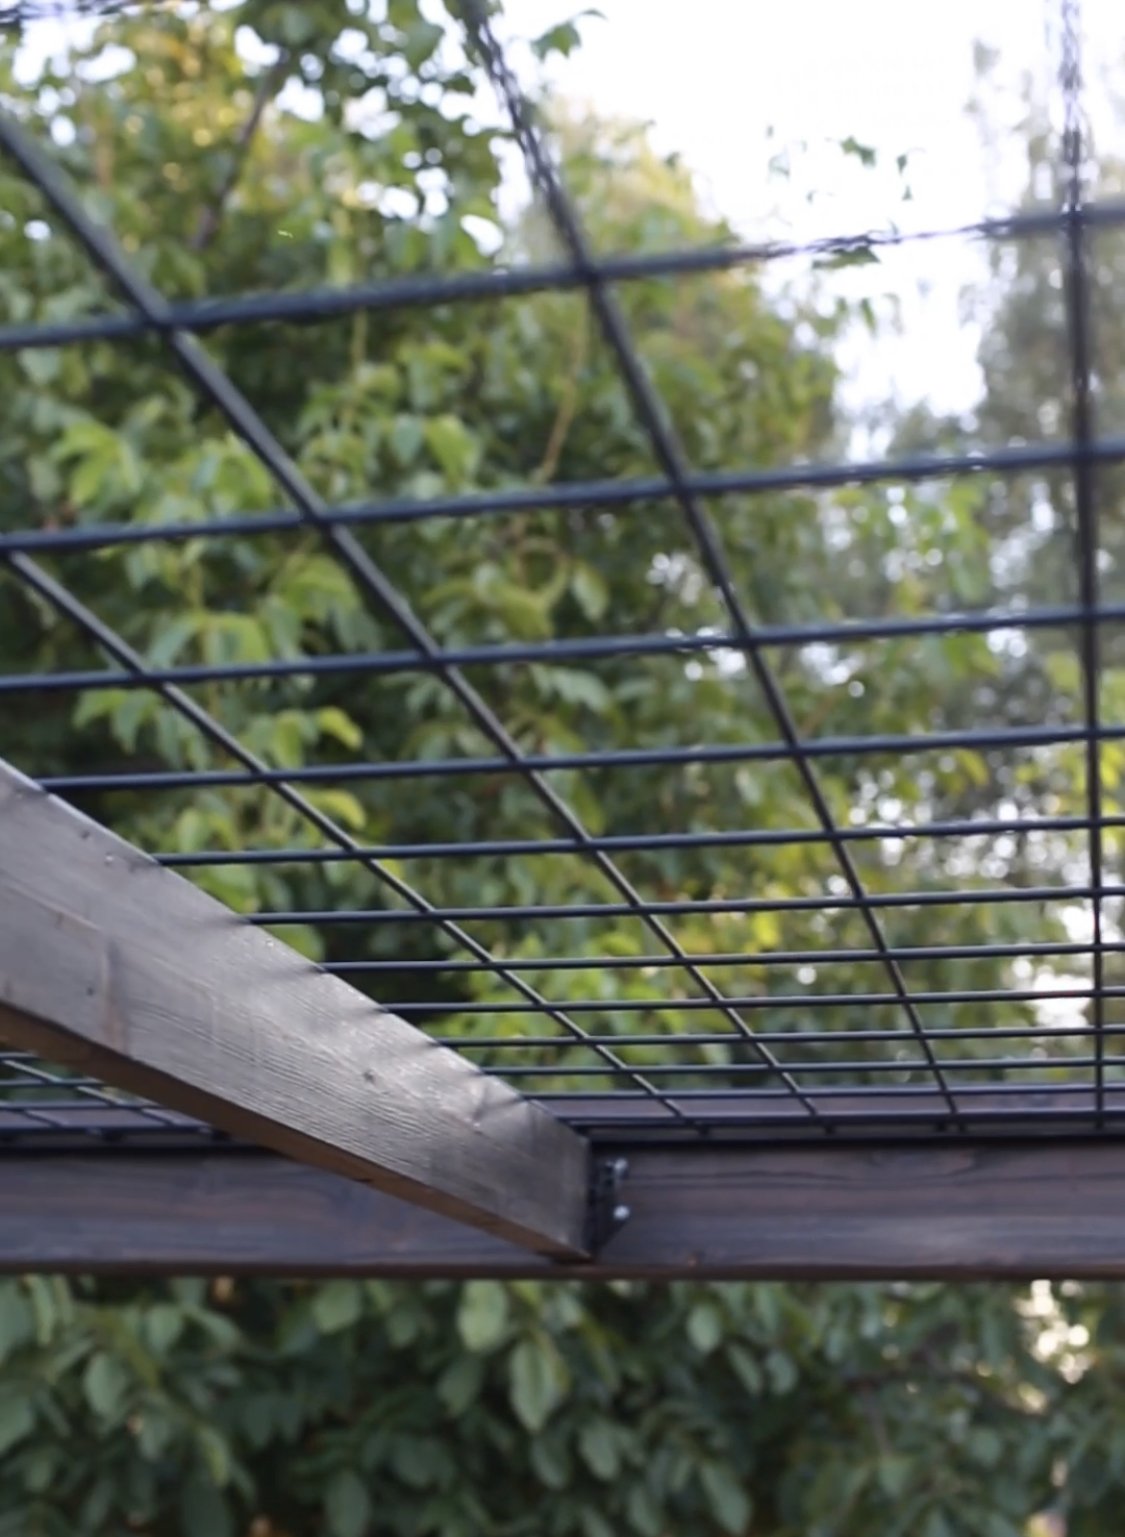
At this point you can install a shade cover if you want (LINX has shade covers that work perfectly with their system), but I wanted to create a gridded roof for my hop plants to climb on during the summer. I used Wild Hog fence panels along with their Hog Tracks to seamlessly integrate the fence panels into the pergola. I installed three cedar 2x4’s across the middle to support those Wild Hog fence panels.
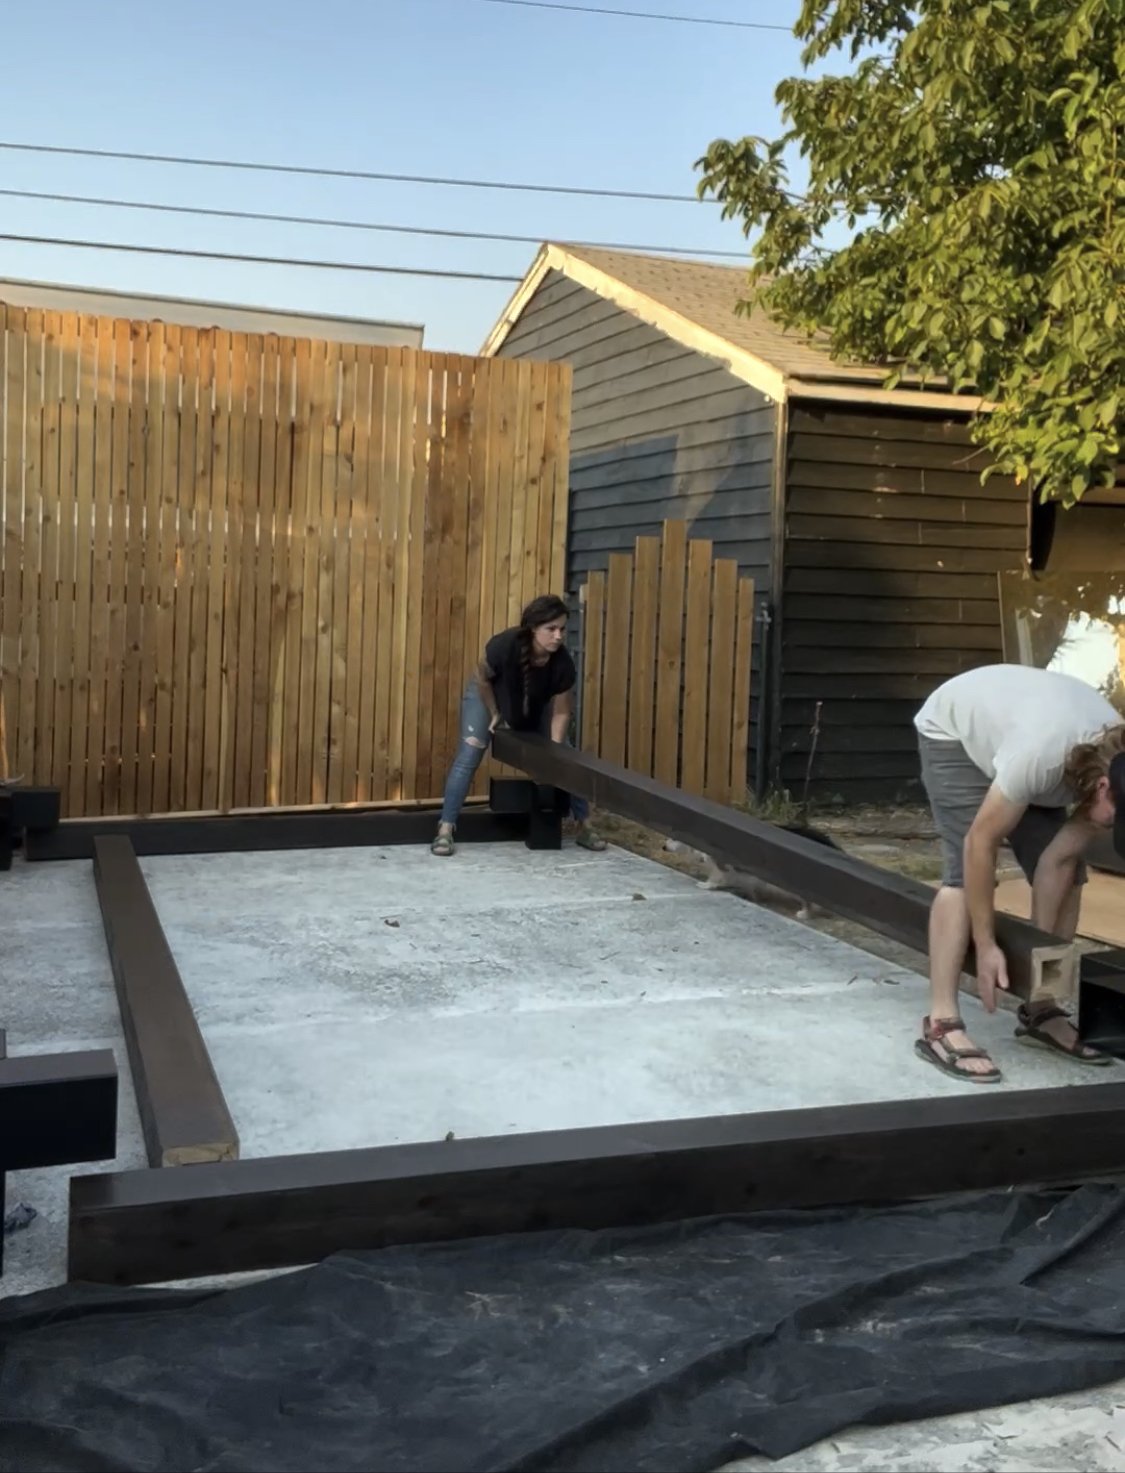
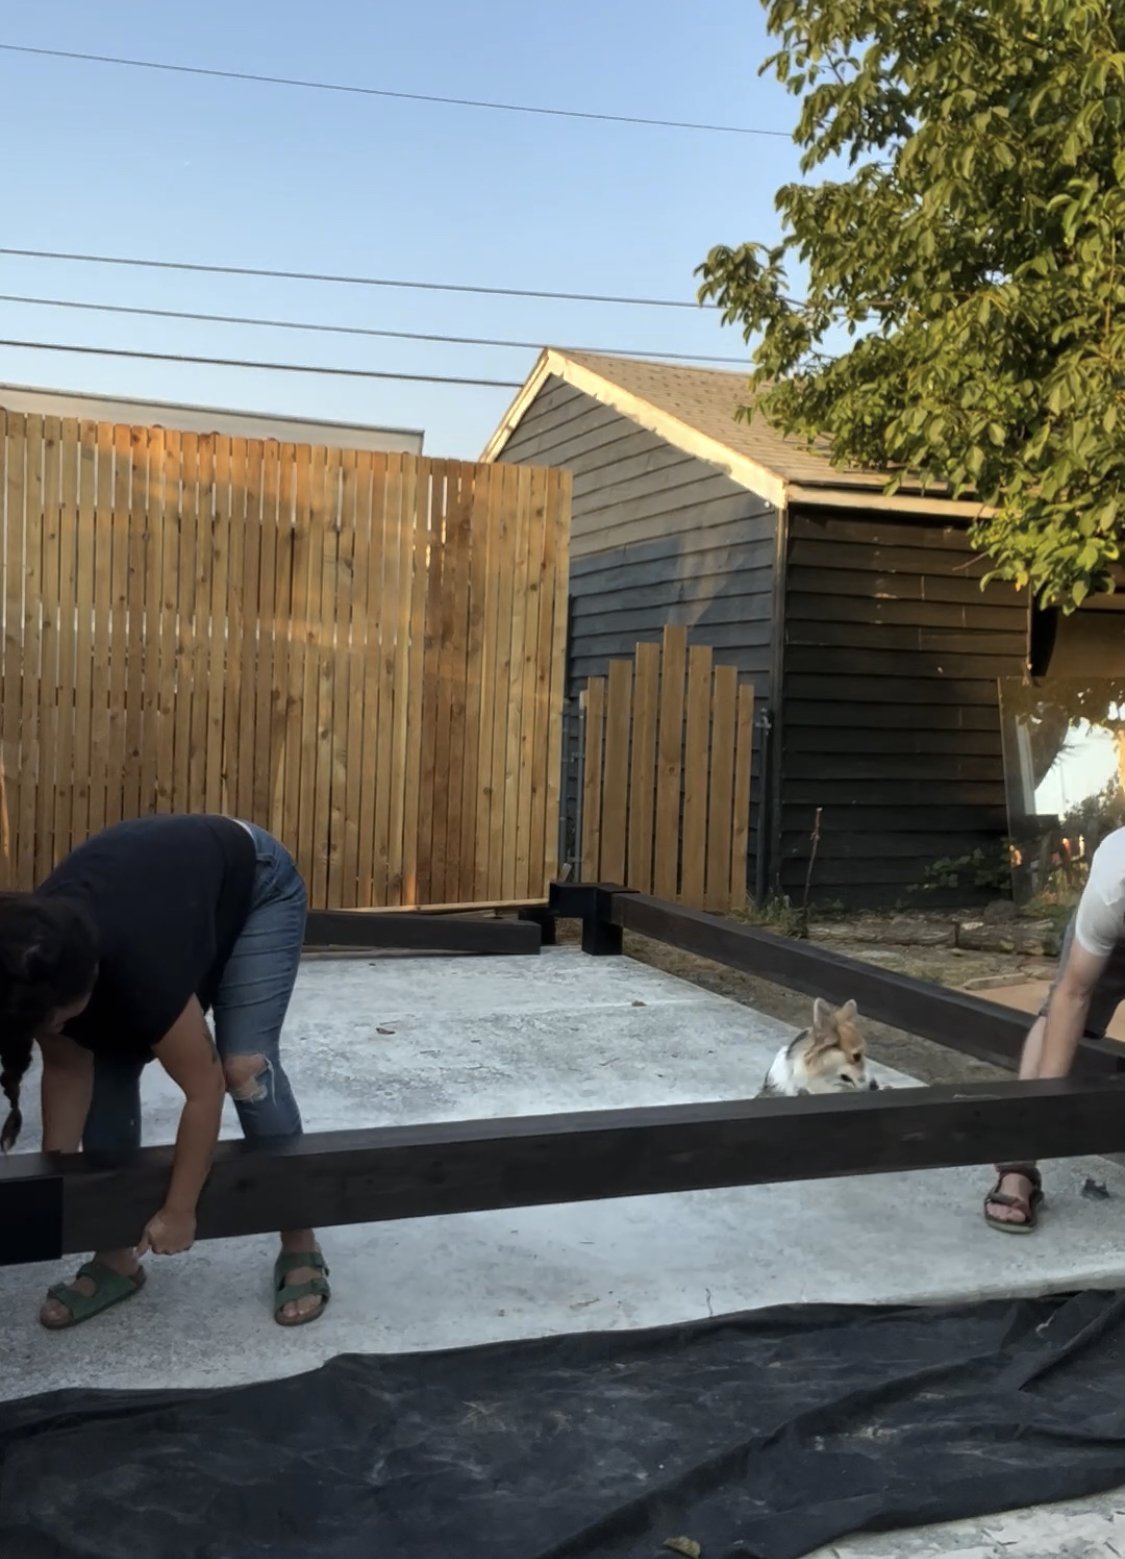
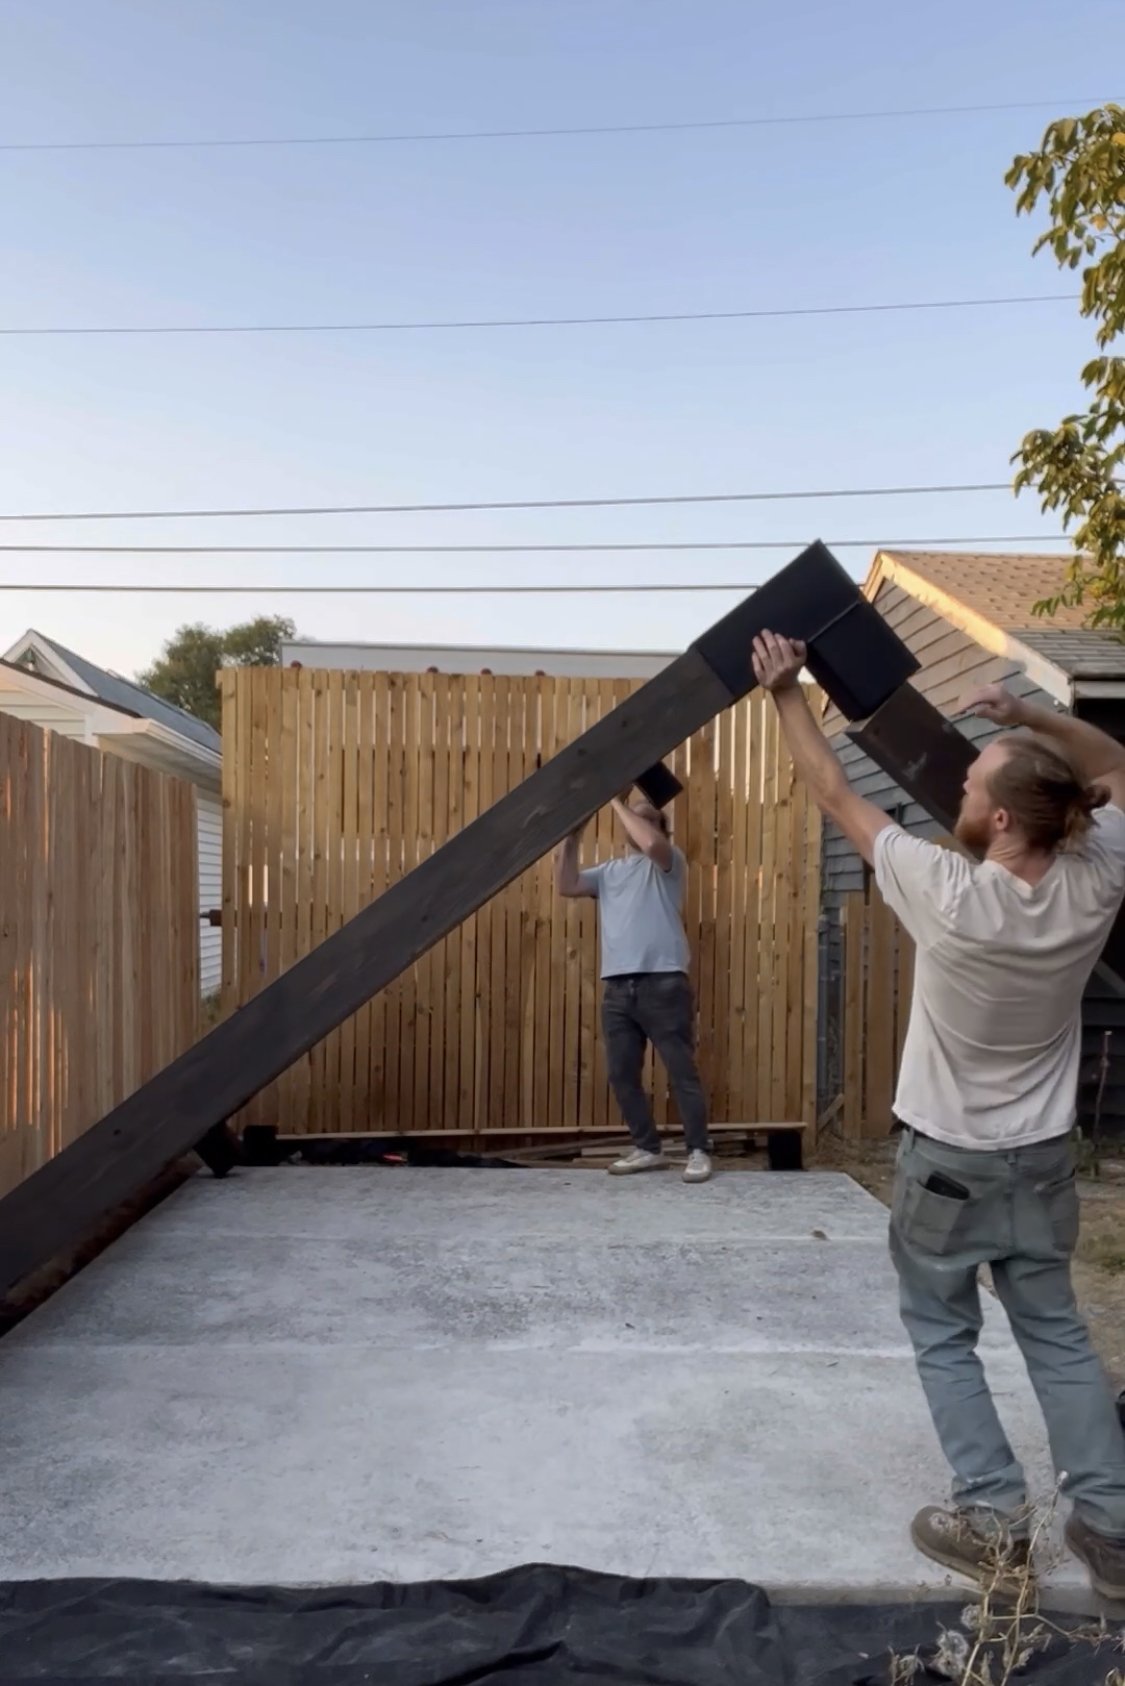
Now, the exciting part— getting this bad boy raised up! This is a step you definitely want to have help with. For a pergola with 6x6 lumber I’d highly recommend having at least 4 strong people, and you’ll want two 6ft ladders. First, you raise up one side at an angle to slide in the posts into the brackets. Then you’ll go to the other side, raise that side up so you can slide the ladders under to support it, then two people will climb up the ladders and raise the pergola high enough that the other two people can slide the remaining two posts in. Then, you’ll position the pergola in place (one person on each leg of the pergola, lift the pergola and carefully move it to its final resting place).
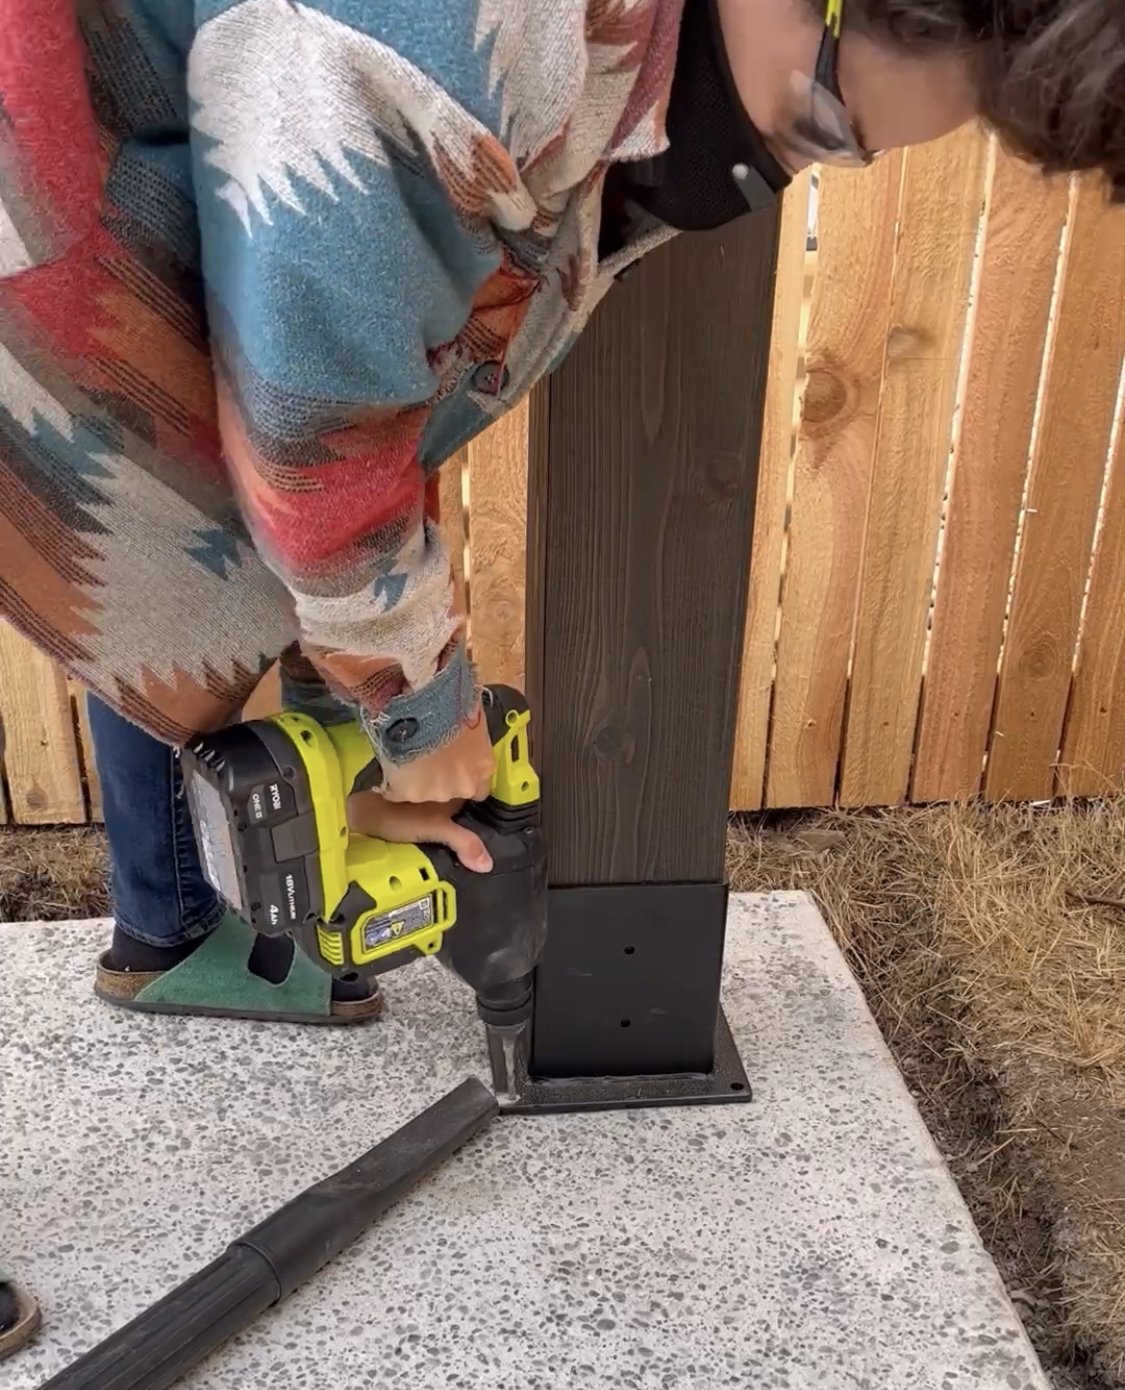
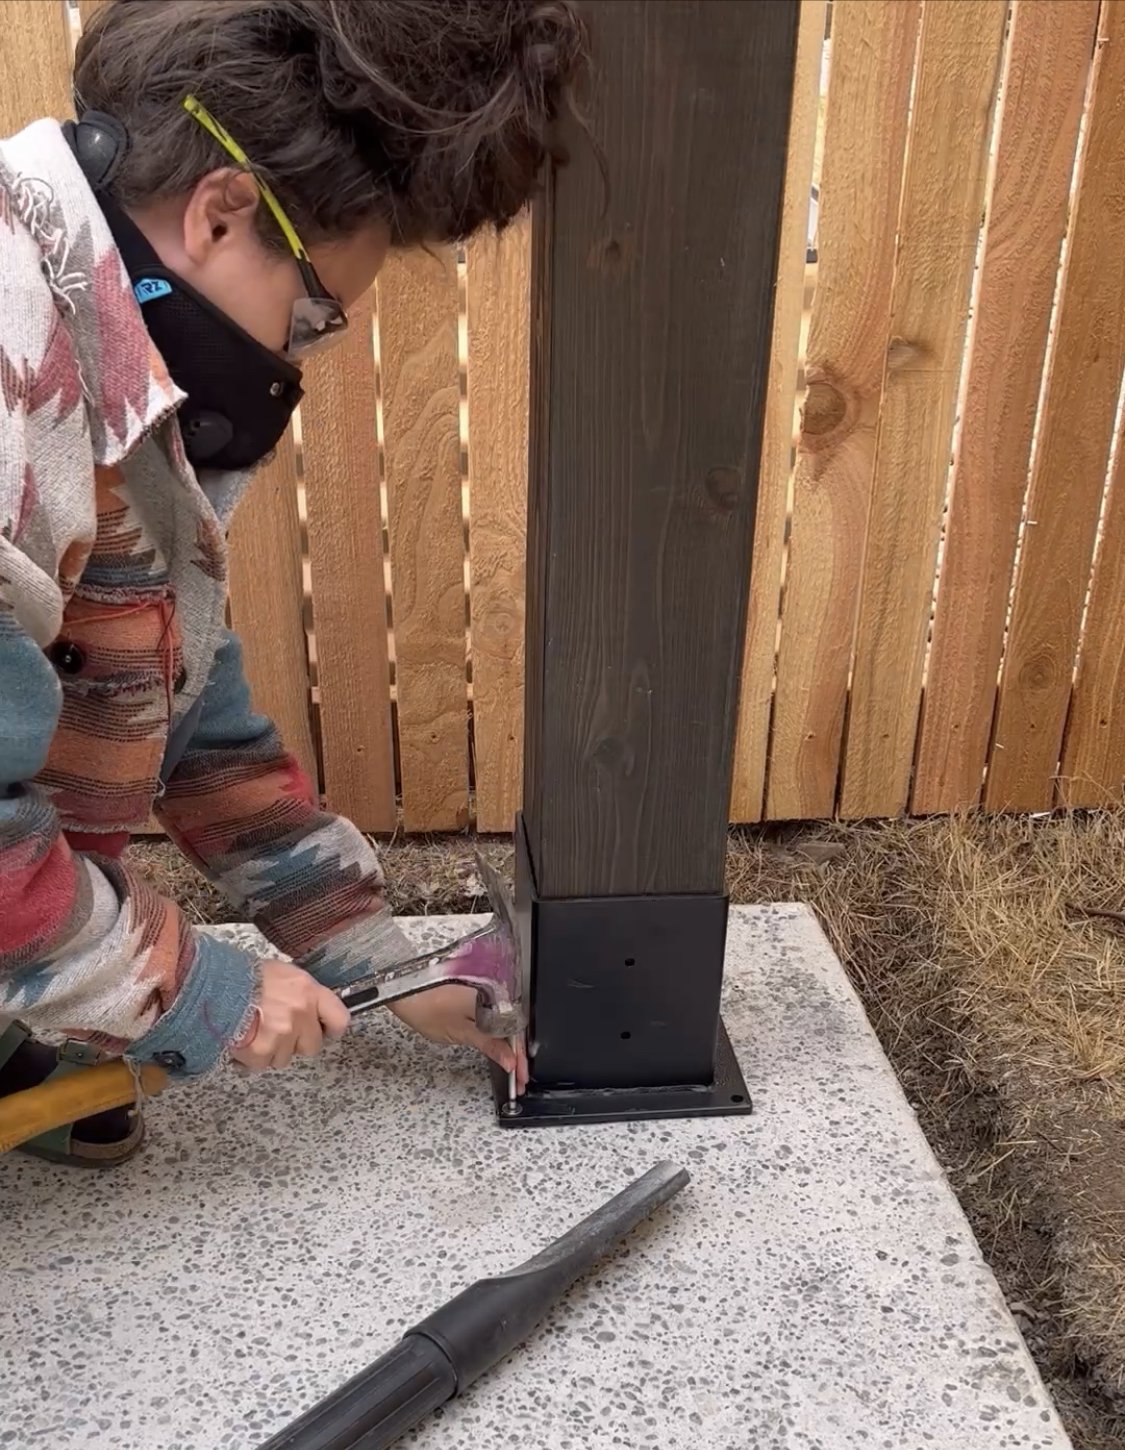
Securing the pergola will depend on what it’s sitting on. If it’s a deck, you’ll use the base brackets to attach it to the deck, since we put it on a concrete patio, we used concrete expansion anchors to secure it. If you’re not sure the best way to secure it, you can look up your local building codes.
That’s it! It’s a really simple plug-and-play installation, and with all the different bracket configurations, there’s a ton of options for creating something completely custom. Check out LINX’s instagram to see a bunch of ways that people have created their own custom designs! I’ve got some of my own ideas scheming up in my head for some custom creations!

DIY Coffin Charcuterie board

I was perusing halloween decor at Target and spotted a coffin shaped charcuterie board and immediately got the bug to make one for myself. Could I have bought it at target? Sure, but why buy something for 25 bucks when you can spend a week making one with scrap wood you have in your garage?
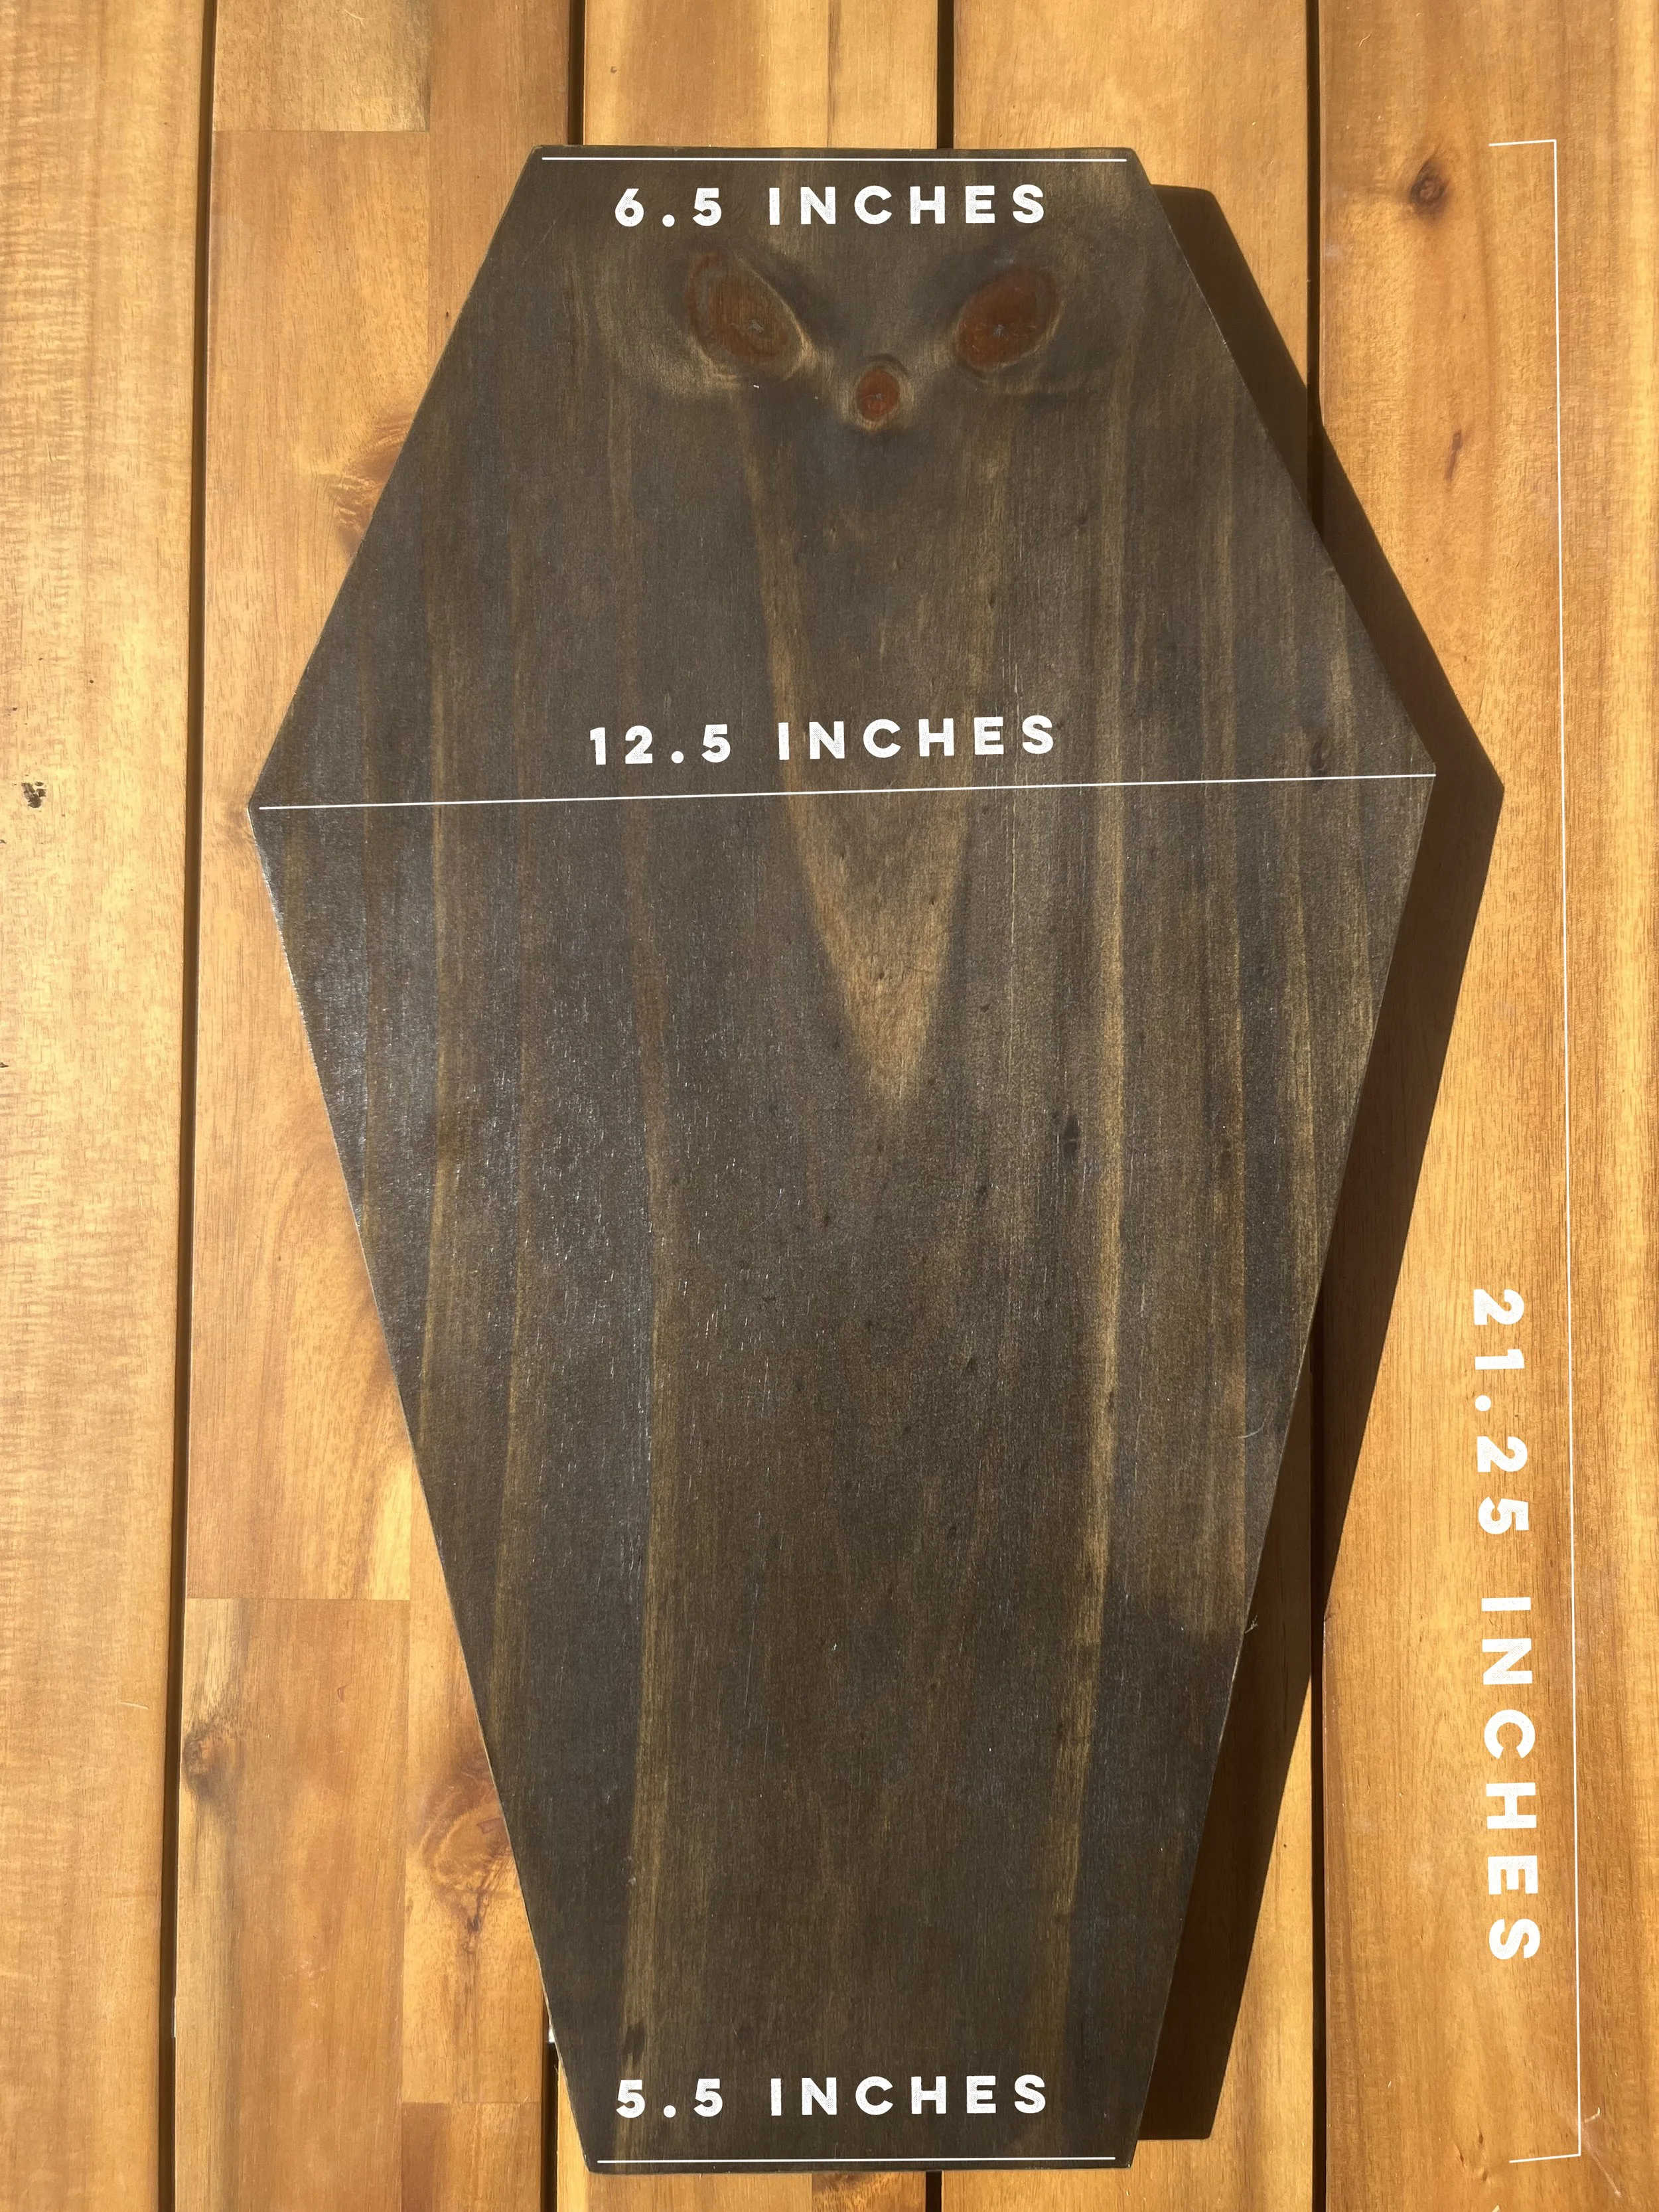
I had some nice Birch plywood leftover from a previous project sitting in my garage, so I started by cutting that into the shape of a coffin using my circular saw. The shape of a cofffin is just an elongated hexagon, and I sketched out one side of it till the shape felt right, then reflected that to the other side so that it was a symmetrical shape. The overall dimensions are shown below so you can replicate the exact measurements if you’d like. The size felt pretty ideal for a charcuterie board, but you could always make it smaller or bigger if you’re making your own!
Once It was cut out I gave it a quick sand, then finished it with edge banding. I wasn’t originally going to do this (I was planning to just paint the whole thing, but I need to test the edge banding out for another project, and it actually ended up making it look very nice and finished).
I then used my router to create little rounded channels as handles. I had planned on using some drawer pulls to make handles, but when I realized that the grain on one side made a very spooky looking face, I didn’t want the handle to get in the way of the spooky face, so I ended up using my router and a round bit to create the groove “handles”
I had planned on painting in black, but with the discovery of the face in the wood grain I pivoted and instead stained that side ebony so the spooky face remained. I painted the underside black, that way I could have it black or stained- best of both worlds. Since this isn’t something like a bowl, or something that knives will be used on, I finished it with Lacquer. Based on what I could find online, for this application that sounded like a fine food-safe finish once it’s dried and cured. (it’s also what I had on hand). But if you’re concerned about food safety, do you own research on what feels like the safest finish for you.

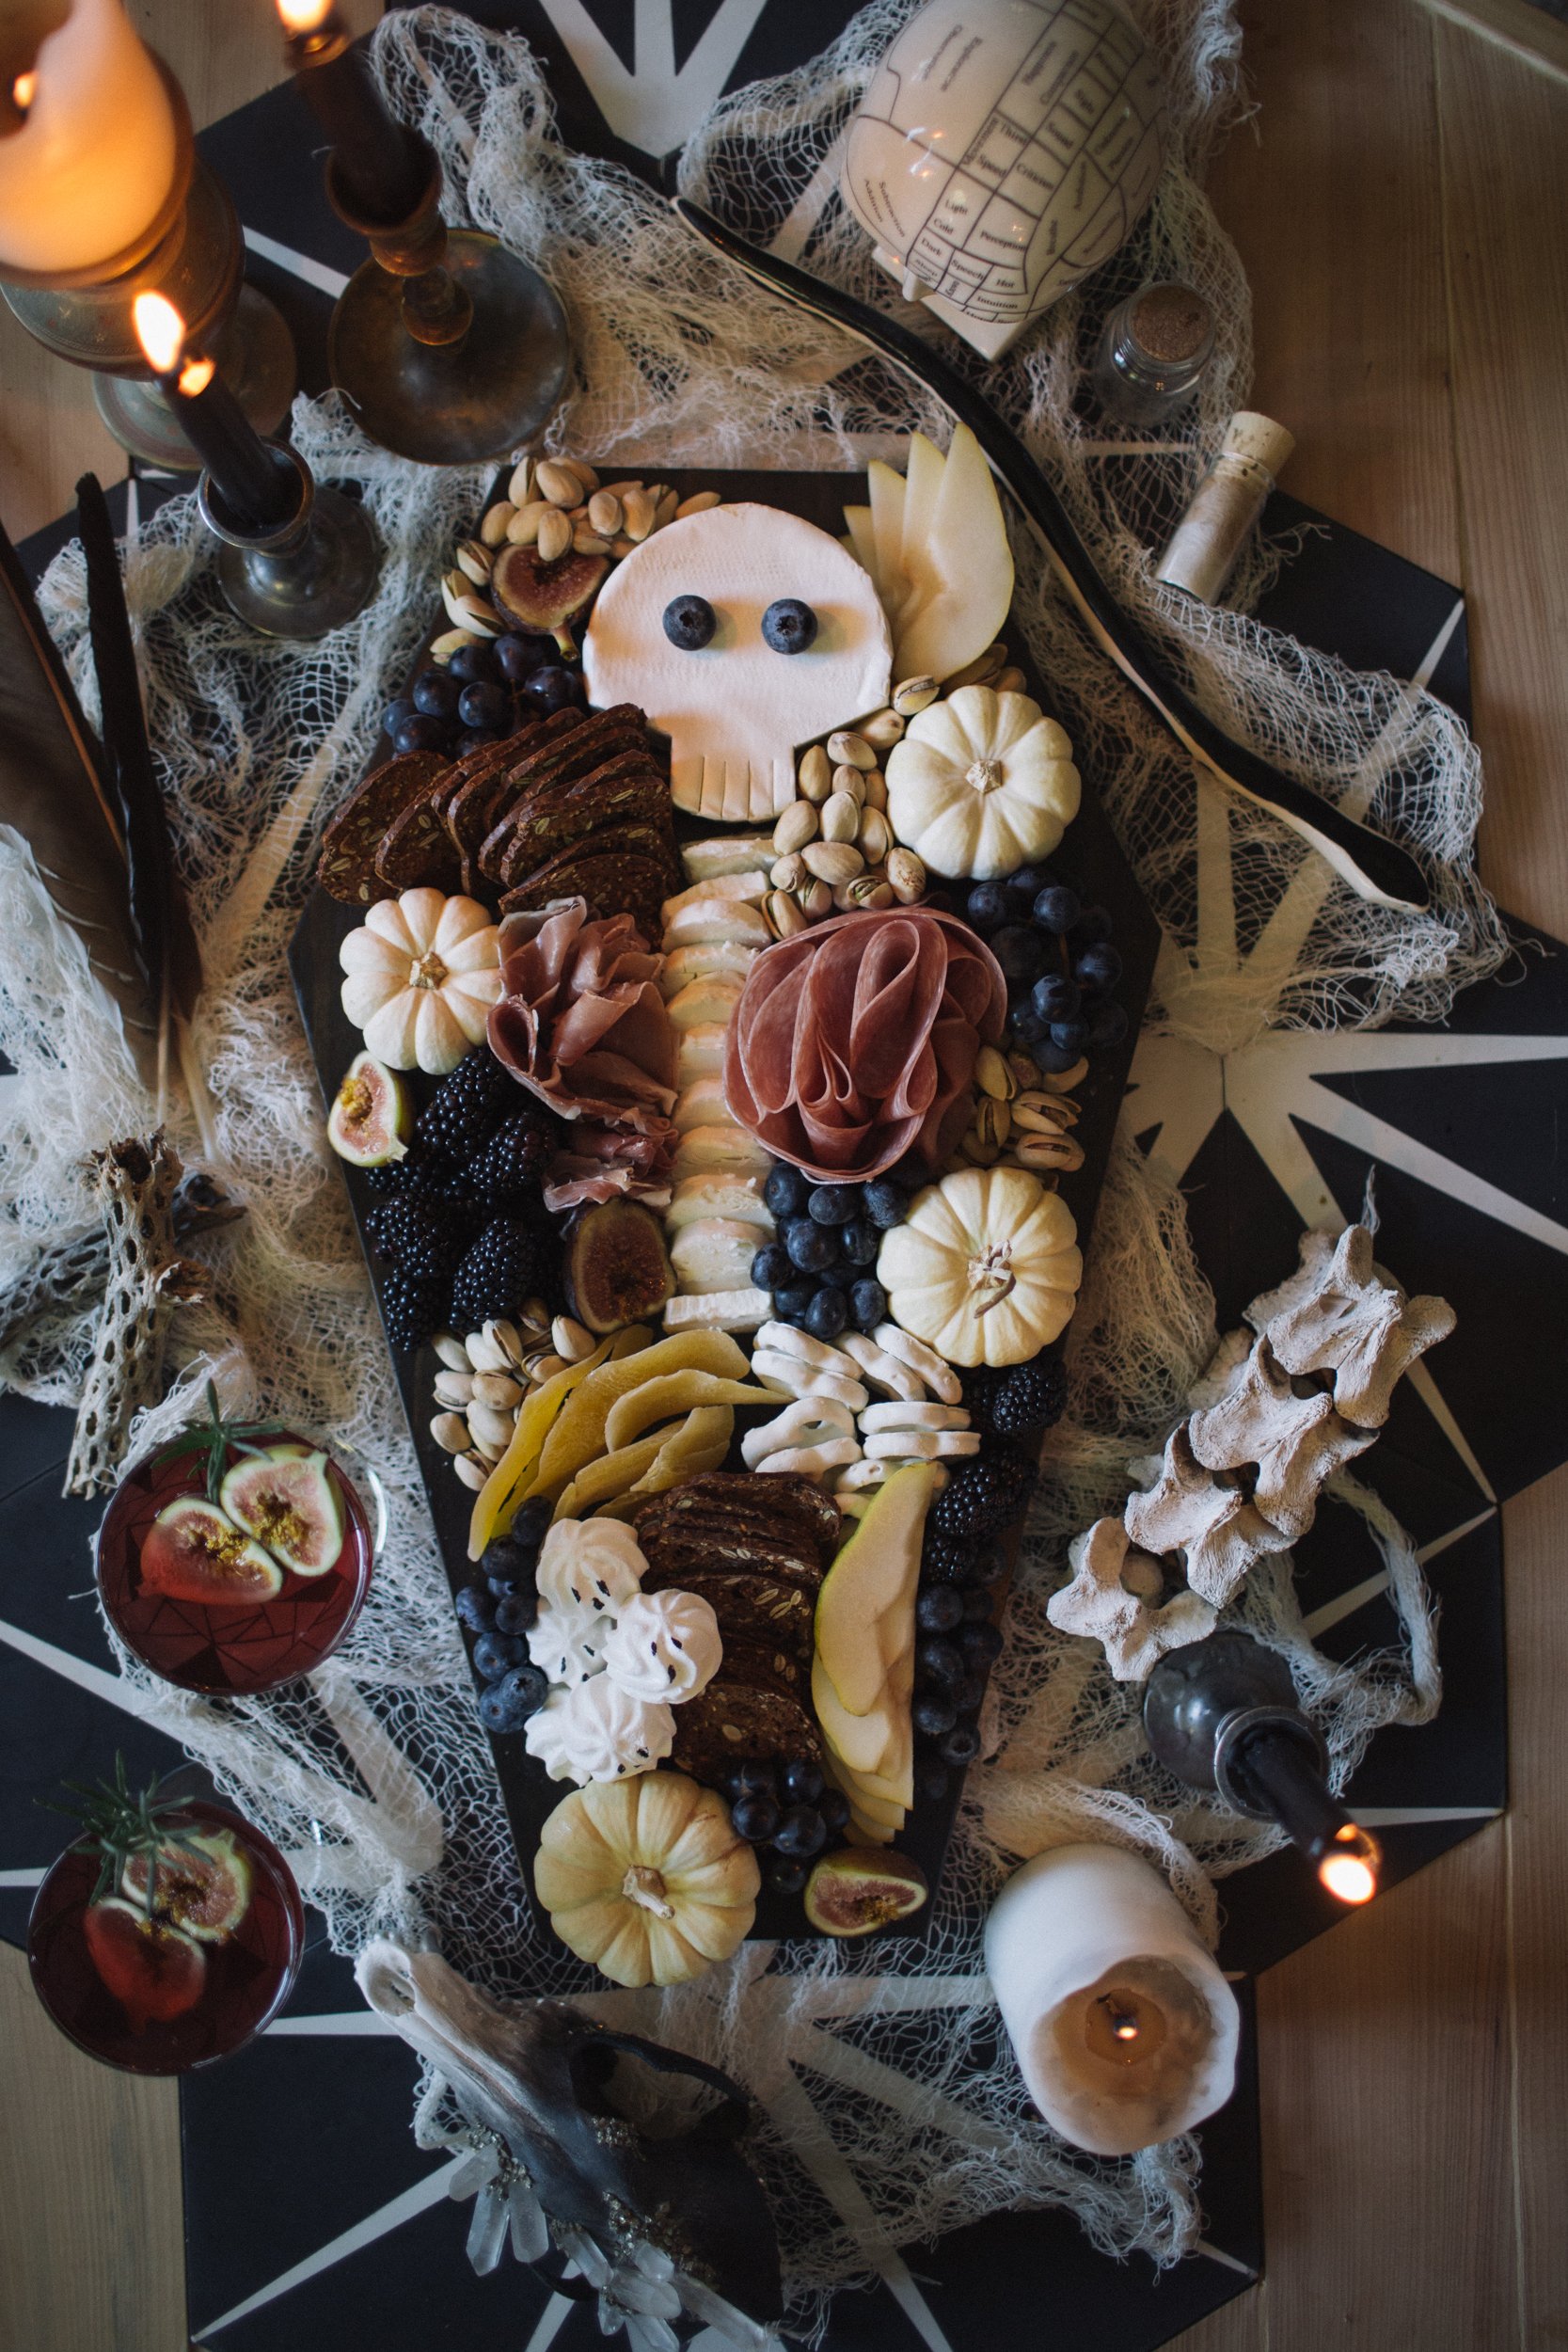
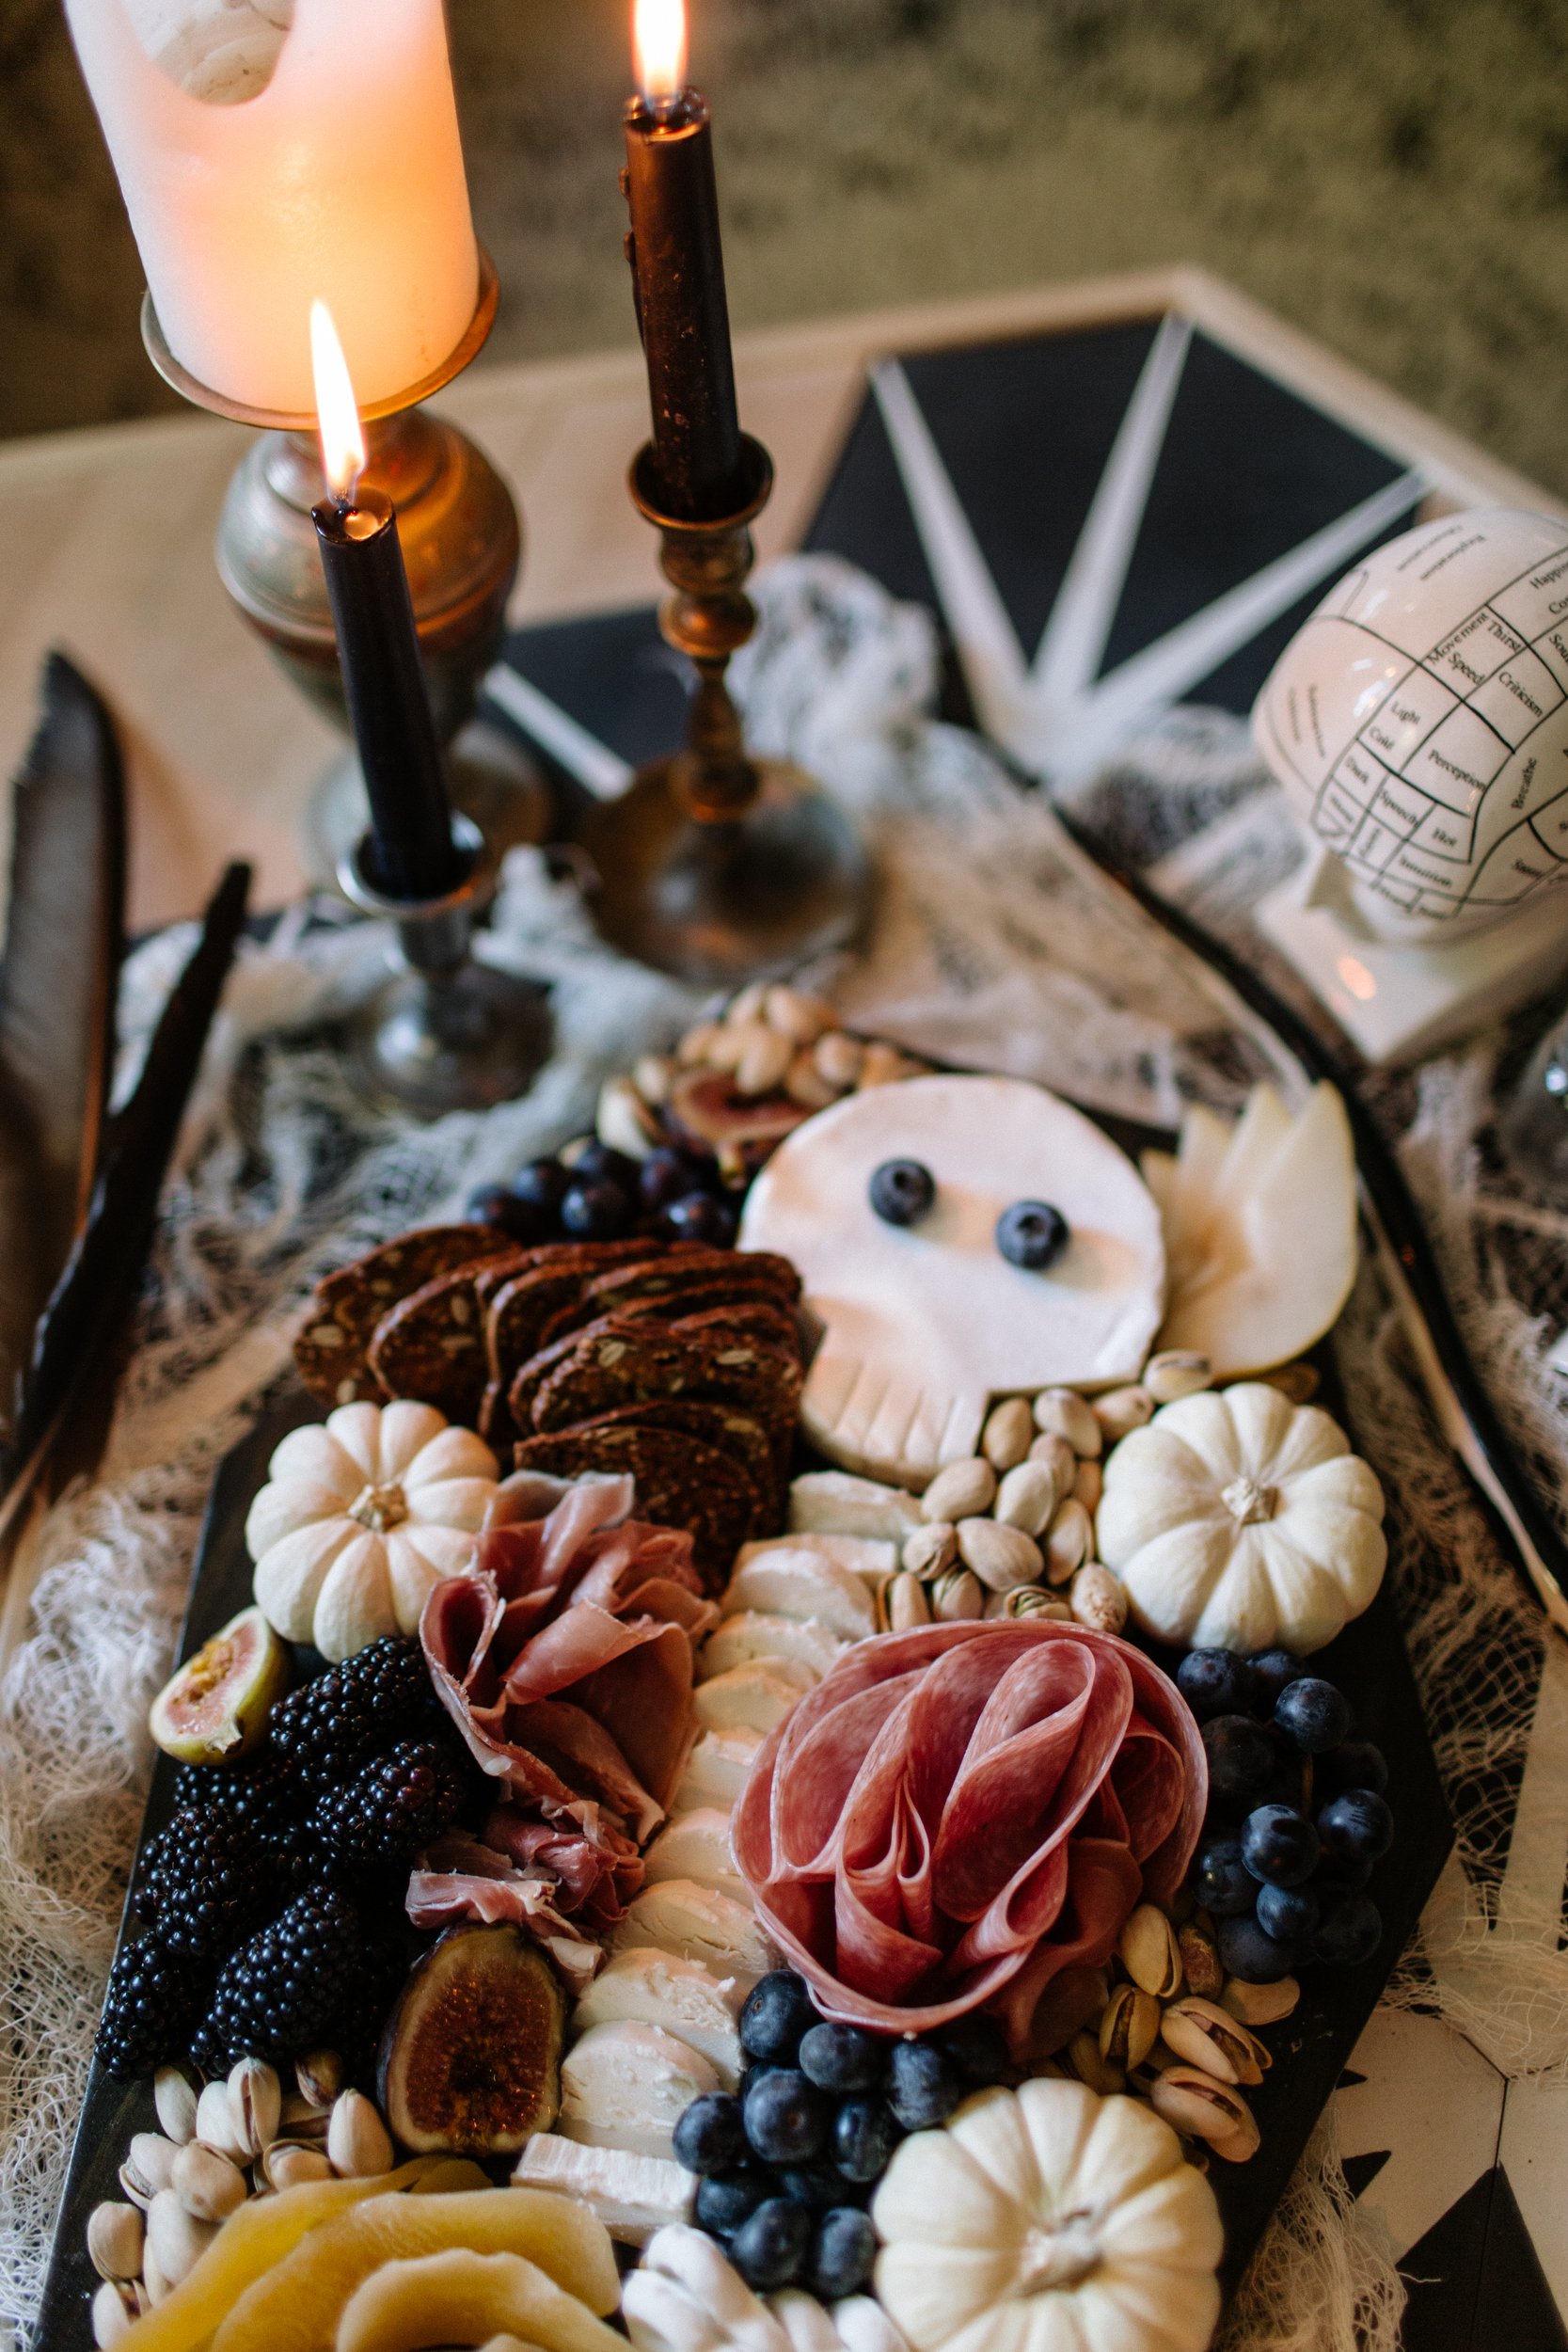
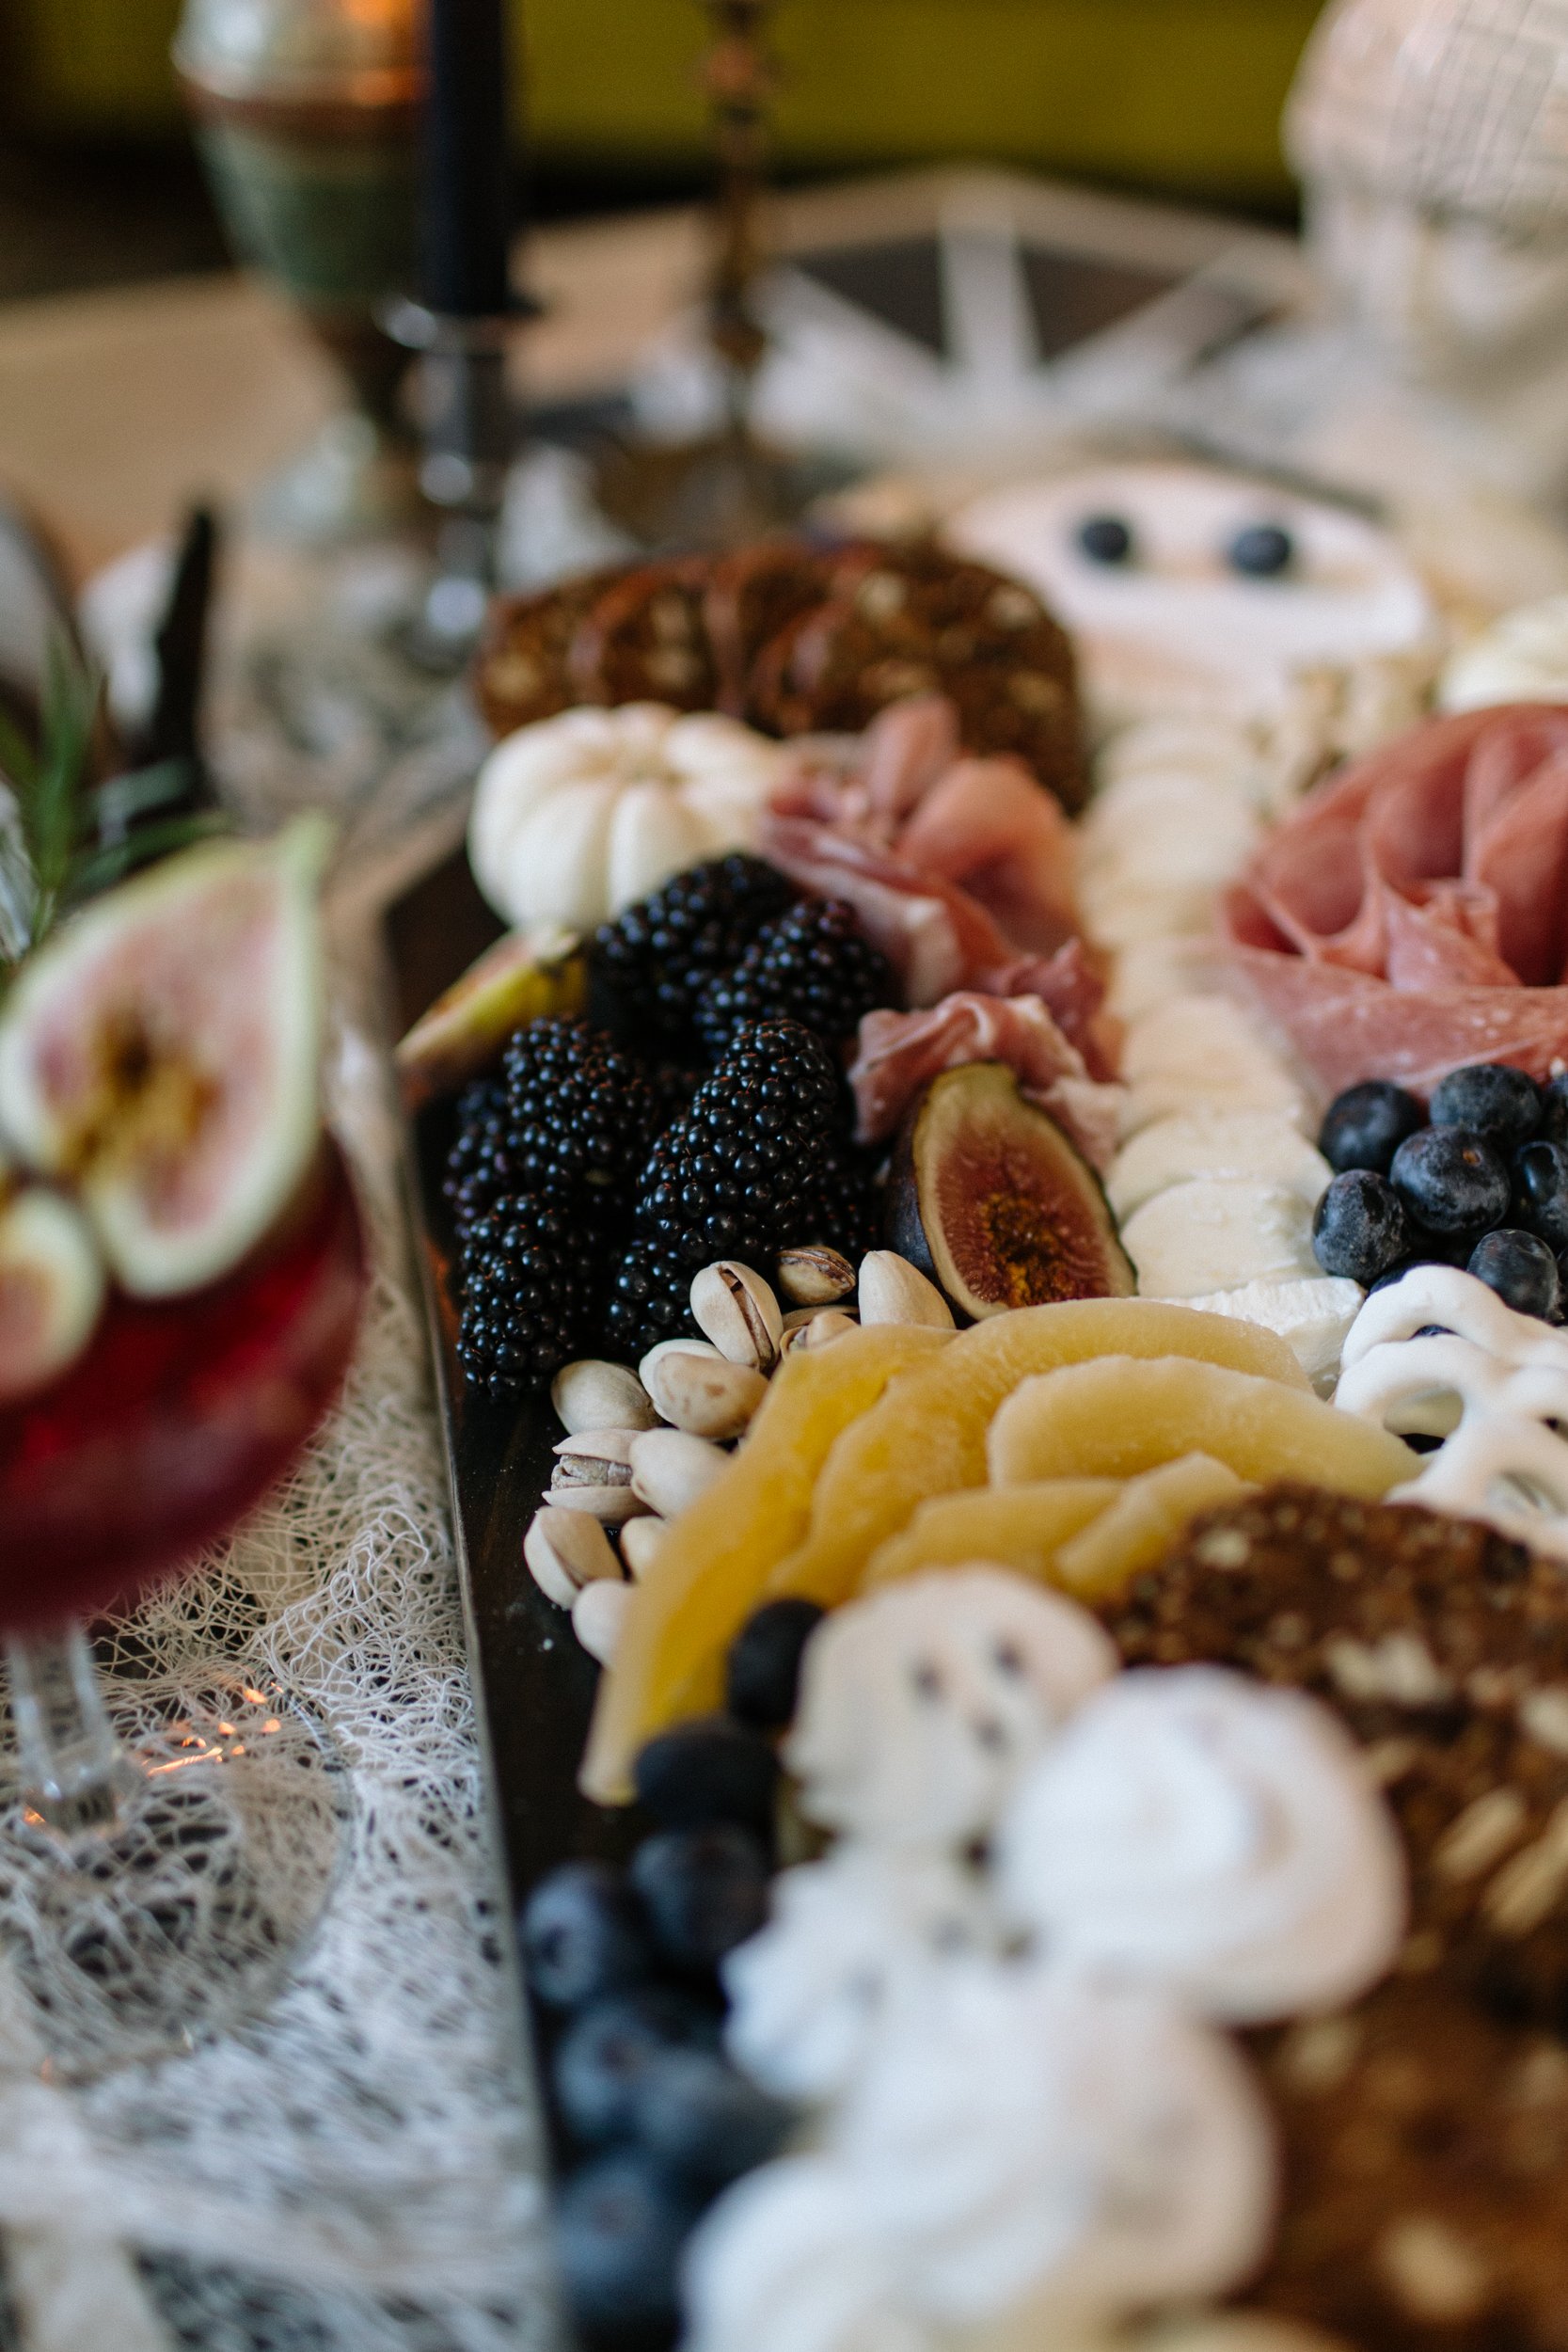
Once it was all dry and finished, it was time to load her up with tasty things! This is, of course, up to your own taste. You can make it a sweet-things board, a savory things board, whatever the heck you fancy. Since it’s a coffin shape, I made a simple skeleton shape out of the food (though I’ve see this done with a little plastic skeleton surrounded by the food, which is also super cute).
I filled my charcuterie board with:
Brie (cut into the shape of a skull)
Goat Cheese (sliced into a “spine”)
Candied Mango slices
Pear Slices
Blueberries
Blackberries
Figs
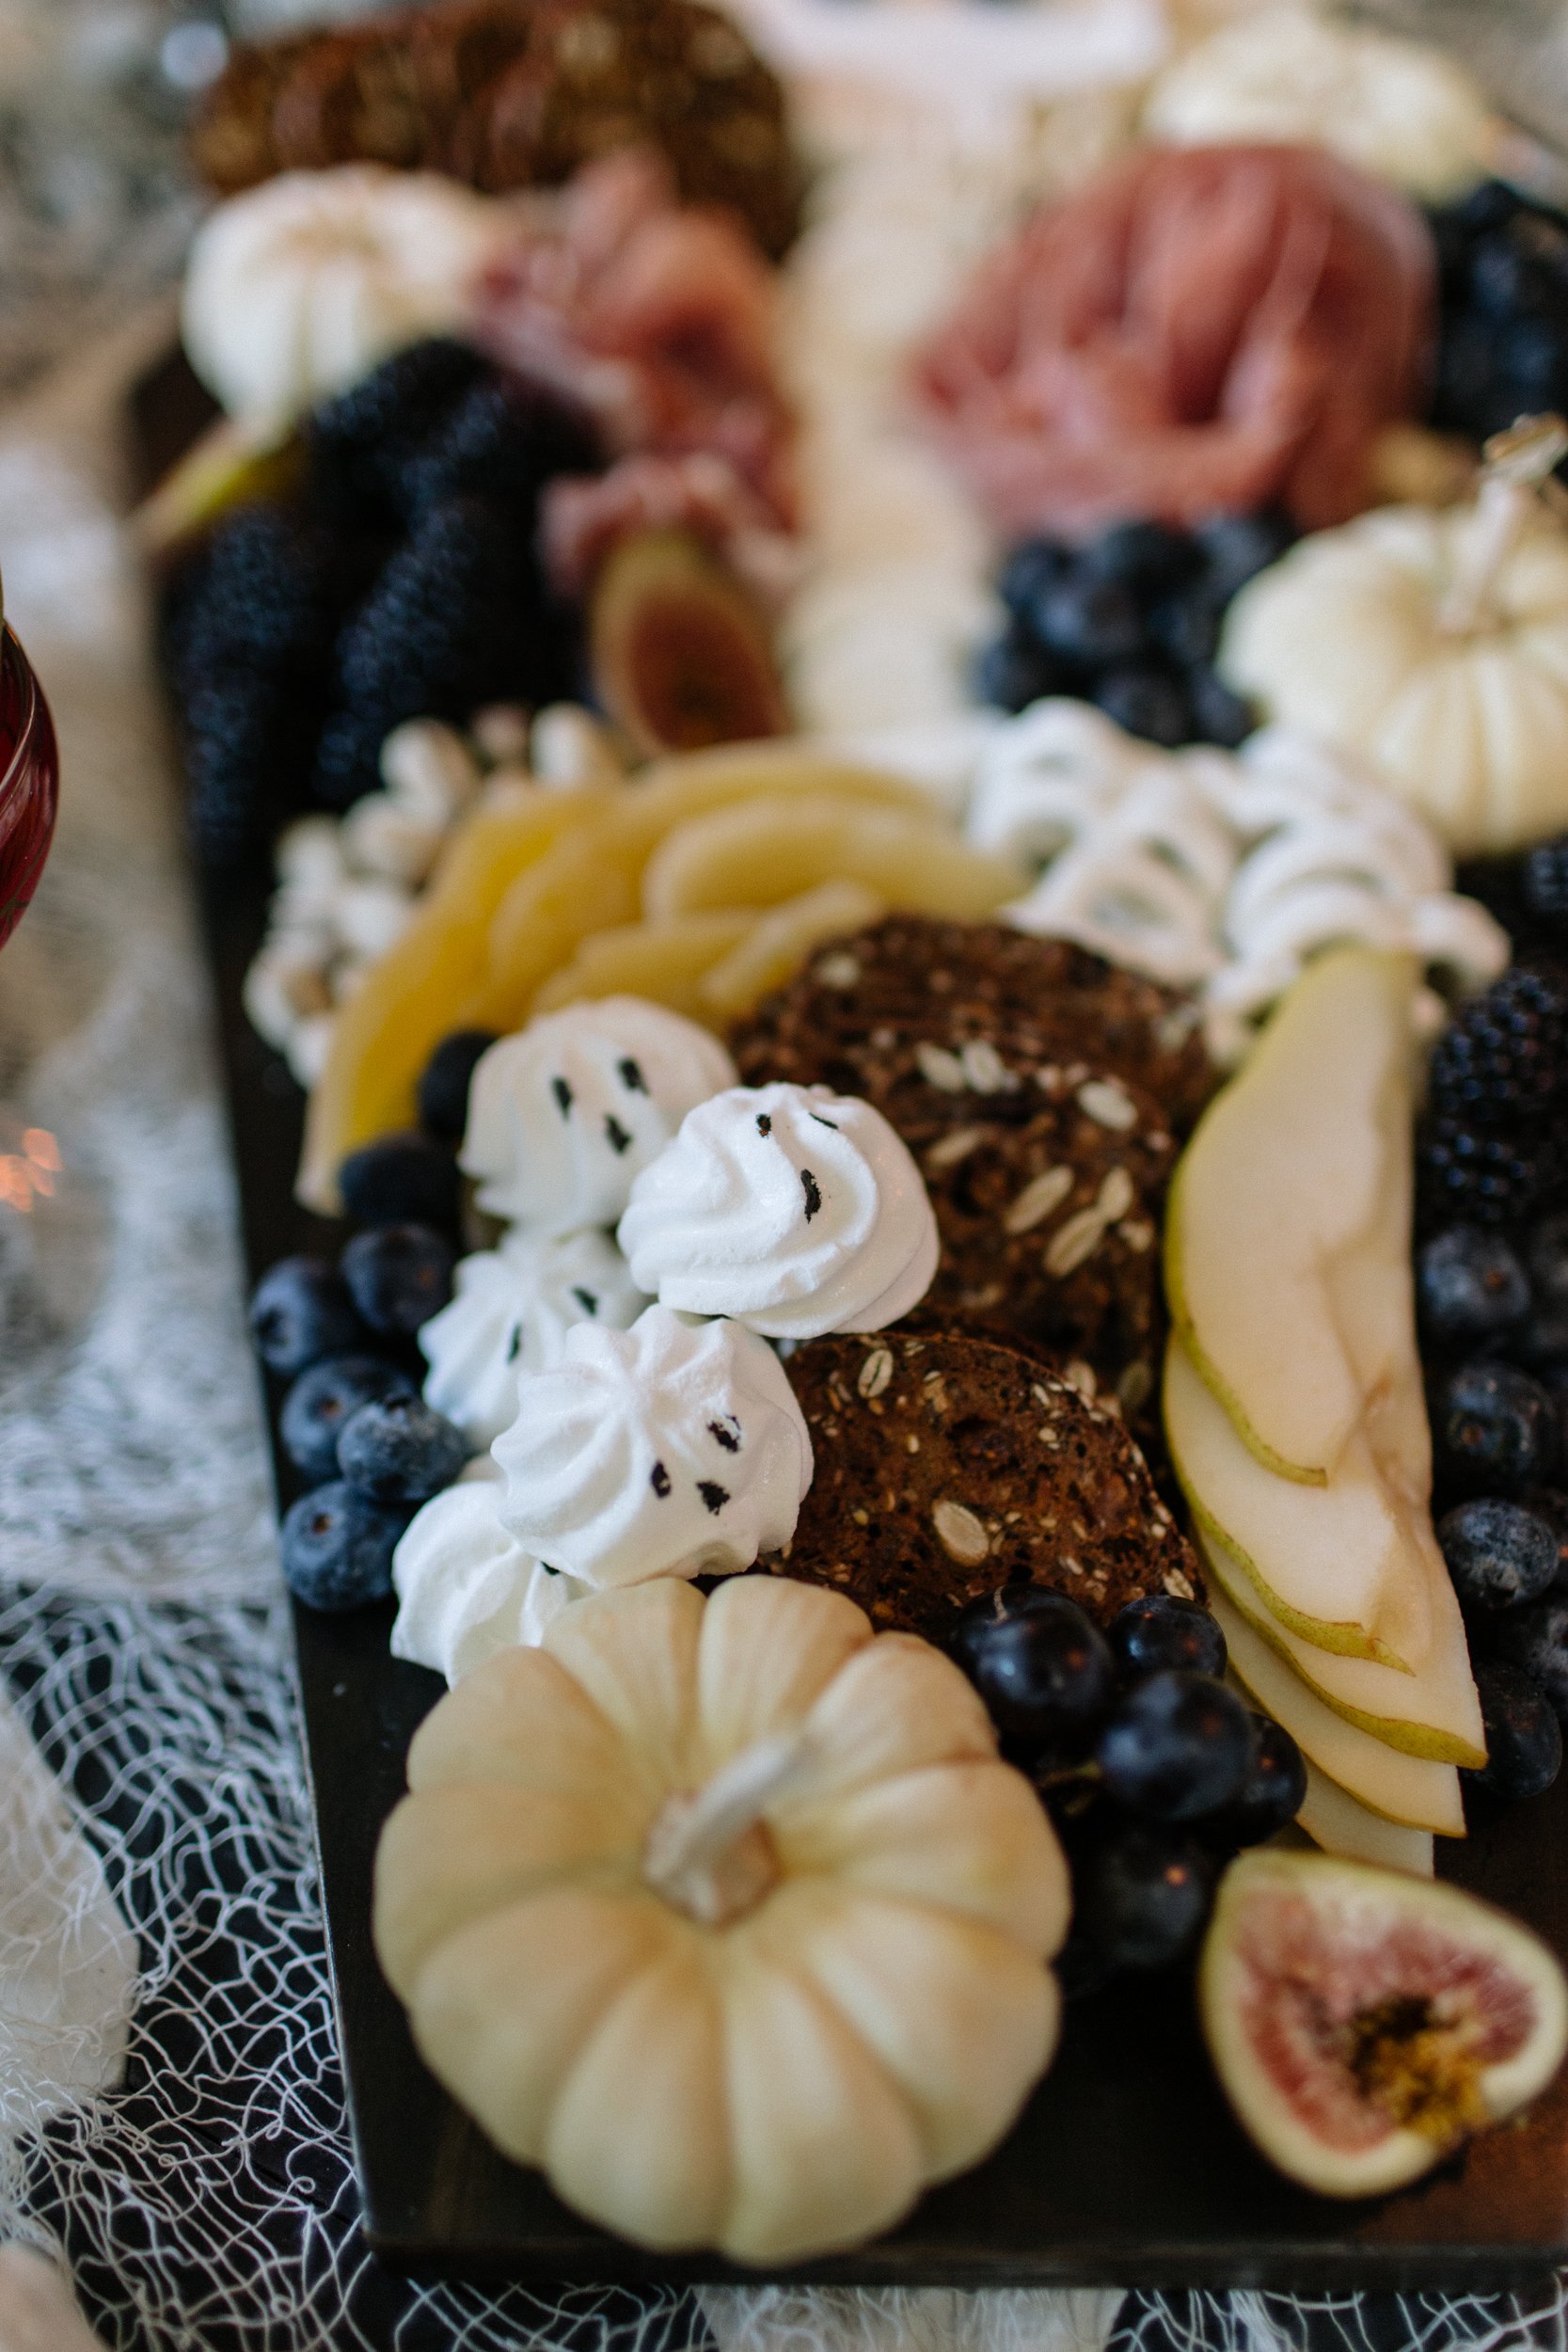
Meringue Cookies
Yogurt covered pretzels
Crackers
Pistachios
Salami
Prociutto
Tiny White pumpkins
There you go! If you don’t feel like tackling the DIY project, but still want to do a charcuterie board like this, there are a bunch of fun coffin-shaped boards out there like these ones on Etsy, or these ones on Amazon.


Hi, I’m Liz
I'm an artist, writer, designer, DIY renovator, and … well basically I like to do all the things. If it’s creative I’m probably doing it. I’ve spent over 30 years voraciously pursuing a life steeped in creativity and I wholeheartedly believe creativity and joy are inextricably linked.
Read more…


Explore The Archive
- January 2025
- December 2024
- August 2024
- July 2024
- May 2024
- April 2024
- January 2024
- December 2023
- October 2023
- September 2023
- July 2023
- June 2023
- May 2023
- April 2023
- March 2023
- February 2023
- January 2023
- December 2022
- November 2022
- October 2022
- August 2022
- June 2022
- May 2022
- April 2022
- March 2022
- November 2021
- October 2021
- August 2021
- July 2021
- May 2021
- January 2021
- November 2020
- October 2020
- September 2020
- August 2020
- July 2020
- June 2020
- May 2020
- April 2020
- February 2020
- January 2020
- November 2019
- October 2019
- August 2019
- July 2019
- June 2019
- May 2019
- April 2019
- February 2019
- January 2019
- December 2018
- November 2018
- October 2018
- September 2018
- August 2018
- July 2018
- June 2018
- May 2018
- April 2018
- February 2018
- January 2018
- November 2017
- September 2017
- August 2017
- July 2017
- June 2017
- May 2017
- April 2017
- March 2017
- February 2017
- January 2017
- December 2016
- November 2016
- October 2016
- September 2016
- August 2016
- June 2016
- May 2016
- April 2016
- March 2016
- February 2016
- January 2016
- December 2015
- November 2015
- October 2015
- September 2015
- August 2015
- July 2015
- June 2015
- May 2015
- April 2015
- March 2015
- February 2015
- January 2015
- December 2014
- November 2014
- October 2014
- September 2014
- August 2014
- July 2014
- June 2014
- May 2014
- April 2014
- March 2014
- February 2014
- January 2014
- December 2013
- November 2013
- October 2013
- September 2013
- August 2013
- July 2013
- June 2013
- May 2013
- April 2013
- March 2013
- February 2013
- January 2013
- December 2012
- November 2012
- October 2012
- September 2012
- August 2012
- July 2012
- June 2012
- May 2012
- April 2012
- March 2012
- February 2012
- January 2012
- December 2011
- November 2011
- October 2011
- September 2011
- August 2011
- July 2011
- June 2011
- May 2011
- April 2011
- March 2011
- February 2011
- January 2011
- December 2010
- November 2010
- October 2010
- September 2010
- August 2010
- July 2010
- June 2010
- May 2010
- April 2010
- March 2010
- February 2010
- January 2010
- December 2009
- November 2009
- October 2009
- September 2009
- August 2009
- July 2009
- June 2009
- May 2009
- April 2009
- March 2009
- February 2009
- January 2009
- December 2008
- November 2008
- October 2008
- September 2008
- August 2008
- July 2008

VISIT THE SHOP


PRIVACY POLICY & DISCLOSURE
We are a participant in the Amazon Services LLC Associates Program, an affiliate advertising program designed to provide a means for us to earn fees by linking to Amazon.com and affiliated sites.