
Barn Door Install with Gearwrench part 2

Ready to install this rail? Sweet, let’s do this. For this part, you’ll need a stud finder and a socket wrench. These rails are designed with holes for the lag screws at 16in on center, which is the standard distance between studs. My wall is a little wonky (old house stuff!) so one of my lags needed an anchor, but the rest all had a stud. You’ll need to find where the studs are on your wall and mark those at the height where the rail will go. Your barn door hardware will come with directions on how to measure how high you want your rail.
This project is much easier if you have someone to hold up the other end of the rail as you’re installing, but it’s doable alone! The hardware comes with spacers that hold the rail away from the wall so the door can easily slide. Hold up the rail, then slide a lag screw through a washer, the hole in the rail, through a spacer, and hand screw it into the wall until you feel resistance.
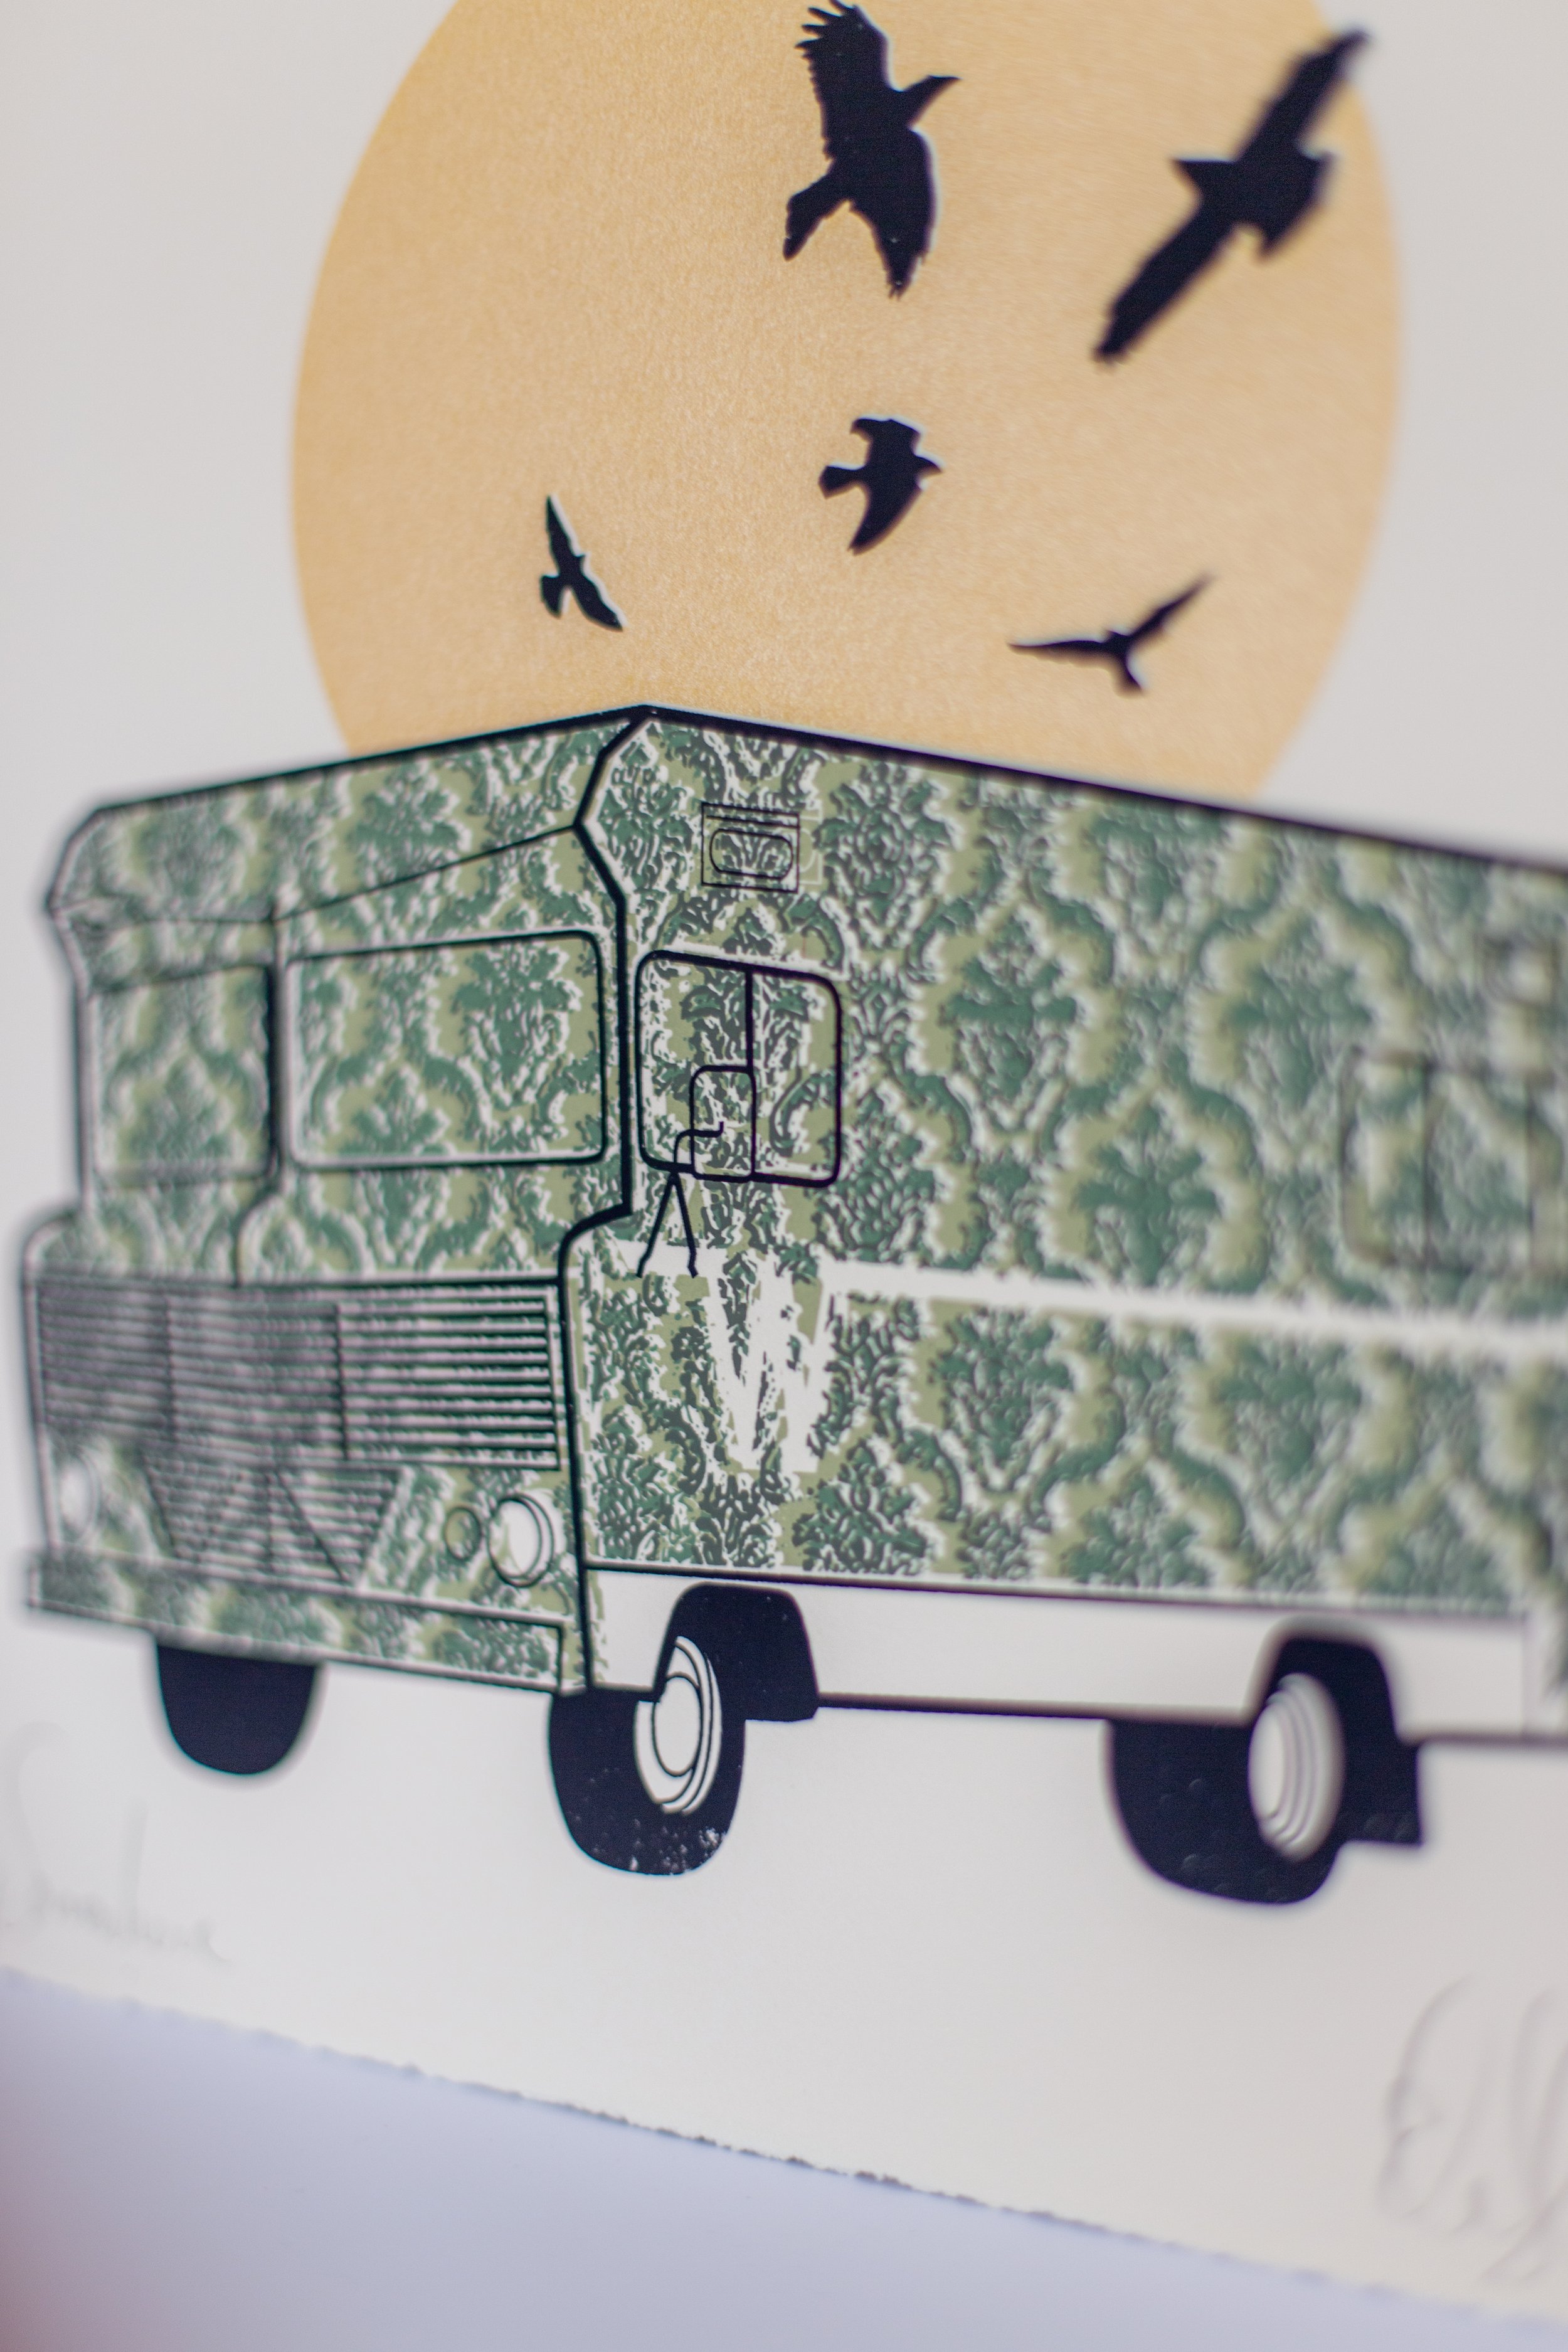
Now for the fun part: grab your socket wrench and go to town on that screw. This Slim Flex-Head Ratchet and Socket set comes with two handles, one that’s 6in, and one that’s 12in. The 12in one worked great for this project, but I’m already anticipating using the short one for the work I’m bound to be doing on my vintage Winnebago RV this coming summer. Plus, if you need to get into some tight or awkward spots, the head tilts on both handles to give you more access. I think a socket set is one of those must-have tools to keep on hand in the garage and I even have one that I always keep in my RV— which I’ve used several times in random parking lots after breaking down, an inevitability when you drive around something 50 years old.


My rail came in two pieces, so I used a level to double-check that the rail was level and then screwed in the lag screw in the middle of the first piece. The third screw in that first piece bisects both rails, so I screwed that one most of the way in, then popped in the end of the second rail piece and continued the process until the whole rail was installed, checking the level as I went to ensure the rail was straight.
There are stoppers included that you’ll install on either end of the rail to prevent the door from flying off the end. If you’re installing the rail close to the corner of the room, you’ll want to put that on before you screw the rail into the wall, otherwise you may not be able to get in on after the rail is installed. If you’re installing in the middle of a wall, though, this shouldn’t be an issue.

Now all that’s left is to hang the door from the rail! The wheels have a channel in the center that the rail will fit perfectly on and the door will glide super smooth. That was easy right? Having the right tools for this job made it go so smoothly.

Here’s the 6-inch handle, which will be so handy for working in smaller areas where I’m not able to have a big swing radius, which can be a very frustrating part of working in tight quarters. You can see in this pic too, the tilting head which, again, helps immensely when working in tight or awkward spaces. If there’s anything I know about working on older houses and cars, it’s that there are always awkward and tight situations where a tool designed for just that comes in so handy.
Another thing to note about this set is that the head takes (and comes with a set of) quarter inch driver bits, so you can also use it for screwing things in tight spots as well where you can’t fit a standard screwdriver. I’d never even thought of a wrench like this being able to be used as a screwdriver, but it’s a genius solution, especially if you don’t have a lot of space to screw something in or out. So useful!
Barn Door Install with Gearwrench pt. 1

The final step of my bathroom doorway “remodel” is installing the barn door. Part of me hates to call this a “barn door” because it’s not farmhouse-y at all. I found this french door at a local salvage shop and knew it’d be perfect for the bed/bathroom. When we started the remodel on the en suite bathroom, we took out the pocket door so we could make sure the wall framing was strong enough to handle the new tiled shower wall, but the bedroom is very small so a standard swinging door was a hard no. A sliding “barn” door was the solution!
The install on these types of doors is actually super easy and straightforward. Home Depot recently sent this Gearwrench 90-Tooth Pro Combination Ratcheting Wrench Tool Set and it was just the right tool for the install of this door! I love having a open-ended wrench set on hand, not only for projects around the house like installing this door, but it’s also something I use all the time when I’m tinkering on my older cars. Owning two 70’s vehicles, and a 20 year old van means I’m always fixing something or other. Anyone who has a house and/or car should definitely consider grabbing a wrench set to have on hand.
Okay, back to the sliding door. You can find the hardware here, and you can use it with any door that you can drill through to attach the top wheels, but something solid wood is ideal. The only power tool you’ll need to install this is a drill to make the holes for the bolts to go through to attach those top wheel pieces.


Your sliding door hardware will come with instructions on the measurements for where to drill those holes and what size bit to use. Mark the spots, then drill two holes on either side of the top of your door. Then, grab a wrench and a socket in the correct size (mine used 5/8in) and attach the wheel brackets with the nut and bolt. I loved these Gearwrench ratcheting wrenches, they made super quick work of attaching these brackets, plus, the ratcheting end of the wrench has a 4º swing arc, which means you can work in tight spaces (something that would’ve come in super handy when I was crammed into my minivan engine compartment fumbling with my old wrench). I’ve only ever had non-ratcheting wrenches before, and I can’t tell you how nice a ratcheting wrench is. Game changer!


That was easy right? Having the right tools for projects can save a lot of time and headache, and this new wrench set was the exact right tool for the job. I have regular wrench sets that don’t ratchet and while they work fine, having the ratcheting feature made popping this hardware on the doors go so quick. While I didn’t need them for this job, the set comes with a set of metric wrenches as well, so if you’ve got a non-American car or purchase materials made that use metric fasteners, you’re ready to go!
Stay tuned for part 2 where we install the rail in the wall and get the door hung!

Gift guide for the home DIYer

I’m no fan of the frantic consumerism of Black Friday and the holidays in general, but for those wanting to build out their kit of tools for their DIY projects, this is a great time of year to score some awesome deals on tools. If you’ve got a DIYer to shop for, or you are a DIYer, this is a list of my personal favorite tools that I use constantly when I’m working. I sat down and thought through the stuff that I pick up on a near-daily basis, and these are those tools! I also included a separate list of tools that would be stocking-stuffer friendly size-wise. I always feel like adults get the short end of the stick when it comes to stocking gifts, but there are a ton of really great, smaller tools that are incredibly useful!
And since y’all aren’t out here DIYing naked I picked out some of my favorite DIY apparel from both my shop and other DIY bloggers’ merch shops, so you can rep the DIY life while you work!
With the exception of links to other bloggers’ shops, these are all affiliate links meaning any purchases made through these links will give me a little kickback, just FYI :) I hope this guide helps!


Remodel Project Planner | 6ft Ladder | Ryobi six tool kit |
Wall Control pegboard (get 10% off with the code LIZMORROW)

Stocking stuffers:
Kreg Pocket Hole Jig | Utility Knife | Drill bit set | Driver Bit set | Tape Measure | Carpenter Pencils | Safety Glasses | Voltage Tester | Pencil holder | Short Cut brush | Stud Finder

Saturday Night... Before Christmas | Disco Ball Christmas Tree Inspiration

It’s time! I’m super excited to be a part of Casa Watkins’ Christmas Tree blog hop this year! Welcome to everyone who is arriving from Casa Watkins and Rebecca Propes! And make sure you head over to Au Petit Salon tomorrow morning to kick off tomorrow’s blog hop posts! Scroll to the bottom to check out all the posts from the blog hop!
We’ve had our white Christmas tree for a few years now and I was feeling a little uninspired at the beginning of the month. I thought maybe this year we’d let the white tree hibernate and head to a tree farm to do a real tree this season. But then I had an idea: DISCO CHRISTMAS. Is this just an excuse to buy a ridiculous amount of disco balls? Maybe. Am I already scheming things to do with all these disco balls after the tree comes down for the season? Absolutely. To be fair, I do wish this tree was even MORE over the top, so this top image has a few extra disco balls photoshopped on (I mean, really, I could go for even more, but let’s calm down, Liz).
I’m always torn between having a faux tree and a real one, a green tree and a non-traditional tree, a sentimental ornament tree, and a pretty beautifully designed tree. Growing up we usually had a “pretty” faux tree in the living room, and then a live tree upstairs in the family room that had colorful lights and all our fun family sentimental ornaments and I really loved that. Unfortunately, for now, our house is too small to accommodate two trees, but someday. Someday.
6” Disco balls | 8” Disco ball | Mixed size small disco balls | Mini disco ball garland | Feather boas (used as garland) | White tulle (fills in tree center and hide the ugly “tree trunk”) | White Tree | Tree Topper
Click to see the DIYs on how I made the Disco Ball Ornaments, and the Sparkly Tree Collar


Monday
Casa Watkins Living // Up To Date Interiors // Mocha Girl Place // Kate Decorates // House of Hipsters // Monica Wants It
Tuesday
The Happy Housie // SKG Designs // Delineate Your Dwelling // Cuckoo 4 Design // Room Bloom Design // My Sweet Savannah
Wednesday
Iris Nacole // PMQ For Two // Stacies Spaces // Rebecca Propes // Liz Morrow Studios
Thursday
Au Petite Salon // Taryn Whiteaker Designs // The Honeycomb Home // Daly Digs // T Moore Home // Love Your Abode
Friday
Haneens Haven // Our Fifth House // Seeking Lavender Lane // Two Twenty One // Amber Oliver // Zig and Company

Hang Up the Holidays!

Decorating for the holidays is so much fun, but with my porch newly remodeled, I didn’t want to pop nails into my freshly built and painted surfaces. I teamed up with Home Depot to create a holiday porch transformation using some amazing damage free hanging products and I’m so thrilled with how it turned out!
I used a variety of different Command products for hanging all my decor, as well as some Velcro and Hillman products to secure things like power cords and attaching garlands together, and I’m definitely a convert.
In the past I’ve usually hung my holiday decor using picture wire nails and staples since they’re small, but even small nails leave holes, and putting holes in brand new trim just felt, well, wrong. I was nervous that the Command hooks wouldn’t hold because some of my garlands and wreaths are pretty heavy, but they held up great! I doubled up Command hooks in a few areas where there were extra heavy elements and everything was solid.
Hanging Product Links:
Outdoor Medium Clear Window Hooks | Outdoor Rope Light Clips (to attach garlands) | Clear Small Outdoor Light Clips (to attach lights) | Velcro Reusable Ties | Hillman 24-Guage Green Floral Wire
Decor Links:
4ft Flocked Trees | Door Garland | Door Wreath | Window Wreaths | Porch Garland | Lanterns | C9 Lights


The other awesome thing was having Command Strips that allowed me to secure my power cords so they weren’t just dangling or laying around everywhere, plus my VELCRO®Brand ONE-WRAP® Ties secured any excess extension cord so everything stayed neat and tidy behind the scenes. The adjustable straps could be fastened and unfastened as needed, saving me trips back to the store for one-use twine or plastic zip ties.
I’m always wanting a really full and lush look for my garlands, so I twisted two garland strands together for the garland hanging from the front of my porch. I used some Hillman 24-gauge Green Floral Wire to secure them together, and to create a loop for hanging the middle swag from so I could easily attach it to the Command hooks. I also used two garland strands to surround my door, so they could go all the way from the top of the door to the floor, which meant I used the same green floral wire to attach them together in the middle, at the top of the door. The Hillman wire gave the extra confidence that my garland arrangements would stay put and secure for the remainder of the holiday season.
Another cool thing is that there are Command hooks that stick to windows, which was perfect for me to attach the wreaths on my two big front windows! I had always wanted to do that, but I wasn’t sure the best way to go about it. These turned out to work great!
All the Command hooks I used were clear plastic, which made them very unnoticeable and low profile, keeping the focus on my decor instead of what’s holding it up.


The best part about using Command hangers is that they don’t damage the surface when you remove them. Since I just recently painted the new trim on my porch, I was definitely wanting something that wouldn’t damage my brand new paint, and these hangers came off quickly, easily, and without damaging any of my surfaces.
Here’s to getting the holidays hung up and starting this season of celebration off right!


Hi, I’m Liz
I'm an artist, writer, designer, DIY renovator, and … well basically I like to do all the things. If it’s creative I’m probably doing it. I’ve spent over 30 years voraciously pursuing a life steeped in creativity and I wholeheartedly believe creativity and joy are inextricably linked.
Read more…


Explore The Archive
- January 2025
- December 2024
- August 2024
- July 2024
- May 2024
- April 2024
- January 2024
- December 2023
- October 2023
- September 2023
- July 2023
- June 2023
- May 2023
- April 2023
- March 2023
- February 2023
- January 2023
- December 2022
- November 2022
- October 2022
- August 2022
- June 2022
- May 2022
- April 2022
- March 2022
- November 2021
- October 2021
- August 2021
- July 2021
- May 2021
- January 2021
- November 2020
- October 2020
- September 2020
- August 2020
- July 2020
- June 2020
- May 2020
- April 2020
- February 2020
- January 2020
- November 2019
- October 2019
- August 2019
- July 2019
- June 2019
- May 2019
- April 2019
- February 2019
- January 2019
- December 2018
- November 2018
- October 2018
- September 2018
- August 2018
- July 2018
- June 2018
- May 2018
- April 2018
- February 2018
- January 2018
- November 2017
- September 2017
- August 2017
- July 2017
- June 2017
- May 2017
- April 2017
- March 2017
- February 2017
- January 2017
- December 2016
- November 2016
- October 2016
- September 2016
- August 2016
- June 2016
- May 2016
- April 2016
- March 2016
- February 2016
- January 2016
- December 2015
- November 2015
- October 2015
- September 2015
- August 2015
- July 2015
- June 2015
- May 2015
- April 2015
- March 2015
- February 2015
- January 2015
- December 2014
- November 2014
- October 2014
- September 2014
- August 2014
- July 2014
- June 2014
- May 2014
- April 2014
- March 2014
- February 2014
- January 2014
- December 2013
- November 2013
- October 2013
- September 2013
- August 2013
- July 2013
- June 2013
- May 2013
- April 2013
- March 2013
- February 2013
- January 2013
- December 2012
- November 2012
- October 2012
- September 2012
- August 2012
- July 2012
- June 2012
- May 2012
- April 2012
- March 2012
- February 2012
- January 2012
- December 2011
- November 2011
- October 2011
- September 2011
- August 2011
- July 2011
- June 2011
- May 2011
- April 2011
- March 2011
- February 2011
- January 2011
- December 2010
- November 2010
- October 2010
- September 2010
- August 2010
- July 2010
- June 2010
- May 2010
- April 2010
- March 2010
- February 2010
- January 2010
- December 2009
- November 2009
- October 2009
- September 2009
- August 2009
- July 2009
- June 2009
- May 2009
- April 2009
- March 2009
- February 2009
- January 2009
- December 2008
- November 2008
- October 2008
- September 2008
- August 2008
- July 2008

VISIT THE SHOP


PRIVACY POLICY & DISCLOSURE
We are a participant in the Amazon Services LLC Associates Program, an affiliate advertising program designed to provide a means for us to earn fees by linking to Amazon.com and affiliated sites.