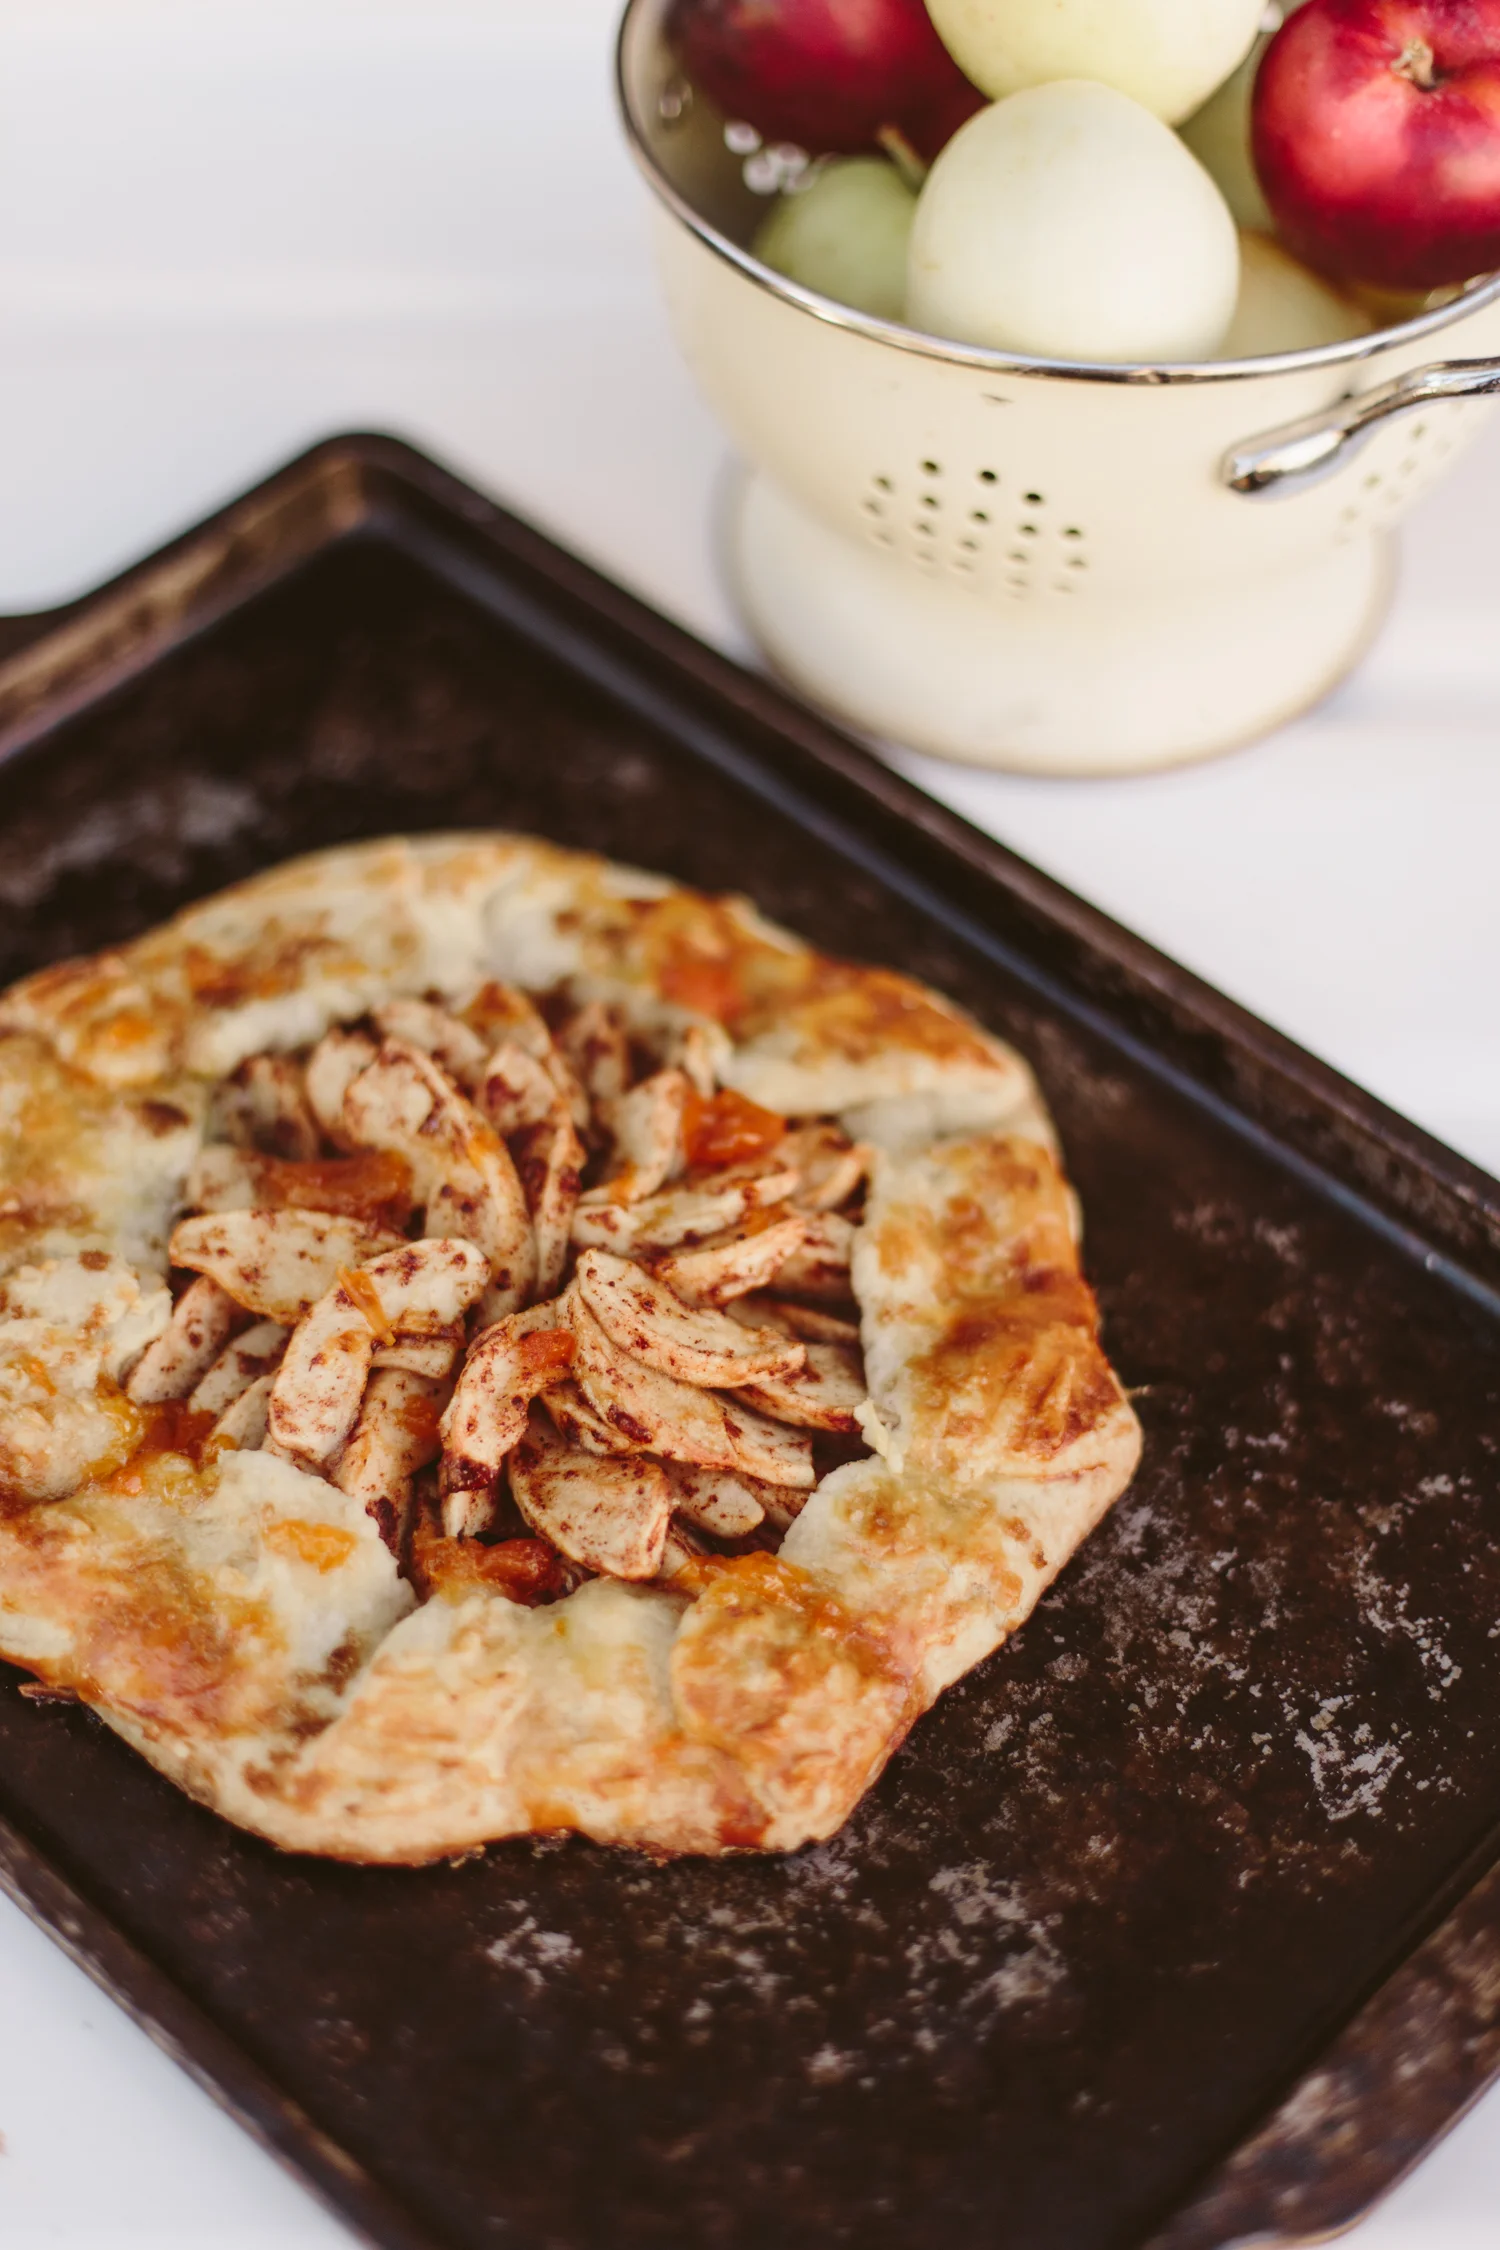
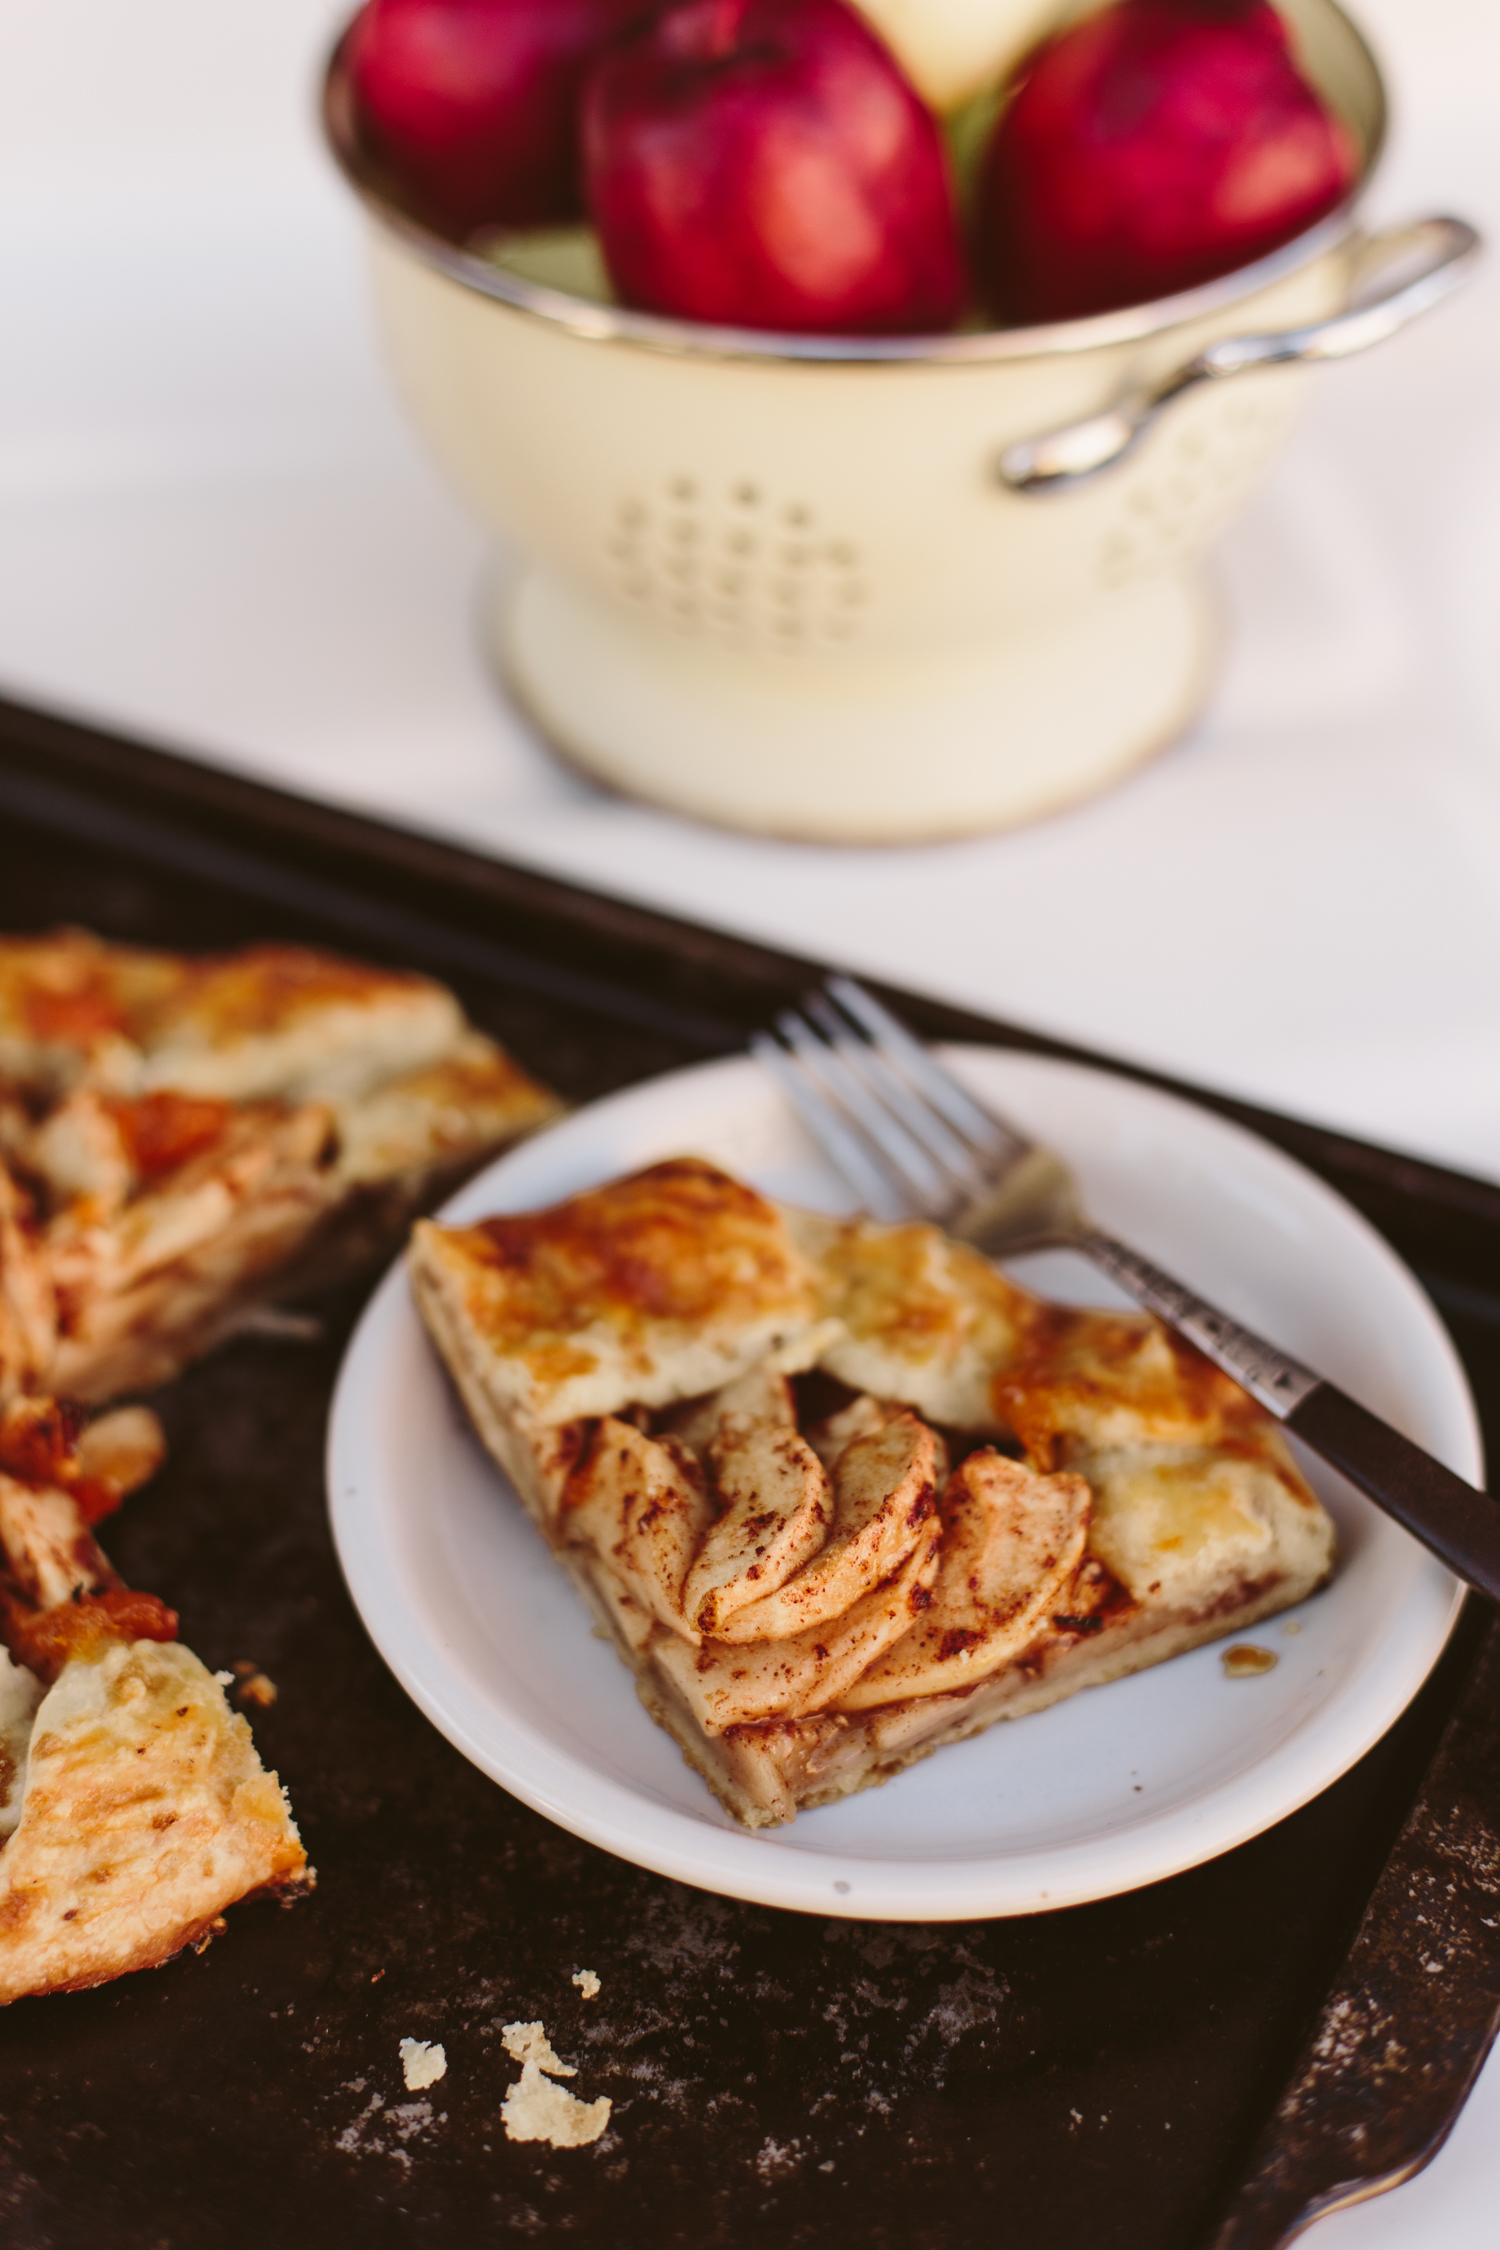
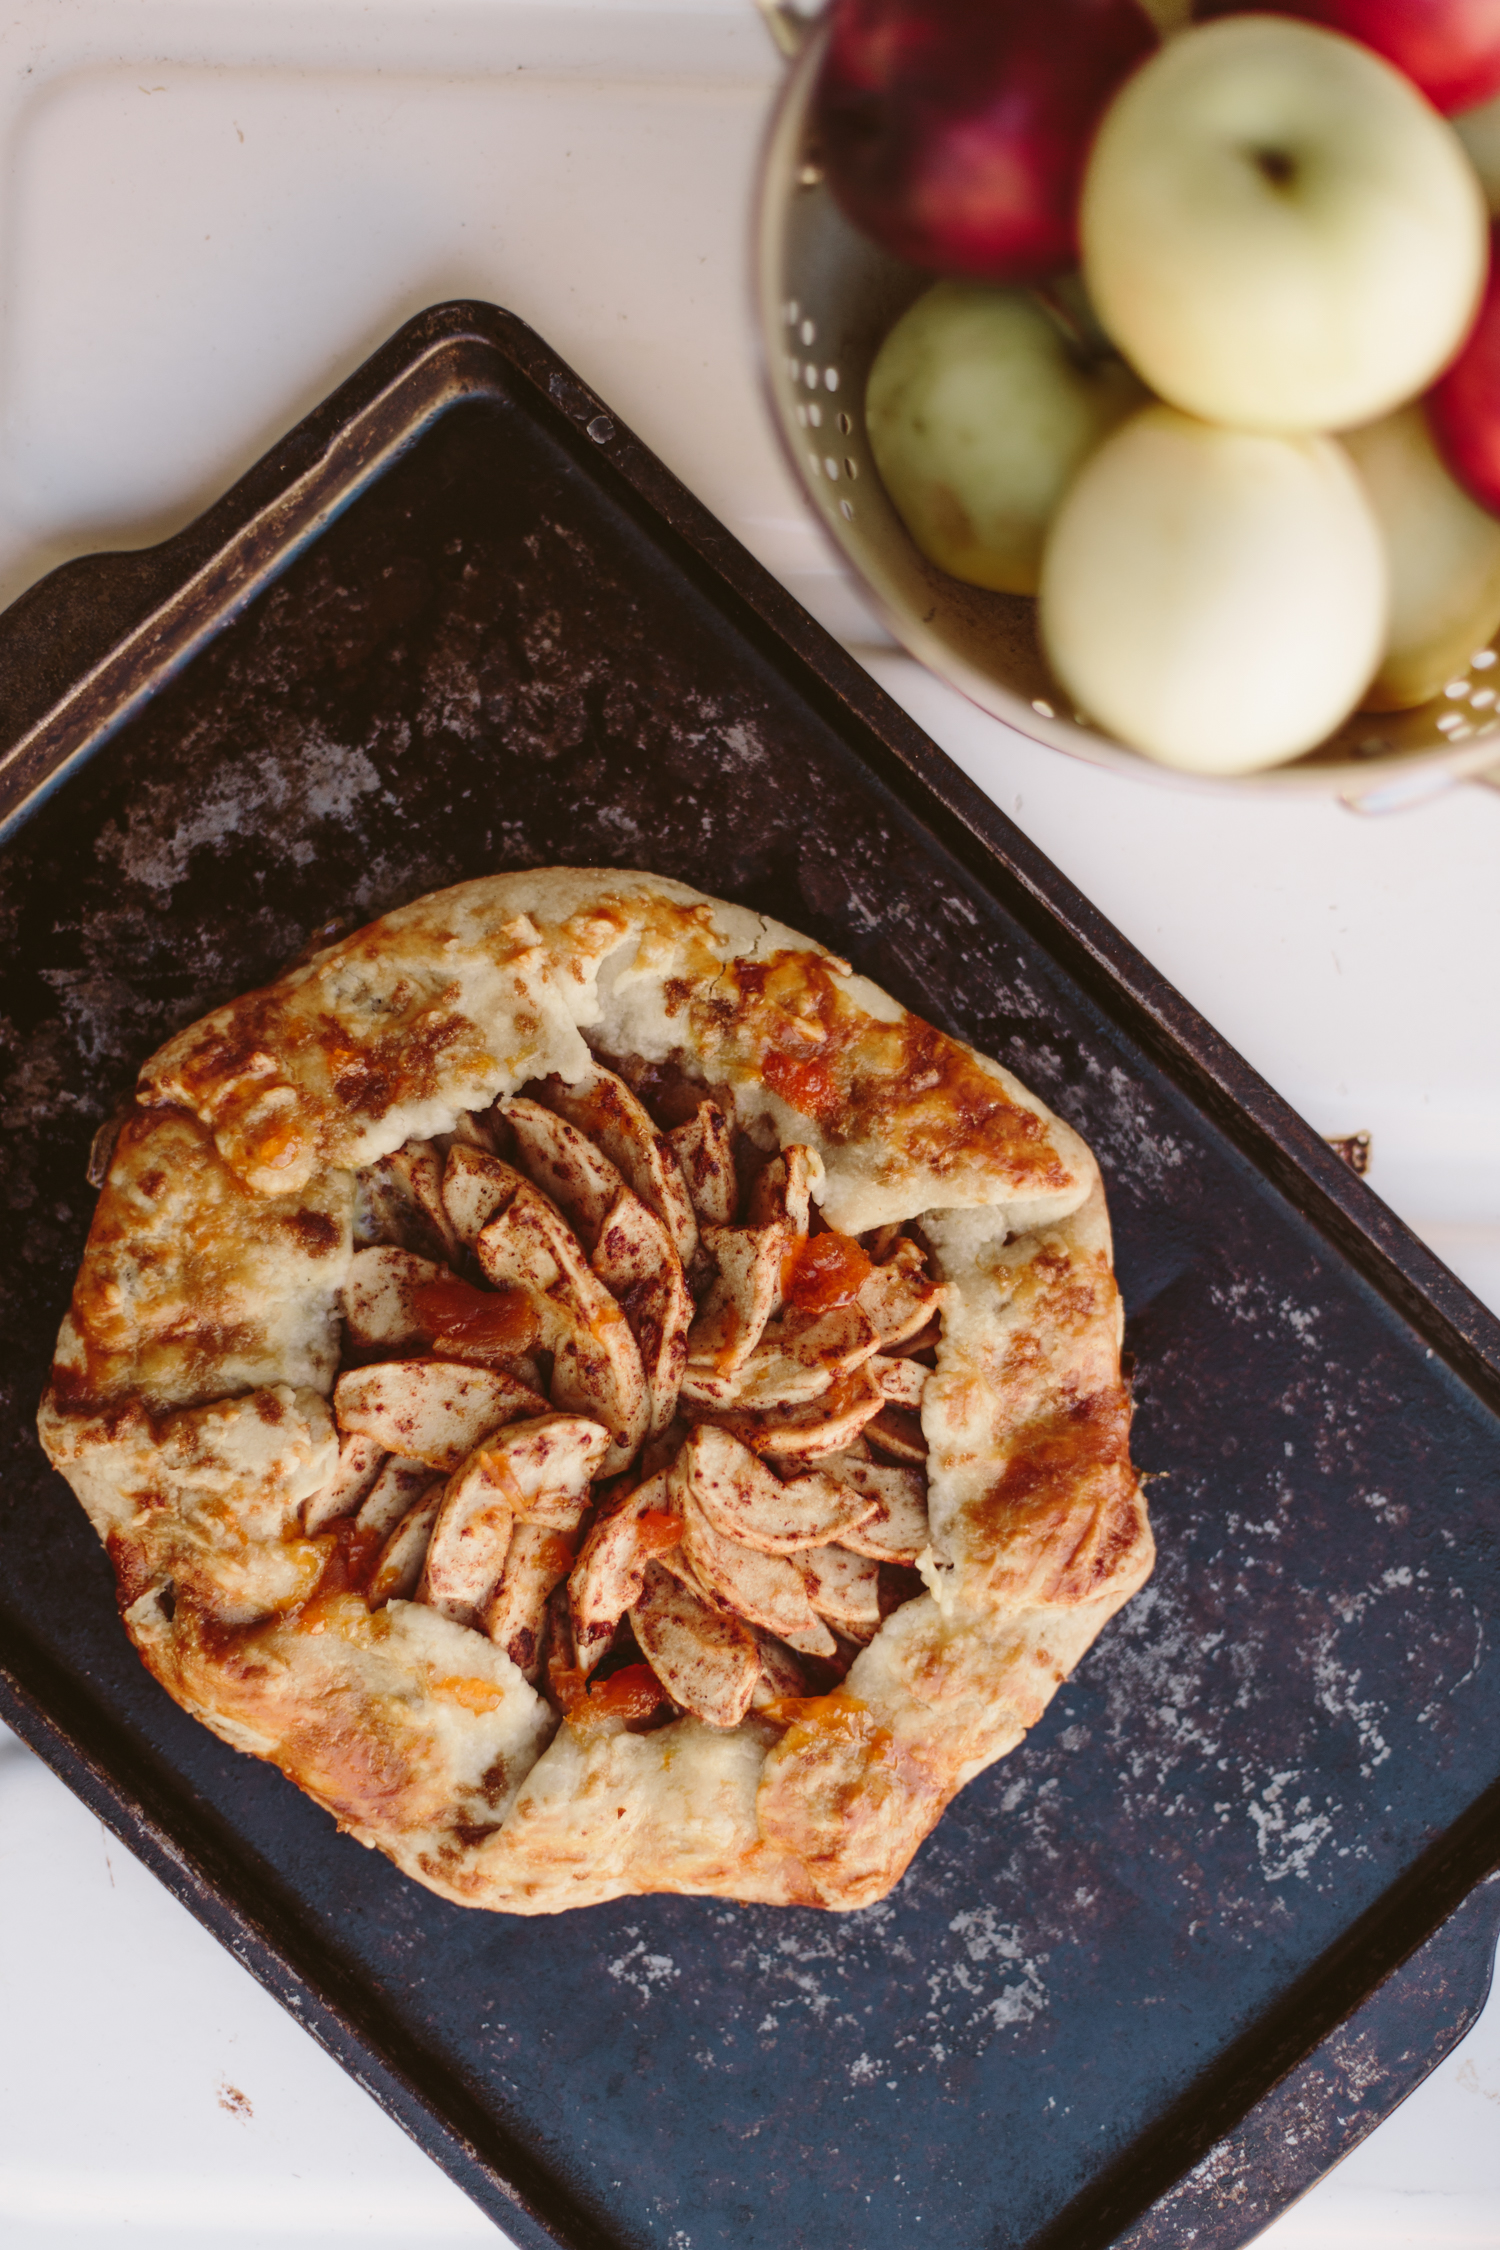
Apple Rustic Tart
My best friend came over today with her little month old baby and we got to spend the afternoon baking! My dad brought some apples from my parents’ house where they have a few apple trees so I had a ton of apples to use for recipes (I made this applesauce last week too!). My pie pans have disappeared since our move last October, so instead of making apple pies, we decide to make Apple Rustic Tarts. This recipe says that the prep is about 30 minutes but if you’re also watching a baby and a toddler it takes like 3x that long…
Apple Rustic Tart
Prep Time: 30 Minutes
Cook Time: 1 Hour
Ingredients
For the Crust
1-1/2 cups all-purpose flour
1/2 tsp salt
2 tbsp granulated sugar
1-1/2 sticks (12 tbsp) cold unsalted butter, cut into 1/2-inch pieces
1/4 cup cold water
For the Filling
1 -1/2 lbs apples (appx 3 large)
1/3 cup sugar
1 tsp cinnamon
1 tsp vanilla extract
2 tbsp unsalted butter, melted
1/8 tsp salt
For Assembly
1 tbsp all purpose flour
1 egg, beaten
2 tbsp brown sugar
1 tbsp apricot preserves, for glaze
Instructions
Prepare the crust:
Line two baking sheets with parchment paper.
In a food processor, combine the flour, salt and sugar and pulse briefly to mix.
Add the cold butter and process just until the butter is the size of peas, appx 5 seconds. Then, add the ice water to the mixture and process just until moistened and very crumbly, about 5 seconds.
Place the dough on a lightly floured surface and knead it until it comes together into a cohesive ball, just a few times. Split the dough into two equal balls.
Flour your work surface again and sprinkle one of your dough balls with flour, as well. Using a rolling pin, roll the ball into a circle appx 12 inches in diameter, turning and adding more flour as necessary so the dough doesn’t stick. Transfer the dough to the parchment-lined baking sheet and refrigerate while you prepare the filling. Repeat with the second ball of dough.
Make the filling:
Peel, core, and cut the apples into 1/8-inch-thick slices (you should have about 4 cups) and place in a large bowl.
Add the sugar, vanilla, cinnamon, melted butter, and salt; toss to combine.
Assemble the tart:
Sprinkle the flour evenly over the pastry. Arrange the apple slices on top in overlapping concentric circles to within 2 inches of the edge. Work quickly so the dough doesn’t get too warm. Fold the edges of the dough over the apples, working your way around and creating pleats as you go.
Using a pastry brush, brush the pleated dough evenly with the beaten egg. Sprinkle the brown sugar over the crust and apples. Chill the assembled tart in the fridge for 15 to 20 minutes. Prepare the second tart and place it in the fridge as well.
Preheat the oven to 350°F and set an oven rack in the center position.
Bake for 55 to 65 minutes, or until the apples are tender and the crust is golden and cooked through.
While the tart bakes, make the glaze. In a small bowl, mix the apricot jam with 1-1/2 teaspoons hot water. About 2-3 minutes before your tarts finish baking, remove them, brush the tarts with the apricot glaze, and put them back in the oven for the final two minutes. Remove and let cool.
Transfer the tart to a serving plate or cutting board. Slice and serve warm or at room temperature. The tart is best served on the day it is made, but leftovers make for a delicious breakfast treat the next day!
Keto Carrot Cake Recipe
Father's Day wasn't a big to-do around our house this past Sunday but I wanted to do something special for Dan, so I decided to make his favorite cake: Carrot Cake. But Keto! I always tend to give keto versions of delicious non-keto foods the ol' side-eye but this cake was seriously delicious. And with only 5.5 net carbs per slice, I can eat a slice for breakfast, ain't no thang!
Keto Carrot Cake
Recipe slightly adapted from WholesomeYum
Cake Ingredients
- 3/4 cup Erythritol (I use Swerve Confectioners)
- 3/4 cup Butter (softened; I use Kerrygold)
- 1 tsp Vanilla extract
- 4 large Eggs
- 2 1/2 cup Almond flour
- 2 tsp baking powder
- 2 tsp Cinnamon
- 1/2 tsp Sea salt
- 2 1/2 cup Carrots (grated, measured loosely packed after grating)
- 1 cup Pecans (chopped; divided into 1 cup and 1/2 cup)
01/ Preheat the oven to 350 degrees F. Line two 9 in round cake pans (springform is best) with parchment paper. Grease the sides.
02/ In a large bowl, cream together the butter and erythritol, until fluffy. Beat in the vanilla extract, then beat in the eggs, one at a time. Set aside.
03/ In another bowl, mix together the almond flour, baking powder, cinnamon, and sea salt. Stir the dry ingredients into the bowl with the wet ingredients.
04/ Stir in the grated carrots. Fold in the chopped pecans.
05/ Transfer the batter evenly among the two prepared baking pans. Bake for 30-35 minutes, until the top is spring-y.
06/ Let the cakes cool in the pans for 10 minutes, then transfer to a wire rack to cool completely.
Frosting Ingredients
- 8 oz Cream cheese (softened, cut into cubes)
- 4 tbsp Butter (softened, cut into cubes)
- 1 cup Powdered erythritol (again, I use Swerve)
- 2 tsp Vanilla extract
- 2 tbsp Heavy cream (or more if needed)
01/ Use a hand mixer to beat together the cream cheese and butter, until fluffy.
02/ Beat in the sweetener and vanilla, until well incorporated.
03/ Add cream and beat again, until creamy. You can adjust the amount of cream to desired consistency.
Put it all together
If you aren't looking to make a fancy lookin' cake, you can just frost the two 9in. cakes like you normally would, with frosting between the layers and then on the top and sides.
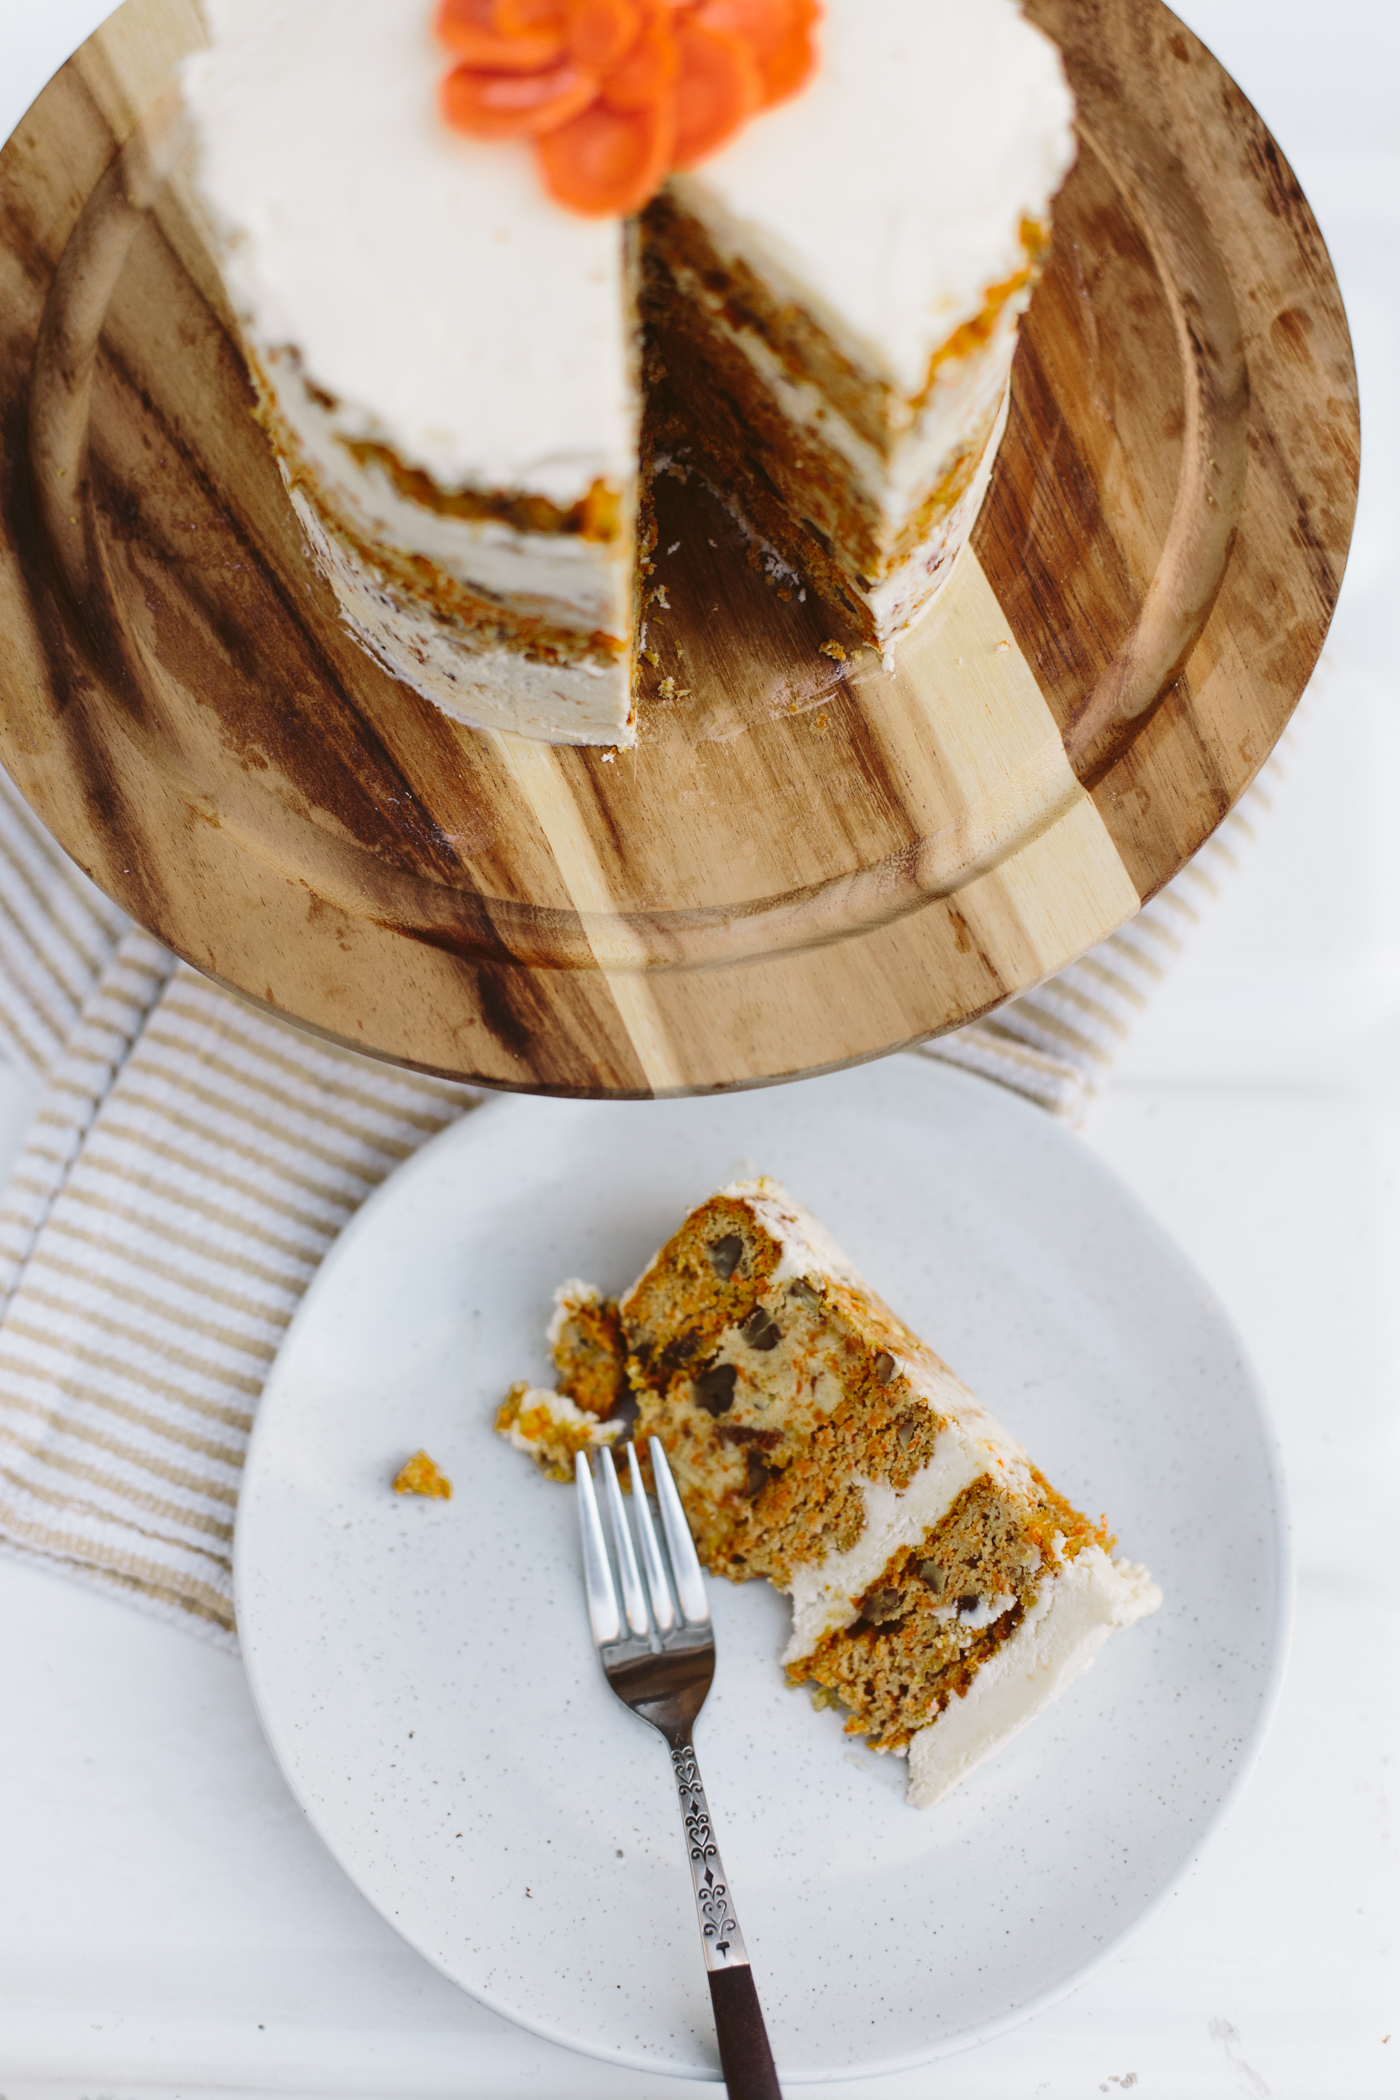
I wanted my cake to have a little more style to it so I tried something new! I recently watched the Milk Bar episode of Chef's Table (if you aren't craving sweets, you absolutely will after watching it), and I loved how she used a plastic sheath mould thing (you can see what I'm talking about here) to create her naked cakes, and I also like how she deconstructed cake, mixed it with frosting and pressed that in to the mould to create layers.
So that's what I did. I took my two 9 inch cakes and cut 6 inch rounds out of them, then used the remaining pieces of cake and frosting mushed together and pressed that into the mould to make layers. And I frosted it in a more "naked cake" style. I think it definitely was more delicious with the layers that were frosting/cake mixed together than a standard cake-frosting-cake situation.
I didn't feel like putting chopped pecans on the top, so I made a little carrot round flower instead, but if you want a more classic topping, cut up 1/2 cup more pecans and add those to the top!
If you want to get the nutrition info on this cake, head over to Wholesome Yum, the info might be slightly different as I didn't include a couple of the ingredients she used but it should be about the same!
You might also like
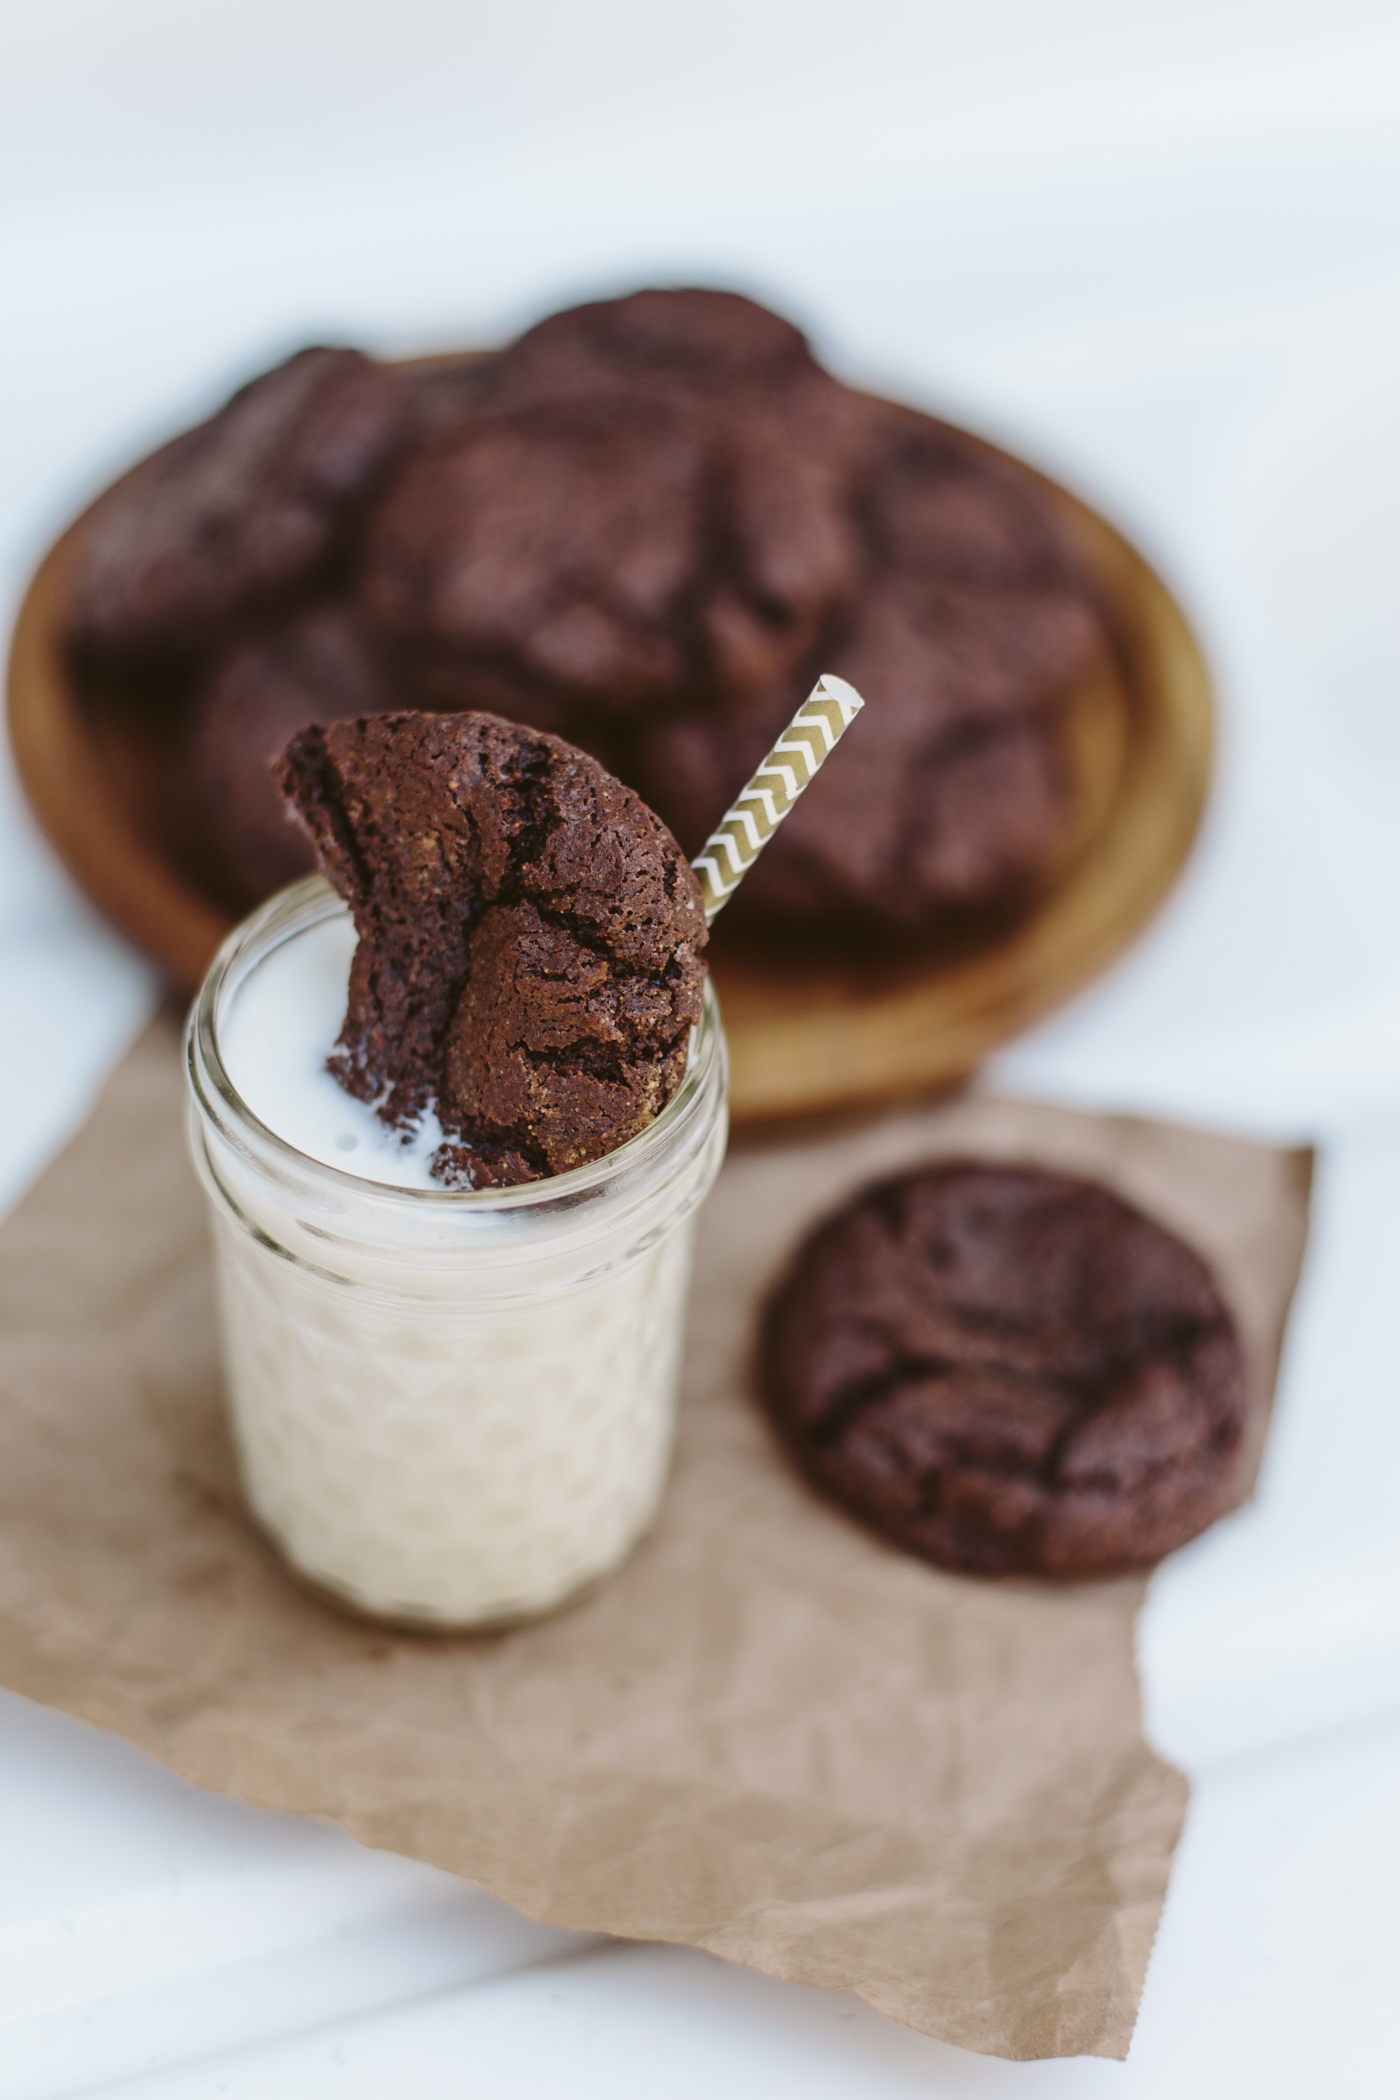
Keto Chocolate Cookies
Being on a high fat, low carb diet means that you can sometimes get cravings for baked goods that are off limits. Luckily I've found some great recipes for keto-friendly goodies and I happened to have all the ingredients on hand the other day when I was having my cookie craving so I threw them together real quick, popped 'em in the oven and was happily munching on cookies in less than an hour. The original recipe calls for chocolate chips which was the only thing I didn't have on hand, but next time I make these I will definitely be adding those for some additional gooey goodness.
Keto Chocolate Cookies
(makes 12-18 cookies. recipe via peace love and low carb)
Ingredients:
1 cup natural creamy almond butter
2/3 cup confectioners erythritol (I use this brand)
2 tablespoons unsweetened cocoa powder
2 tablespoons peanut butter powder
2 large eggs
1 tablespoon melted salted butter
2 tablespoons water
1 1/2 teaspoons pure vanilla extract
1 teaspoon baking soda
1/ Preheat oven to 350°F. Line a rimmed baking sheet with a silicone baking mat or parchment paper.
2/ In a large mixing bowl, combine the almond butter, erythritol, cocoa powder, peanut butter powder, eggs, butter, water, vanilla extract, and baking soda. Using an electric hand mixer, mix until all ingredients are well combined. It will be a very thick dough. Fold in the chocolate chips.
3/ Form the cookie dough into 1 1/2 inch to 2 inch balls. This will produce 12 good sized cookies. You can make them smaller to yield more cookies.
4/ Place the cookie dough balls on the prepared baking sheet. Bake for 10 to 12 minutes. At the 9-10 minute mark, remove the cookies and press them down to keep them from getting to big and cake-y. Remove the baking sheet from the oven and place on a cooling rack to allow the cookies to cool before eating.
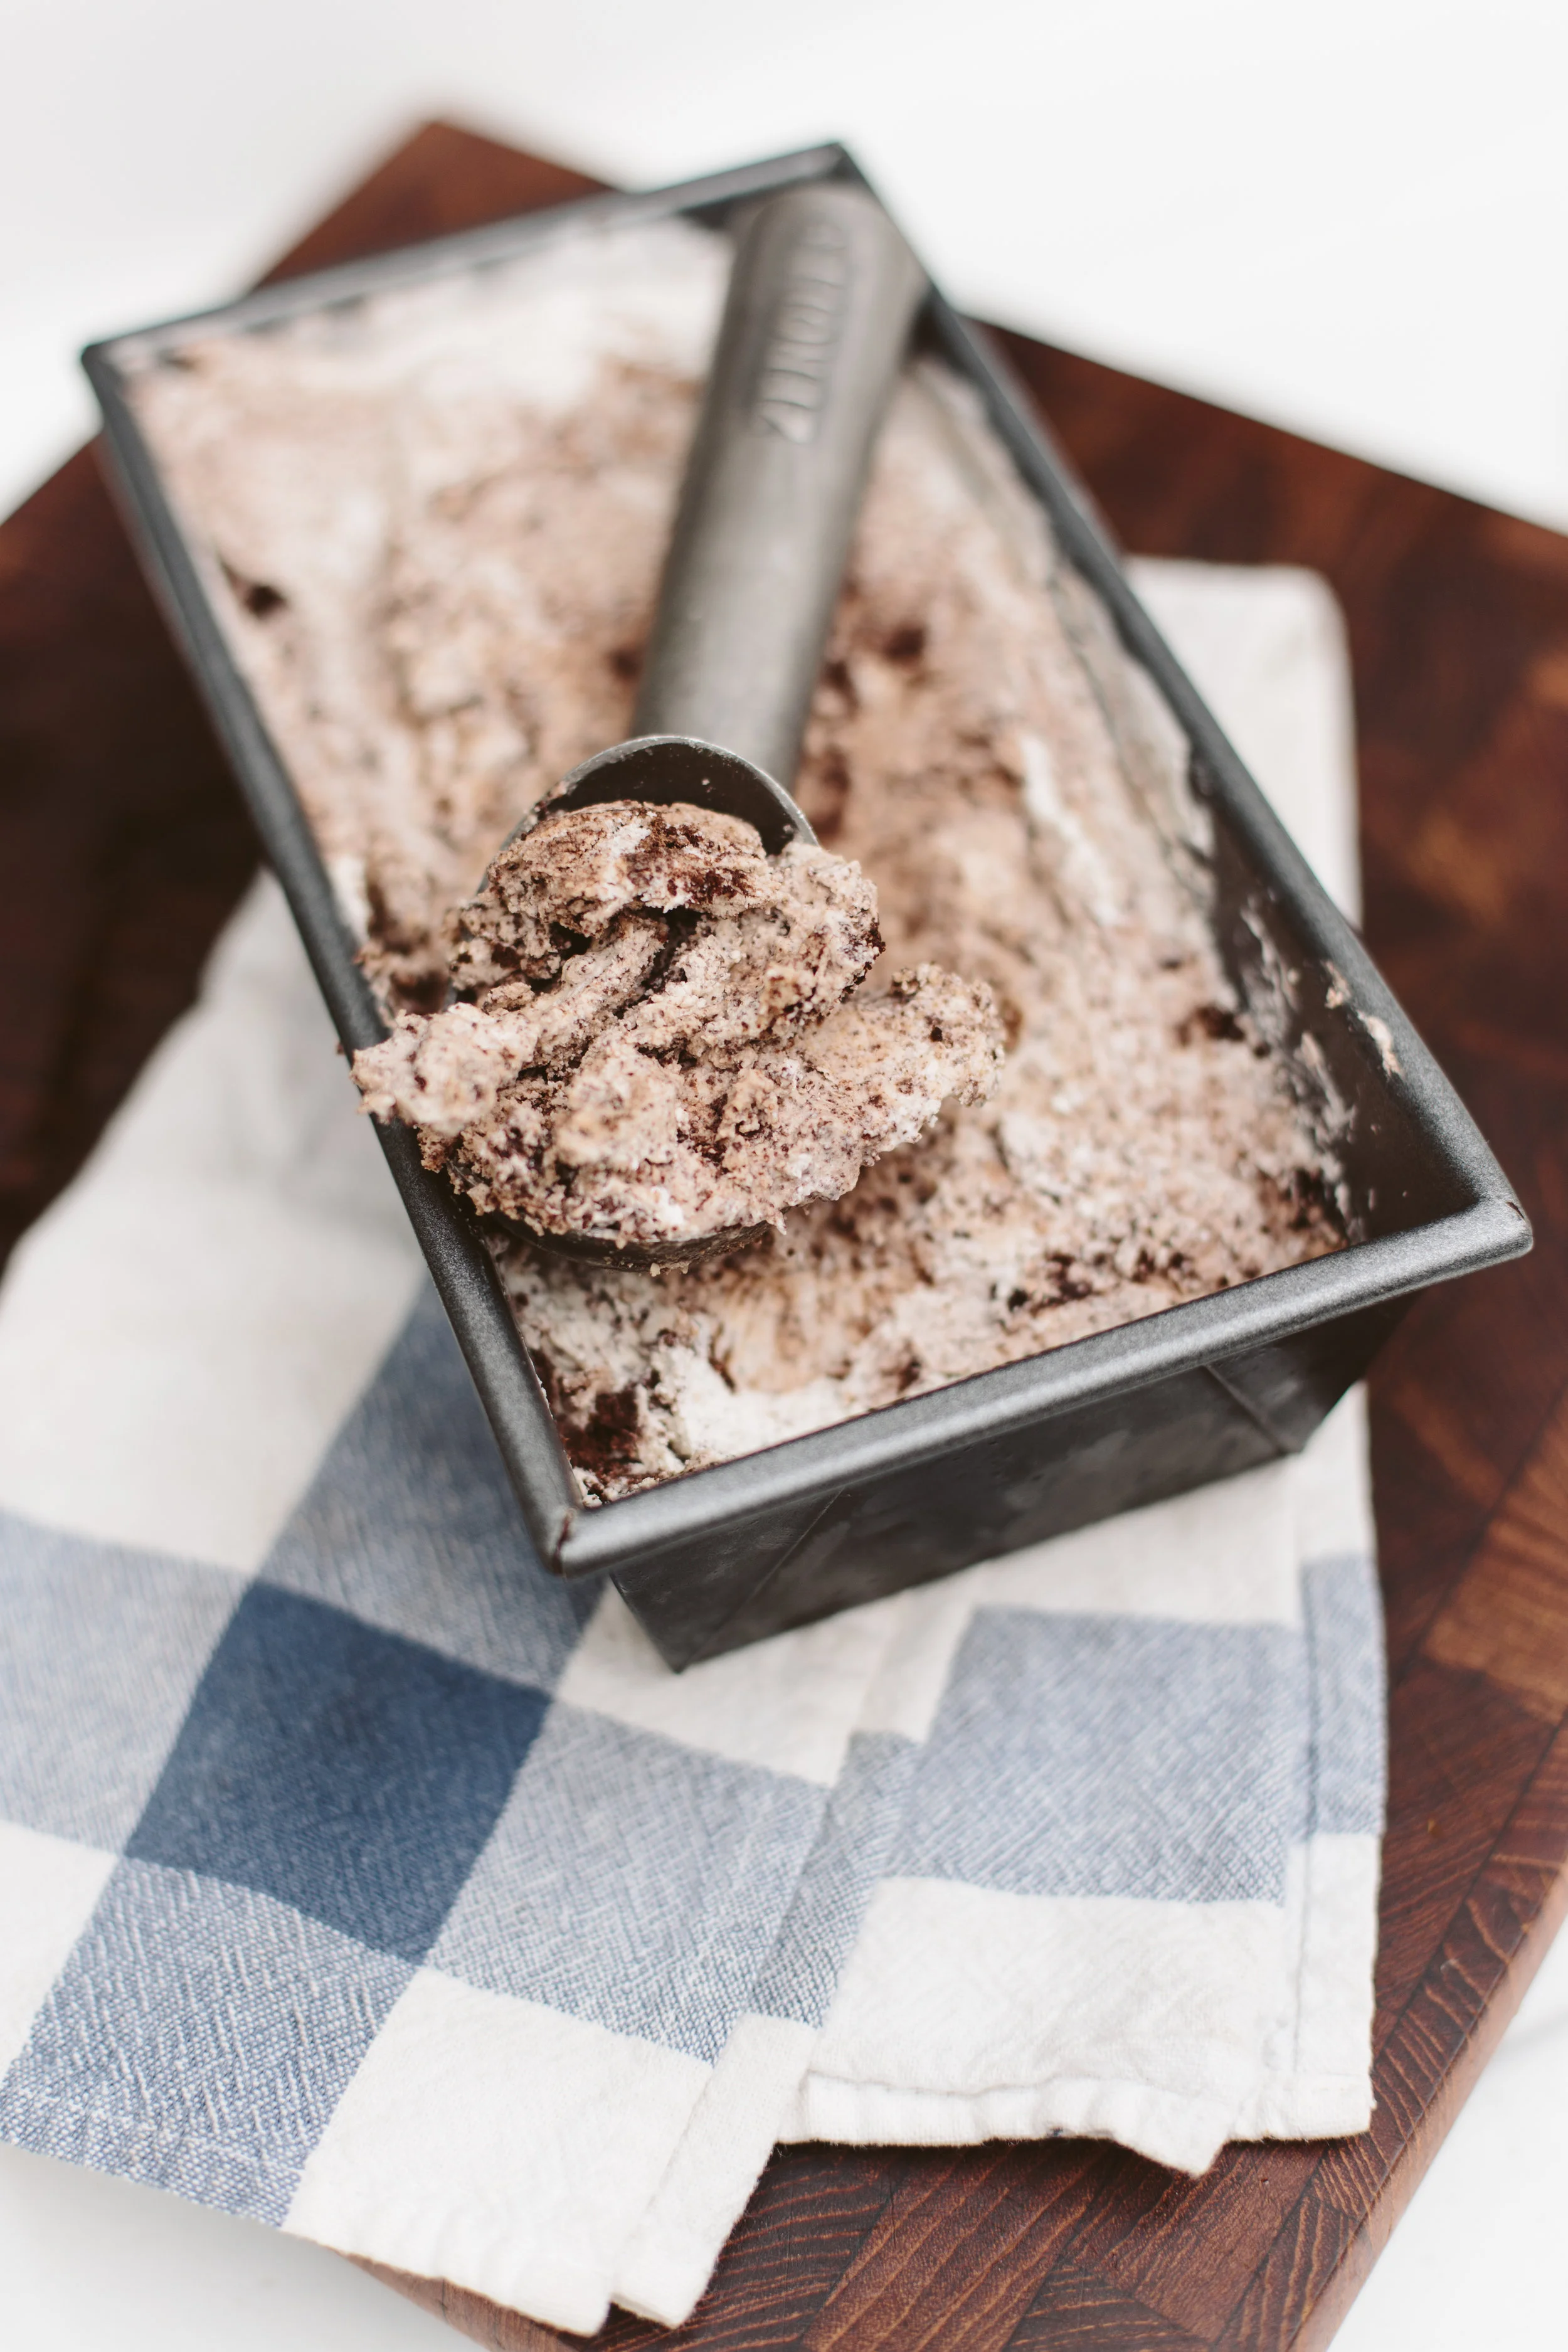
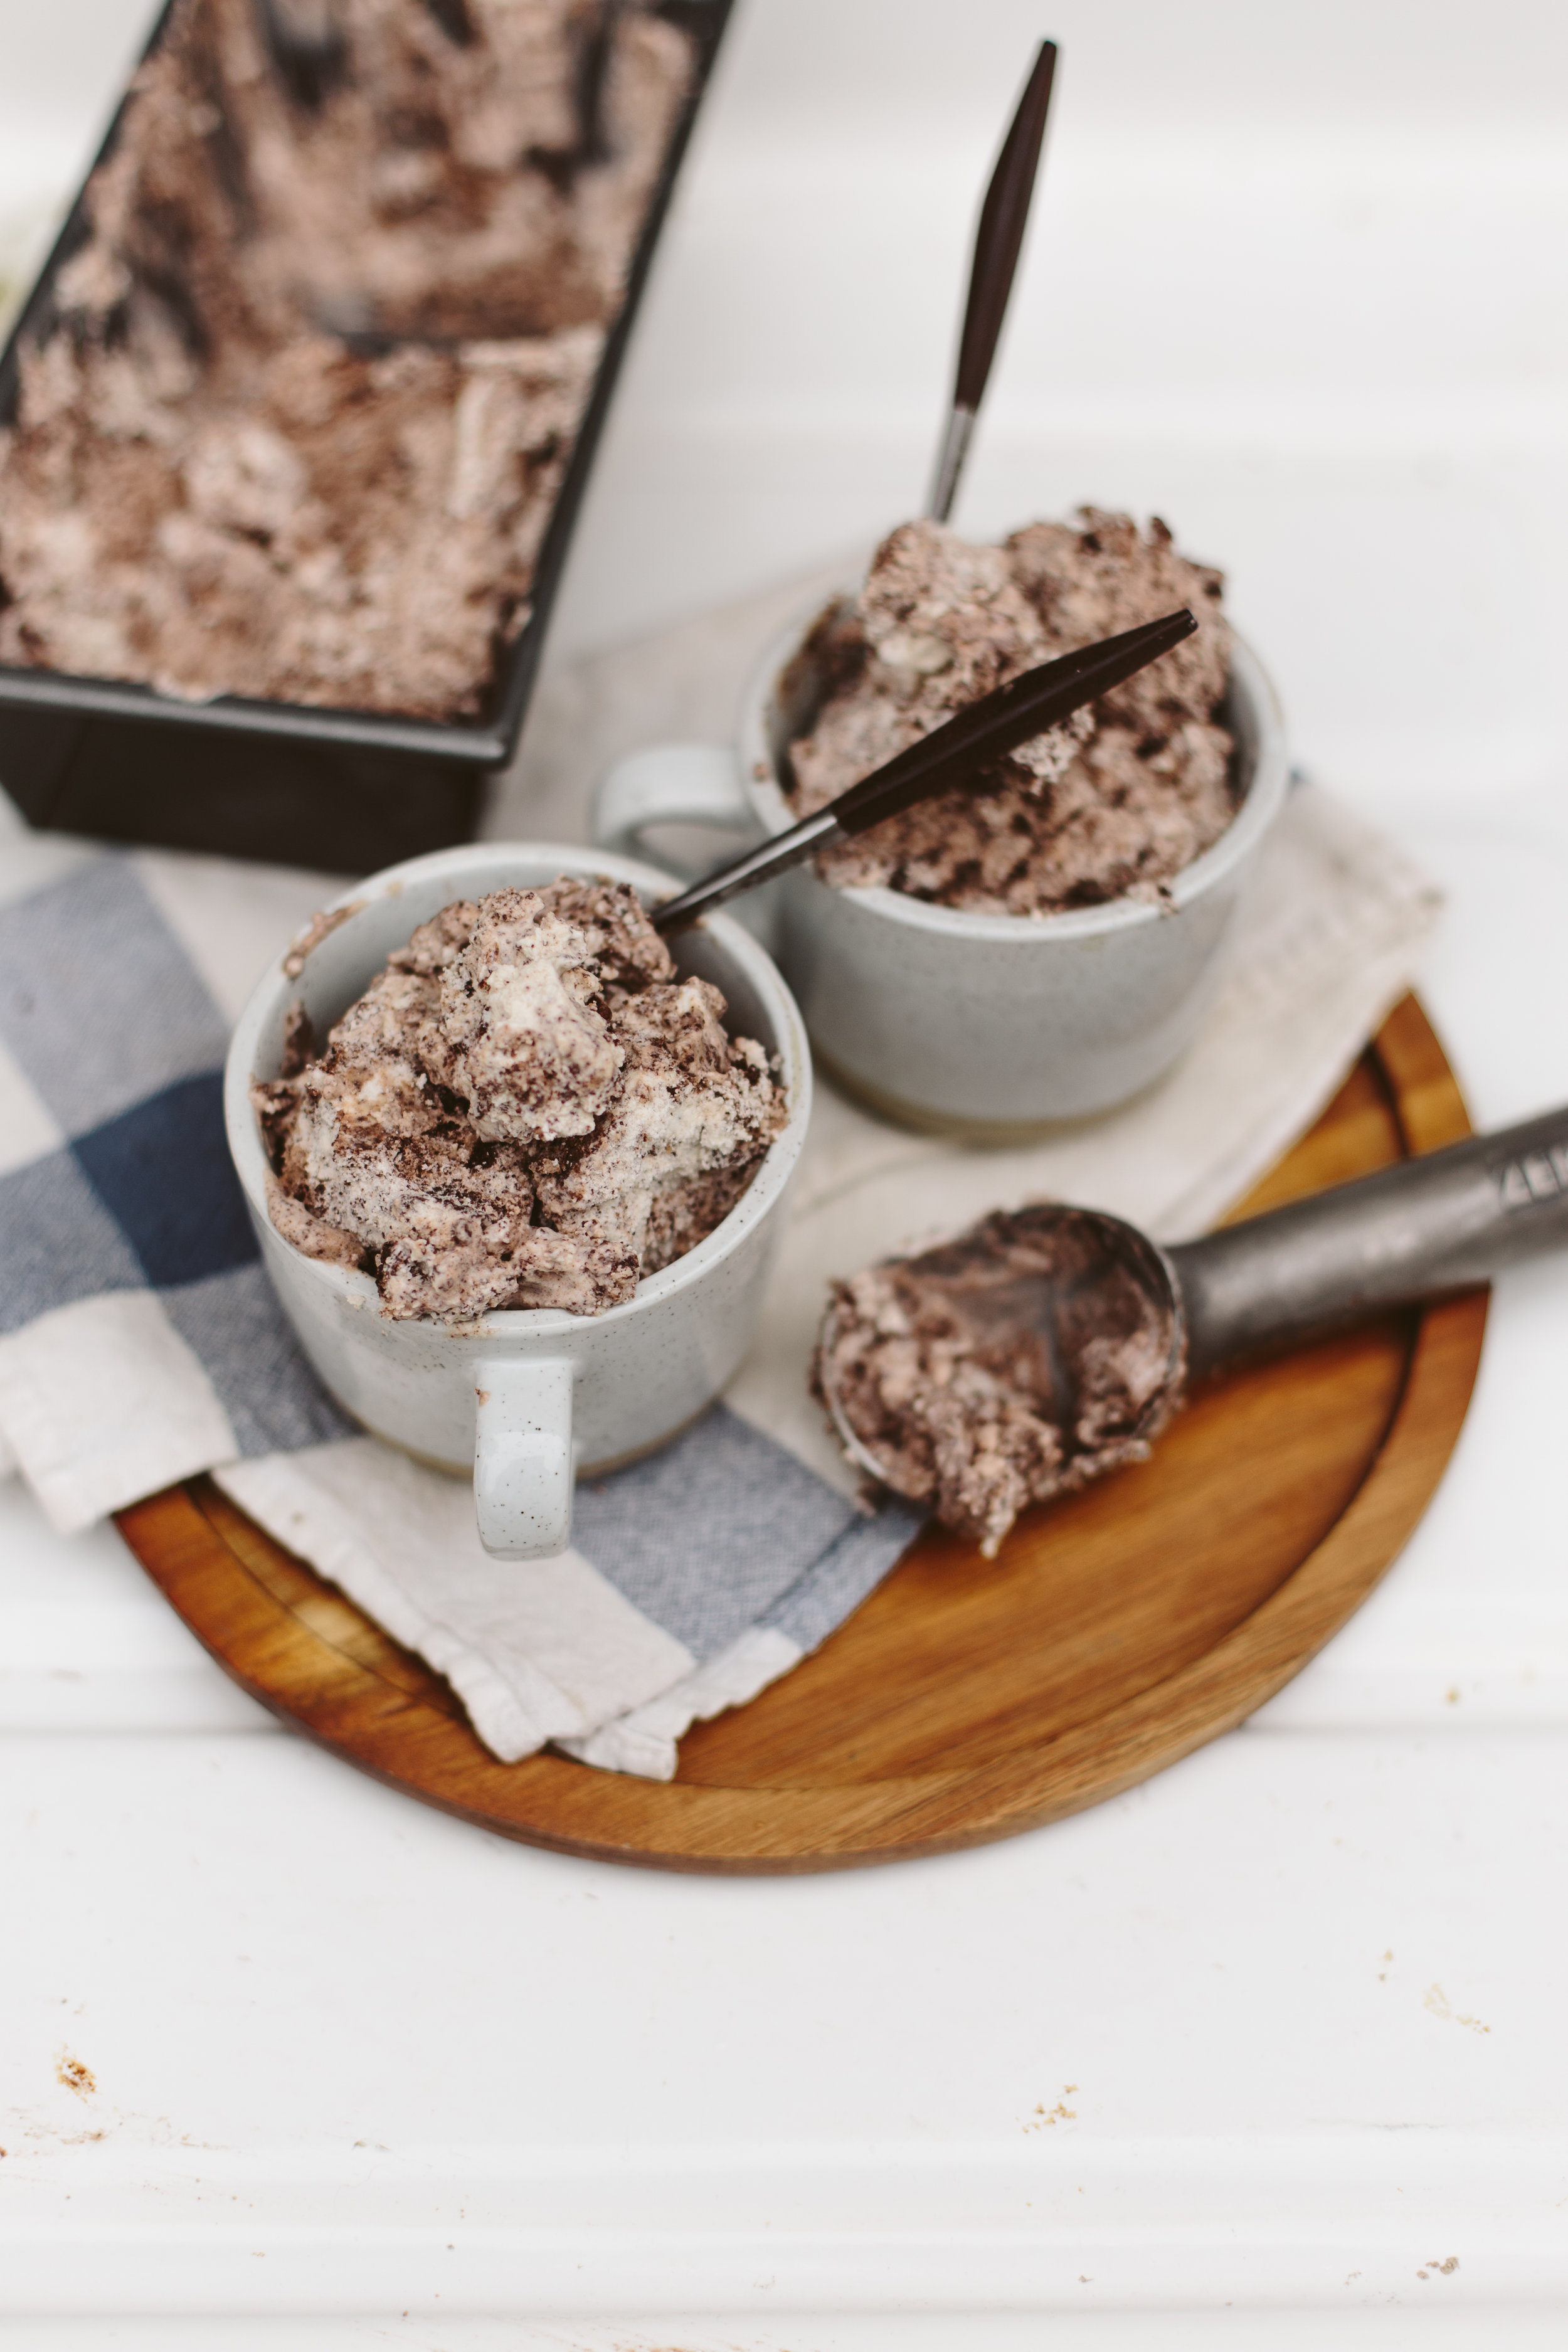
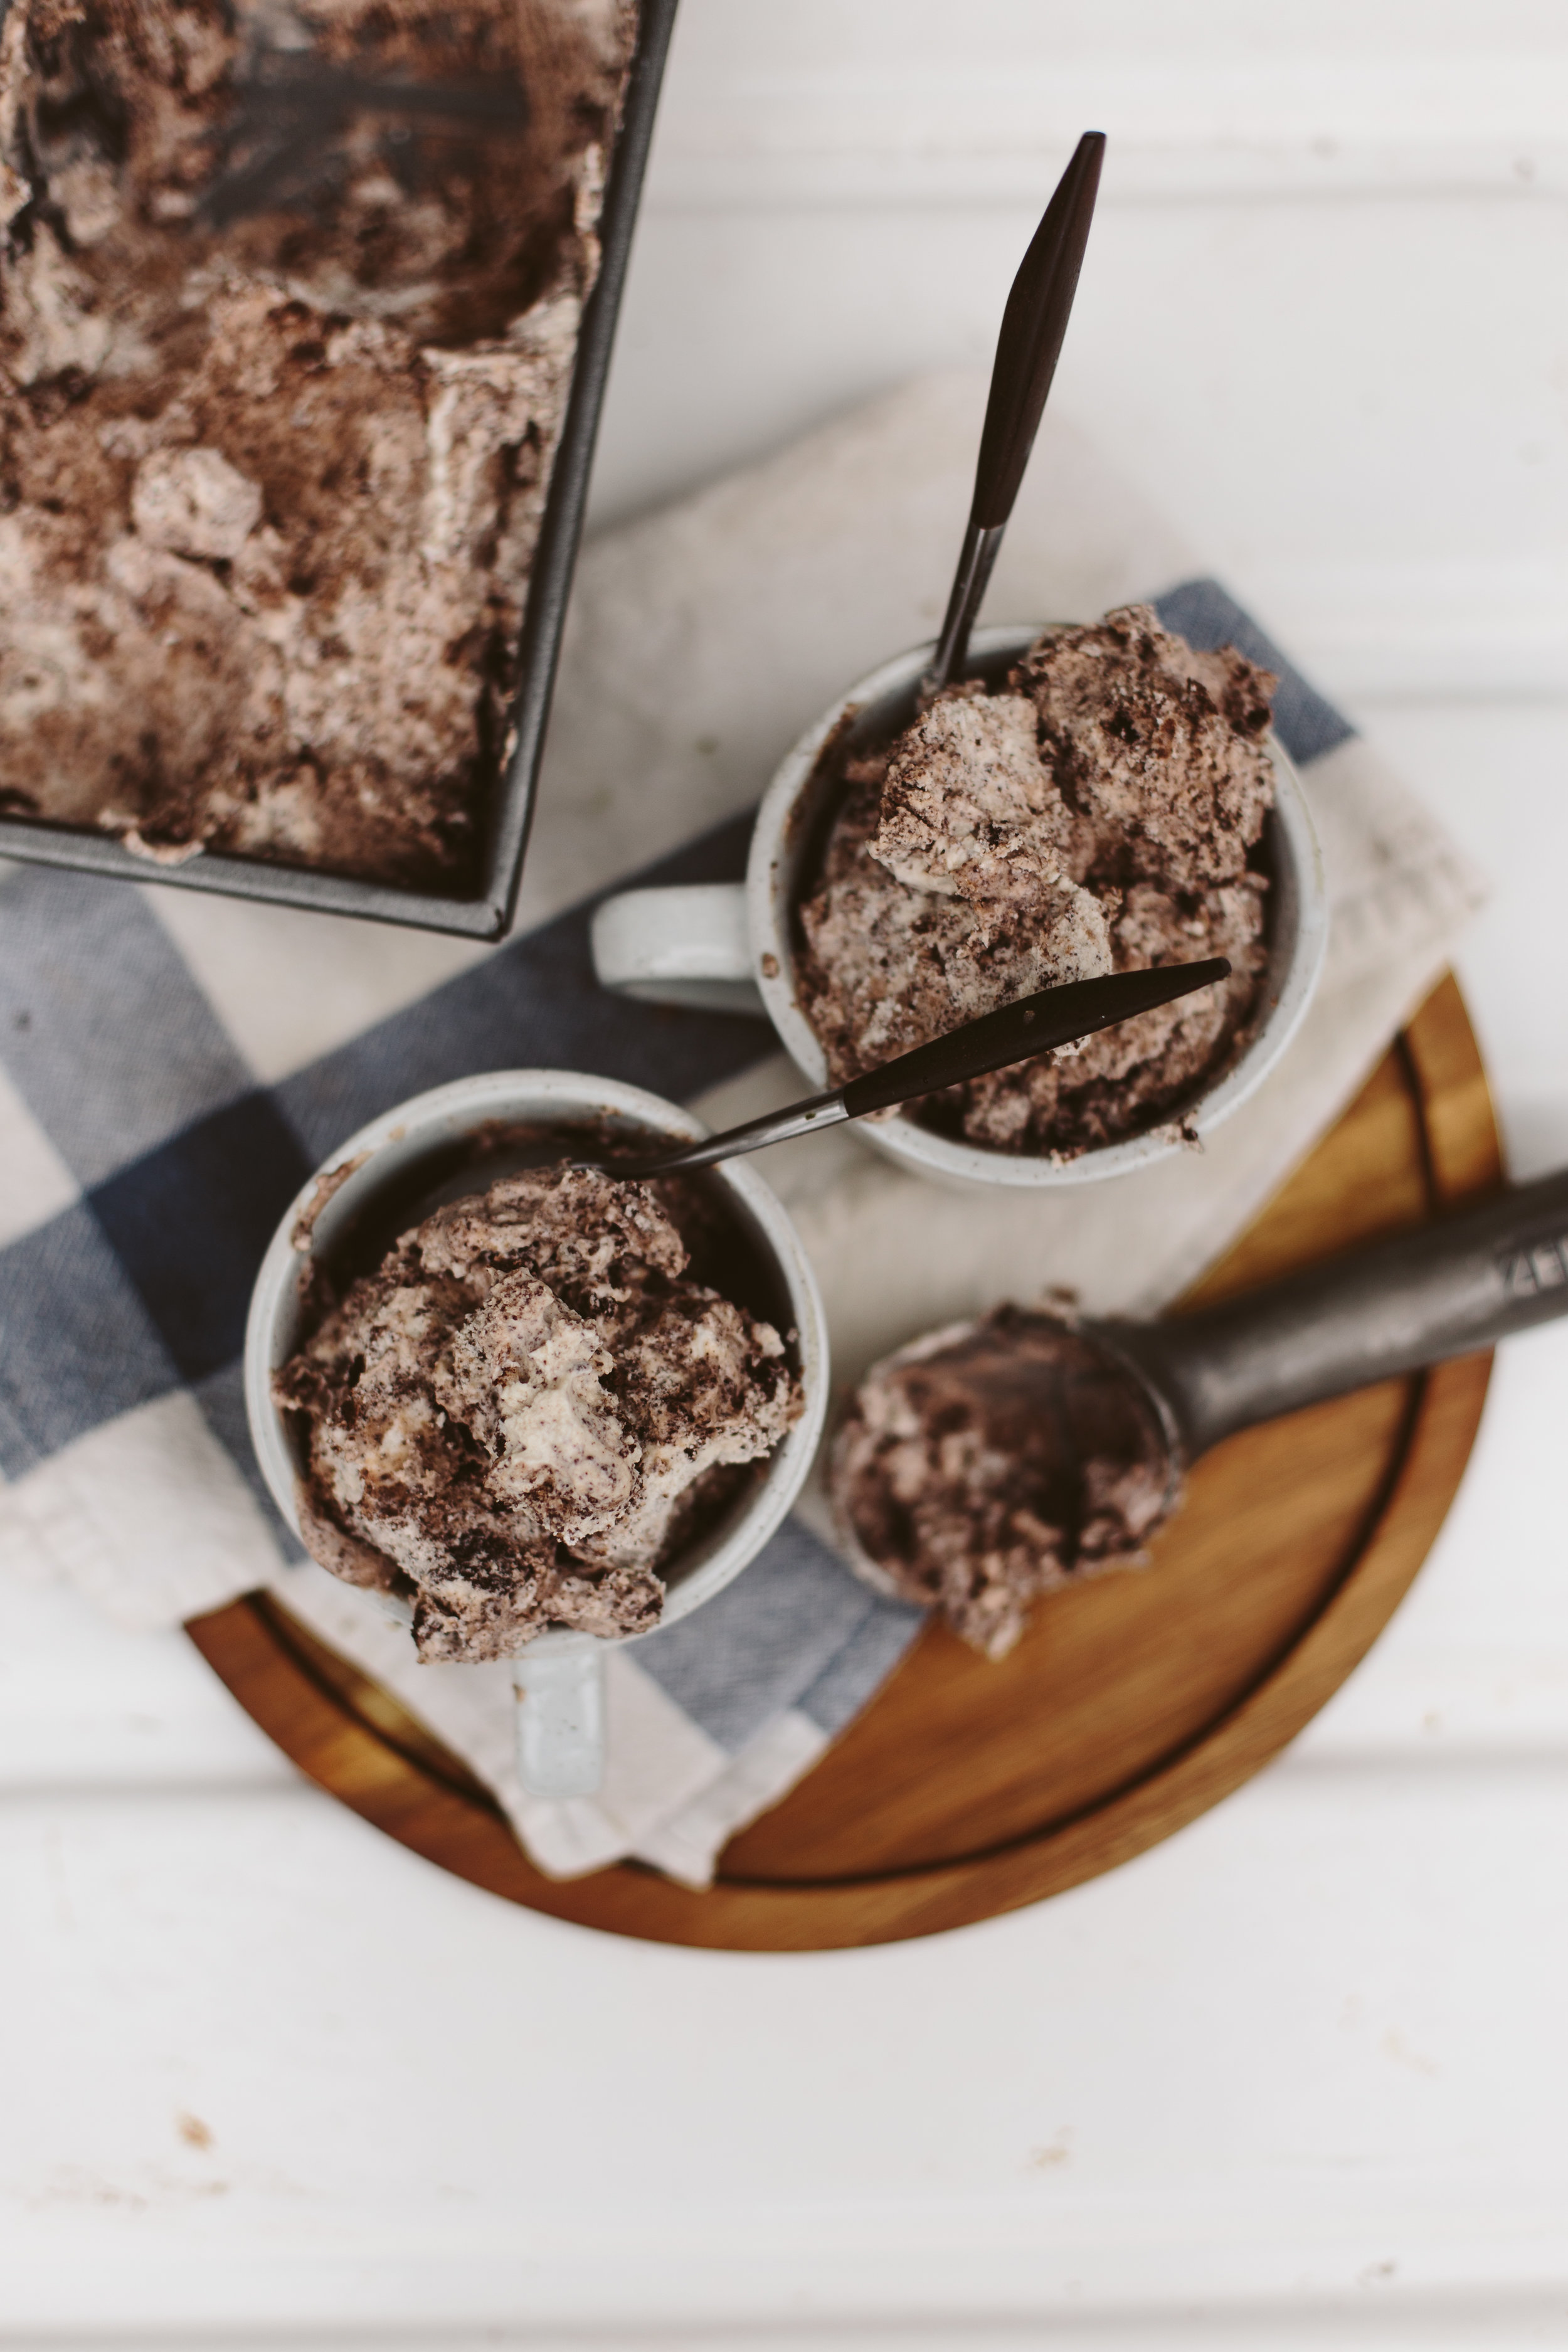
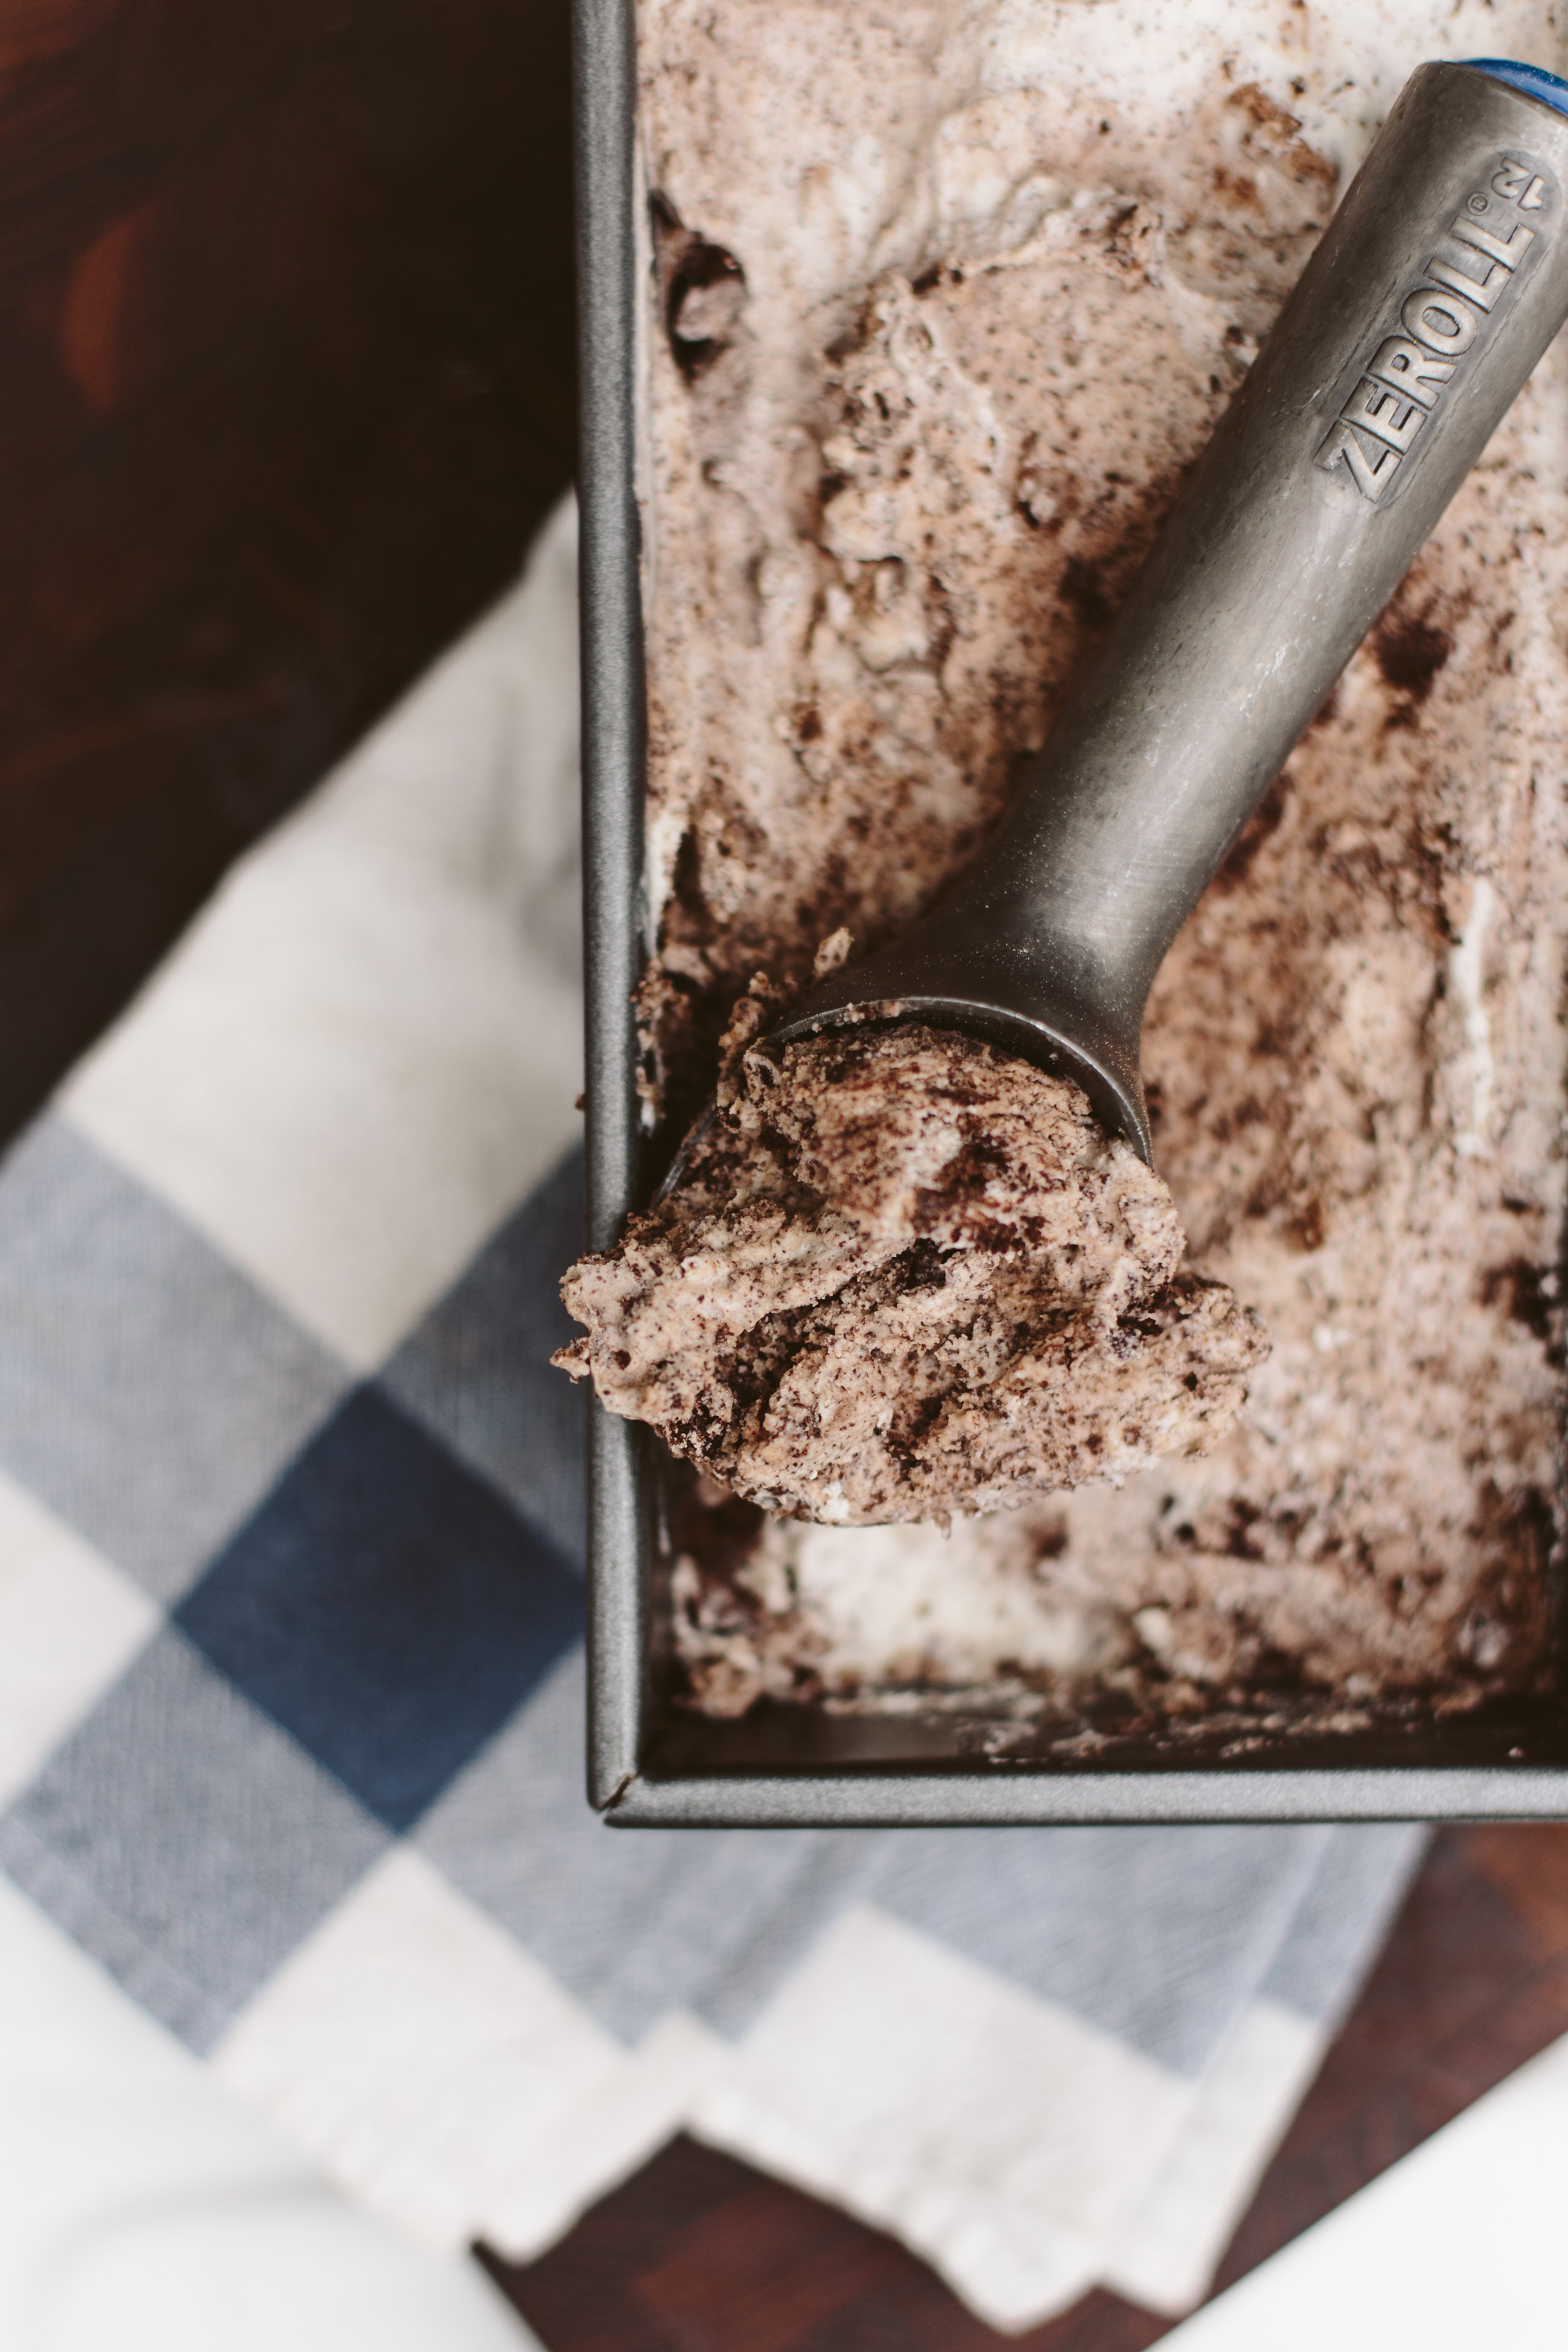
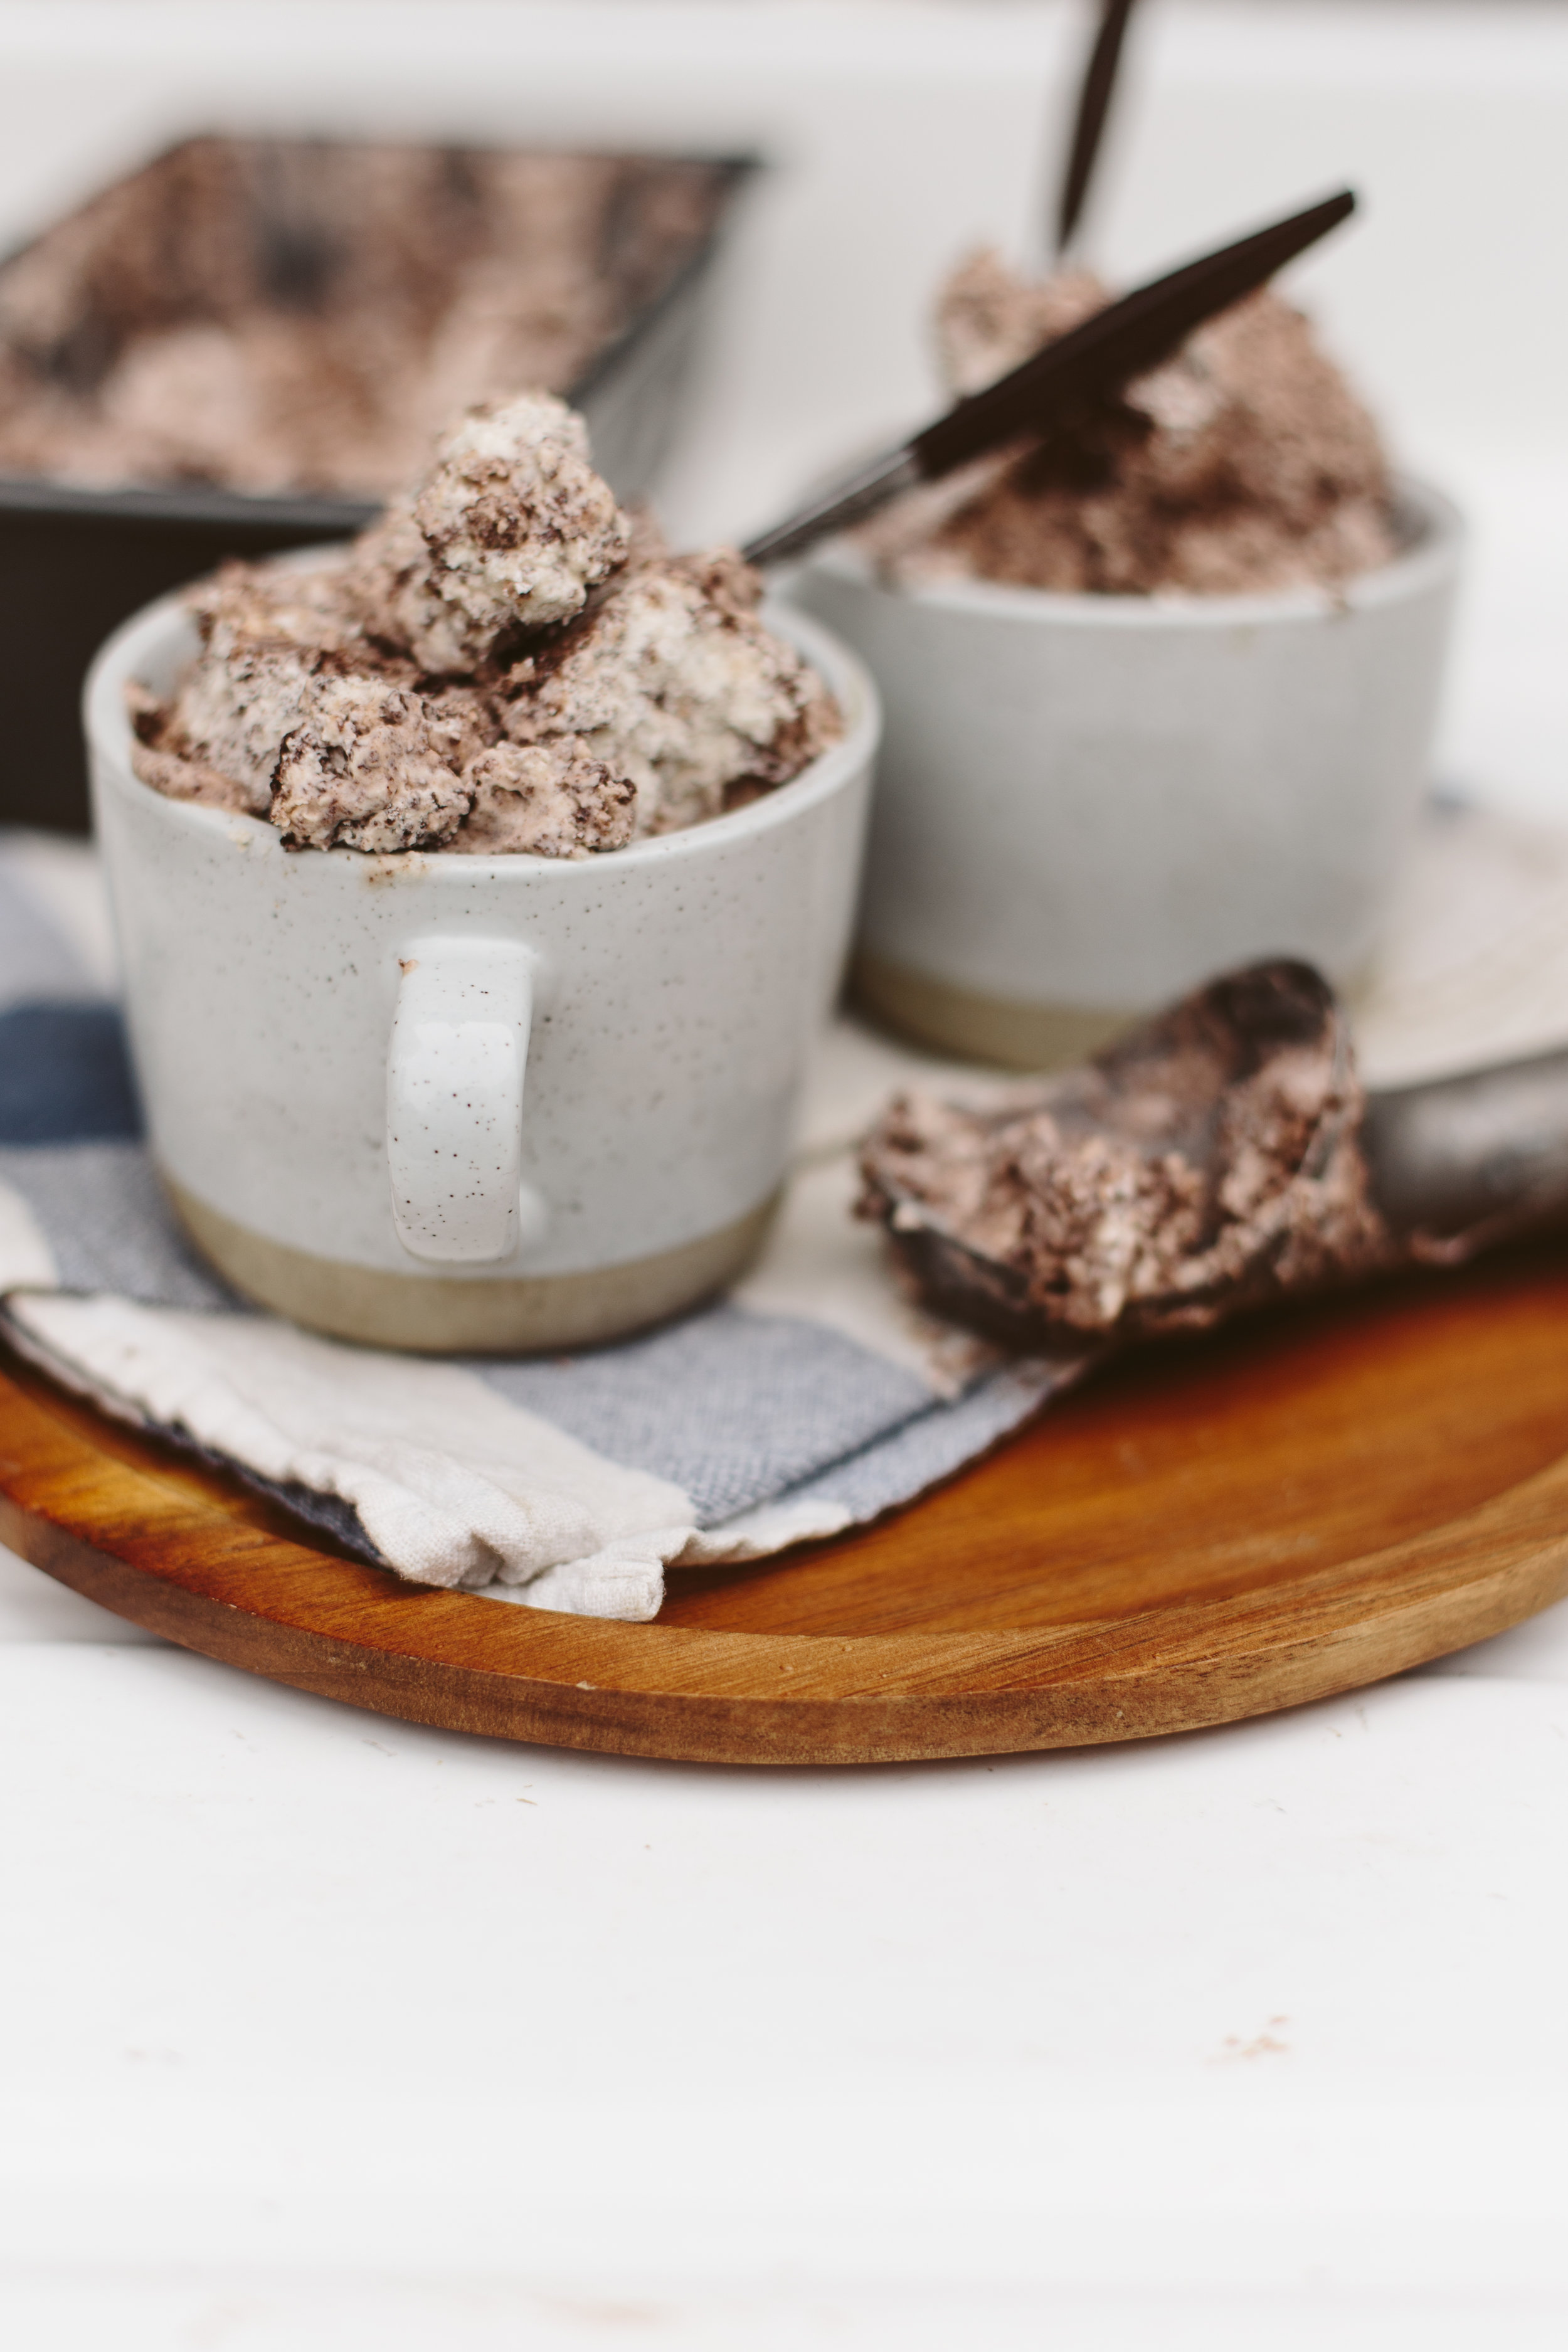
Keto Cookies & Cream Ice Cream
Dan and I have been attempting Keto since last summer. Well, I should say Dan has been pretty successfully doing Keto, and I have been... not. But I finally feel like I have mental and physical energy to focus on my own health and am diving back in! For those who have no clue what Keto is, the readers digest version is: Your body runs on glucose and ketone bodies, but will default to glucose when it's present. Ketone bodies are created from fats, so if you reduce the glucose you consume and increase the healthy fat, your body switches to running off of fat. So real basic: eat fat = burn fat. When your body is running on ketones, it's said to be in "Ketosis" hence: Keto. Anyway, in such a carbohydrate and sugar heavy culture it can be hard to switch to a high fat/low carb diet, so something like Keto ice cream can help not feel sad about the carbohydrates I'm craving.
I was skeptical that this would be actually as tasty as normal ice cream because usually substitute foods are like a sad version of the original, but this stuff is actually amazing. I was pretty excited to make ice cream because it was the first time I used my ice cream bowl and mixer for my Kitchenaid mixer! If you have a Kitchenaid, you can find the ice cream attachment here!
Keto Cookies + Cream Ice Cream
makes 10 servings (recipe via ruled.me)
INGREDIENTS FOR COOKIE CRUMBS:
3/4 cup almond flour
1/4 cup cocoa powder
1/4 tsp. baking soda
1/4 cup erythritol (I used Swerve)
1/2 tsp. vanilla extract
1 1/2 Tbsp. softened coconut oil
1 egg, room temperature
Pinch of salt
MAKE THE COOKIE CRUMBS:
1/ Preheat your oven to 300°F. Take a 9 inch circular cake pan (or similar sized pan), and grease with oil, or line with parchment paper.
2/ Into a medium bowl, sift your almond flour, cocoa powder, baking soda, erythritol, and salt then whisk until there are no lumps.
3/ Add the vanilla extract and coconut oil to the bowl and mix until batter forms into crumbs.
4/ Add the egg and mix everything together until the cookie batter begins to stick together.
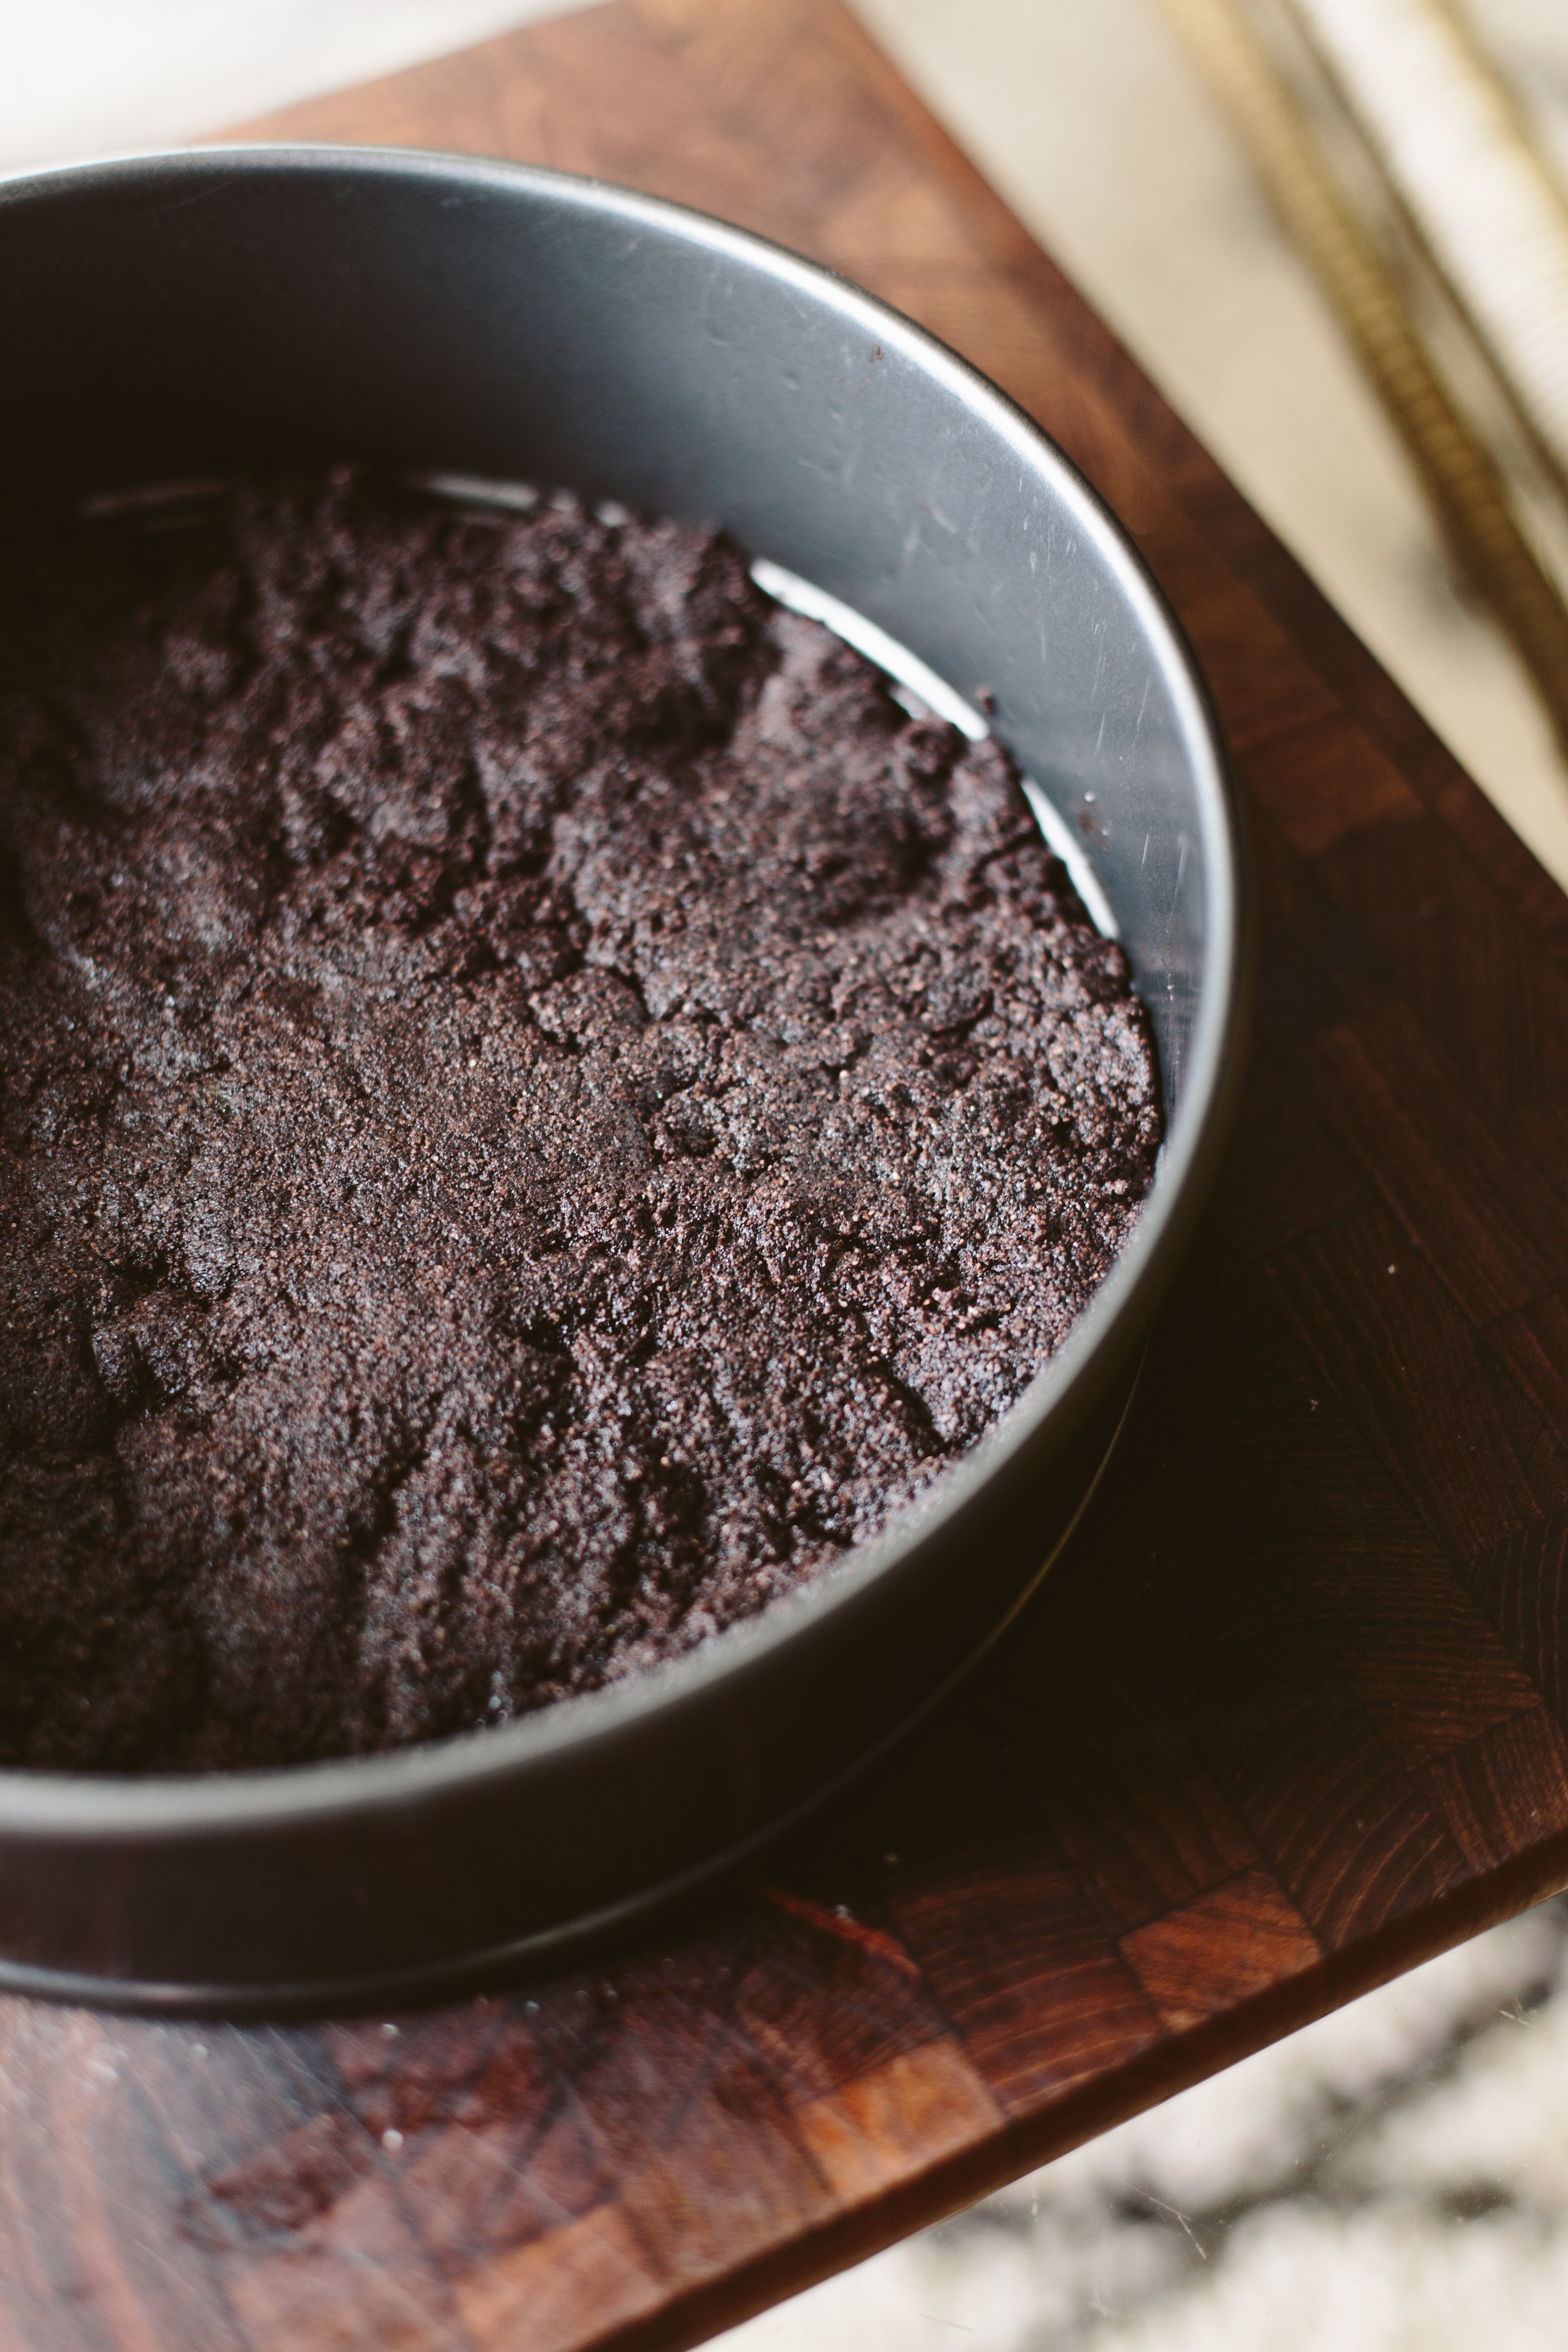
5/ Dump the batter into your prepared pan and press the batter down with your fingers until it evenly covers the bottom of the pan.
6/ Pop it in the oven and bake for 20 minutes or until the center of cookie bounces back when it's pressed.
7/ Once it's done, take the pan out of the oven and let it cool.
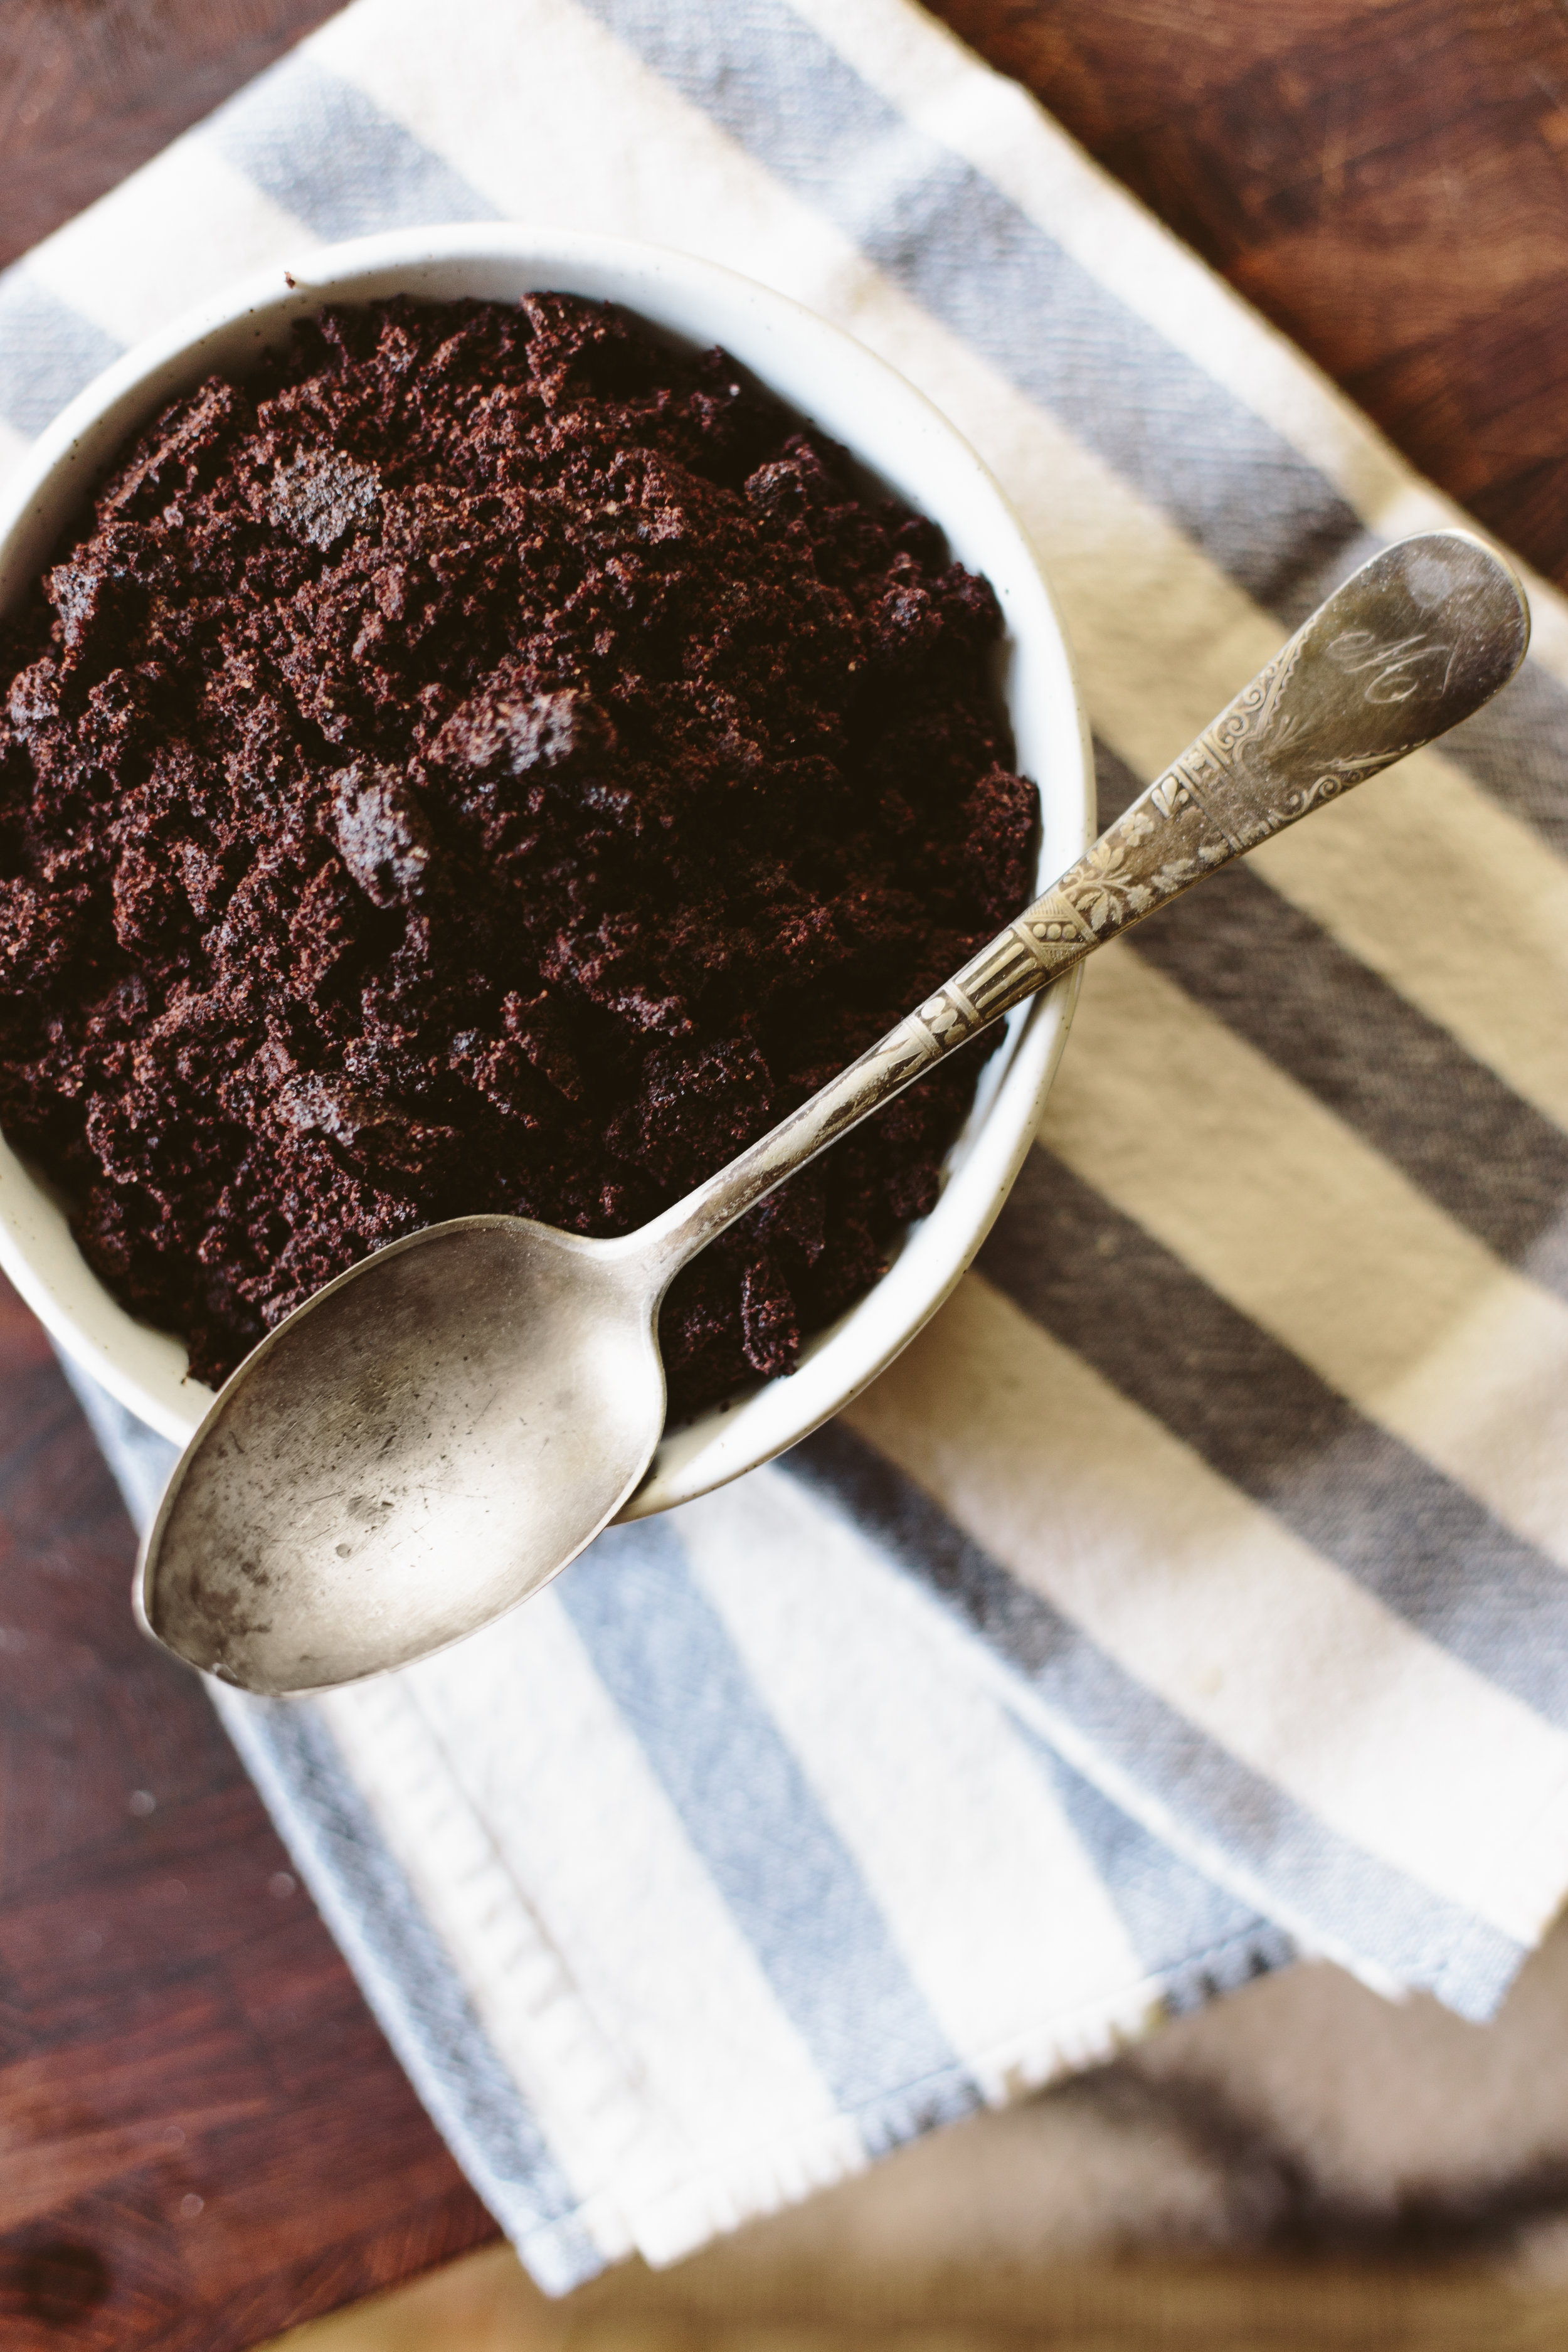
8/ Now that the cookie has cooled, crumble the cookie into small bits. Set aside.
INGREDIENTS FOR ICE CREAM
2 1/2 cups heavy whipping cream
1 tablespoon vanilla extract
1/2 cup erythritol
1/2 cup almond milk, unsweetened
MAKE THE ICE CREAM
1/ In a large bowl, blend the whipping cream with a Kitchenaid or electric mixer until stiff peaks form.
2/ Add vanilla extract and erythritol, and whip until thoroughly combined.
3/ Pour in the almond milk and blend mixture until it re-thickens.
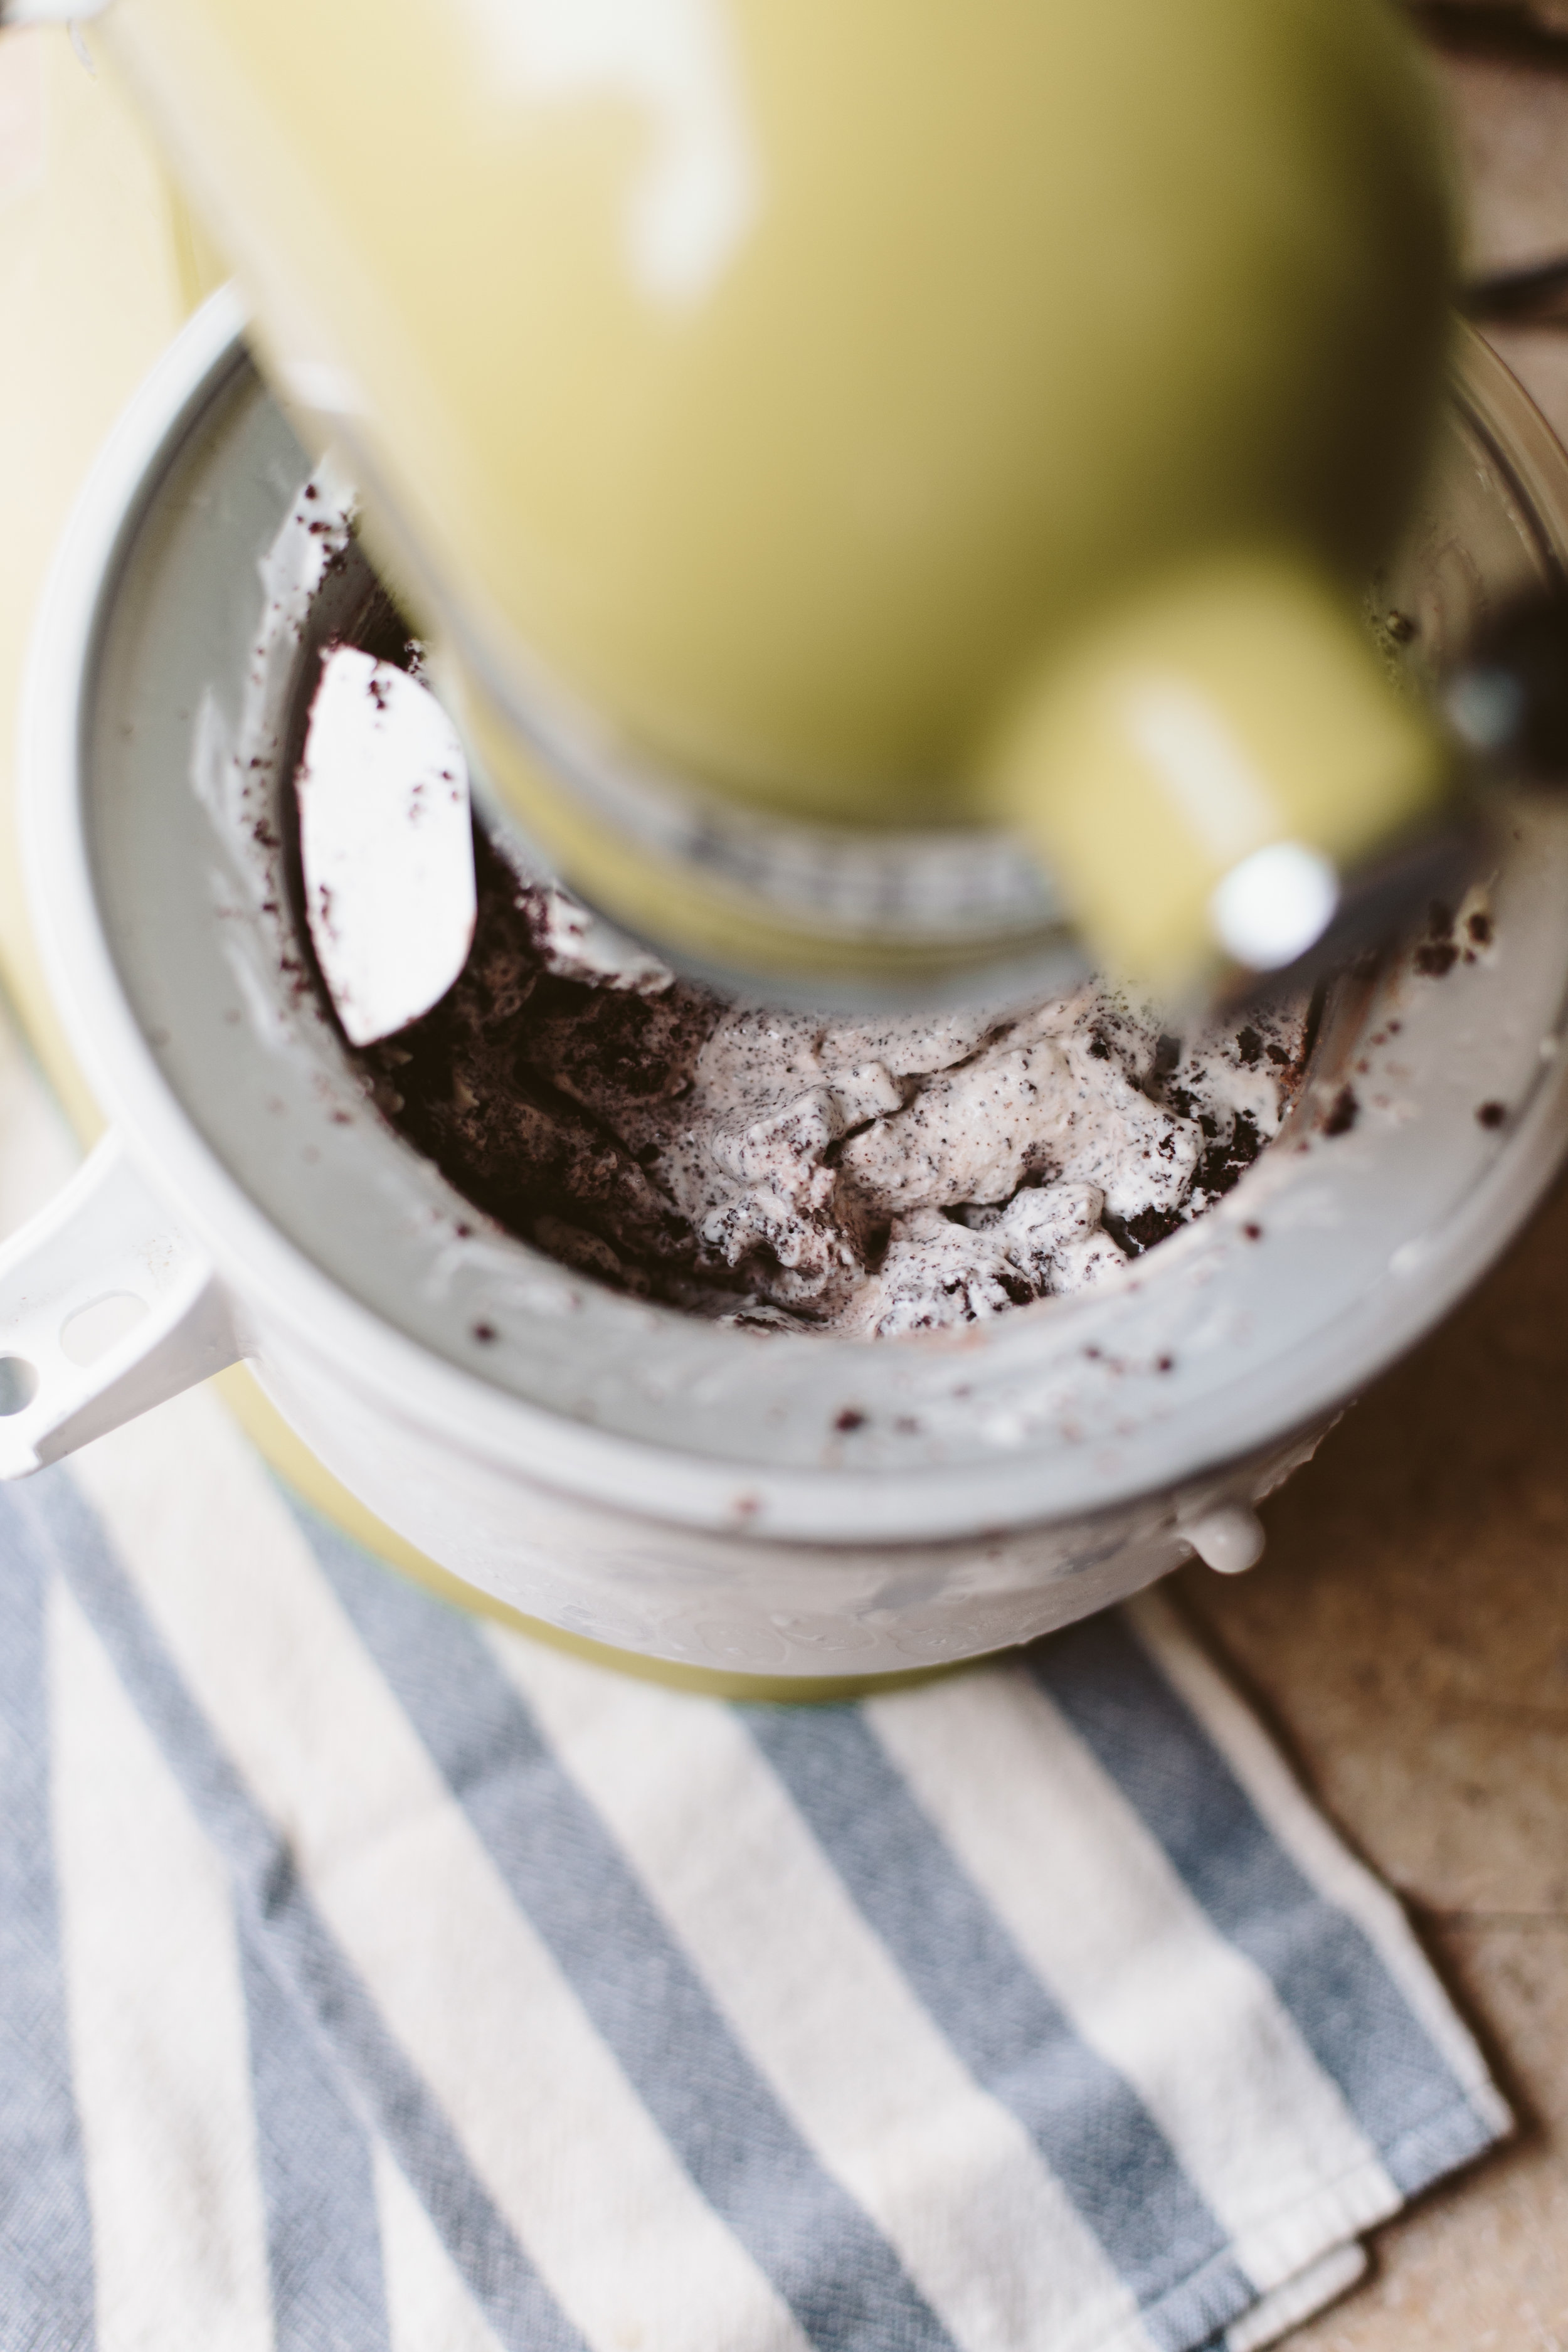
4/ Transfer cream mixture to ice cream maker bowl and churn until ice cream begins to hold its shape. If you're using the kitchenaid mixer, make sure you only use the churning attachment on the "stir" speed. Churn for about 20 minutes.
5/ Once you've been churning for 20 minutes or so, gradually pour the cookie crumbles in while the ice cream maker is churning to evenly mix the crumbles into the ice cream. Churn for 5-10 more minutes, until the cookie crumbles are mixed throughout.
6/ Once all of the cookie crumbles are incorporated, transfer the ice cream into a freezer-safe container. You can serve the ice cream right away if you want a softer texture, or if you want it harder, put it in the freezer for an hour or two. Mine gets too hard in my freezer, so I have to take it out and put it in the fridge for a bit to let it soften up.
Makes 10 servings. Each serving comes out to be 289.9 Calories, 28.9g Fats, 3g Net Carbs, and 4.6g Protein.
ENJOY!
You Might Also Like
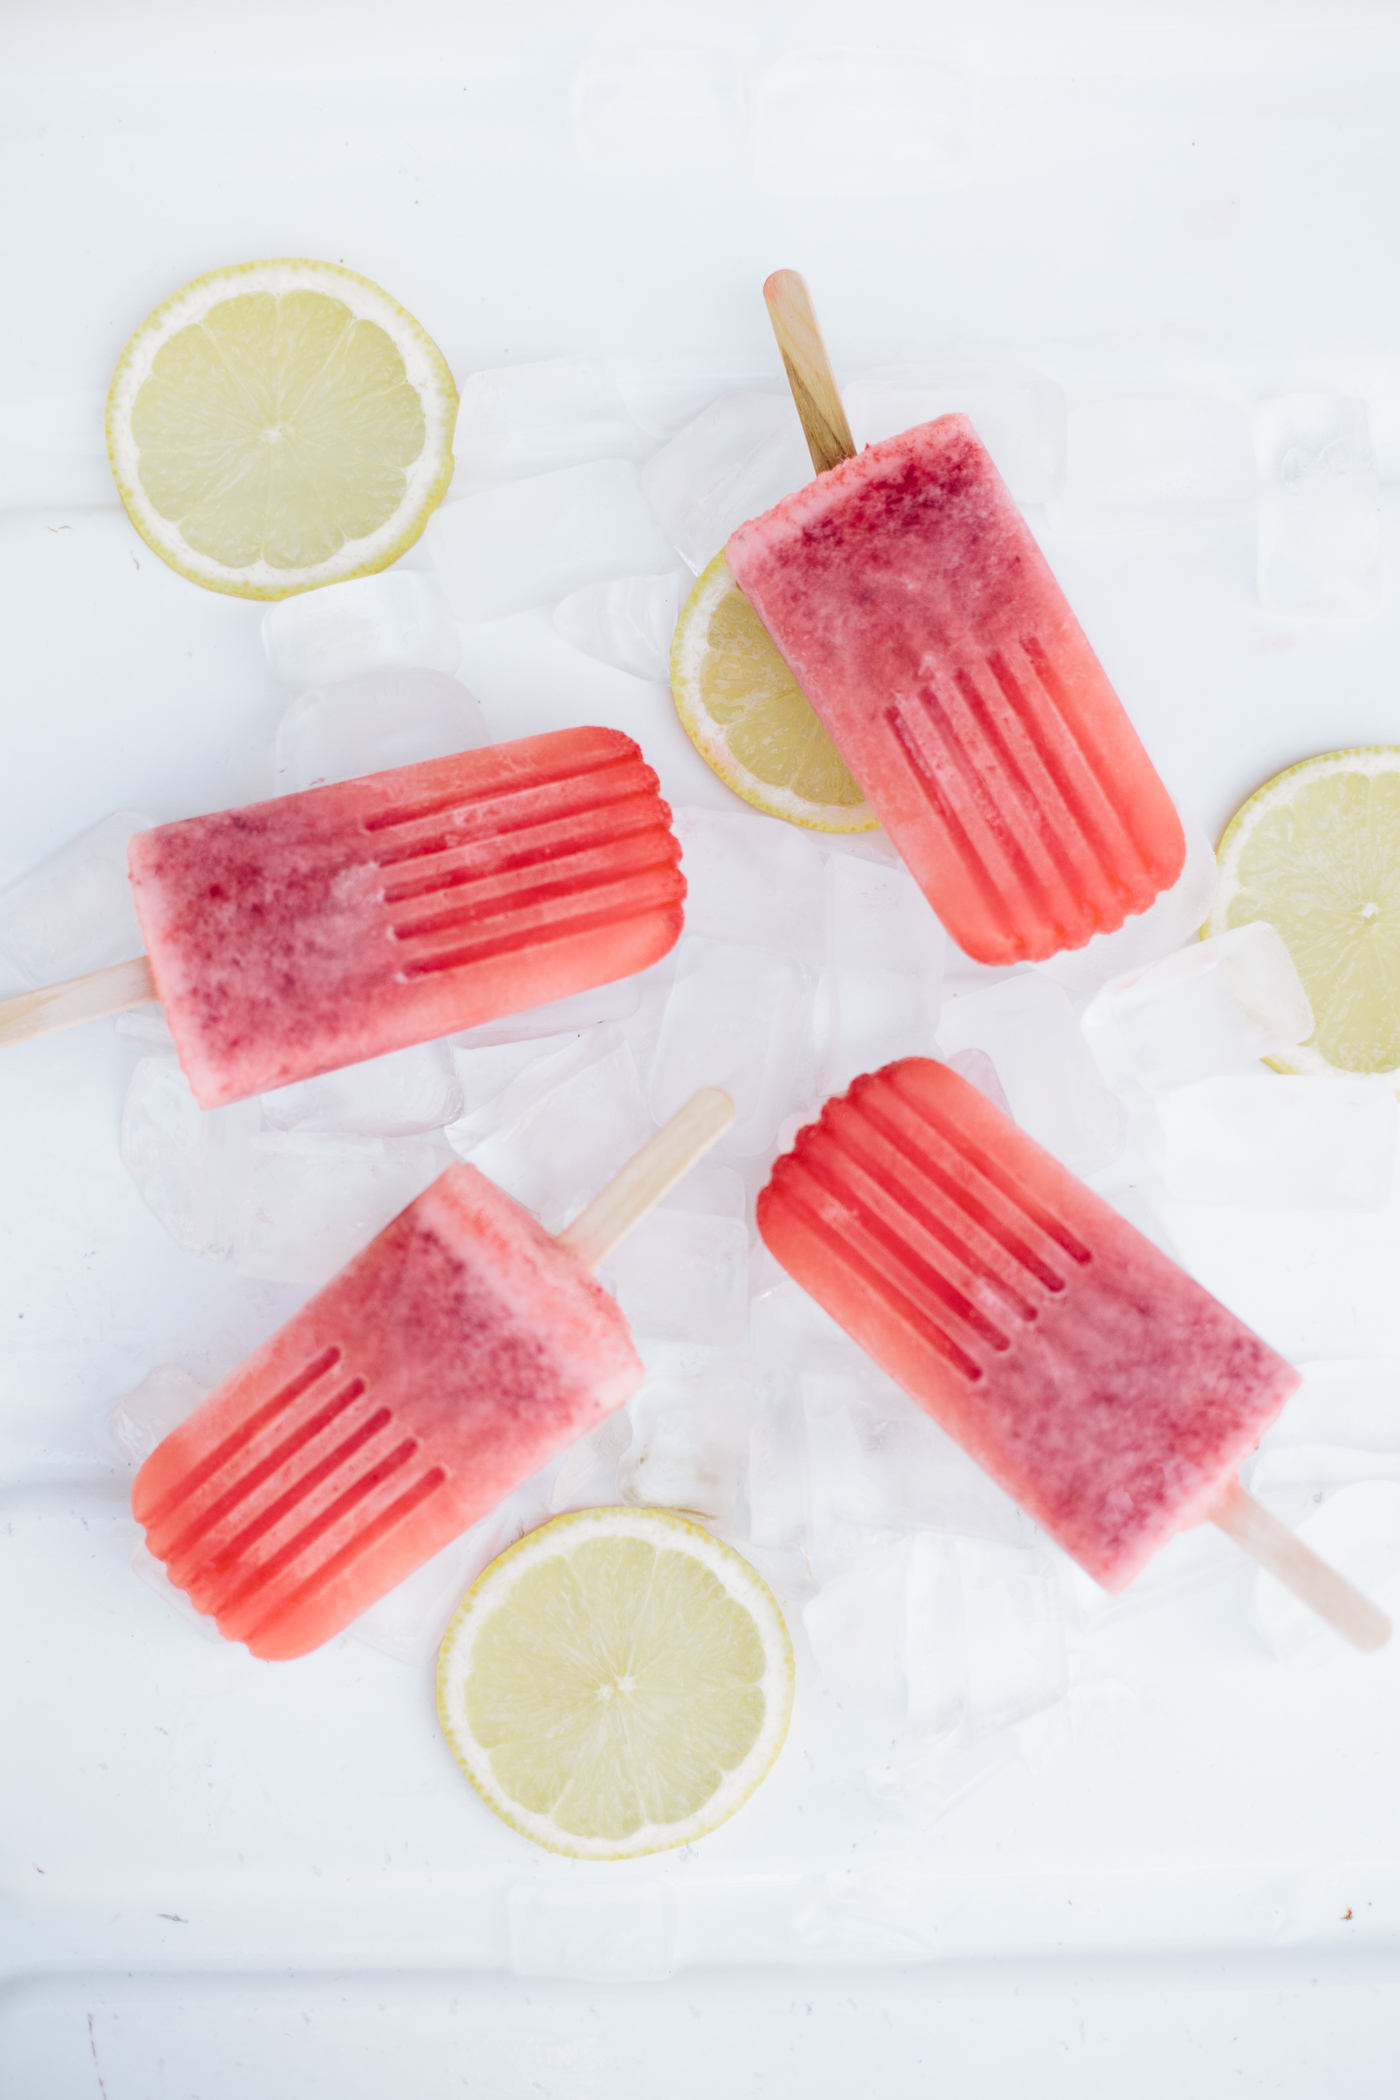
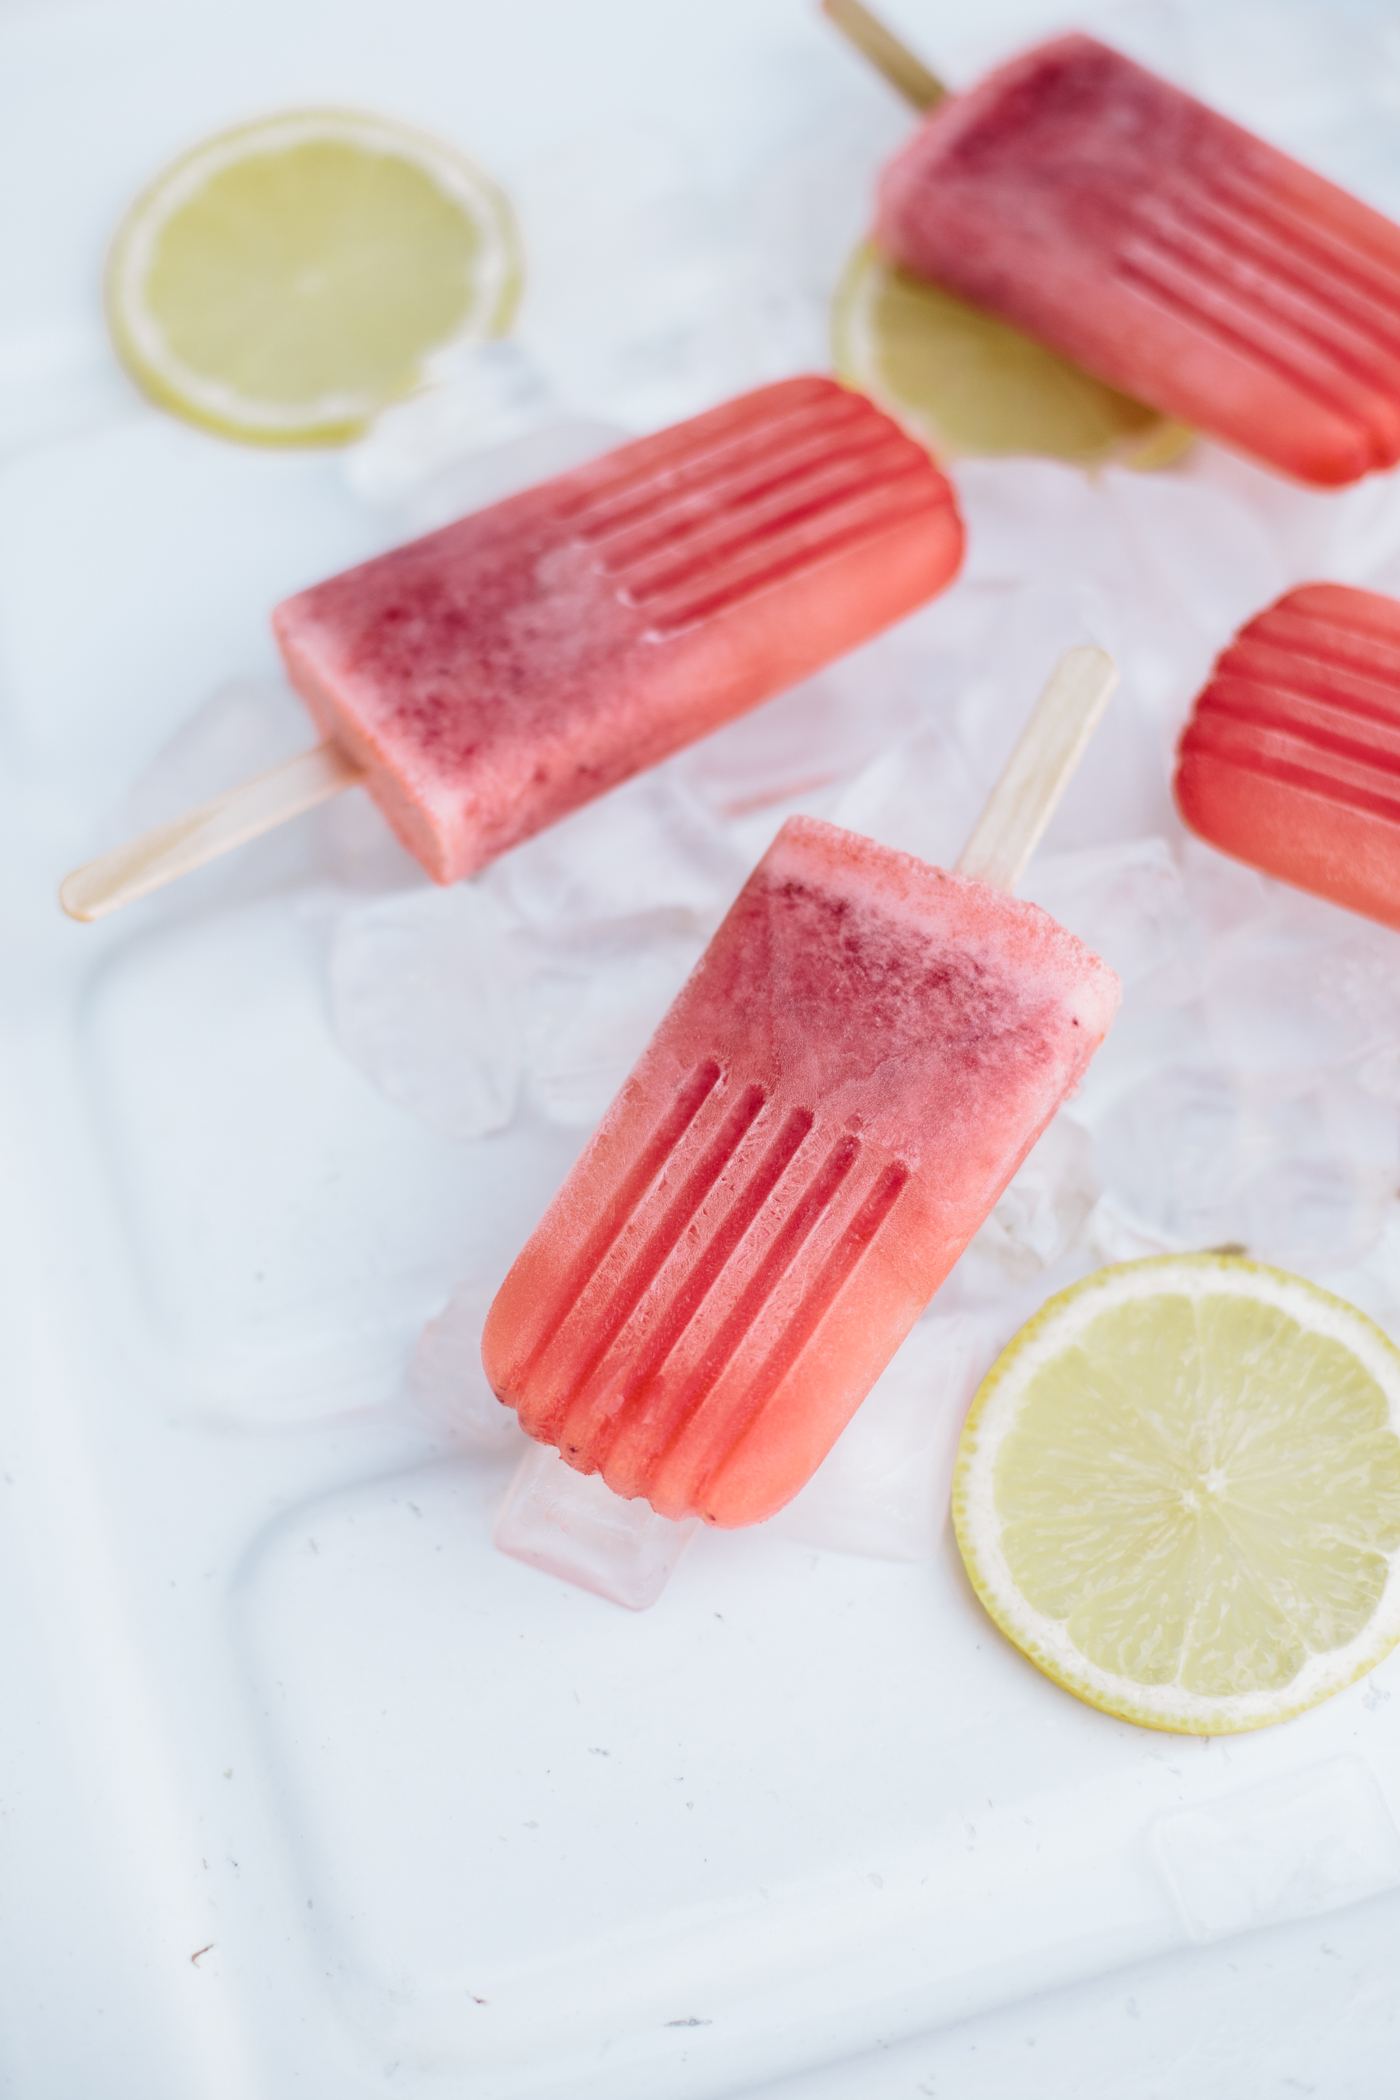
Strawberry Mango Lemonade Popsicles
I got these popsicle molds a few years ago and have rarely used them but this time of year when the days get hotter, I get really excited about making homemade popsicles and ice cream. I like the idea of homemade popsicles and being able to keep the amount of sugar in them pretty low. With there being lemonade in these ones they are pretty sweet but not overly sweet.
Jack is teething with some new molars right now so I wanted to make something icey that he could chew on and he really likes these. I'll probably try to make some other ones that are less sugary for him instead, but the texture is perfect for him to chew! Maybe this summer will be the summer of the popsicle!
Ingredients (makes 6 popsicles):
2 Cups Mango Lemonade
3 Strawberries
1/2 Banana
1/2 Cup Strawberry Banana Coconutmilk Yogurt
In a blender, blend everything together and then pour into your popsicle molds and insert the top with the sticks. Put them in the freezer and wait! I usually wait overnight but I'm sure a few hours would do the trick. Enjoy your summer frozen treat!
Hi, I’m Liz
I'm an artist, writer, designer, DIY renovator, and … well basically I like to do all the things. If it’s creative I’m probably doing it. I’ve spent over 30 years voraciously pursuing a life steeped in creativity and I wholeheartedly believe creativity and joy are inextricably linked.
Read more…
Explore The Archive
- July 2025
- May 2025
- January 2025
- December 2024
- August 2024
- July 2024
- May 2024
- April 2024
- January 2024
- December 2023
- October 2023
- September 2023
- July 2023
- June 2023
- May 2023
- April 2023
- March 2023
- February 2023
- January 2023
- December 2022
- November 2022
- October 2022
- August 2022
- June 2022
- May 2022
- April 2022
- March 2022
- November 2021
- October 2021
- August 2021
- July 2021
- May 2021
- January 2021
- November 2020
- October 2020
- September 2020
- August 2020
- July 2020
- June 2020
- May 2020
- April 2020
- February 2020
- January 2020
- November 2019
- October 2019
- August 2019
- July 2019
- June 2019
- May 2019
- April 2019
- February 2019
- January 2019
- December 2018
- November 2018
- October 2018
- September 2018
- August 2018
- July 2018
- June 2018
- May 2018
- April 2018
- February 2018
- January 2018
- November 2017
- September 2017
- August 2017
- July 2017
- June 2017
- May 2017
- April 2017
- March 2017
- February 2017
- January 2017
- December 2016
- November 2016
- October 2016
- September 2016
- August 2016
- June 2016
- May 2016
- April 2016
- March 2016
- February 2016
- January 2016
- December 2015
- November 2015
- October 2015
- September 2015
- August 2015
- July 2015
- June 2015
- May 2015
- April 2015
- March 2015
- February 2015
- January 2015
- December 2014
- November 2014
- October 2014
- September 2014
- August 2014
- July 2014
- June 2014
- May 2014
- April 2014
- March 2014
- February 2014
- January 2014
- December 2013
- November 2013
- October 2013
- September 2013
- August 2013
- July 2013
- June 2013
- May 2013
- April 2013
- March 2013
- February 2013
- January 2013
- December 2012
- November 2012
- October 2012
- September 2012
- August 2012
- July 2012
- June 2012
- May 2012
- April 2012
- March 2012
- February 2012
- January 2012
- December 2011
- November 2011
- October 2011
- September 2011
- August 2011
- July 2011
- June 2011
- May 2011
- April 2011
- March 2011
- February 2011
- January 2011
- December 2010
- November 2010
- October 2010
- September 2010
- August 2010
- July 2010
- June 2010
- May 2010
- April 2010
- March 2010
- February 2010
- January 2010
- December 2009
- November 2009
- October 2009
- September 2009
- August 2009
- July 2009
- June 2009
- May 2009
- April 2009
- March 2009
- February 2009
- January 2009
- December 2008
- November 2008
- October 2008
- September 2008
- August 2008
- July 2008
VISIT THE SHOP
PRIVACY POLICY & DISCLOSURE
We are a participant in the Amazon Services LLC Associates Program, an affiliate advertising program designed to provide a means for us to earn fees by linking to Amazon.com and affiliated sites.


