Thanksgiving Pumpkin Tablescape
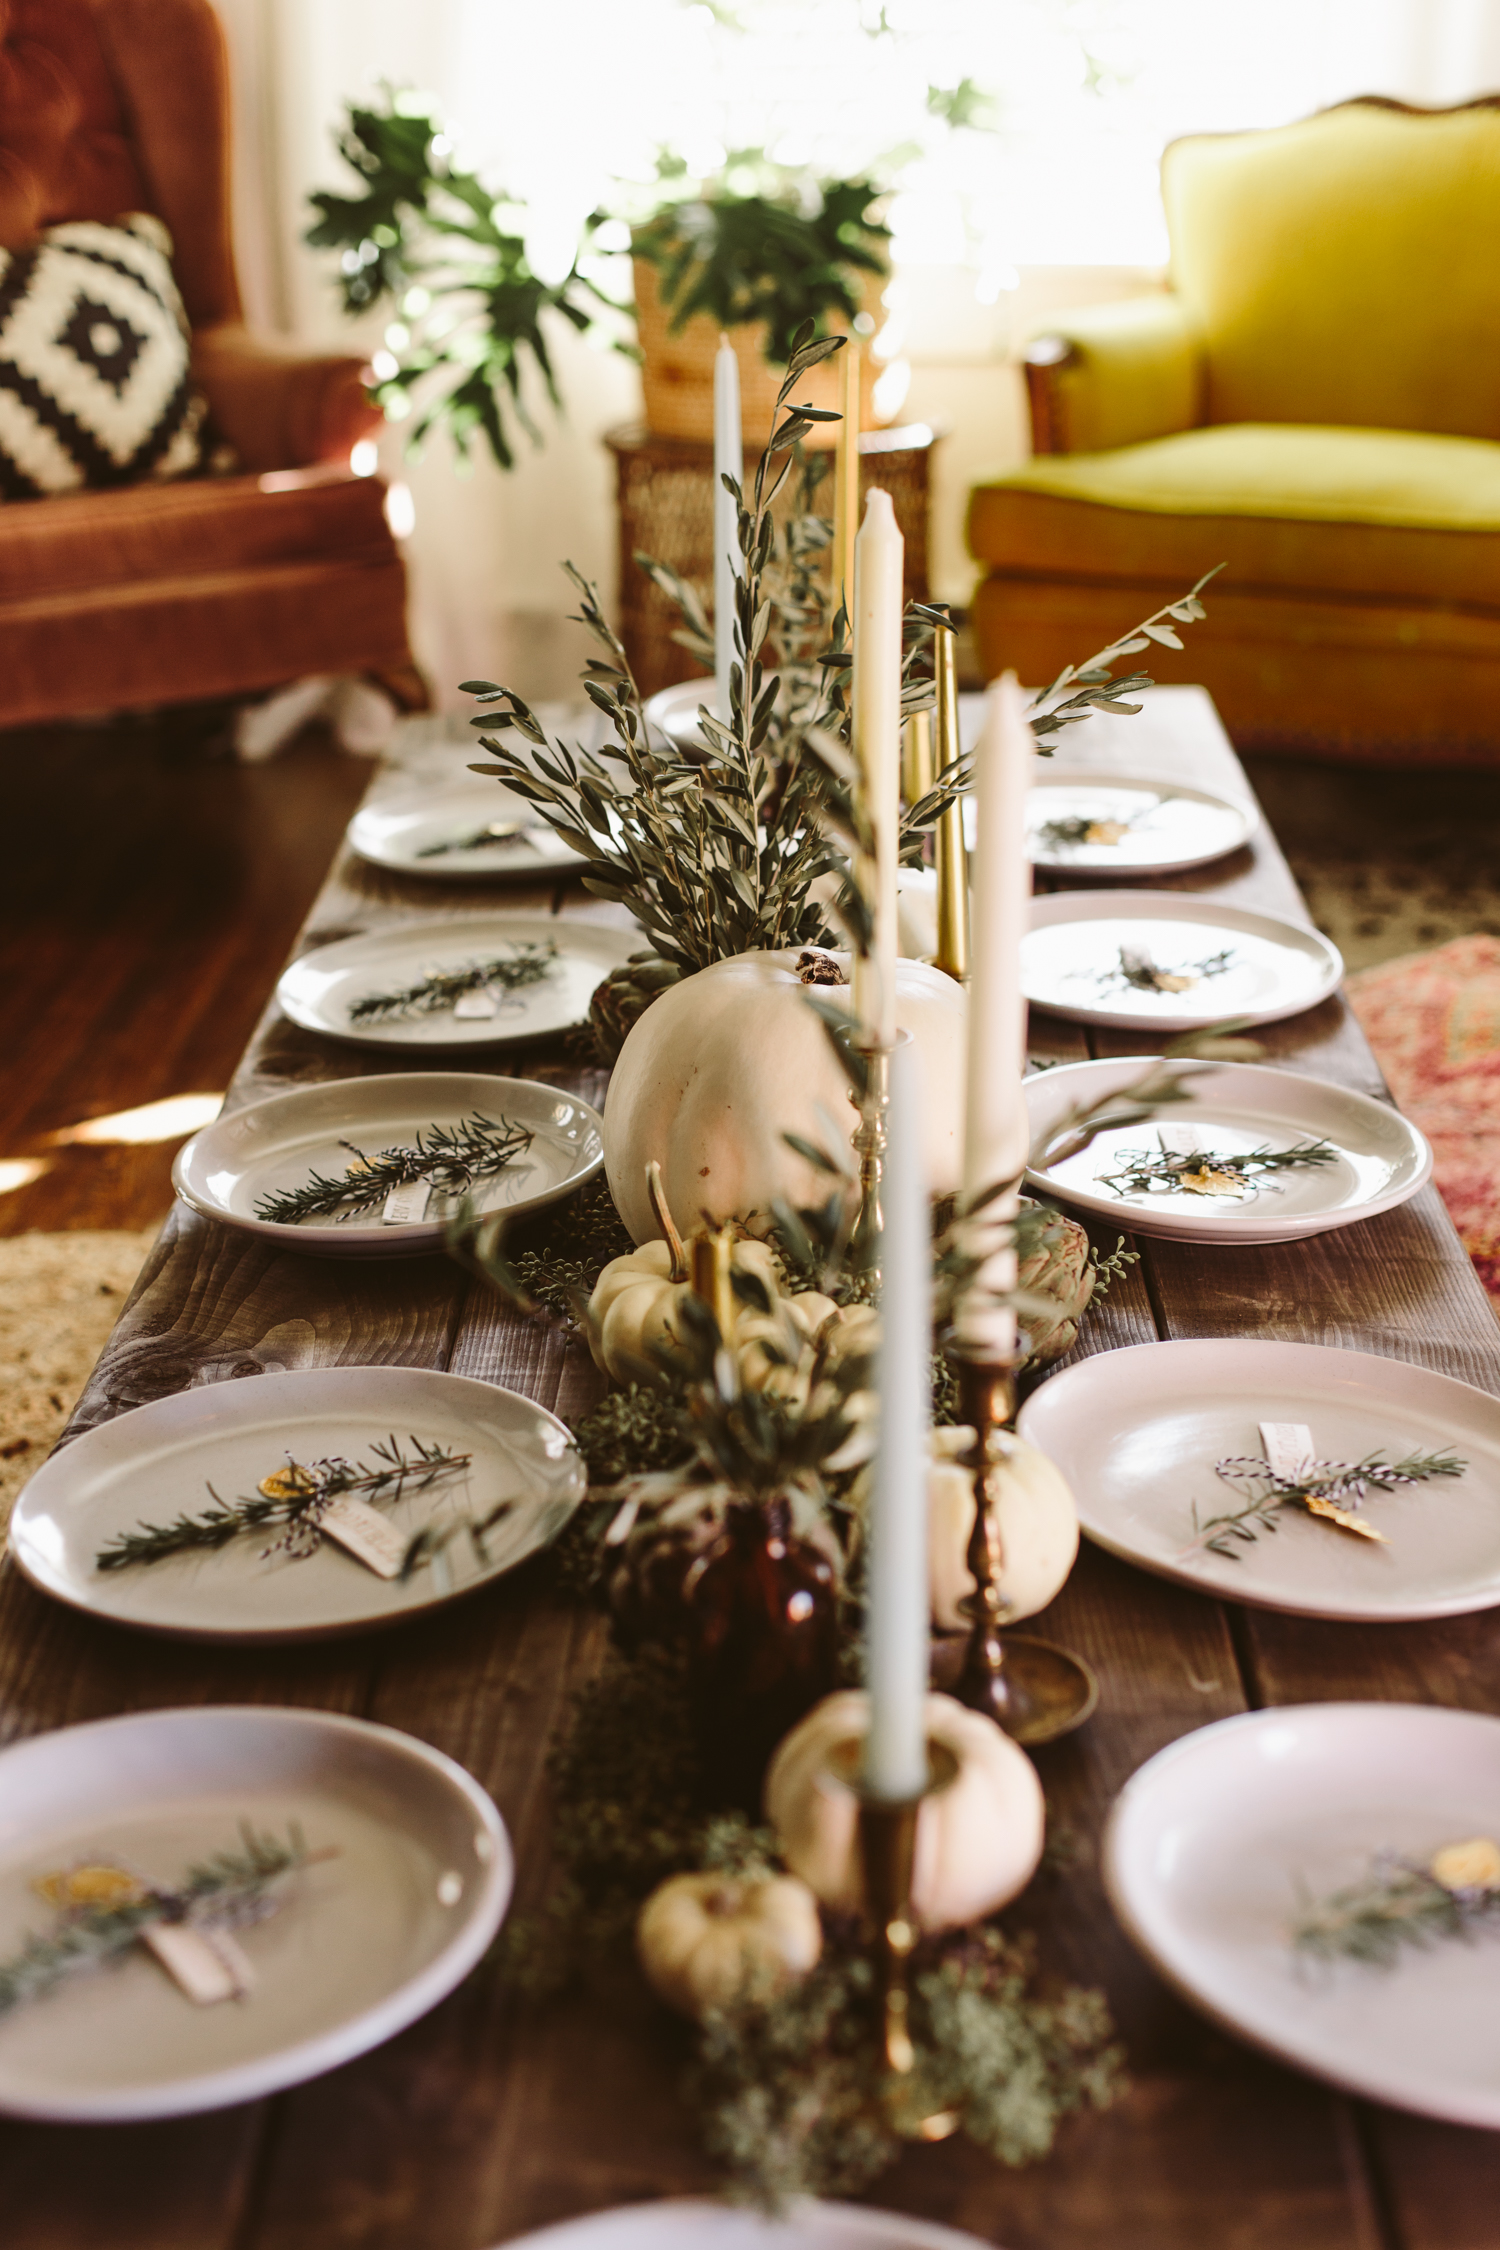
I had a ton of fun throwing a “momsgiving” for the group of mom friends I’ve gained this year. I really wanted to celebrate with them all sans kiddos so we could actually hold a conversation, and it was so nice to hang out with adult mamas without our kids for once.
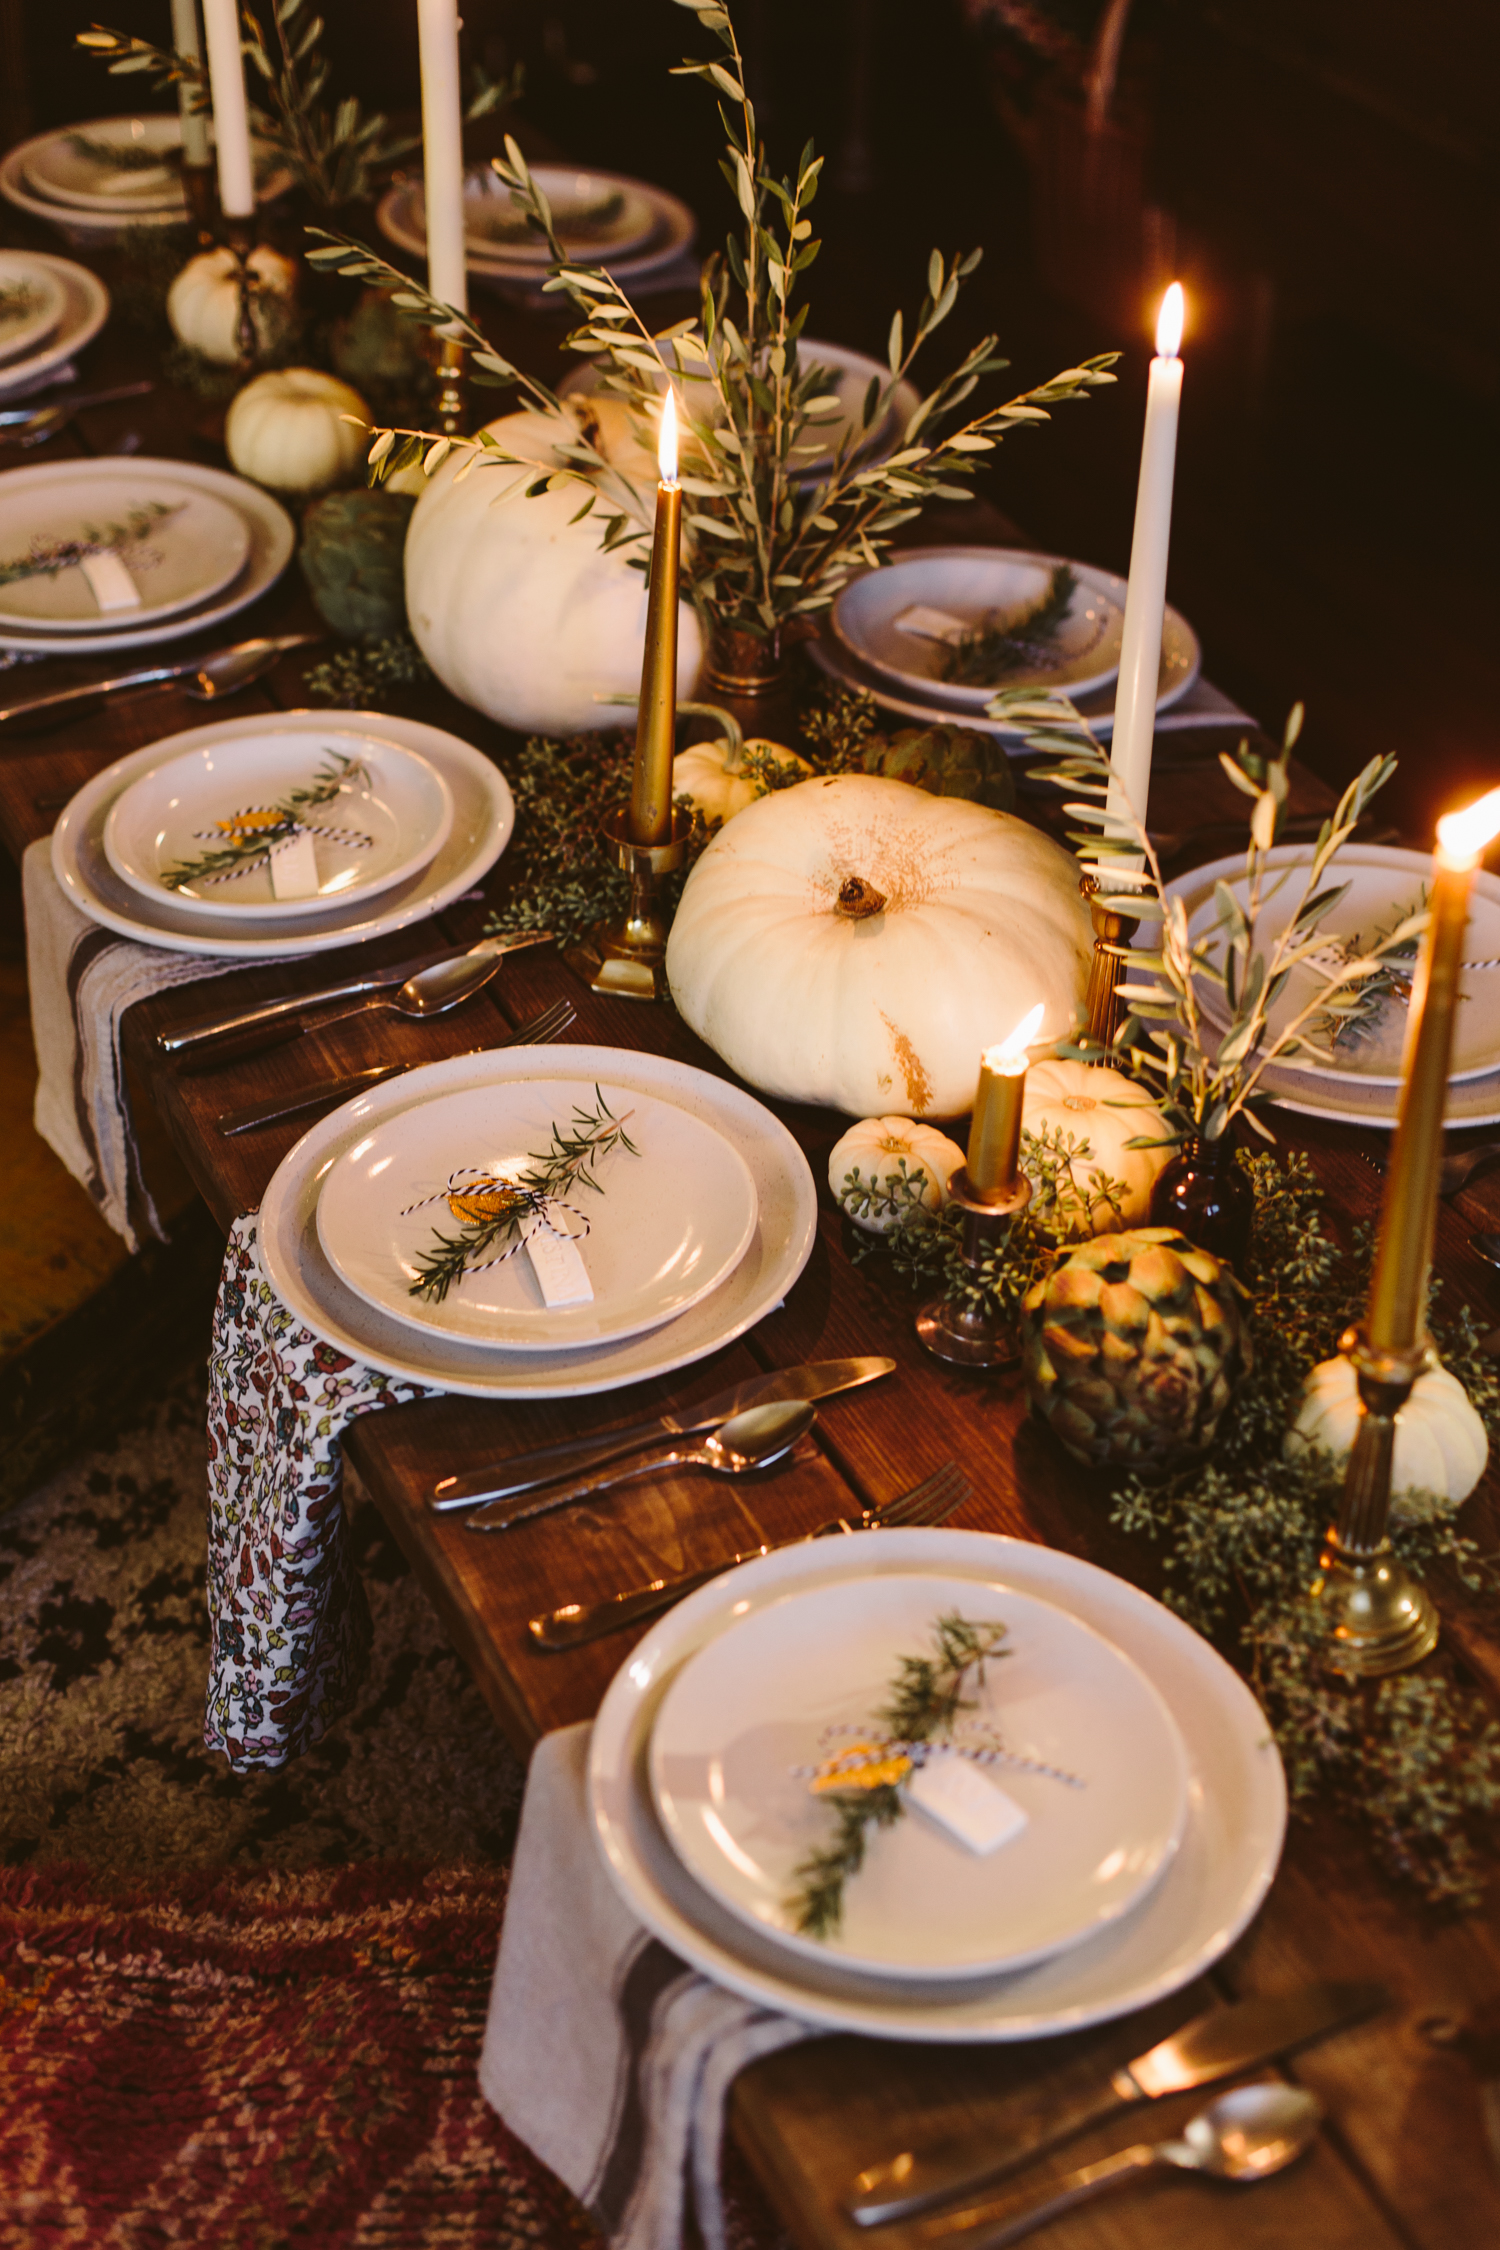
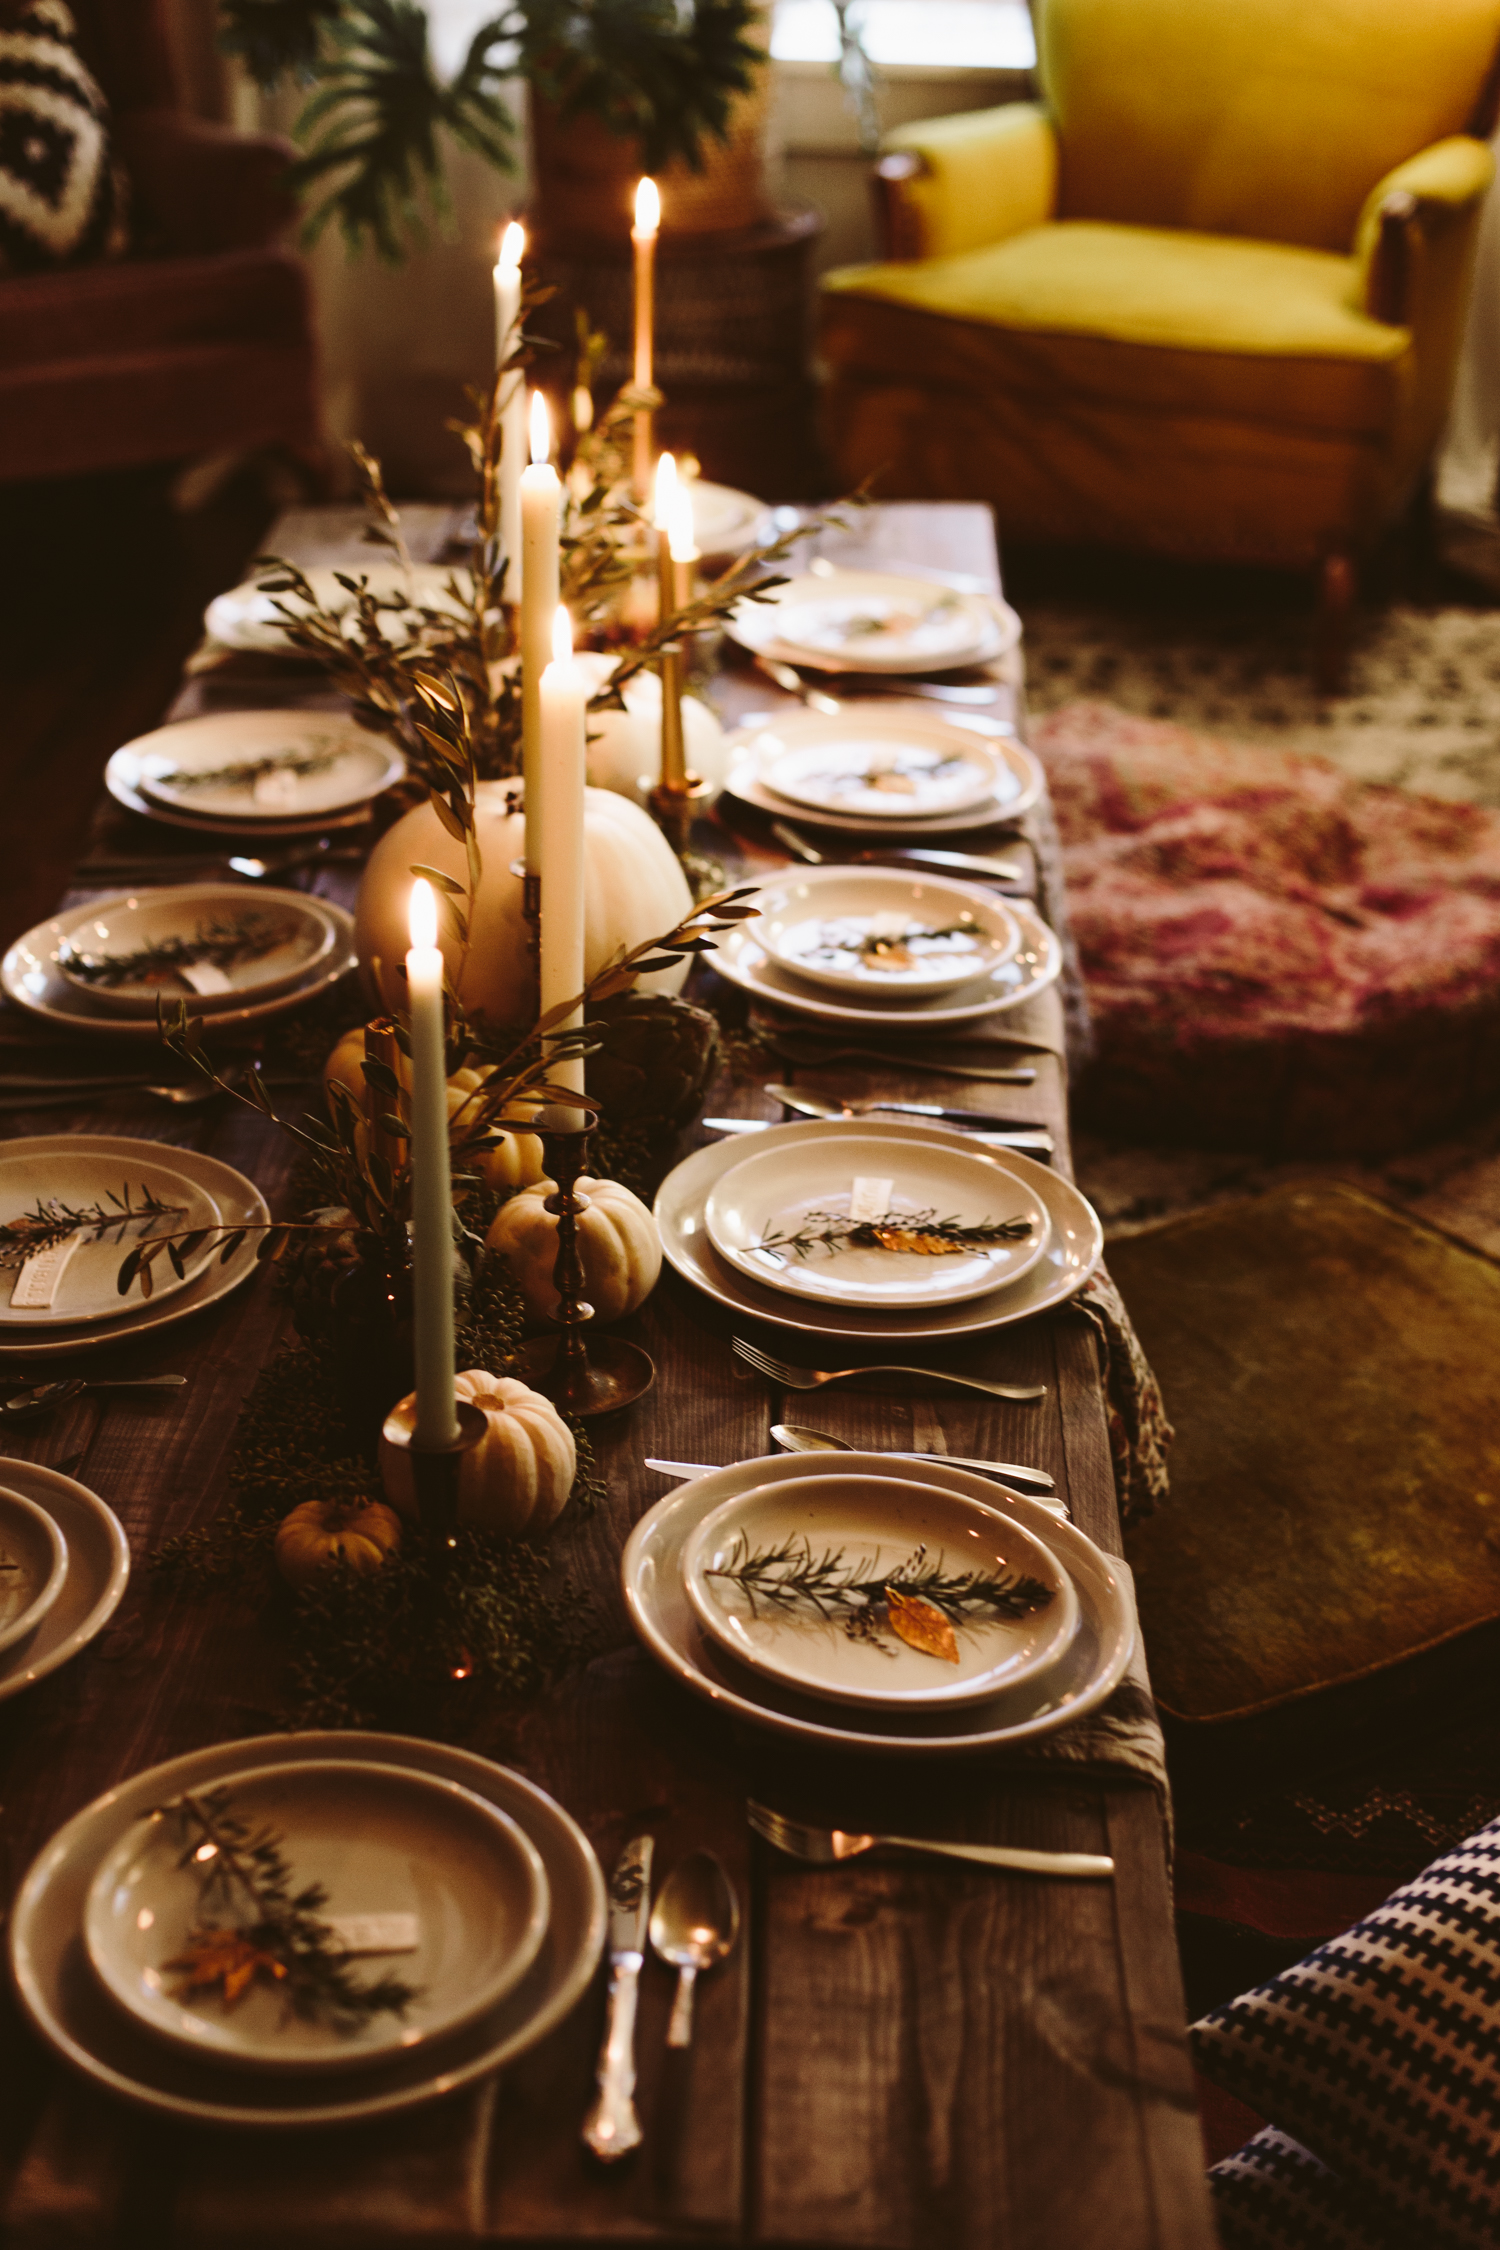
My house isn’t big, and it doesn’t have a dining room, so I dragged my low outside dining table into our living room and we all sat on poufs and cushions and snuggled in all cozy like. I love putting together beautiful tablescapes, and I wanted to keep this one feeling autumnal without being super colorful, so I went with white ghost pumpkins, seeded eucalyptus, artichokes, and olive branches.
I made the place tags with letter stamps and air drying clay, then just tied a sprig of rosemary and a little gold leaf pendant to each one with some bakers twine. All the brass candlesticks and candles were thrifted!





You May Also Like:
Boho Attic Closet Update
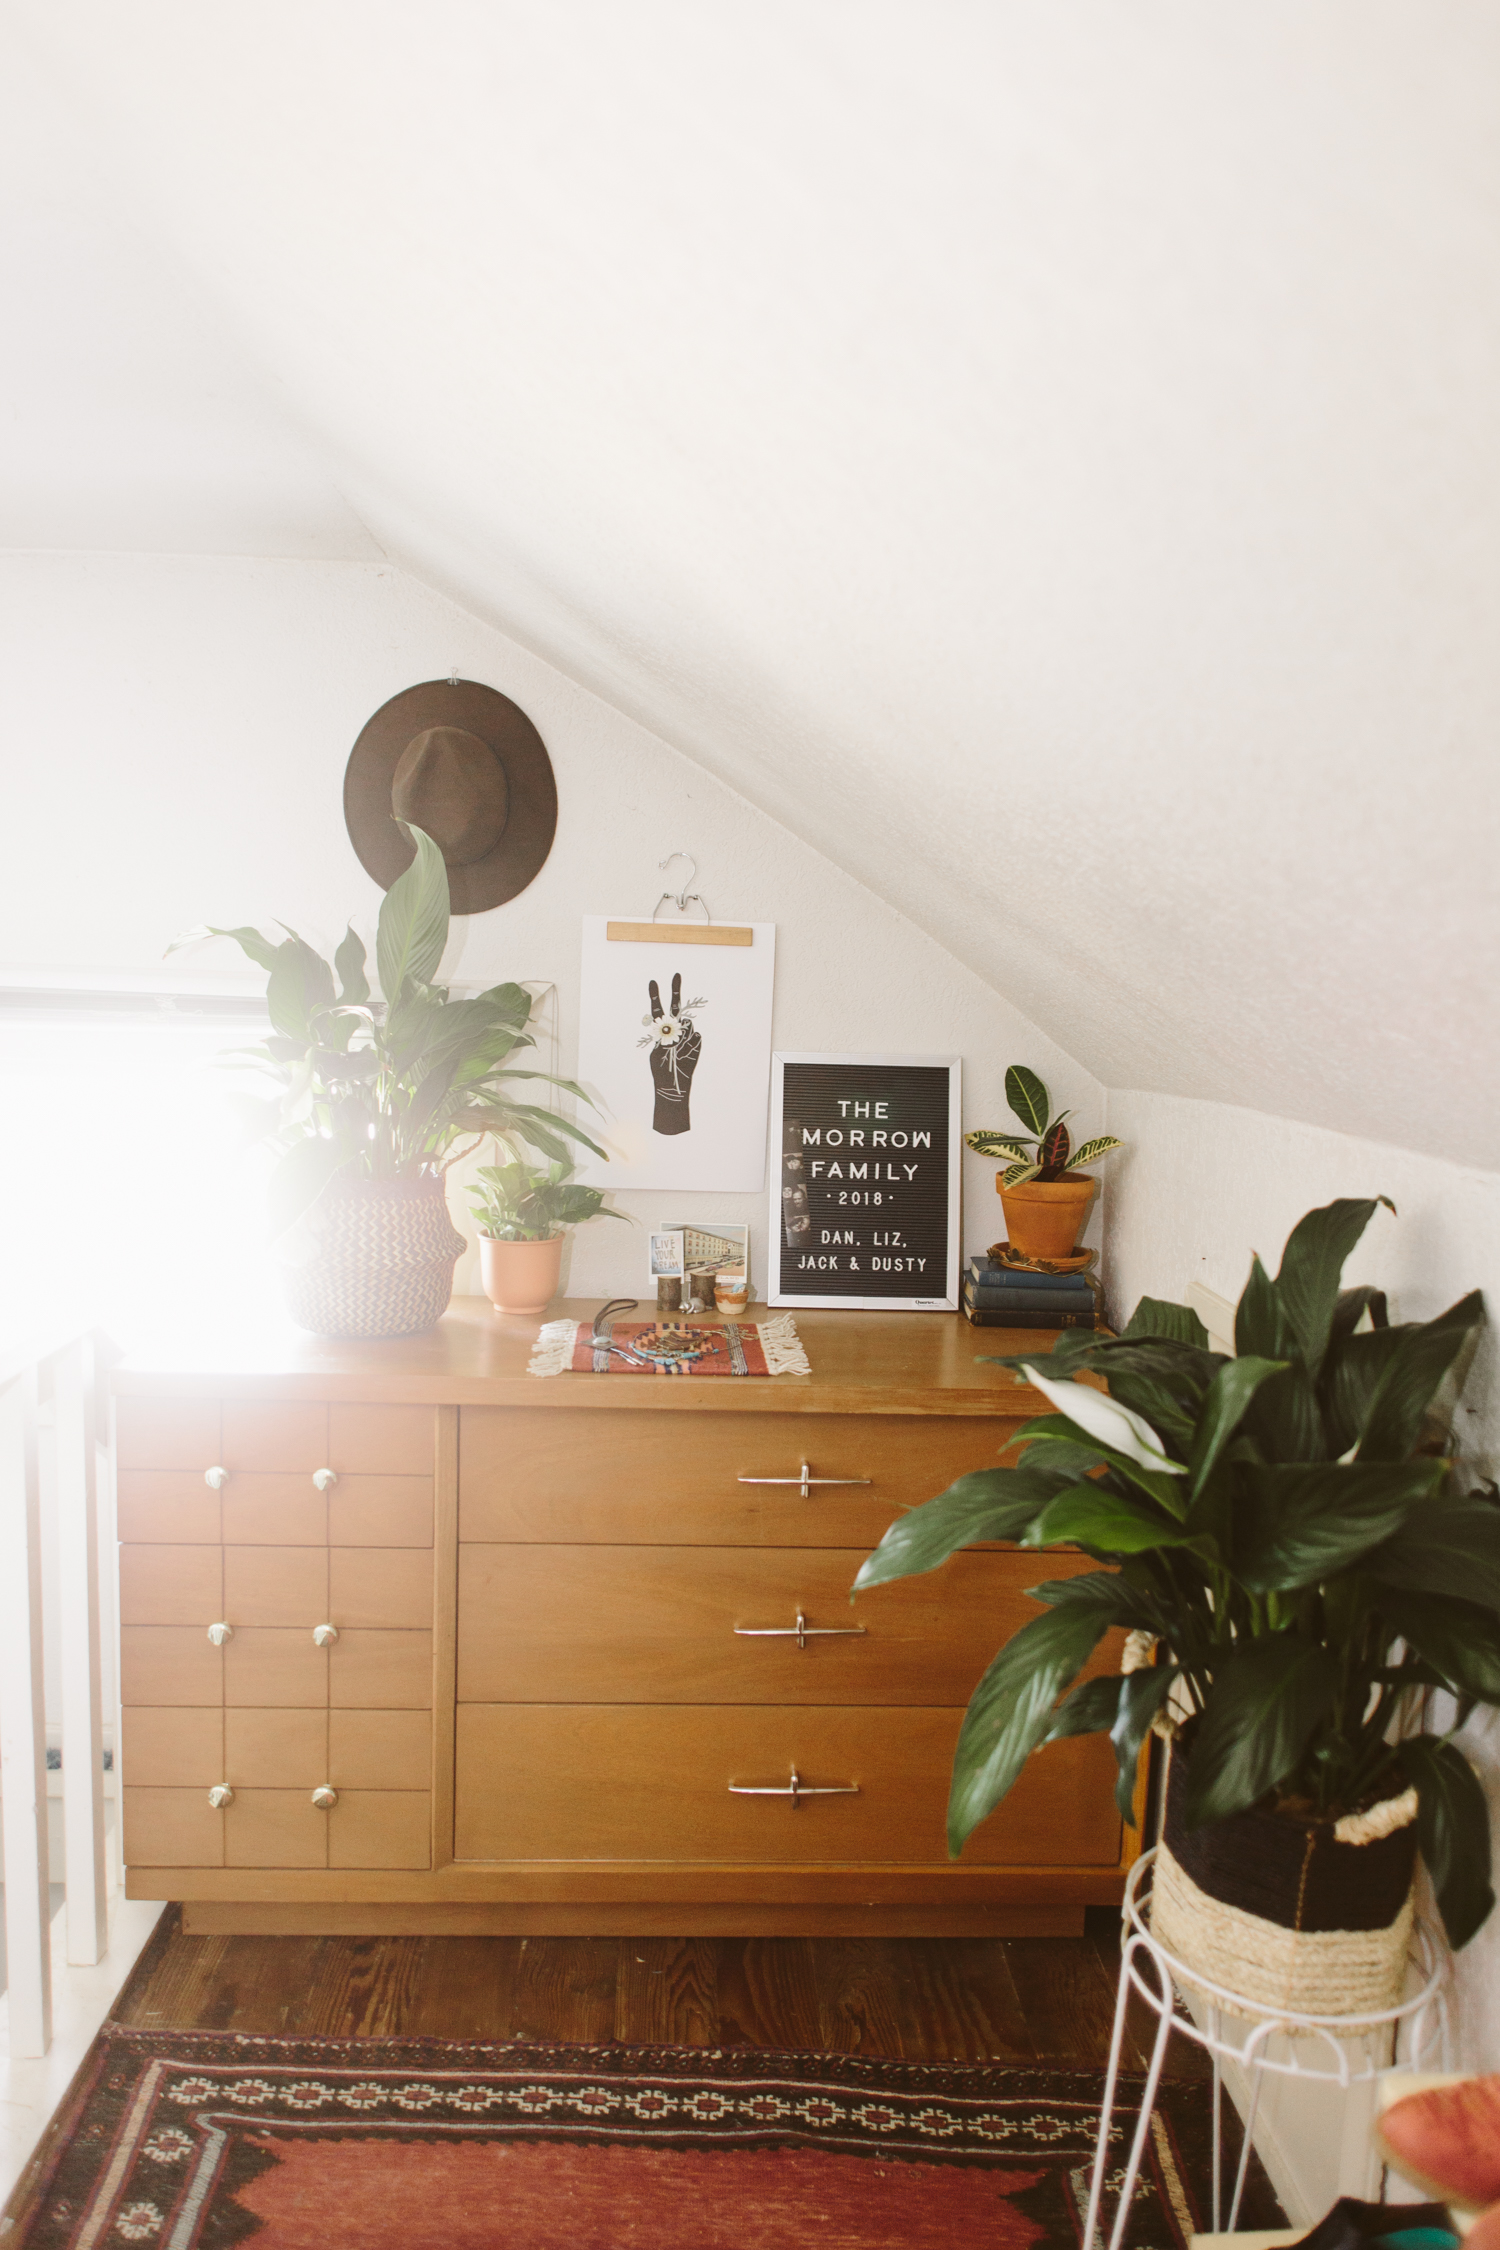
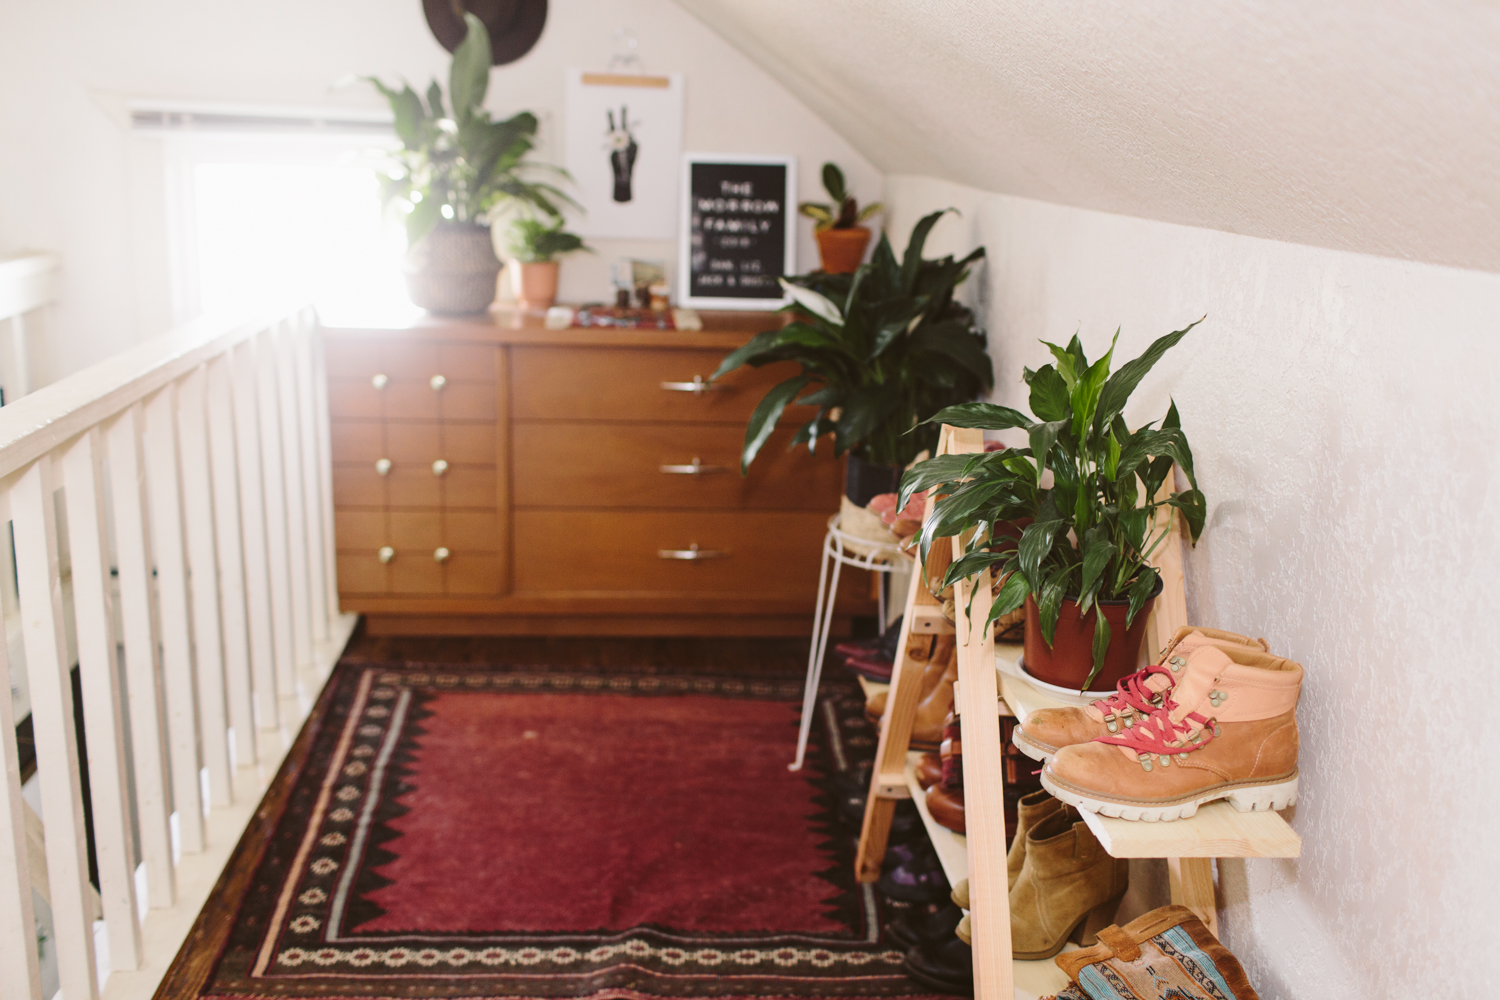
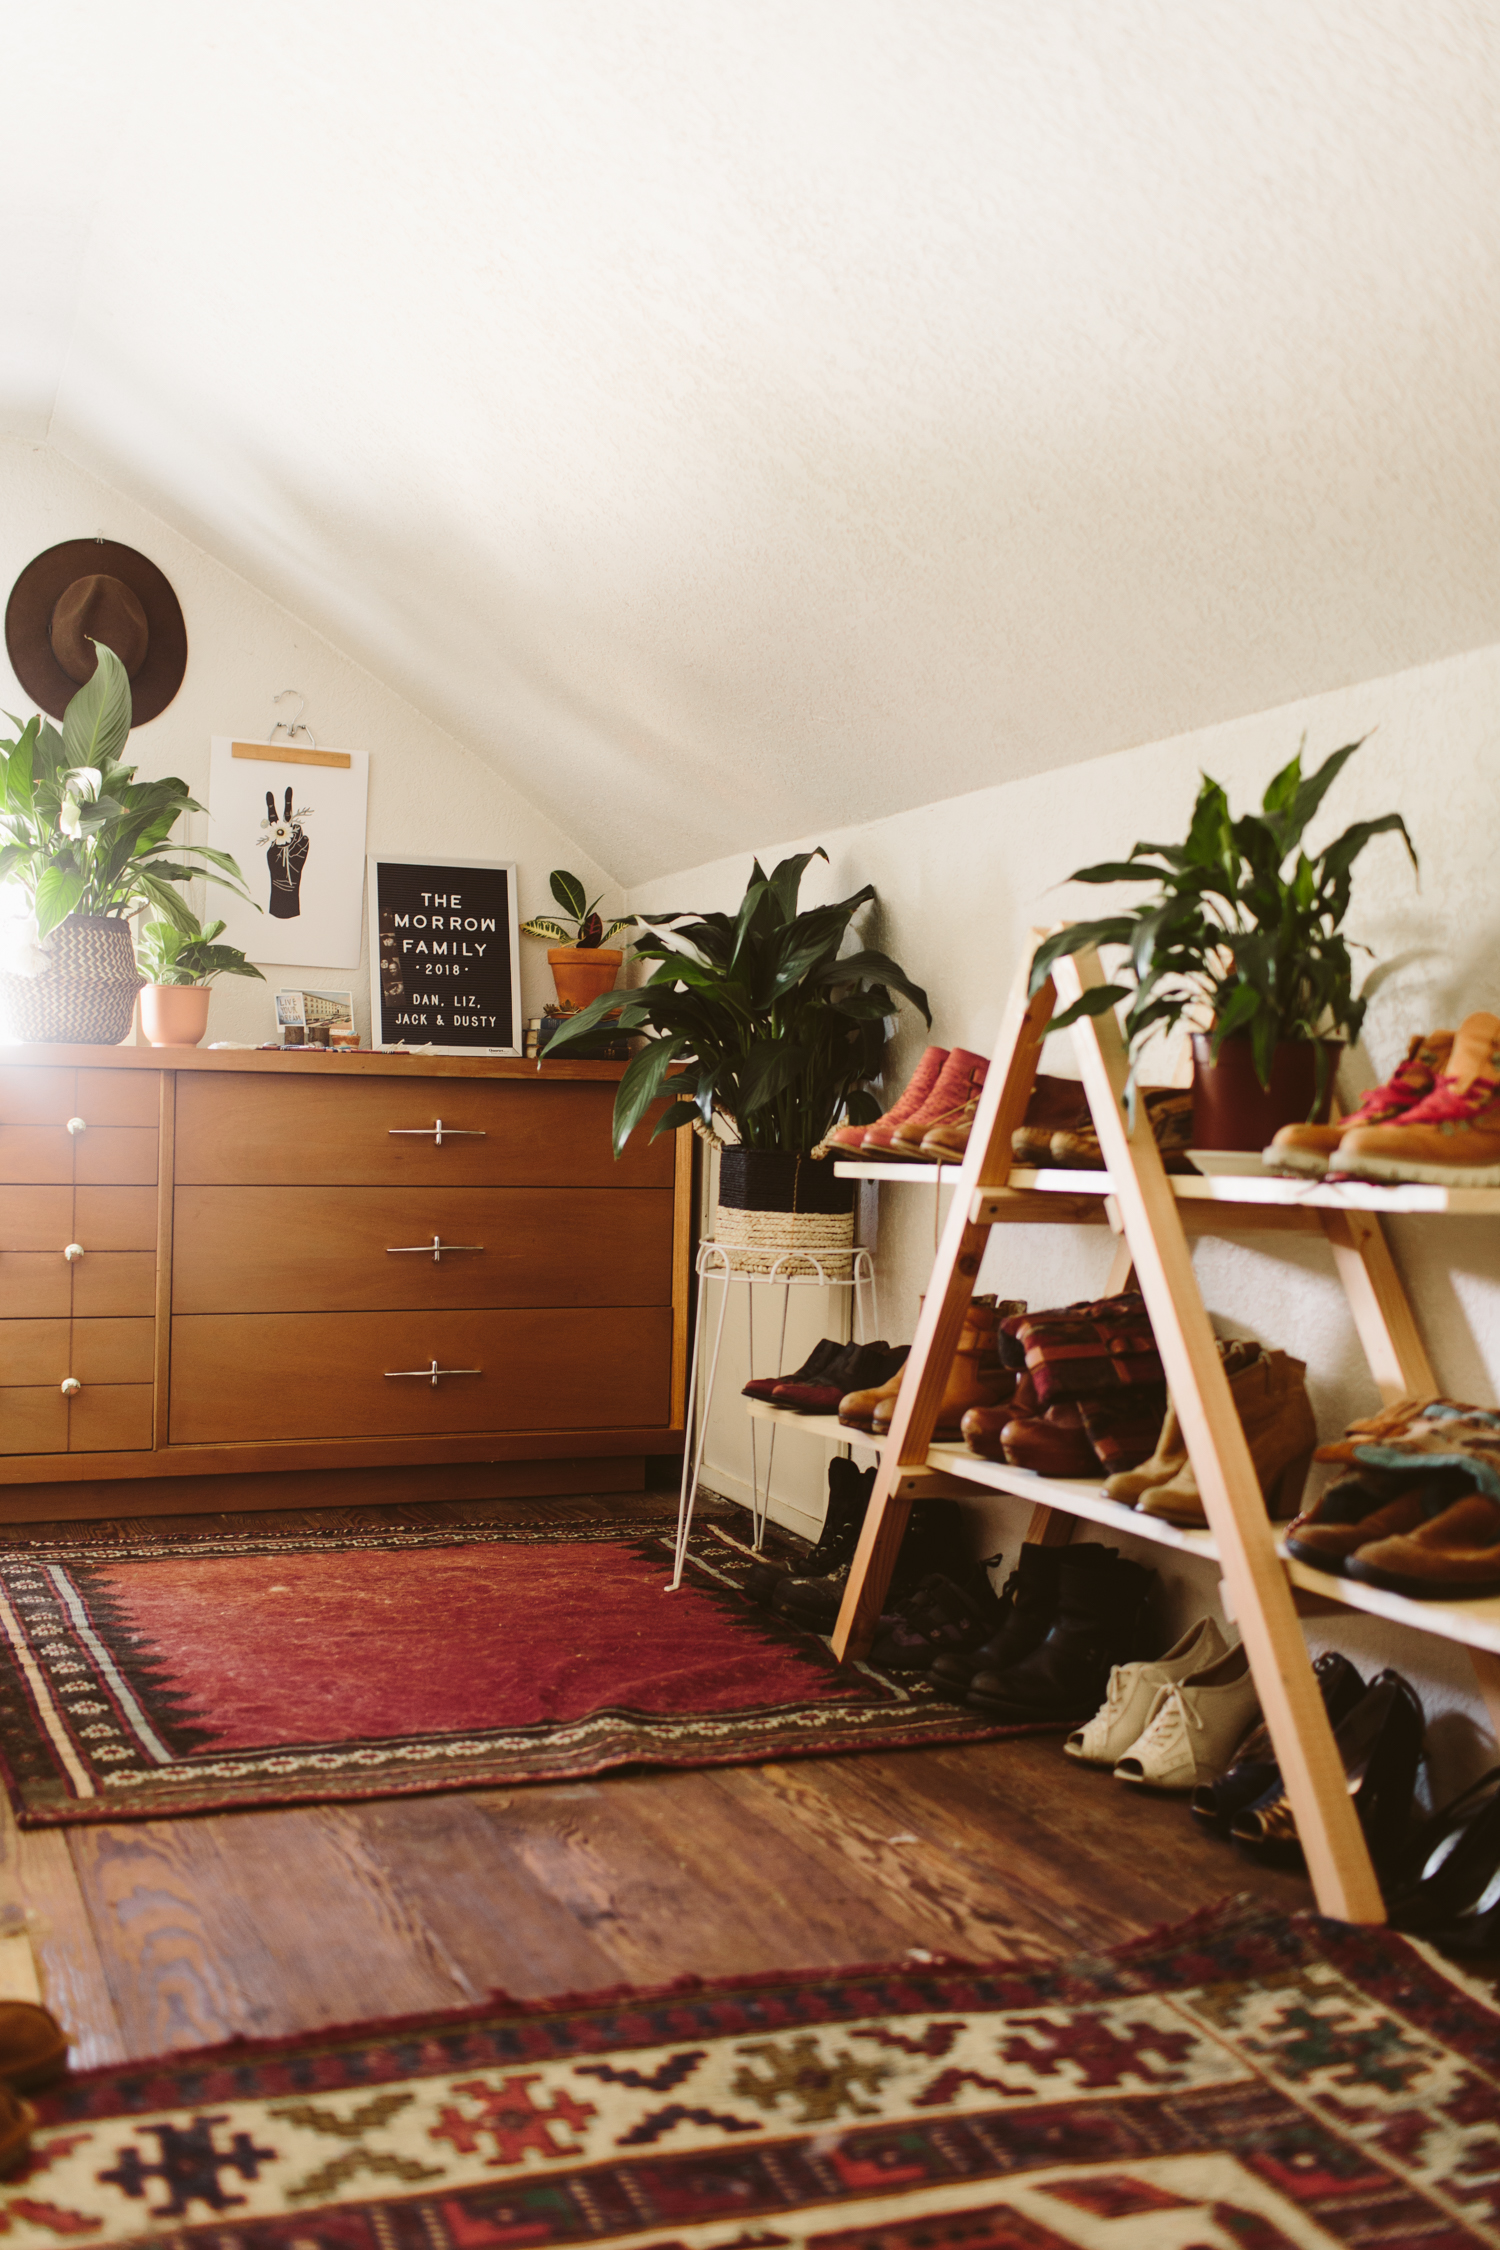
I love converted attics so much. They feel like magical treehouses to me. When we were house hunting I oohed and ahhed whenever we went up into any top floor that had angled ceilings and little dormer windows. A lot of the time converted attics are a bonus space but since our house is about 900sqft, a significant portion of our usable space is in the attic. Jack’s bedroom is up here as well as our closet (because our bedroom “closet” is the size of a small coat closet and also houses our water heater).
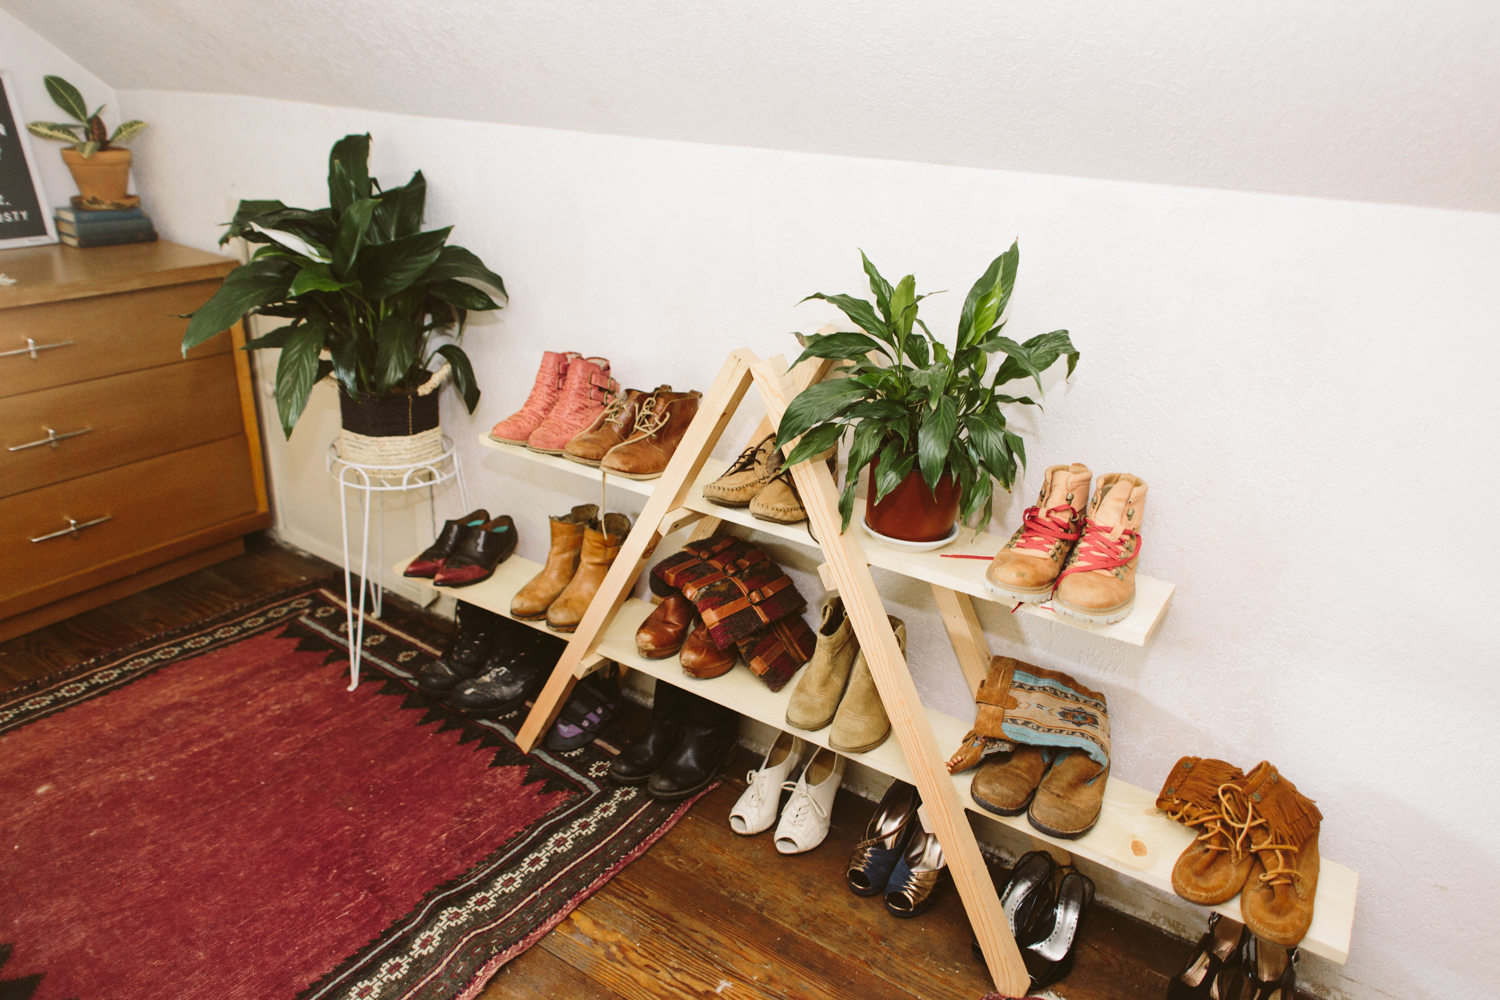
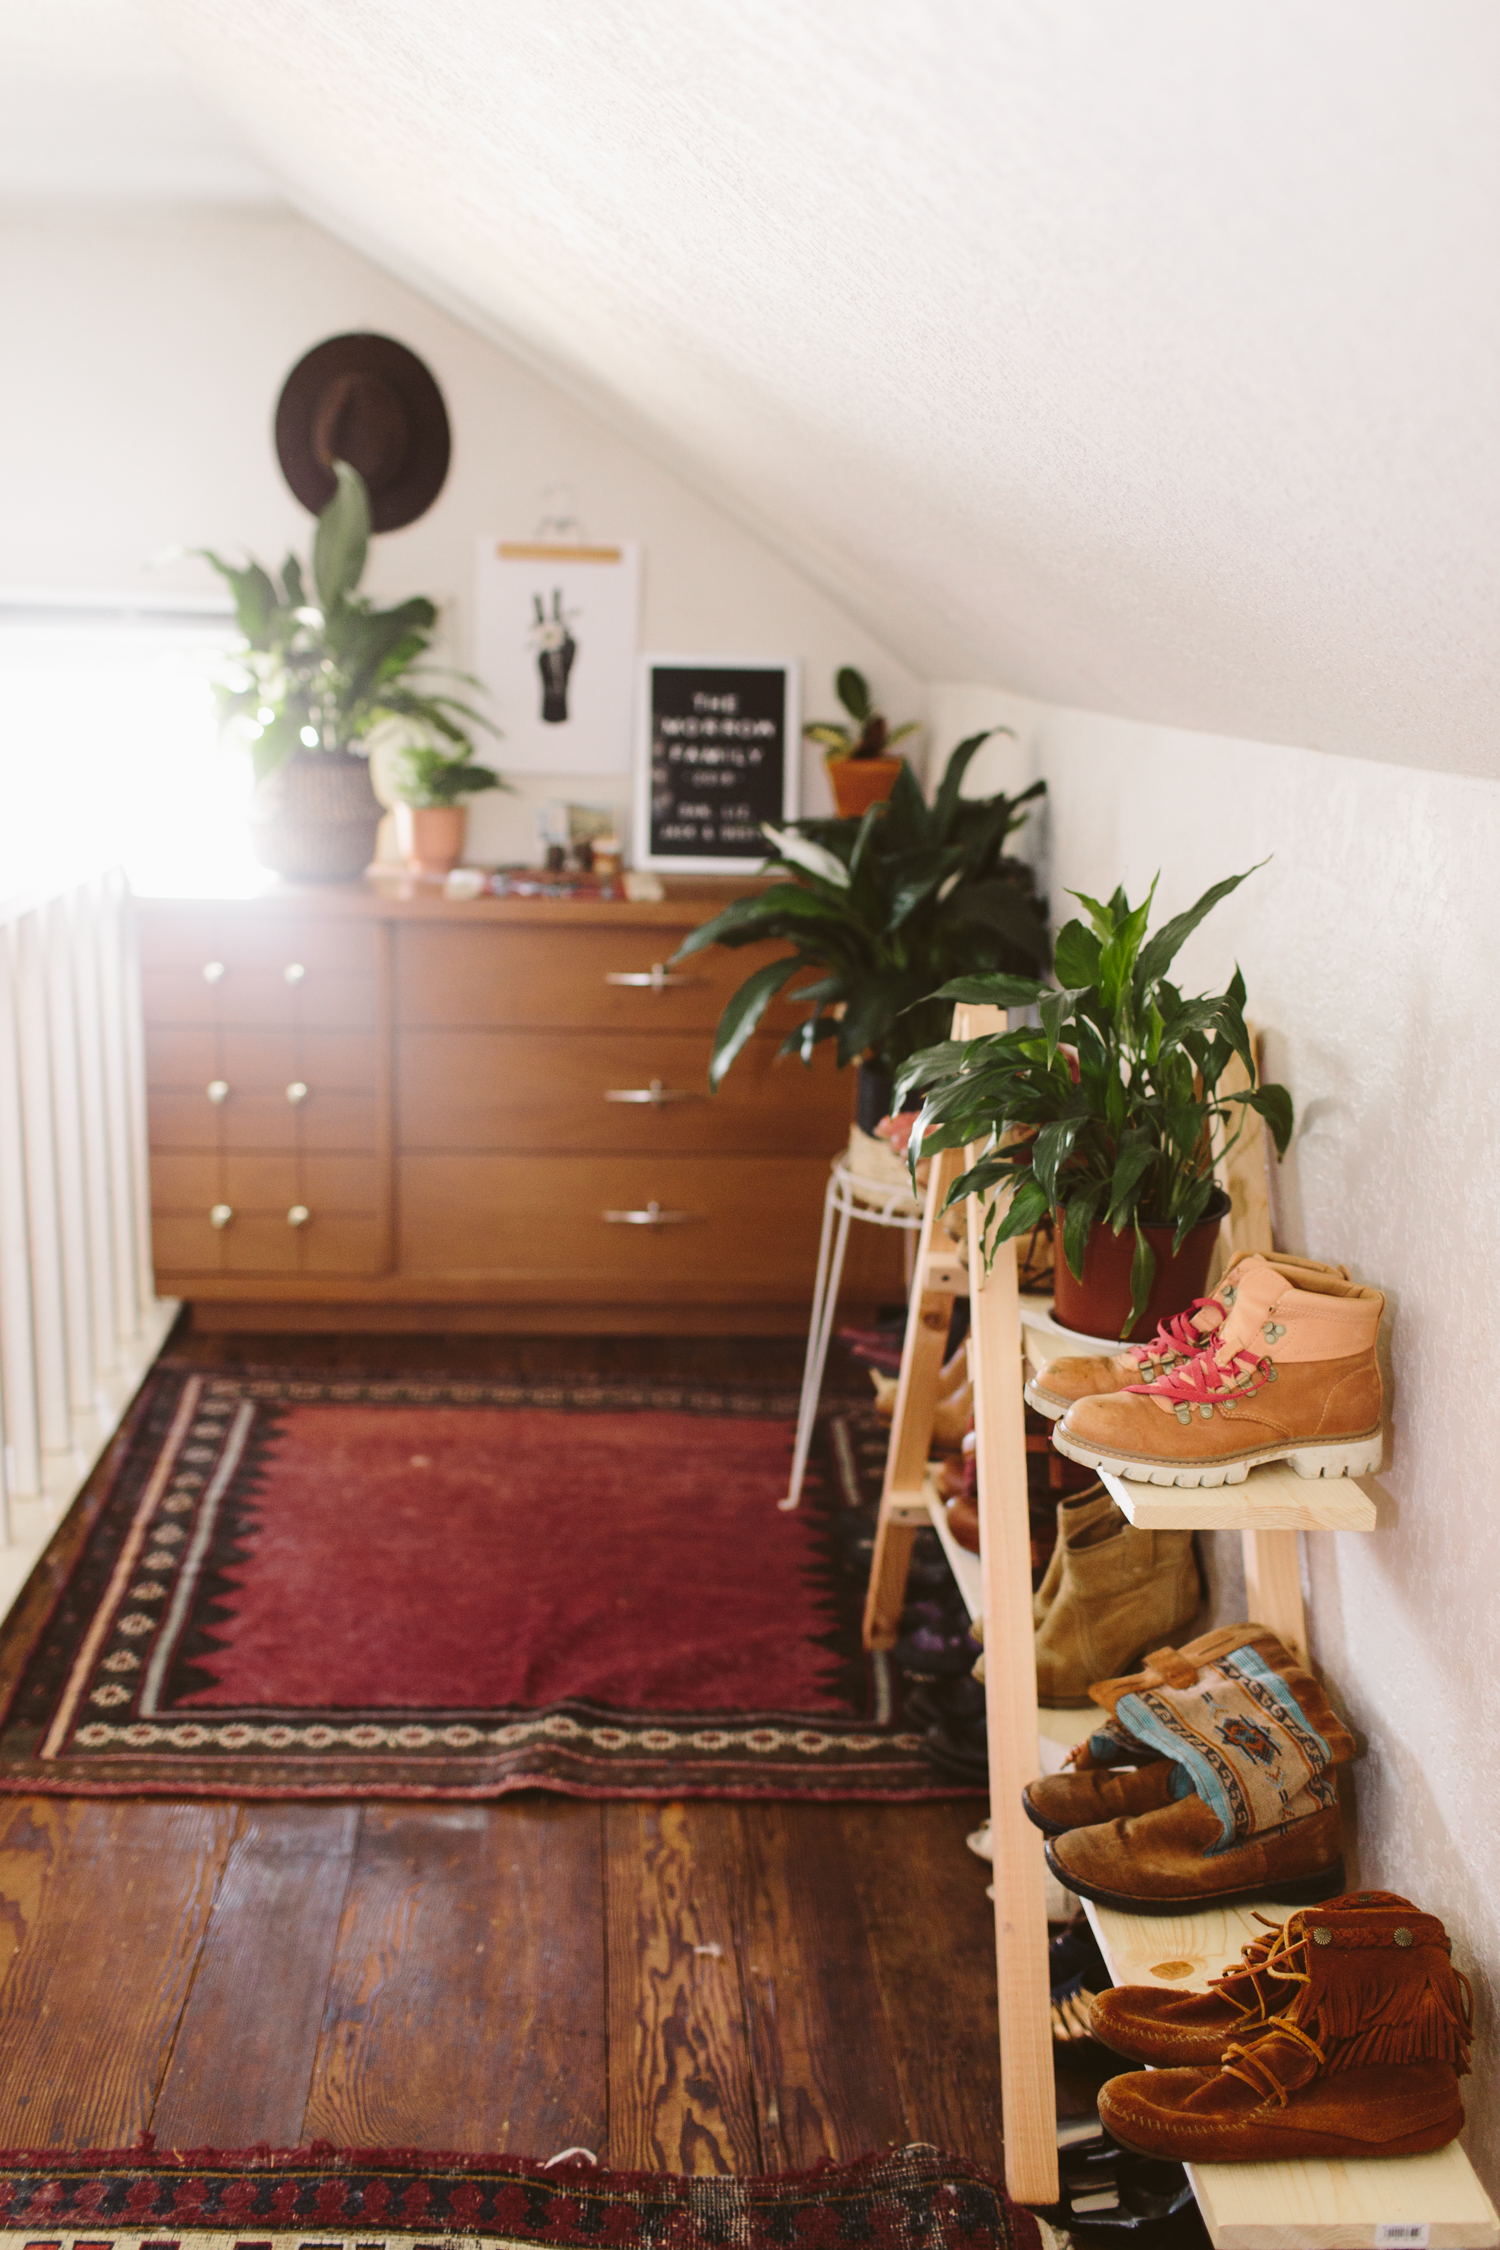
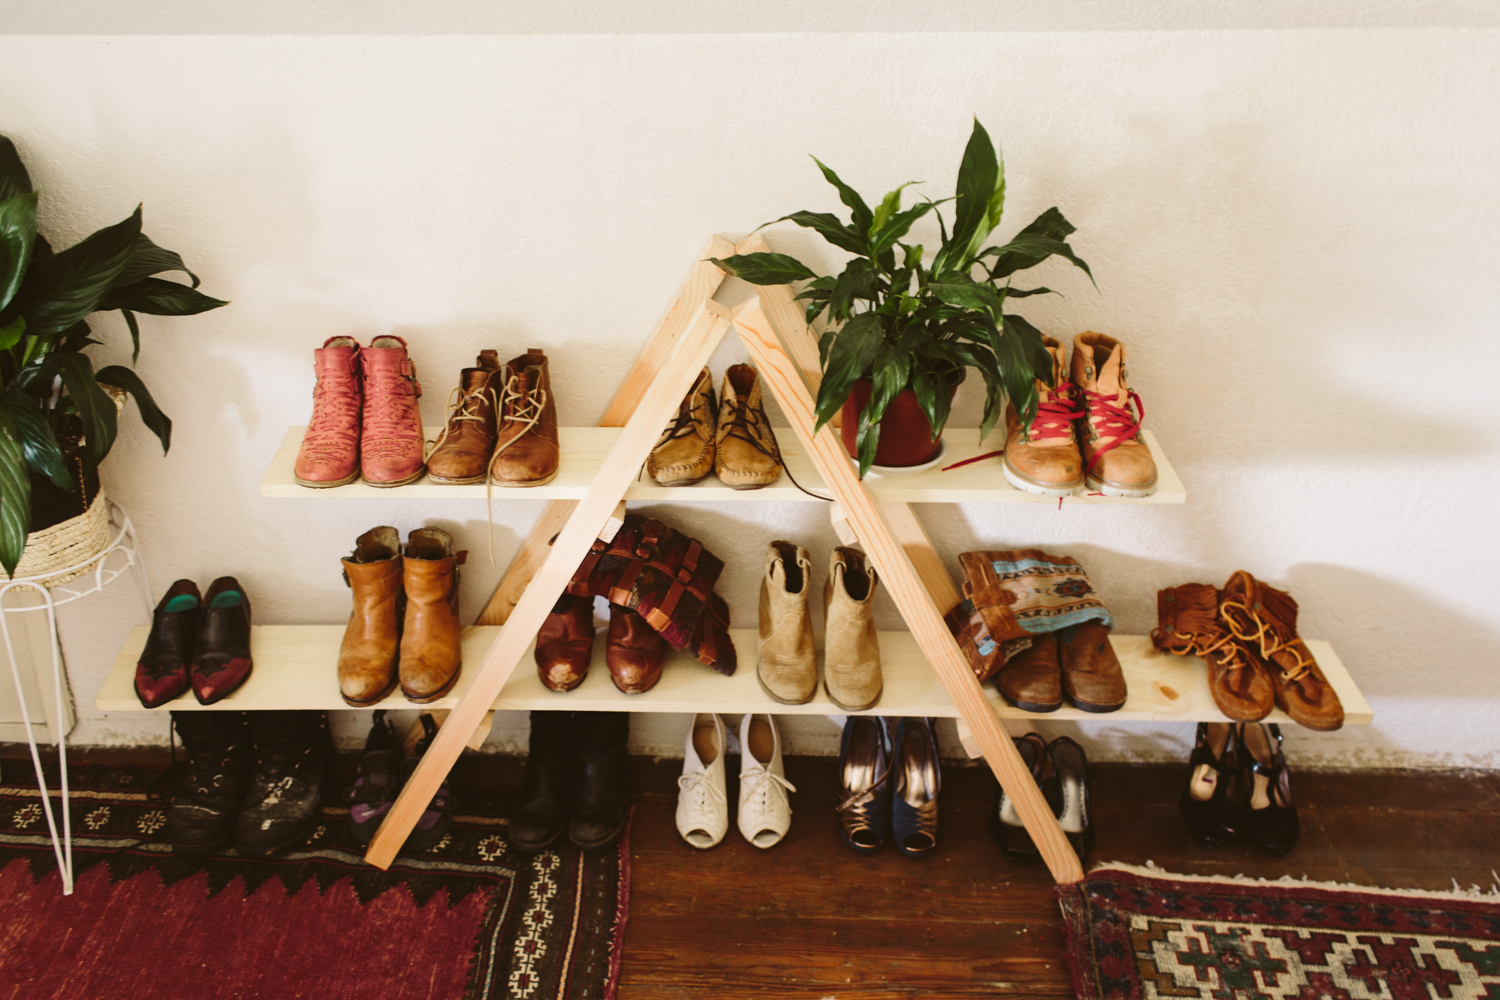
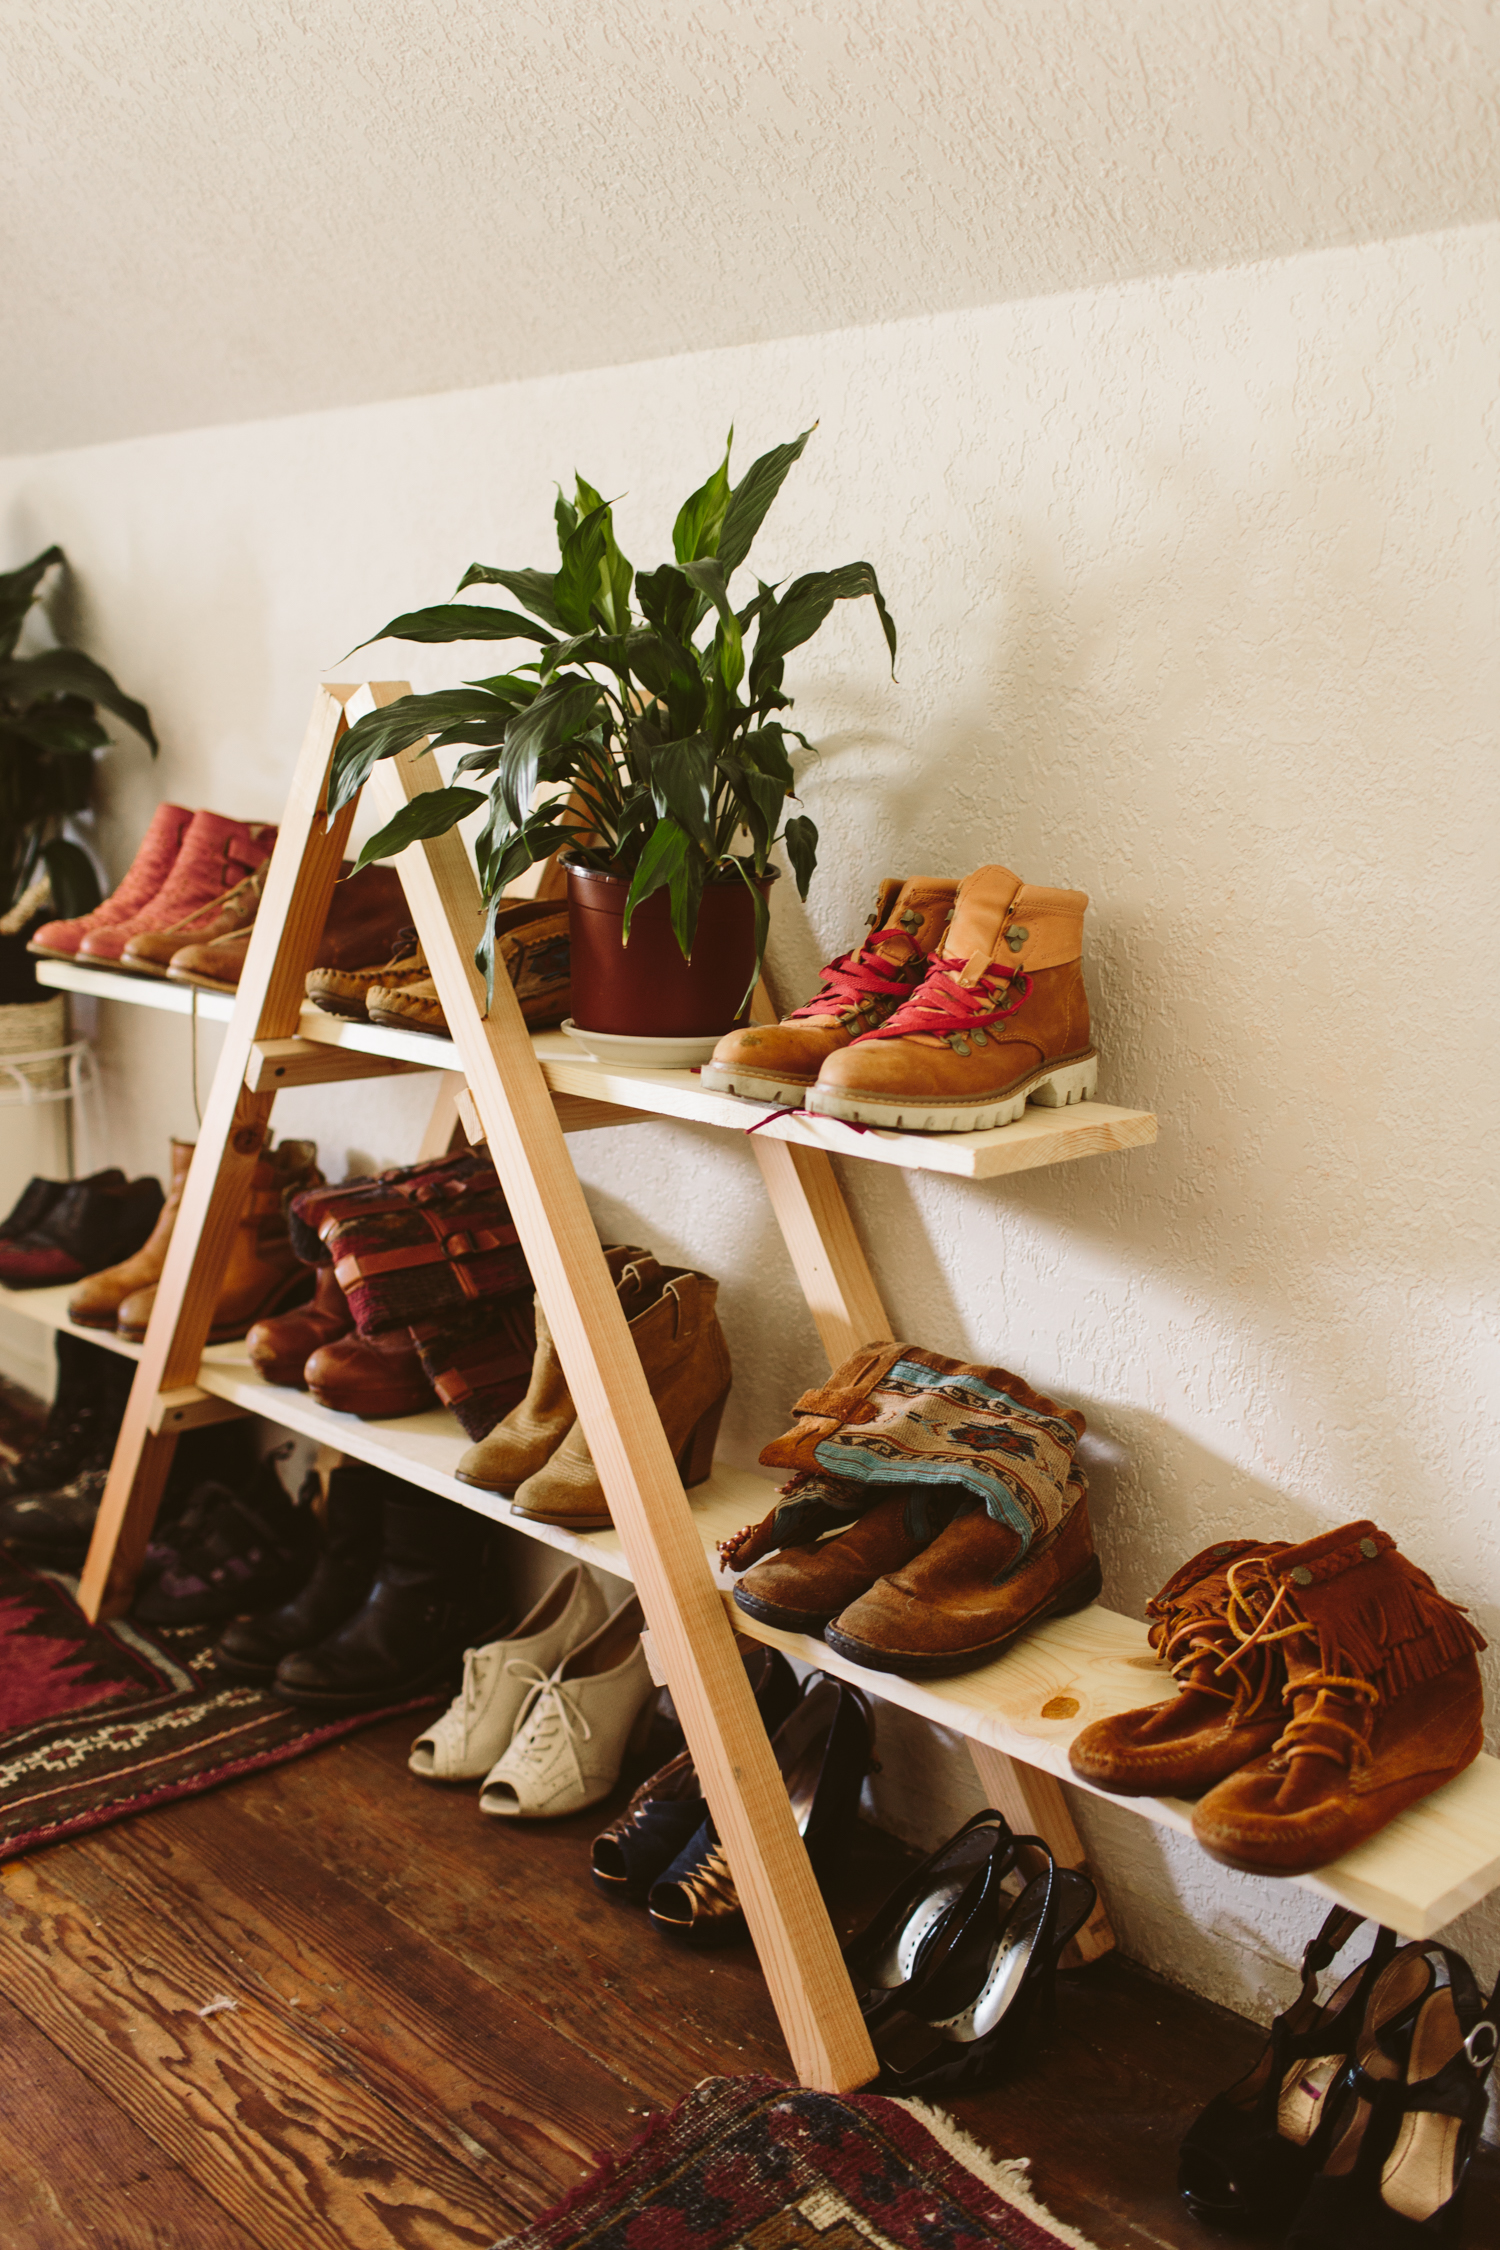
This space has always had tons of potential in my mind but has tended to be a dumping ground for clothes and junk because it’s upstairs and I don’t spend much time up there. But I wanted to finally fix it up and give it some life and organization. My shoes have always been an annoying thing to store and took up way too much floor space so I built a quick and easy shelf to store them in a cute way!
I totally forgot to take a photo of our clothes rack on the opposite side of the attic, but it’s just a simple DIY pipe garment rack (I used Rachel Denbow’s Tutorial).
Find the DIY for the shoe shelf here!
Dresser + Rugs: Craigslist
Shoe Shelf: DIY
B+W Plant Baskets: Iris + Poppy and Joann Fabric
Peace sign print: c/o Vol 25
DIY Triangle Shoe Storage Shelf
I knew I needed a better solution for my shoe storage and I wanted something cuter than just a bunch of cubbies, when I found a large version of this shelf on Pinterest (it was like a 6ft high version) I knew I wanted to make a small one that would fit beneath the angled ceilings of our attic closet. The wood for this was super affordable, and it only took about an hour and a half from start to finish to complete it!
What you’ll need:
2 8ft 2x2s
1 8ft 1x2
8 1.5 in screws
2 2 inch mending plates with screws
4 corner braces with screws
1 4ft 1x8 plank
1 6ft 1x8 plank
Drill
Skillsaw
1/ Using a skillsaw (or a handsaw) cut your 2x2s into four 41 inch long pieces for the ladder sides, and your 1x2 into four 11 inch pieces for the ladder rungs.
2/ Make a ladder by laying two 2x2s next to each other, marking a line 13 inches and 29 inches on each one. Separate the two sides and place the top of the 1x2 rungs at each line, screwing them to the 2x2s. The ends of the 1x2s should be flush with the sides of the 2x2s so the total depth of the ladder is 11 inches. Repeat for the second ladder. I pre-drilled the screw holes on the 1x2s because otherwise the screws would split the wood, so I recommend doing that.
3/ Use your flat brackets to attach the tops of the ladders to each other. Using a speed square, make sure the angle of the two ladders is 60º at the top where they meet. In order to keep them together while I got the angle right, I used clamps to hold the tops together and then used a piece of scrap wood and screwed it into the sides to keep the angle correct. If you have a friend helping, though, you can probably just use them to help hold the ladders together while you screw the brackets at the top.
4/ Place the planks on each shelf, the shorter one on the top shelf. Make sure they’re centered so that each side has the same overhang length. Use the L bracket and screw the vertical side to the inside of the 2x2, just below the shelf, then screw the horizontal side up into the bottom of the shelf, securing the shelf to the ladder. Do this on both sides for each shelf. I only put one L bracket on for each shelf, but you could put one on each side of the ladder for both sides of the the shelves if you want a little more security.
If you’ve screwed on a scrap piece of wood to the ladders to keep them at the right angle, you can unscrew that now. You’re all done!
I made sure that all the brackets were behind the wood so you don’t see them from the front, but that’s just me being nitpicky because #aesthetics.
Project House #1
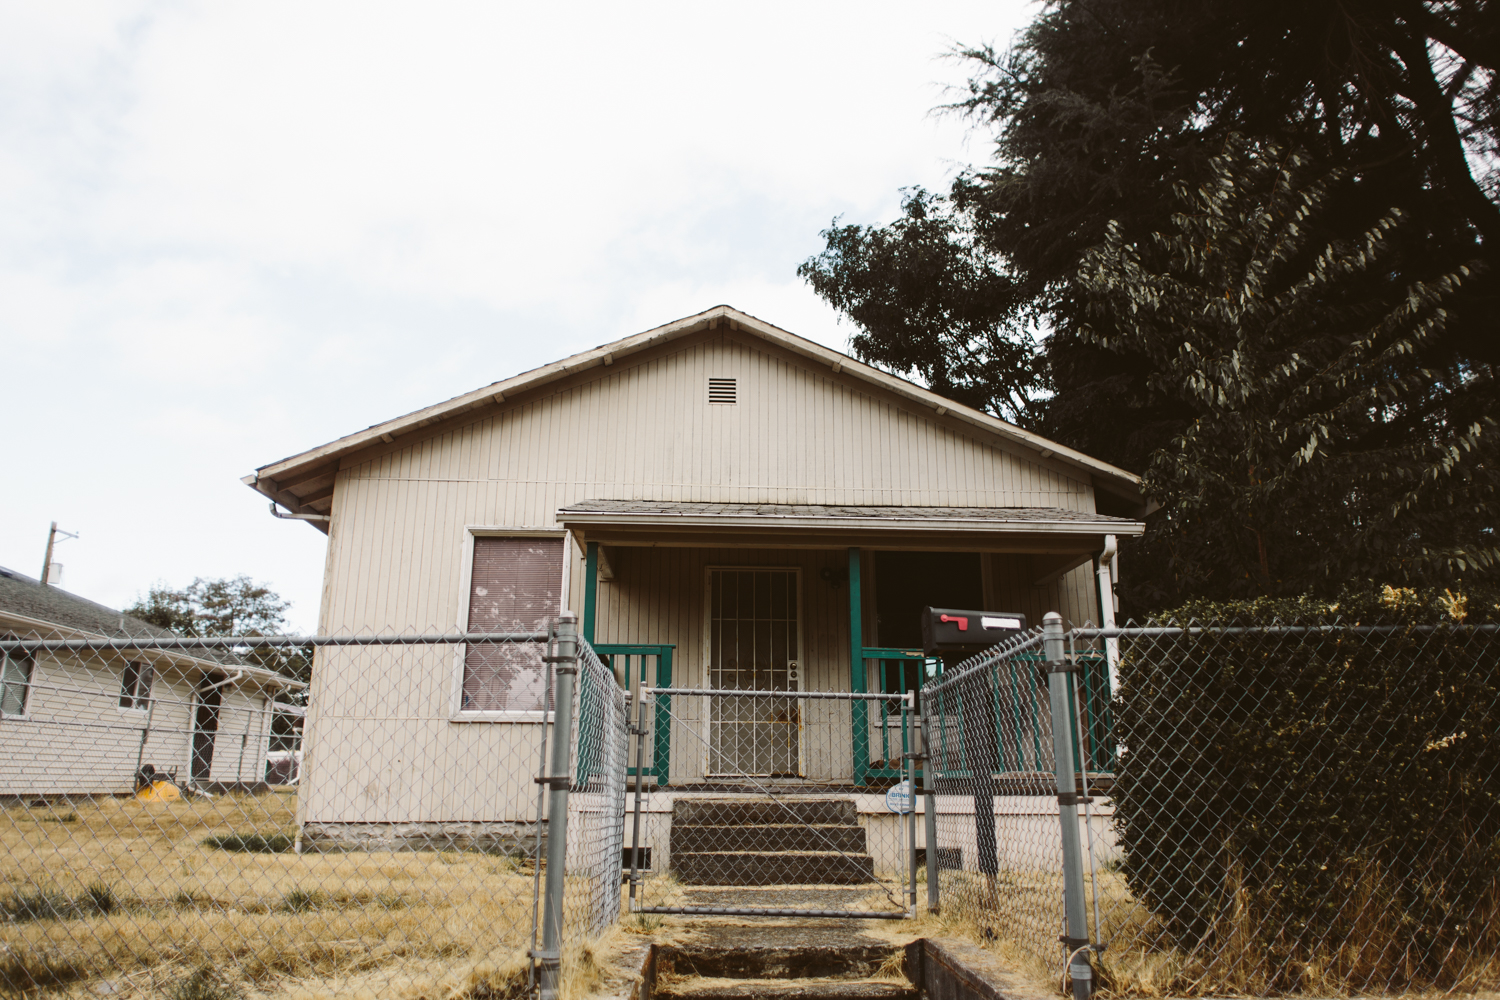
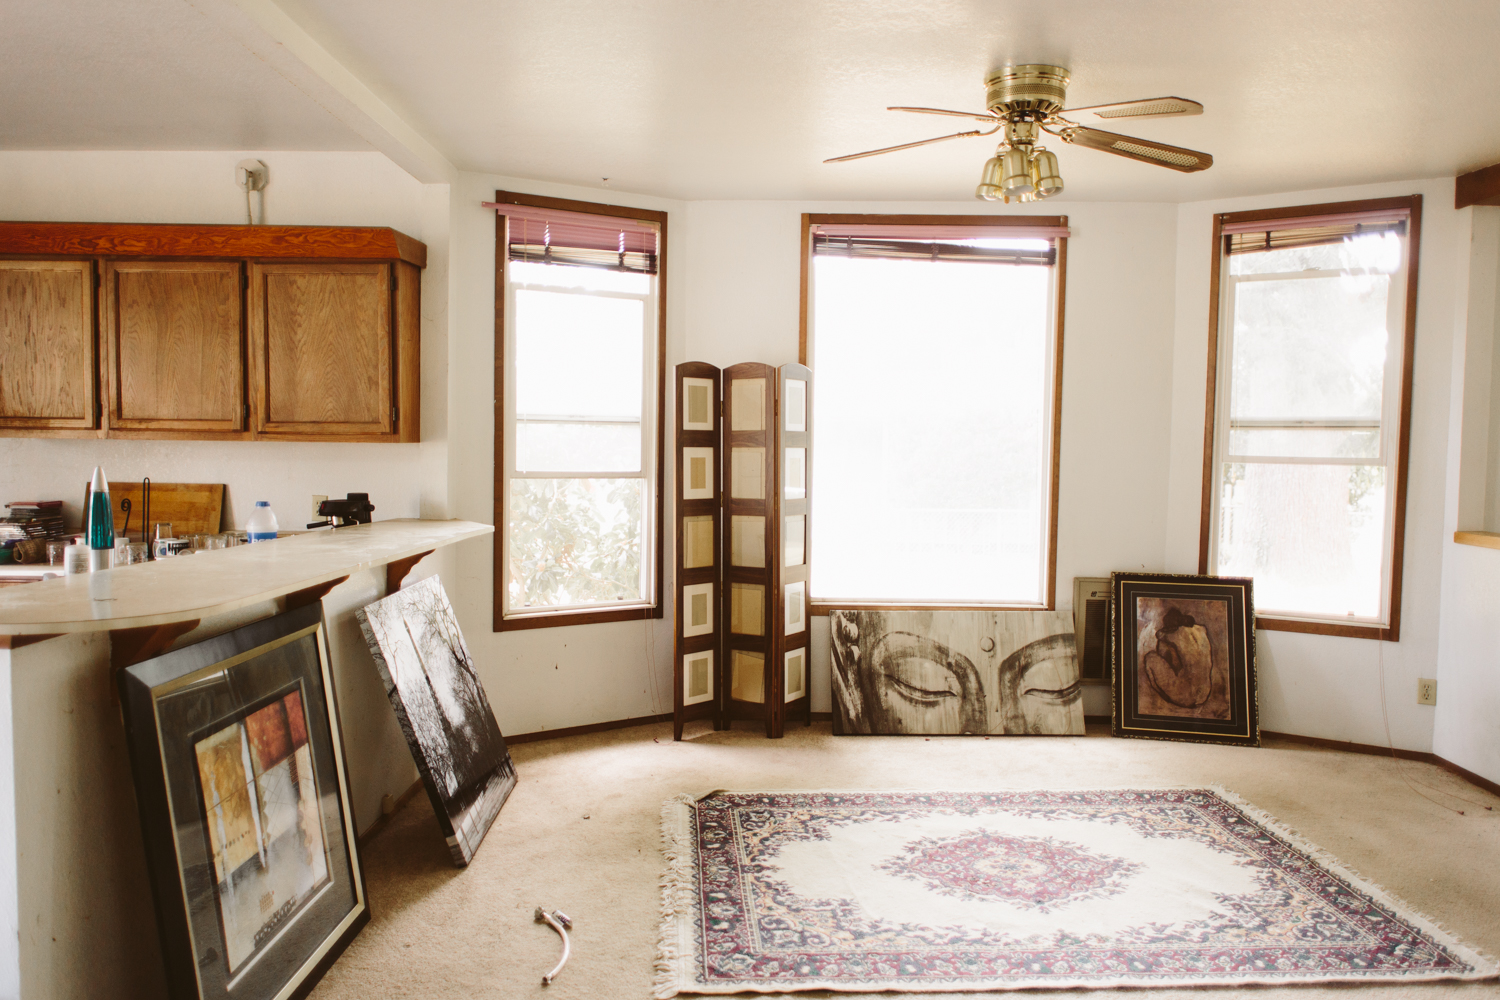
I'm so excited to share the big news that we just closed on our first flip house! This has been a long time coming, something I've been planning for over a year and have been thinking about for several years. After Jack was born I really felt like I needed to reclaim myself and in early 2018 I decided that this year I needed to give birth to something creative for myself. I vowed that in 2018 I would flip at least ONE house. I've been trying to get a house since January and have been learning the ins and outs of house flipping and real estate investing, and I still feel like I've only seen the tip of the iceberg with all this stuff, but I also know that I learn by doing so this will be a big learning process.
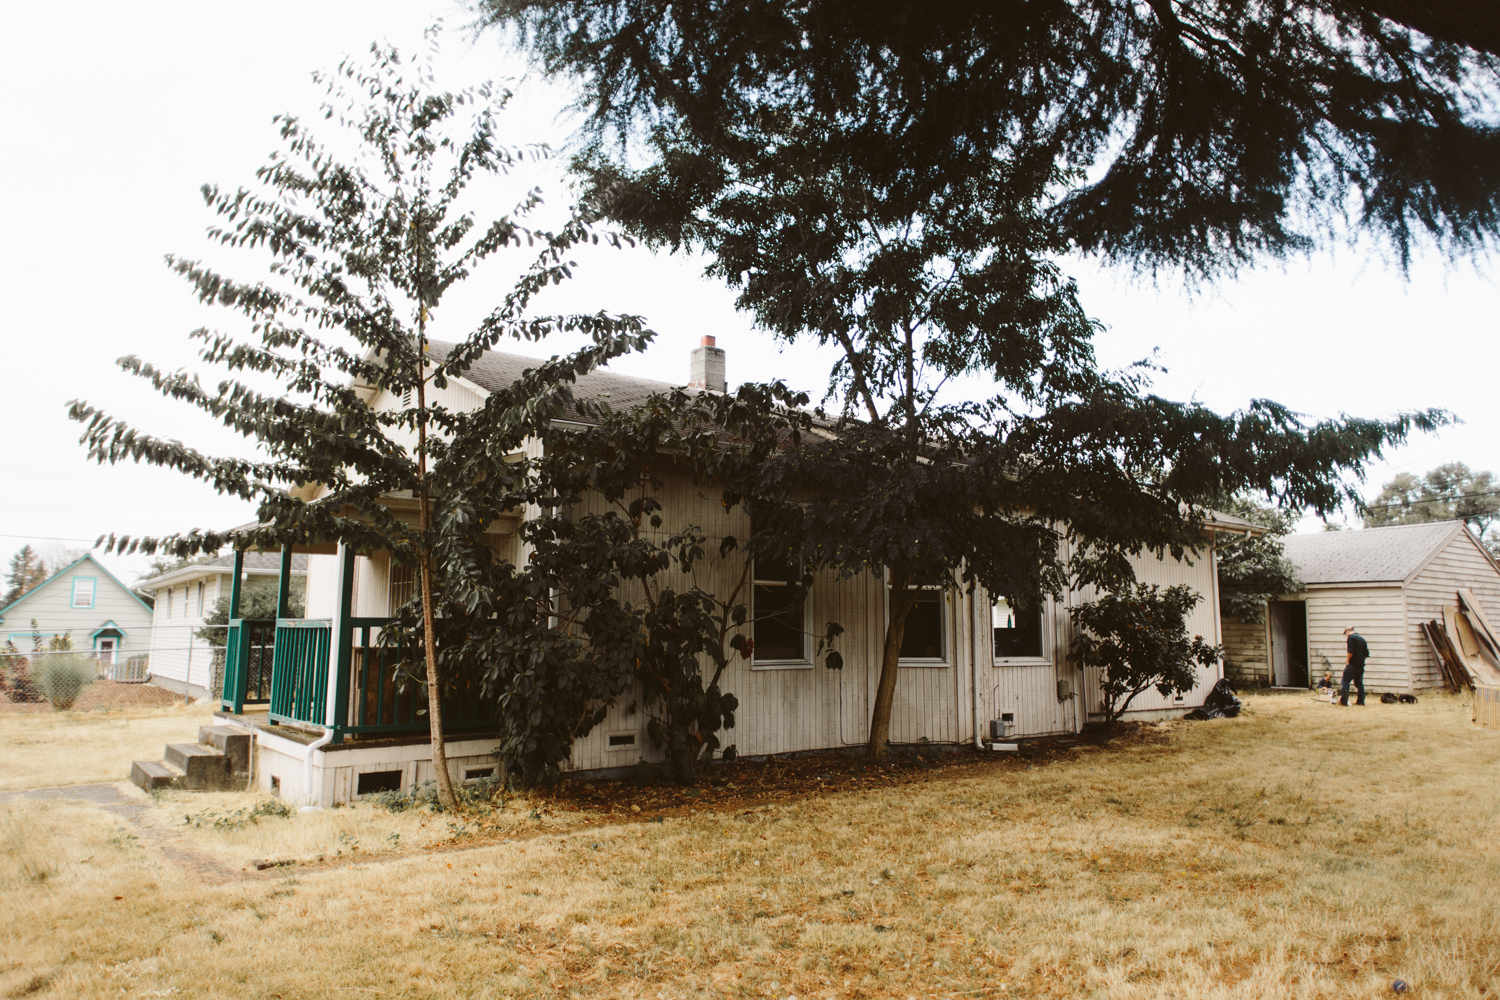
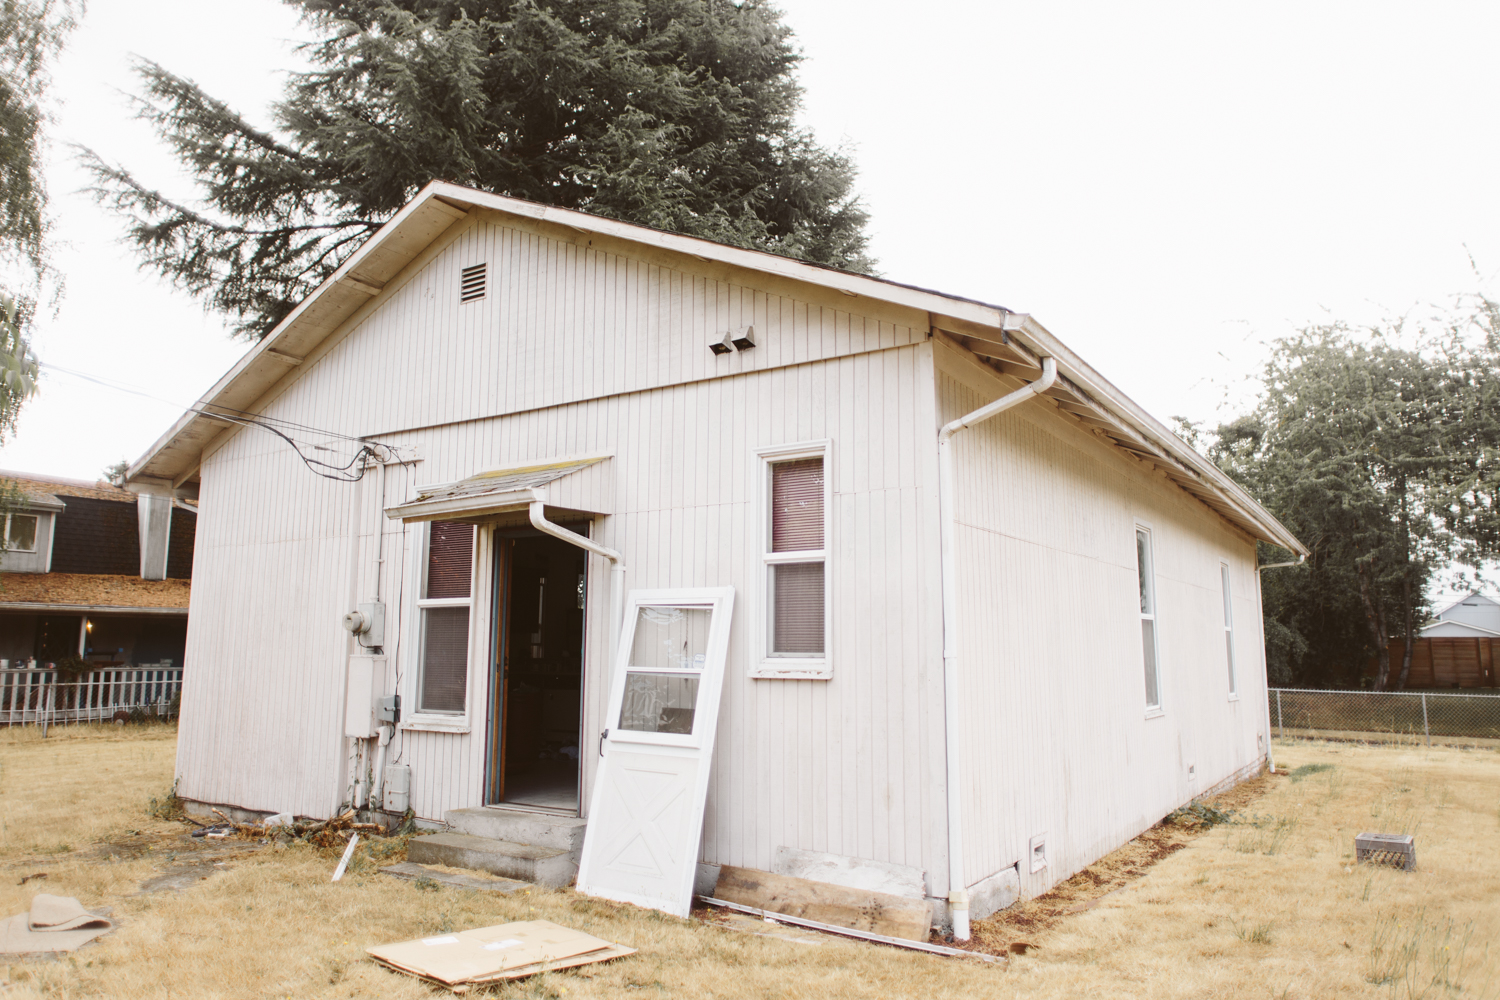
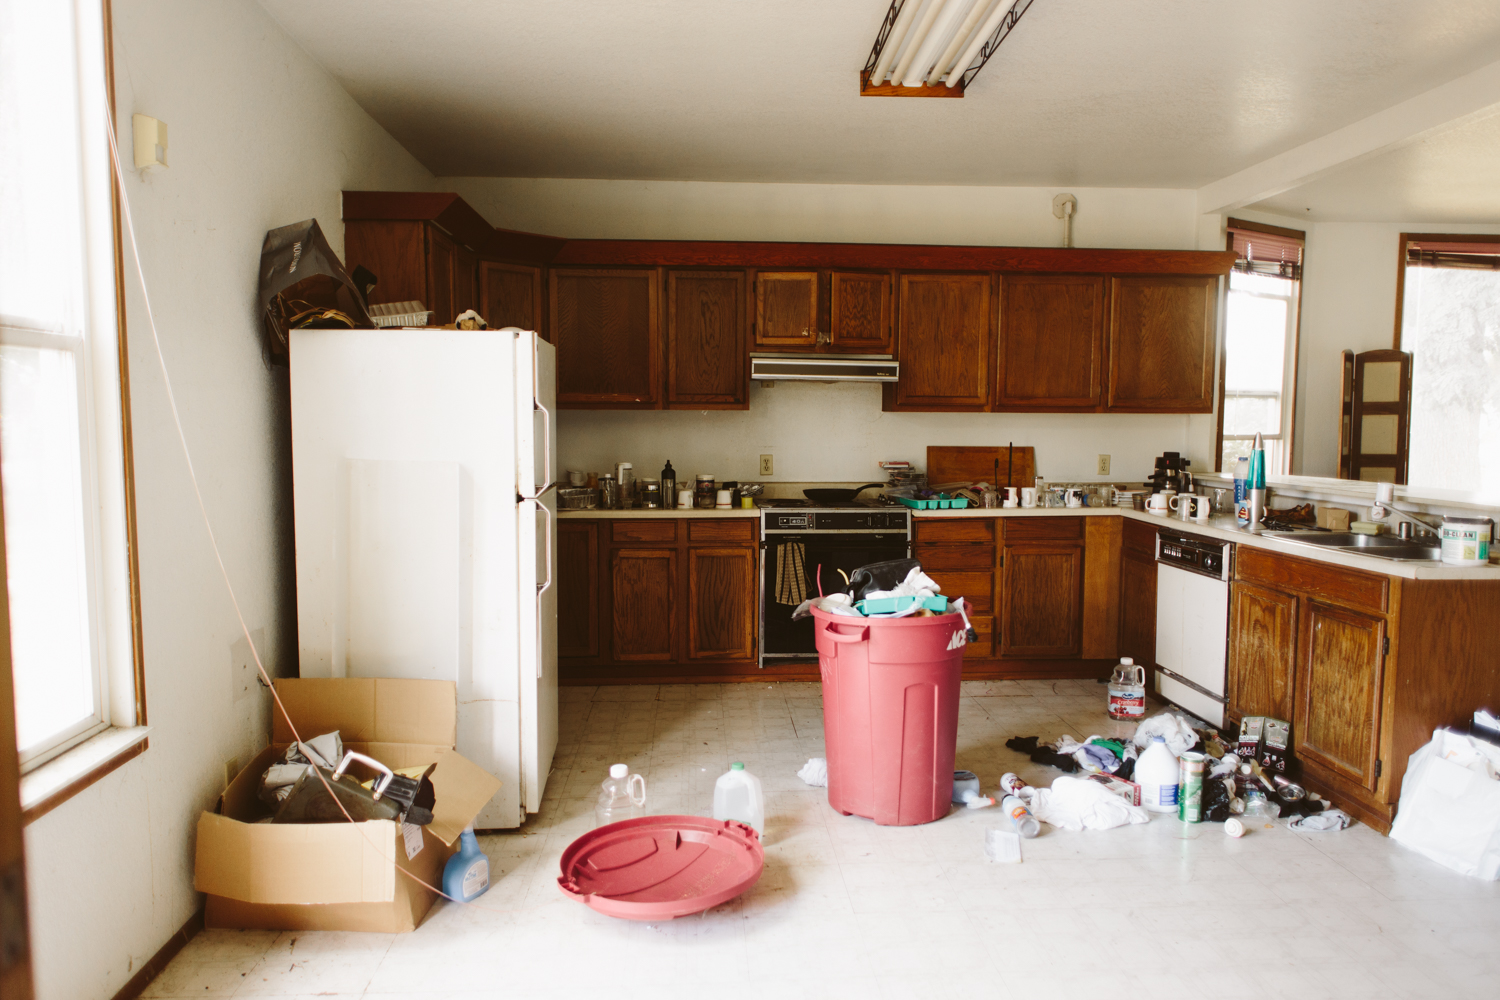
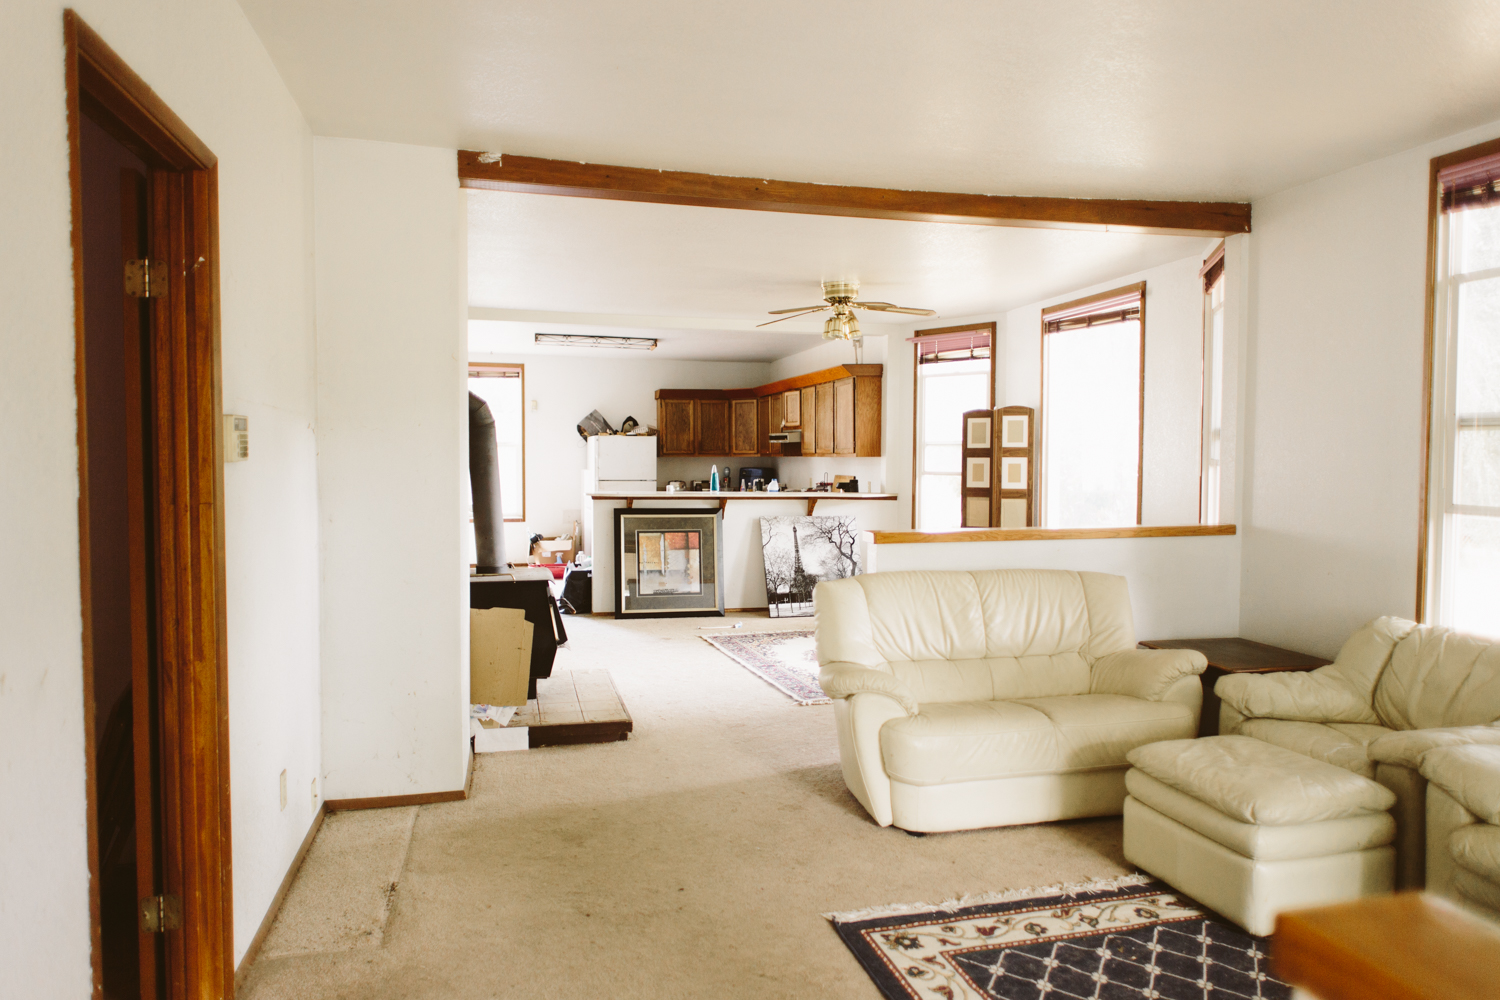
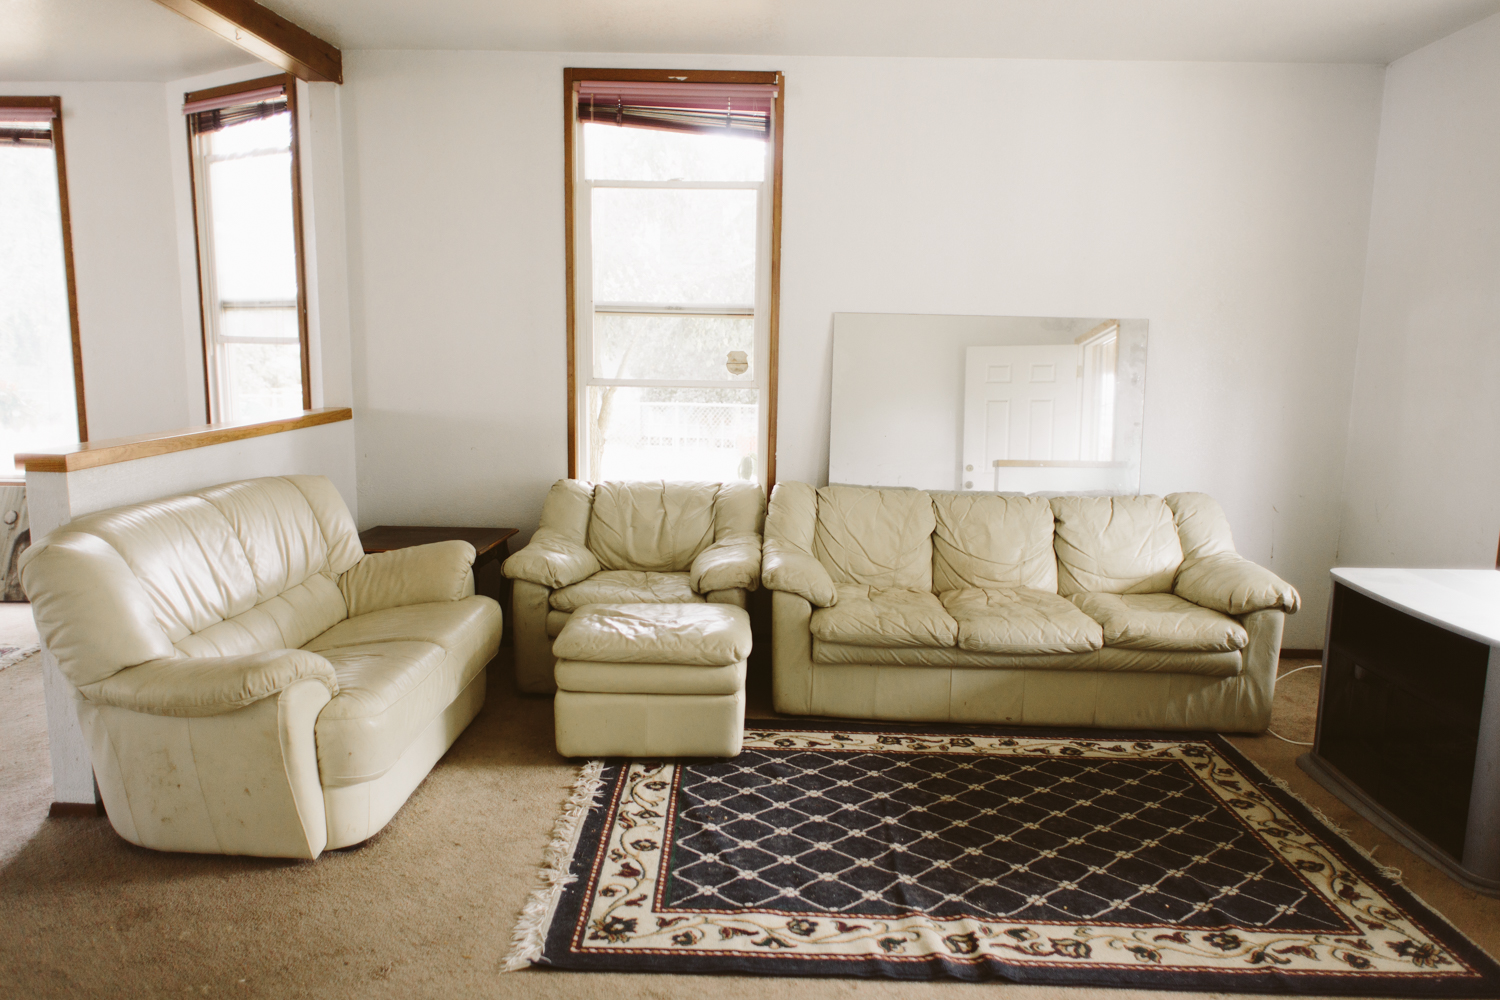
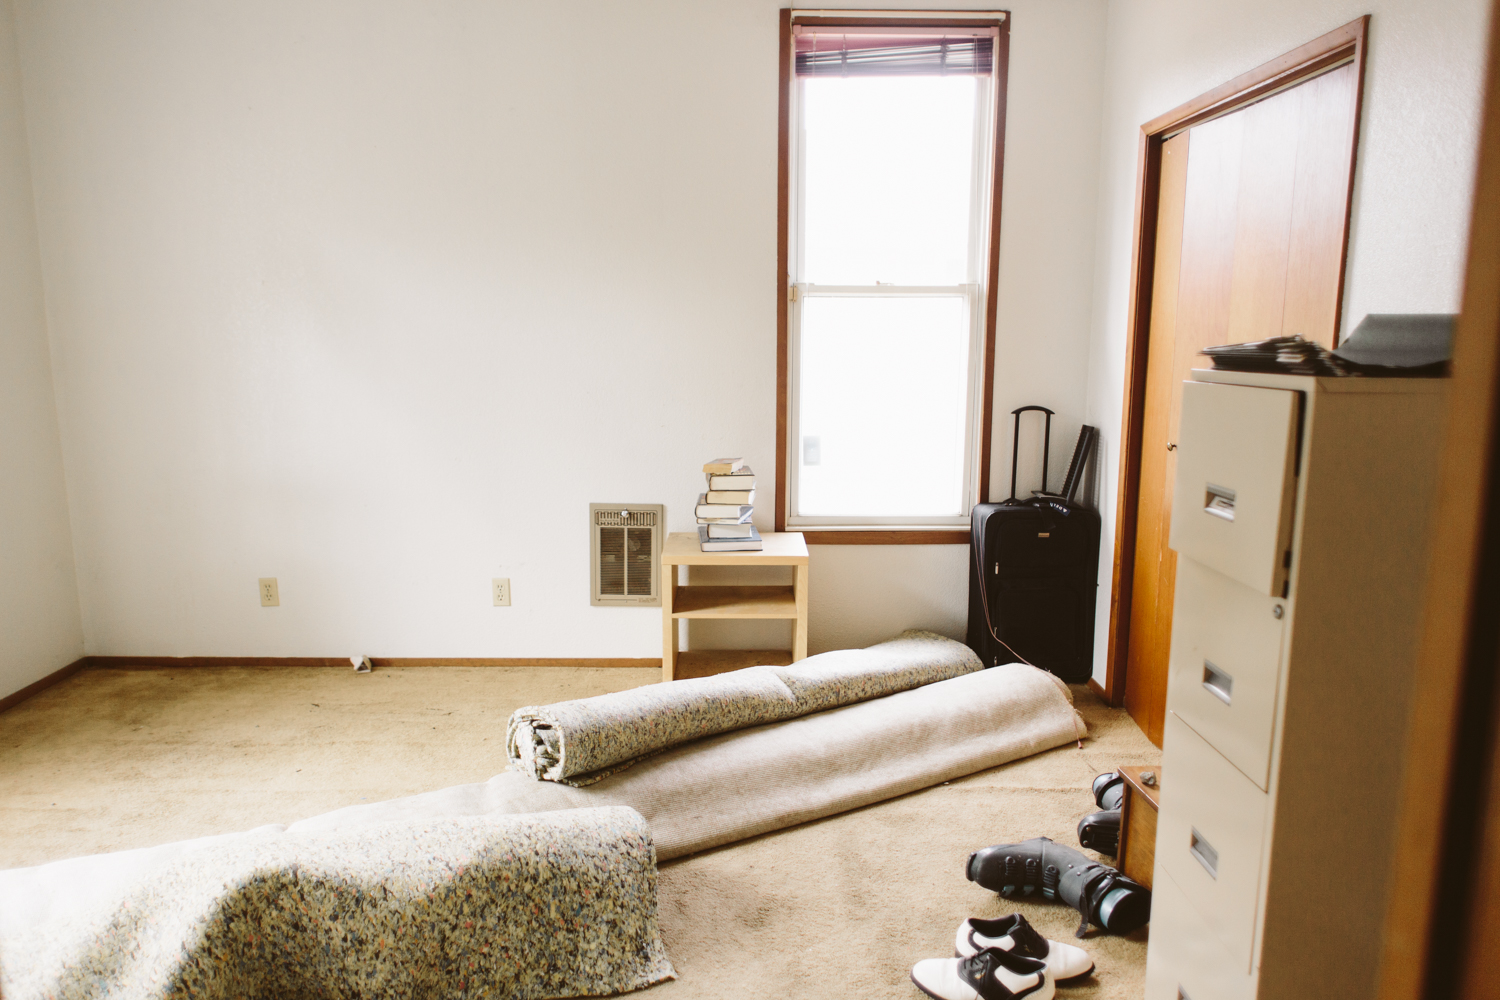
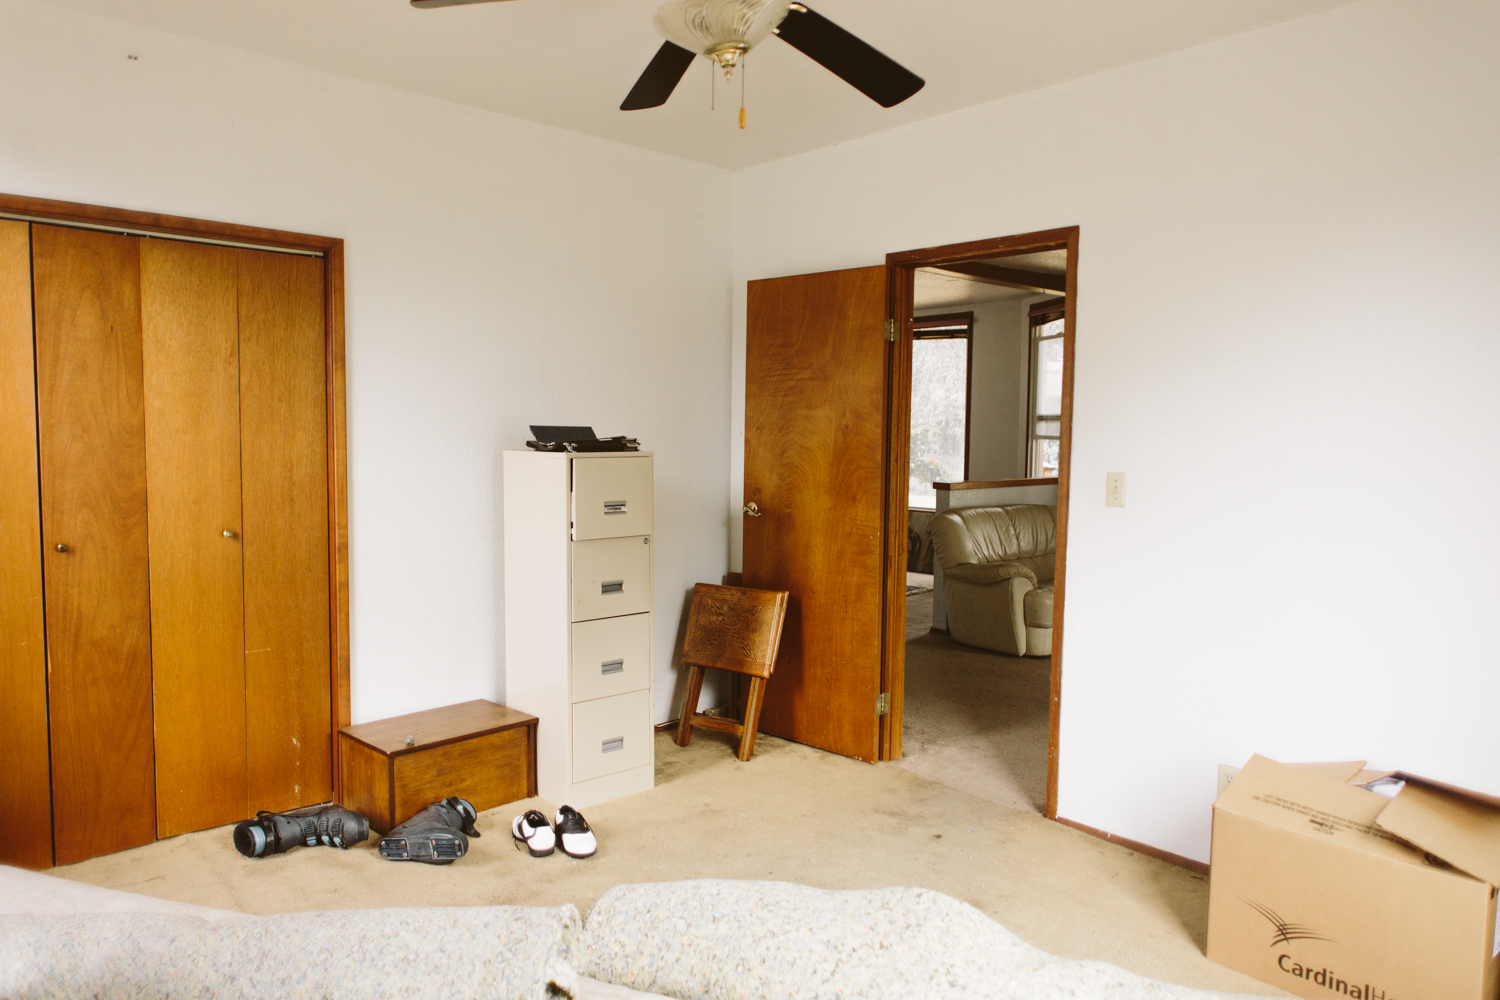
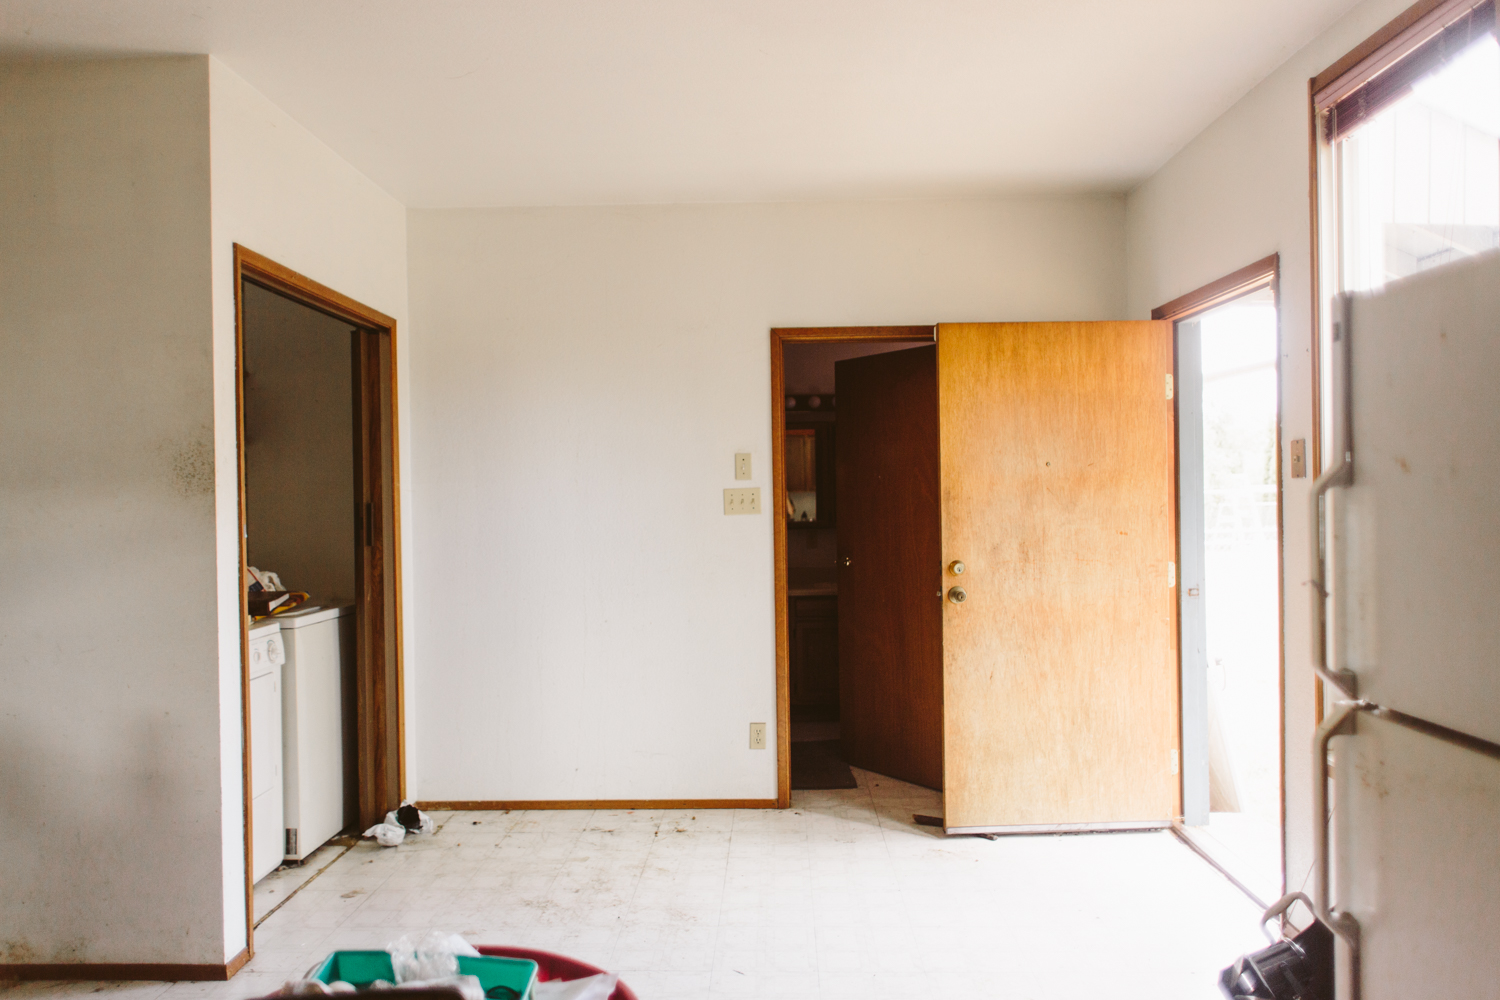
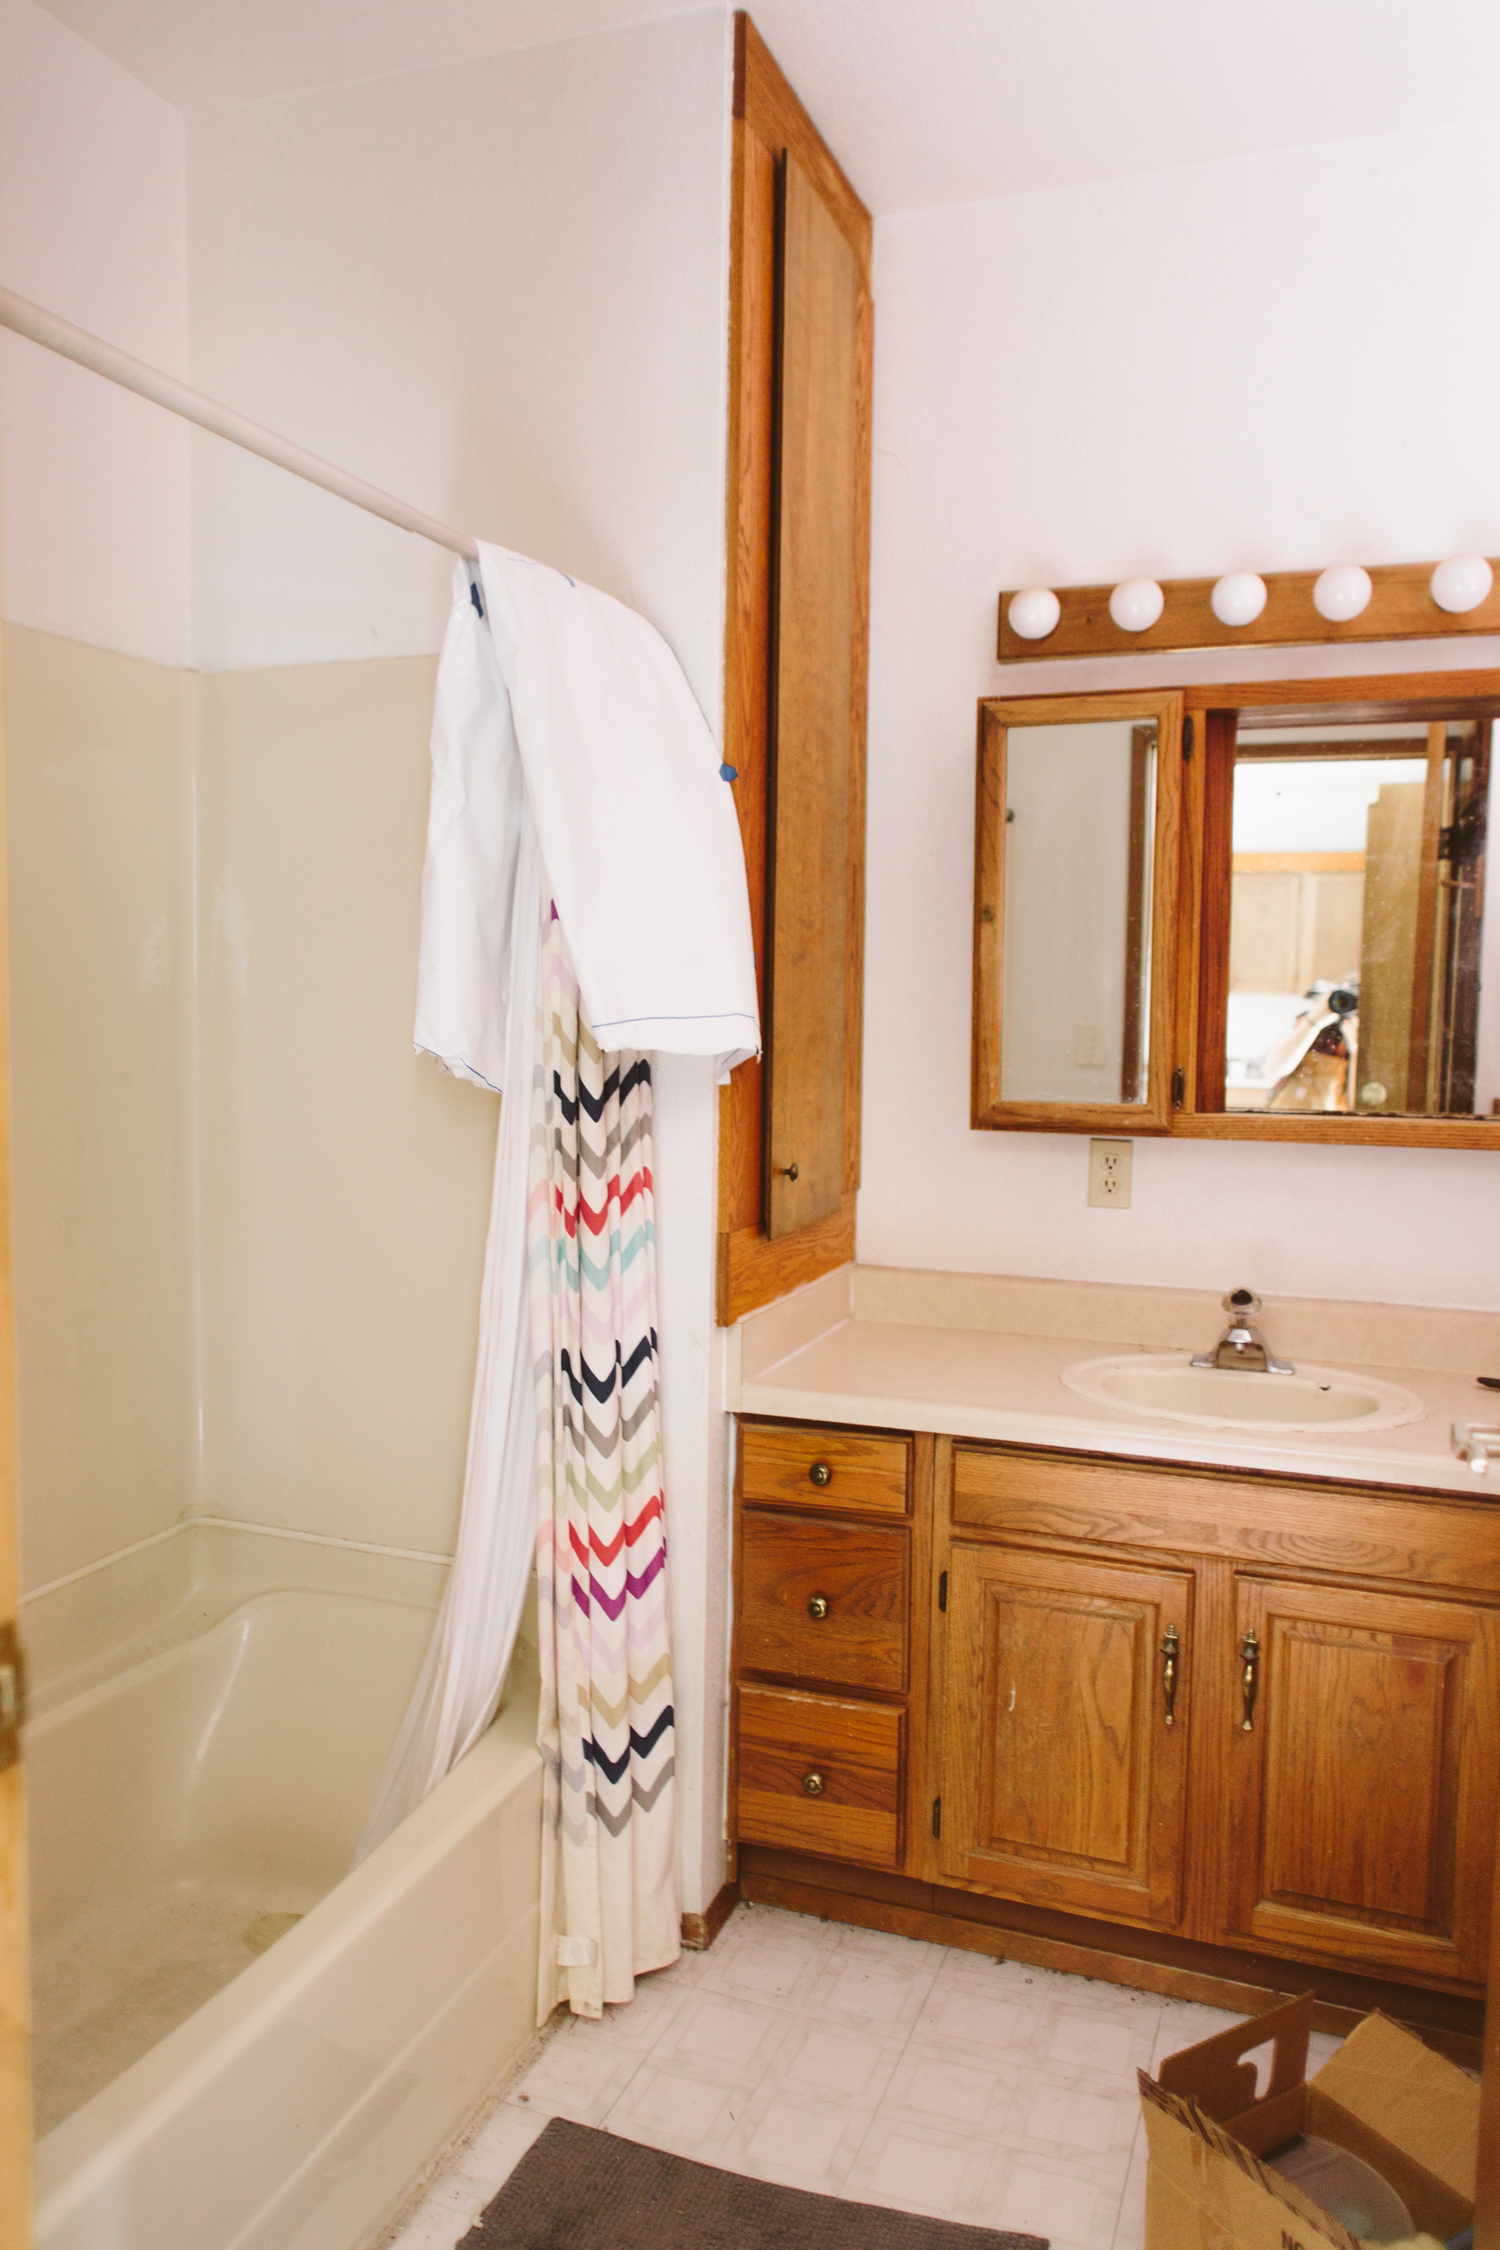
So here she is in all her day-1 glory. We just got our dumpster delivered so we can finally finish up our trash-out!
There you have it. It’s not going to need a lot in terms of any structural changes, it’s primarily a cosmetic fix, but we are adding a bedroom within the current footprint!
Here’s the original layout:
Basically one half of the house is bedrooms/bathrooms, and the other side is one big open space (with a couple pony walls) of living and kitchen. Normally I’m all about the open concept life, but for a house this size, in this neighborhood, I felt like functionally it needed a third bedroom/office.
This house has a huge yard, and a large detached garage, so it really feels like it would be a perfect spot for a small family, or a couple who might need home office space. The third bedroom will be pretty small, but for a nursery or home office I think it’ll be a great space.
For a small family or a couple, a huge dining room isn’t necessary so I combined the kitchen and dining space in the center of the house, and it’ll be a large, open room with the living room. I also love that you’ll still be able to see the back door from the front door, which will make it feel bigger even though we’re making the living space a bit smaller. The way it was laid out before didn’t feel functional at all, even though it was larger, so I think this new layout will be more practical for actually living in the space!
One of my favorite things about this house is how big the property is. Most homes in the neighborhood are on two parcels of land, and this one is on three. Right now I have my Winnie parked there, plus there’s still a parking spot and a two car garage, so it’s got tons of space for fun to be had! The backyard is begging for a kids’ playset!
I’ll try to update here on the blog when major progress happens, but follow my Instagram Story for more quick updates!
Boho Eclectic Living Room
Guys. First thing: HOLY COW as of today I've been blogging for TEN YEARS. Ten. A damn decade. What? I haven't done anything for a decade straight. If you want to go back to the early days and have a good laugh, feel free. It's pretty hilarious to see how different blogging was a decade ago!
Second thing: to celebrate I'm doing some giveaways with brands that I thing are rad and the first one is a $100 gift certificate to The Jungalow! I'm constantly inspired by Justina Blakeney's lush aesthetic, so I wanted to give one lucky reader the chance to grab something gorgeous from her shop! Click the button below to go enter!
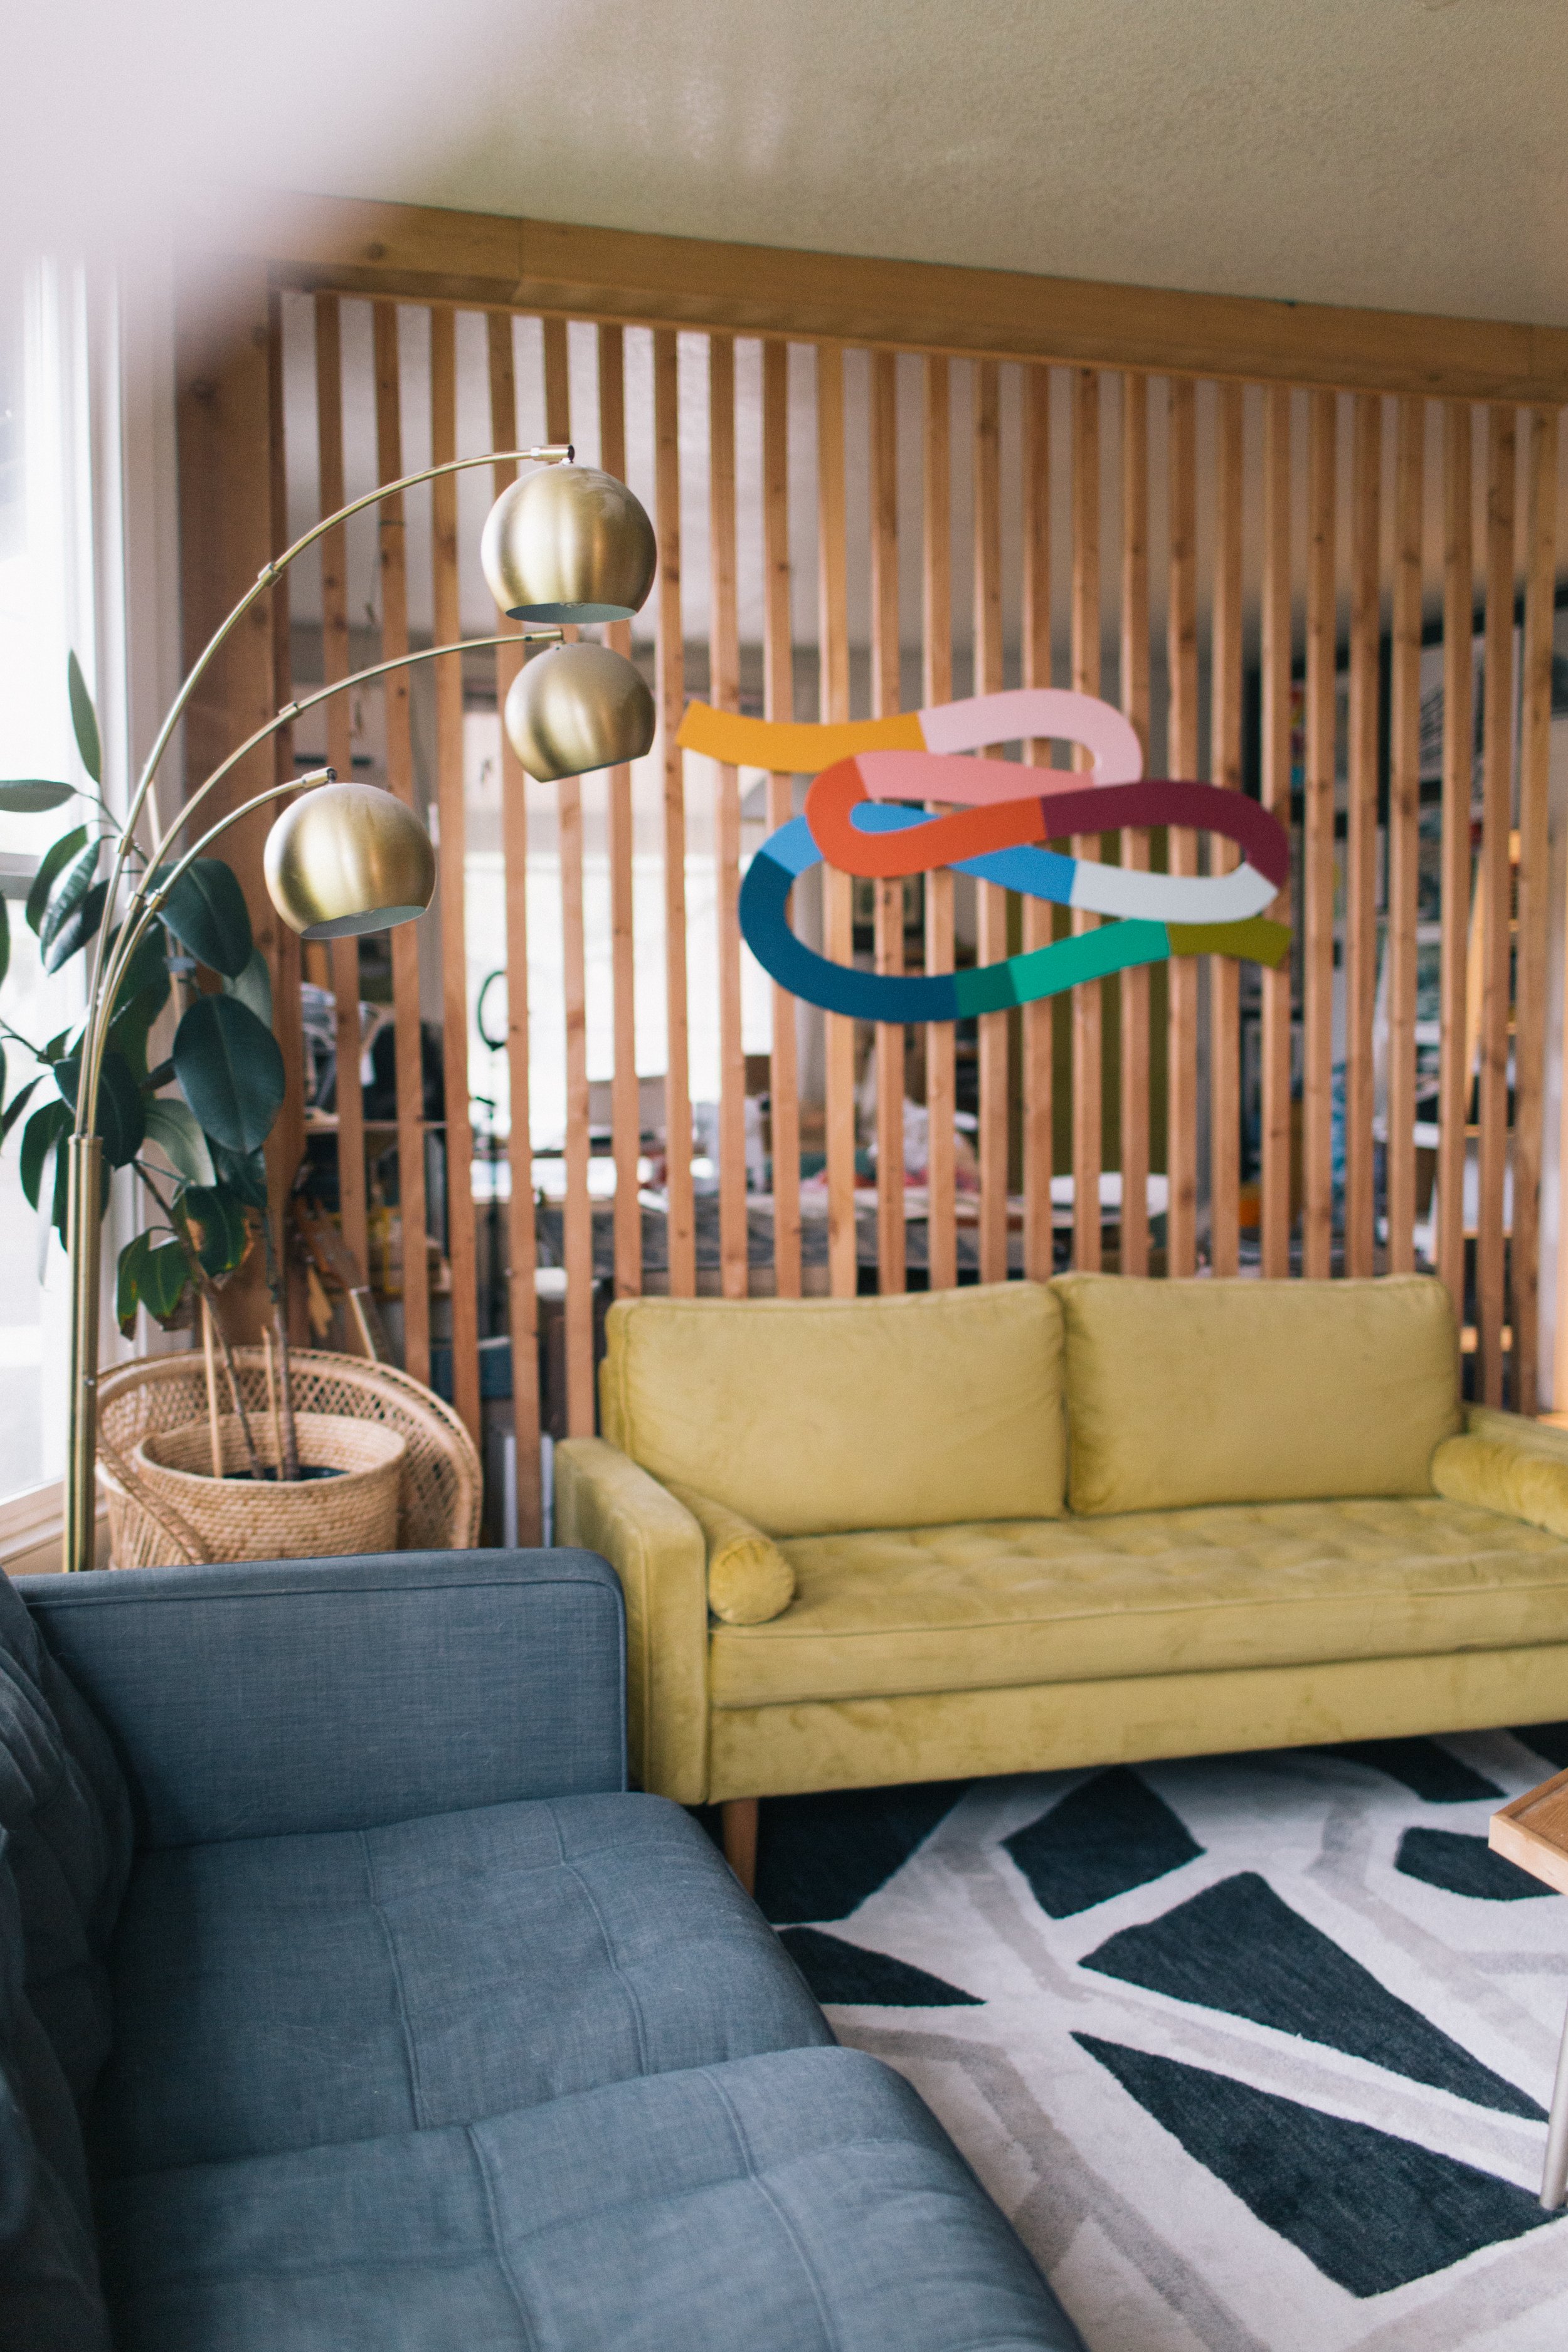
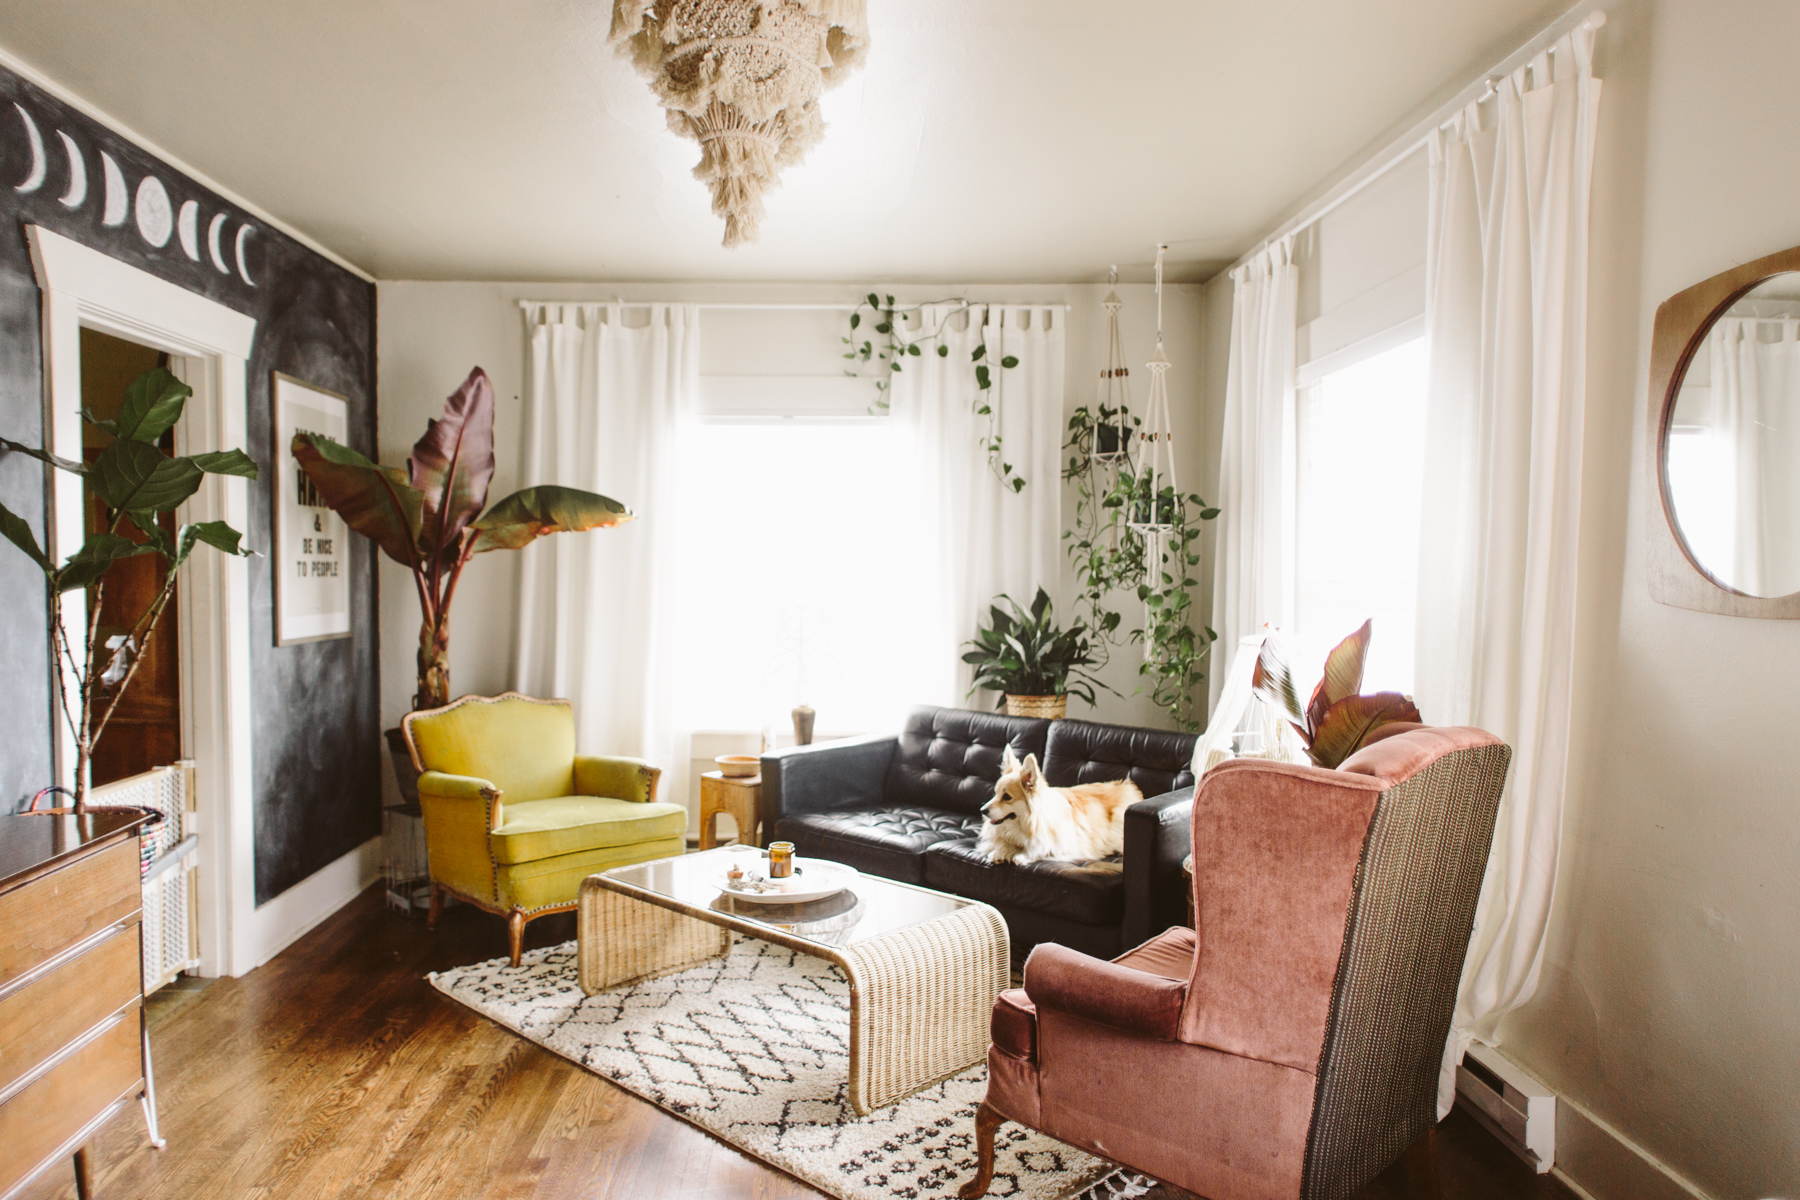
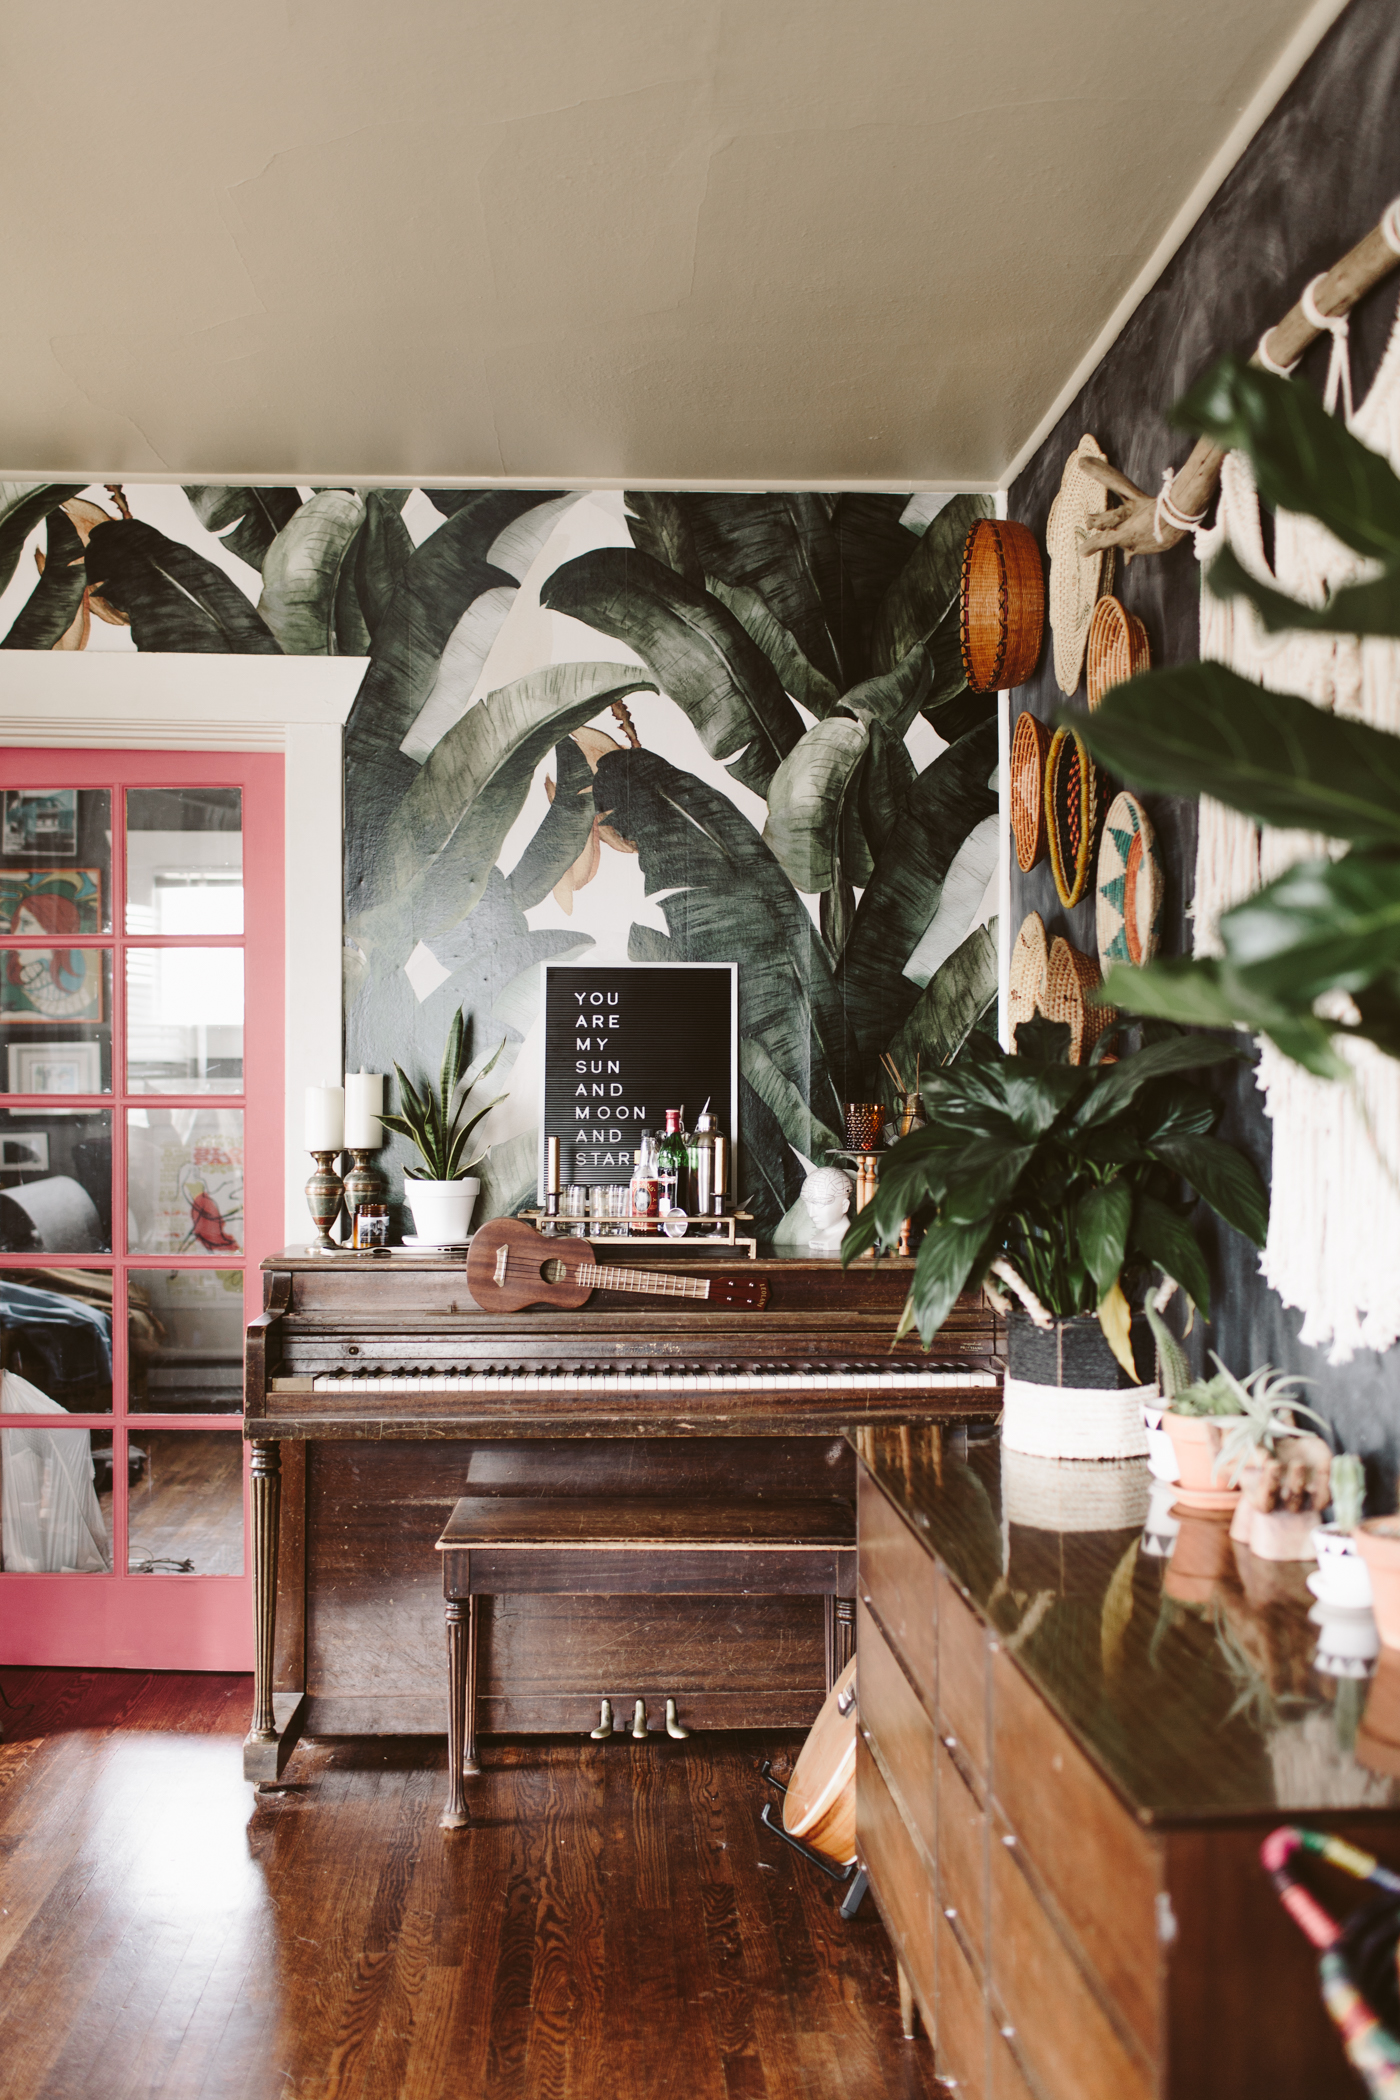
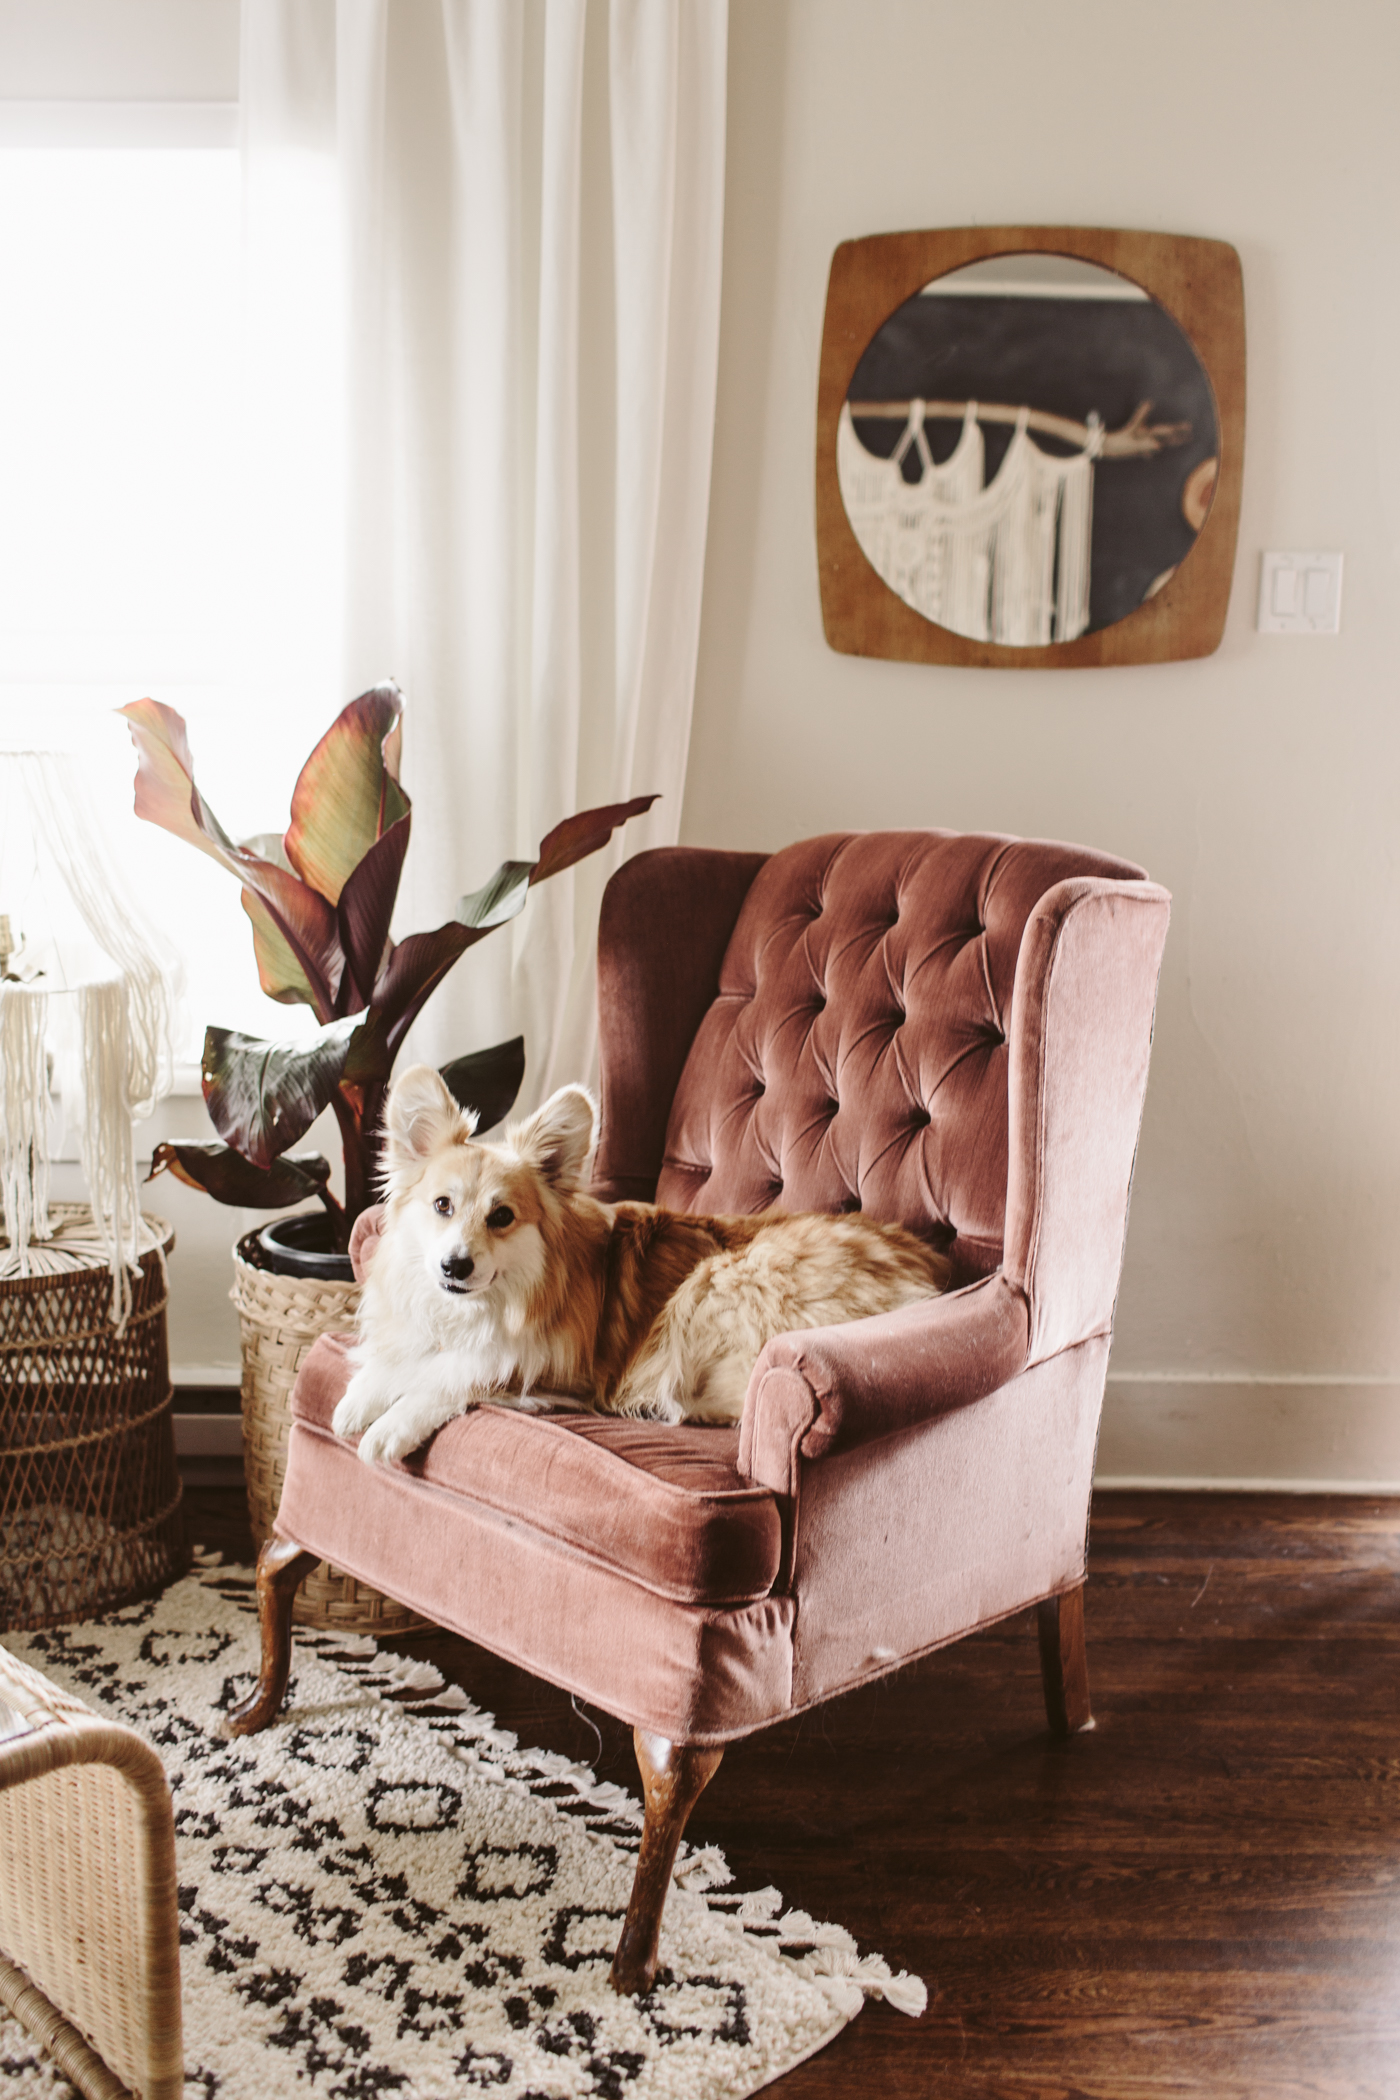
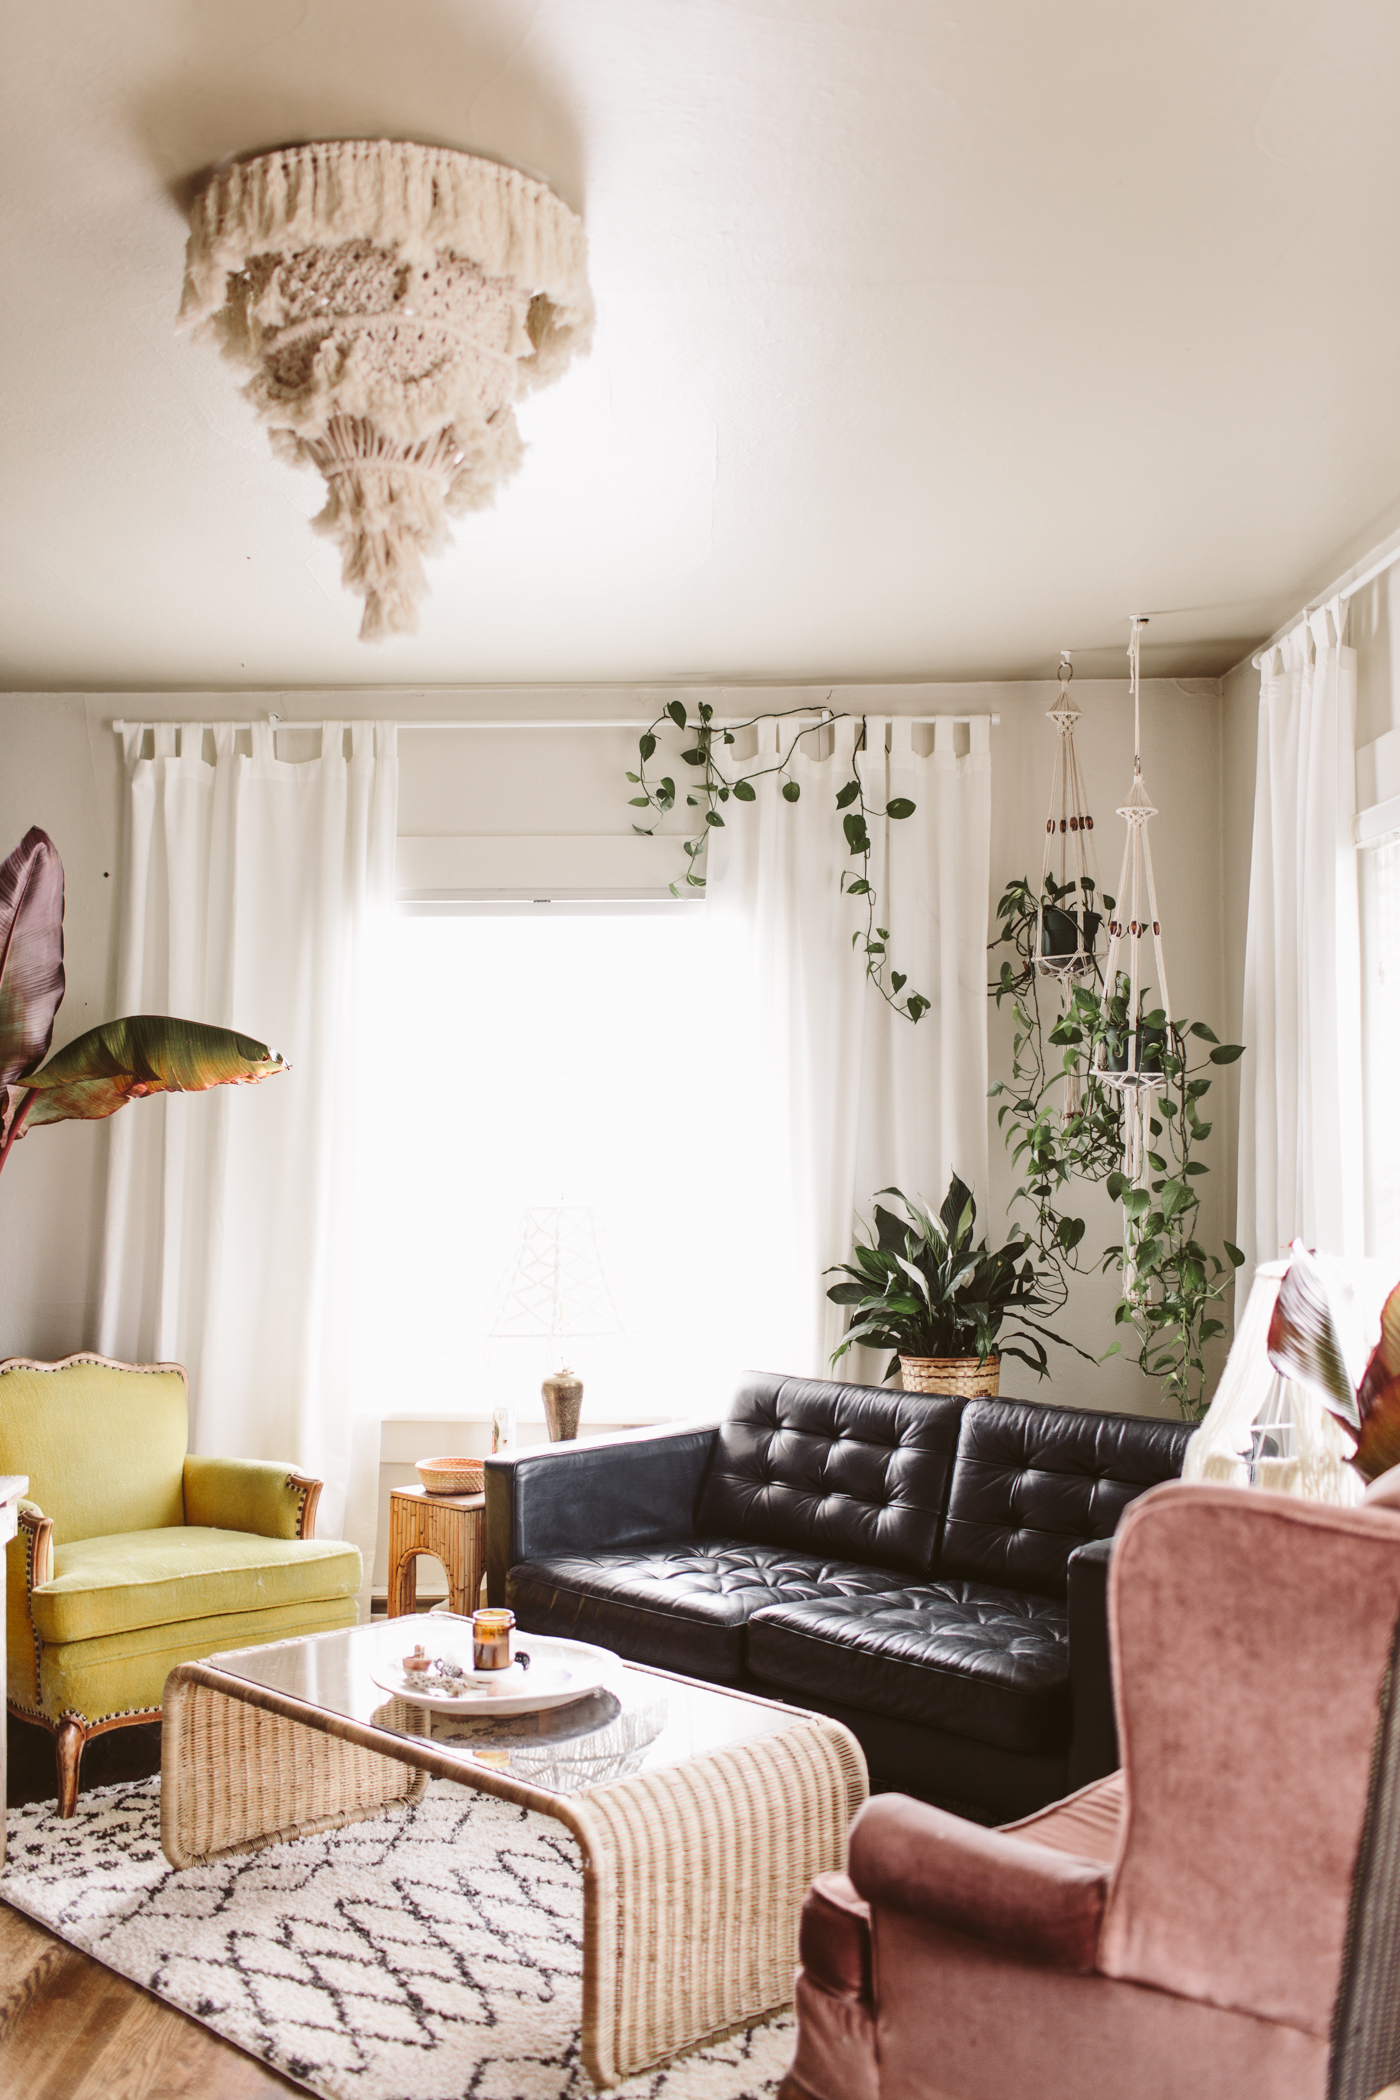
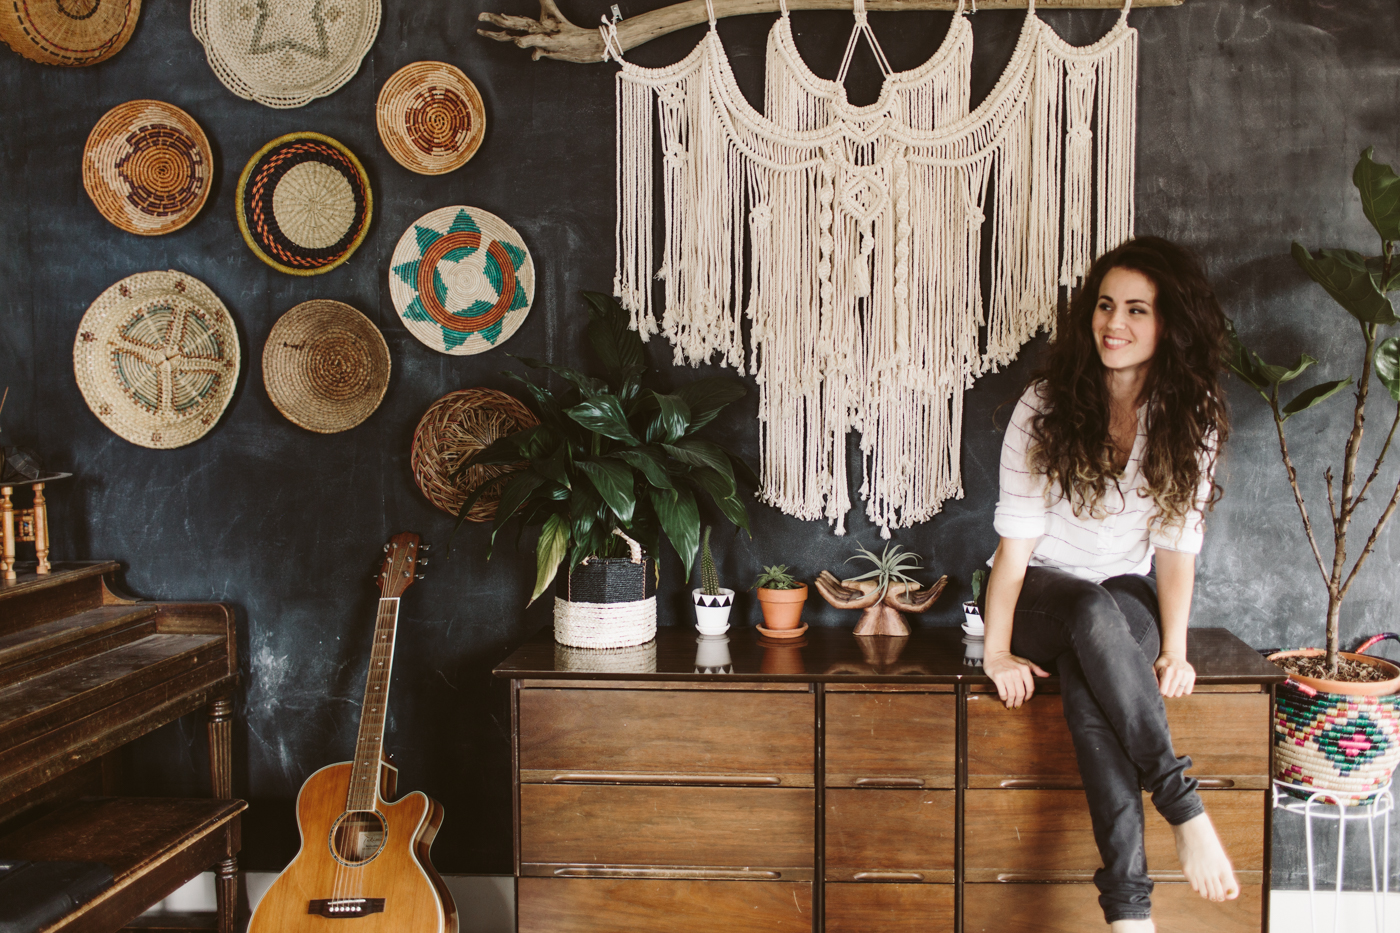
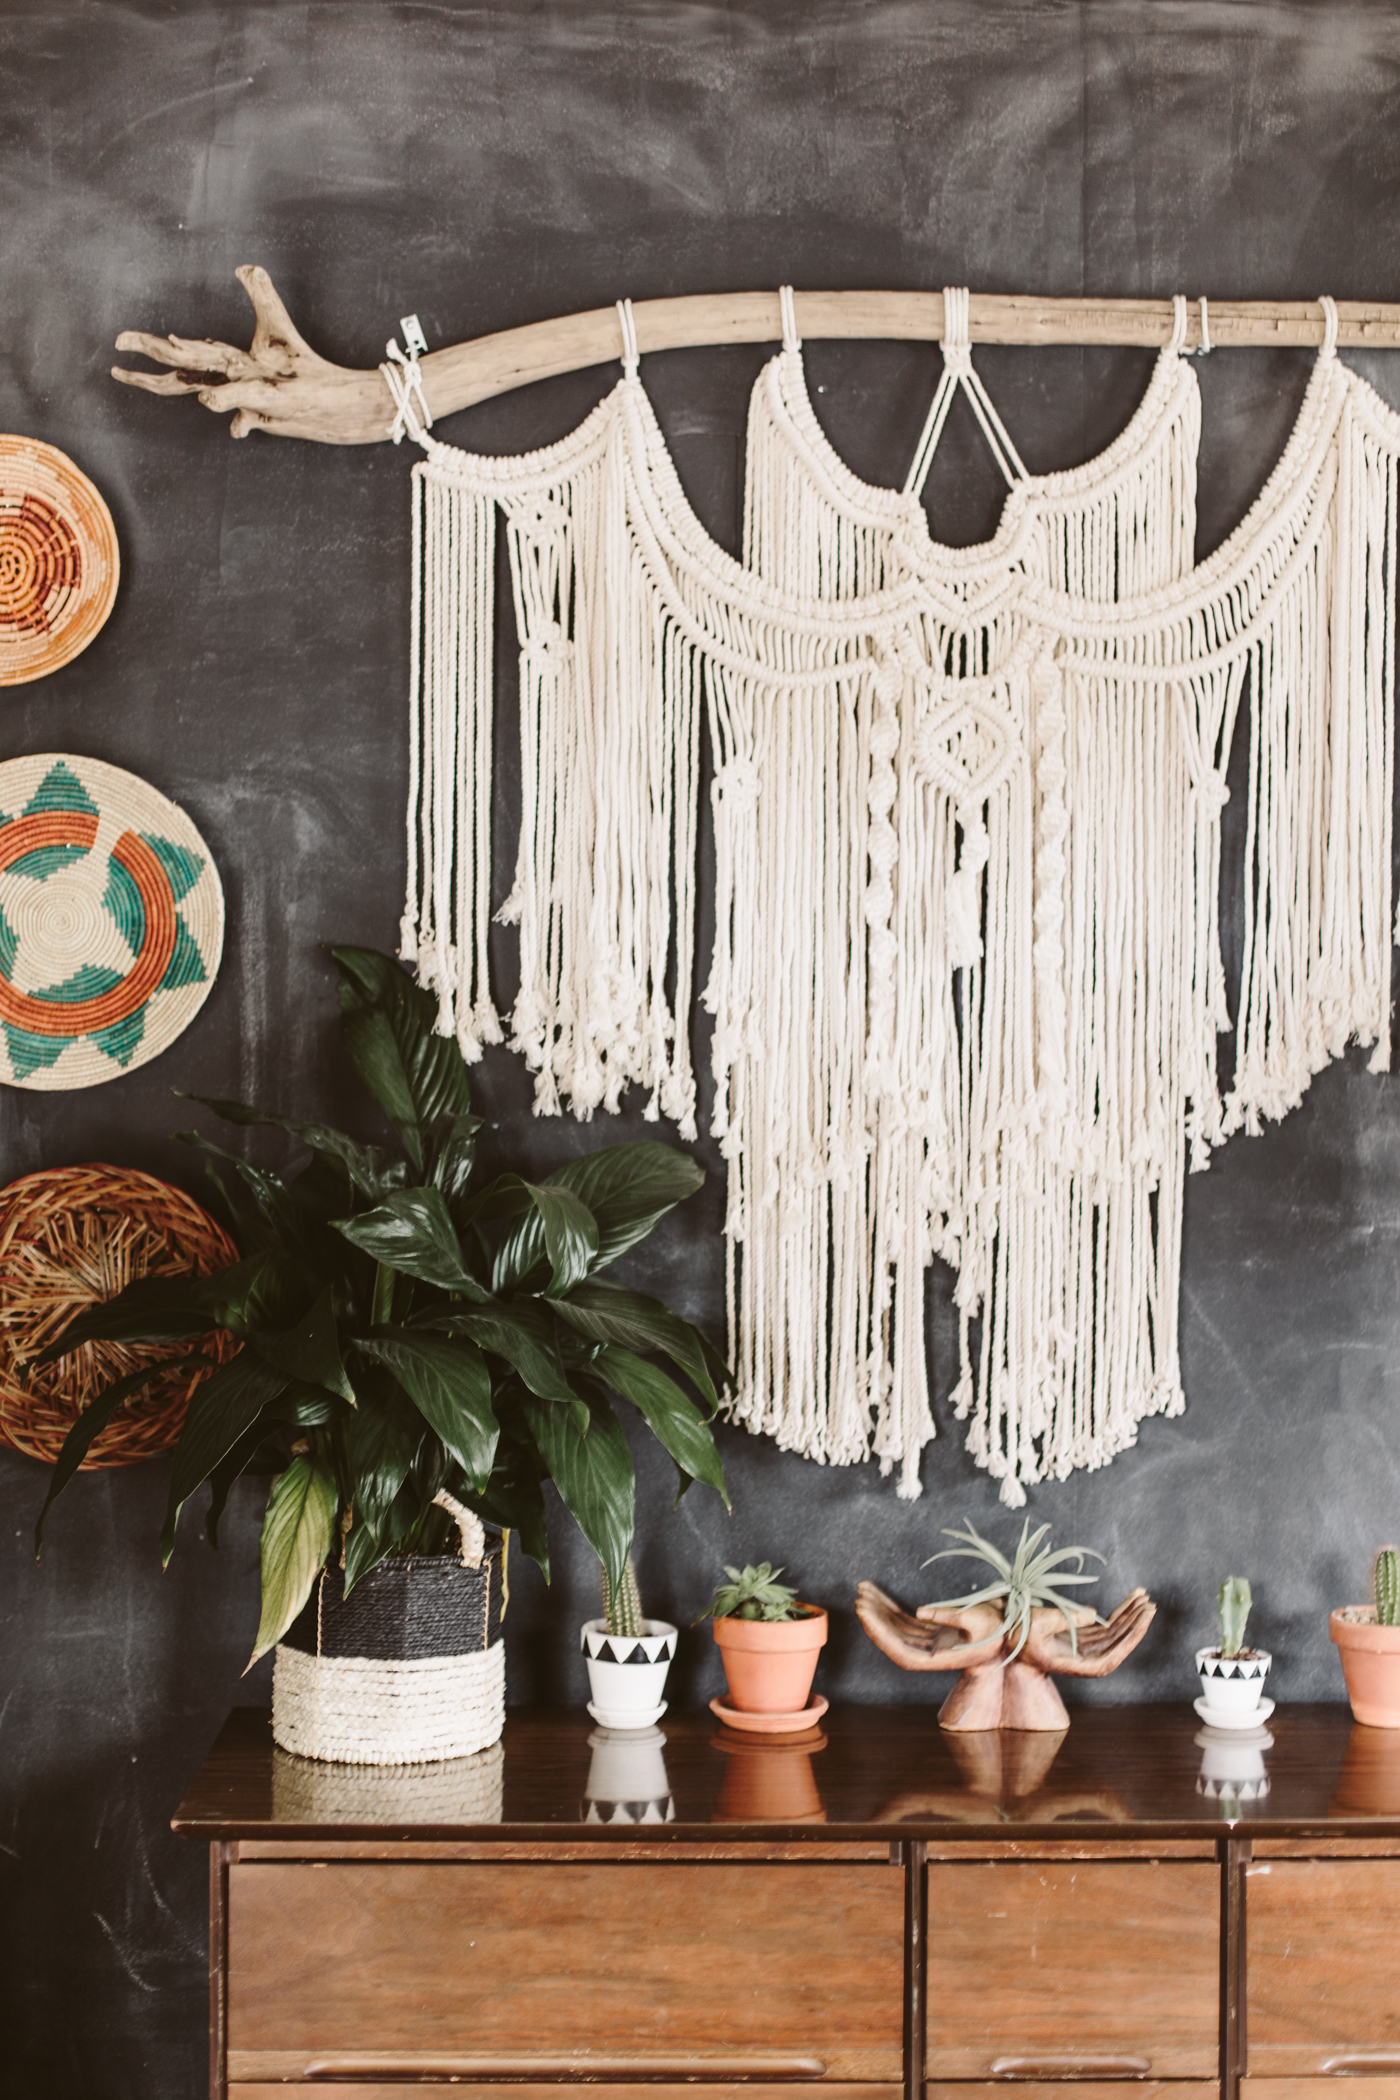
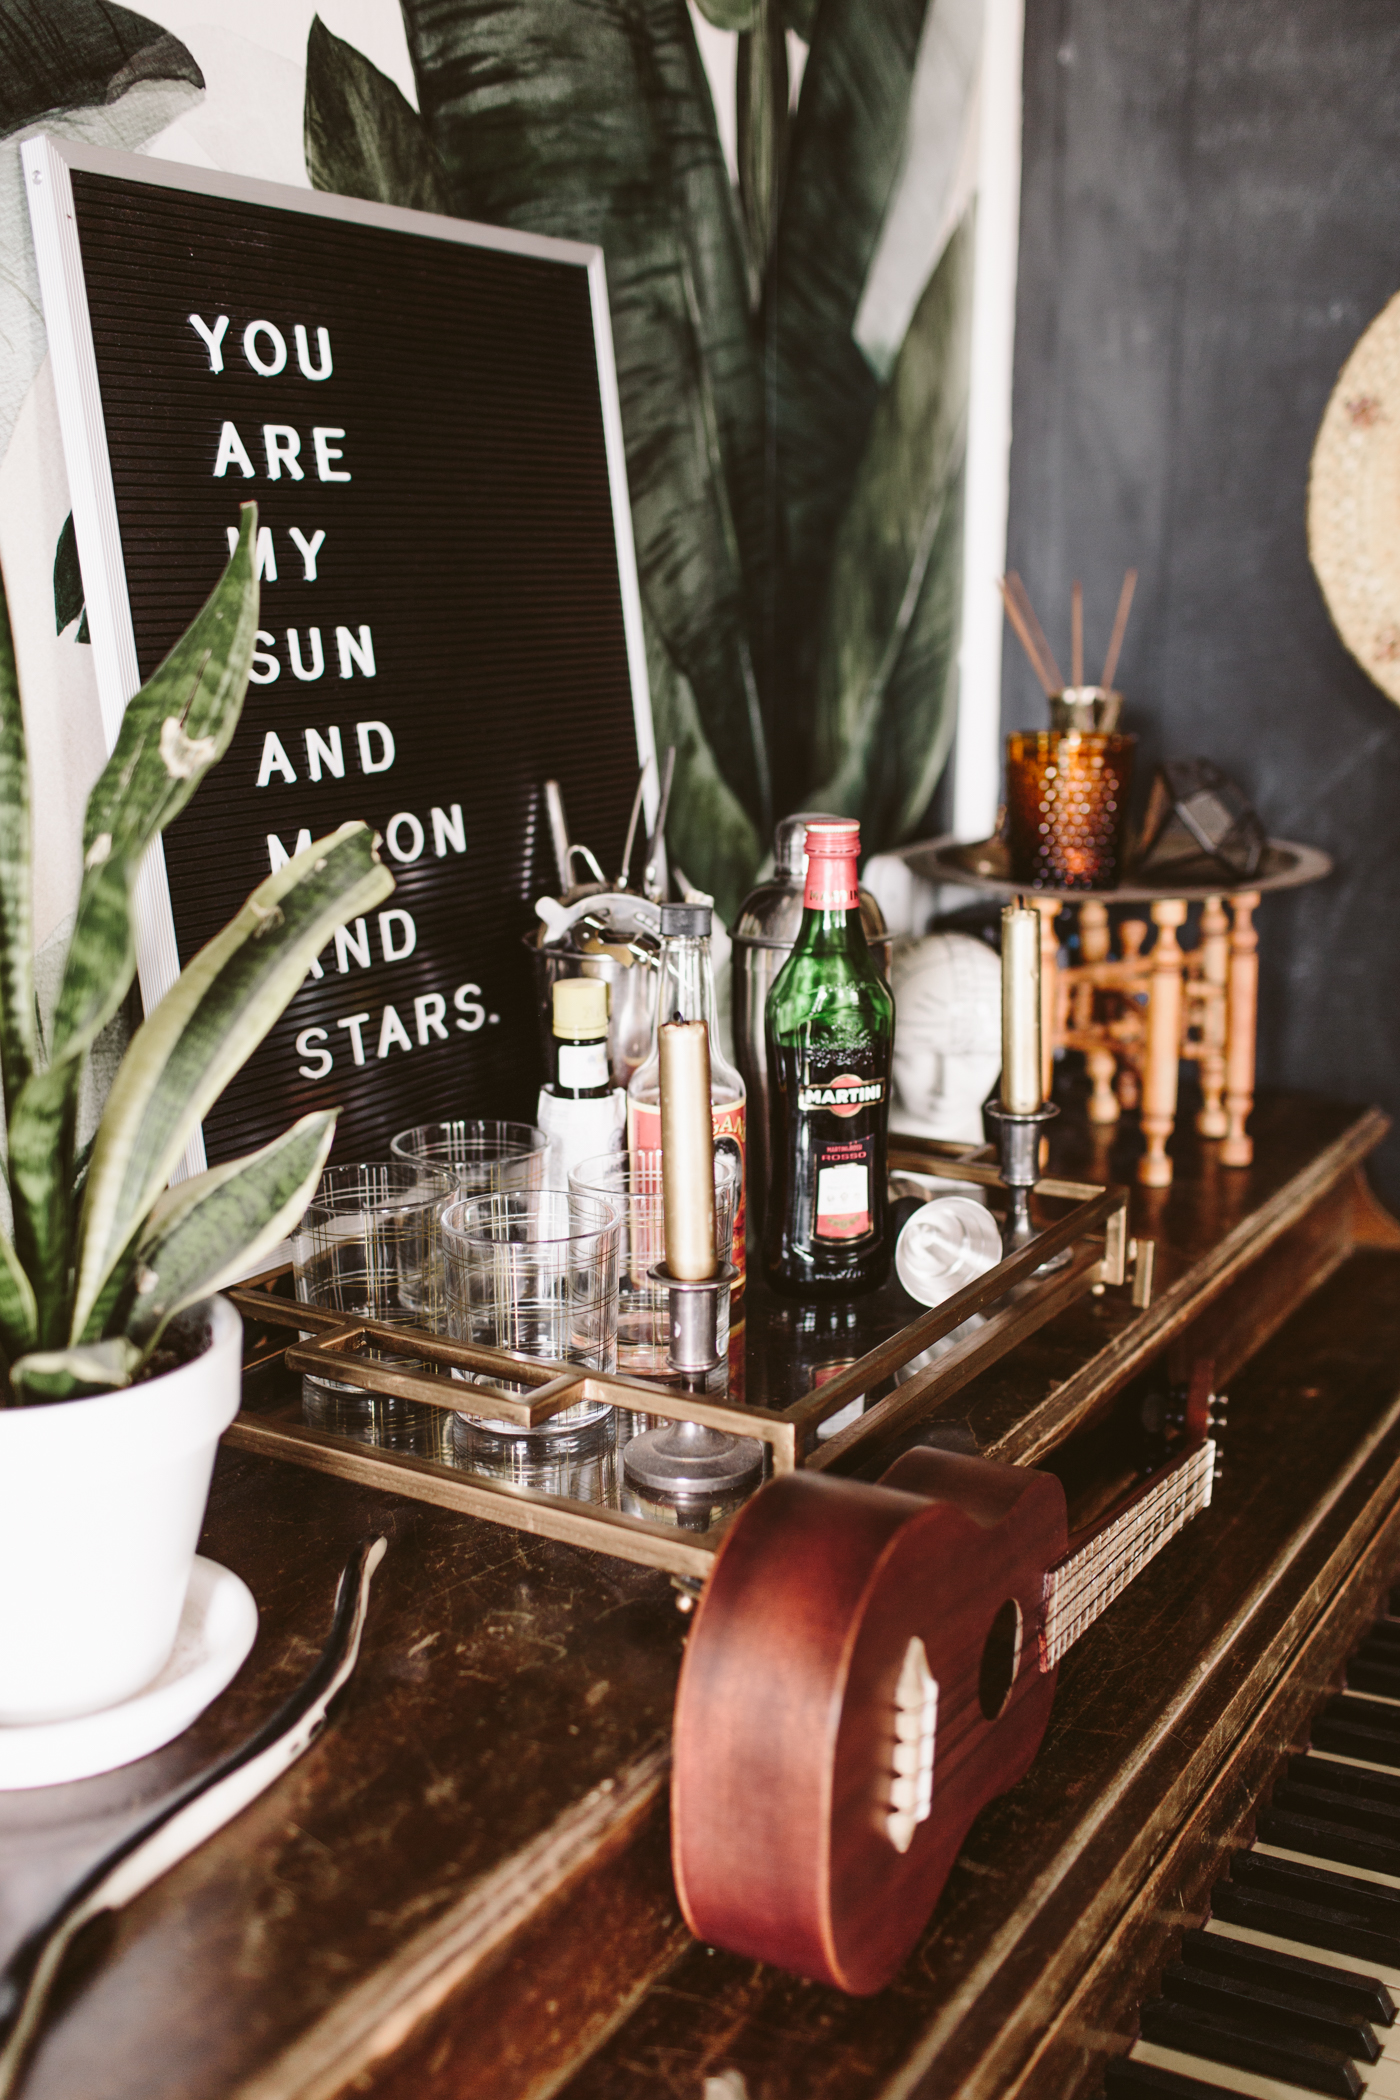
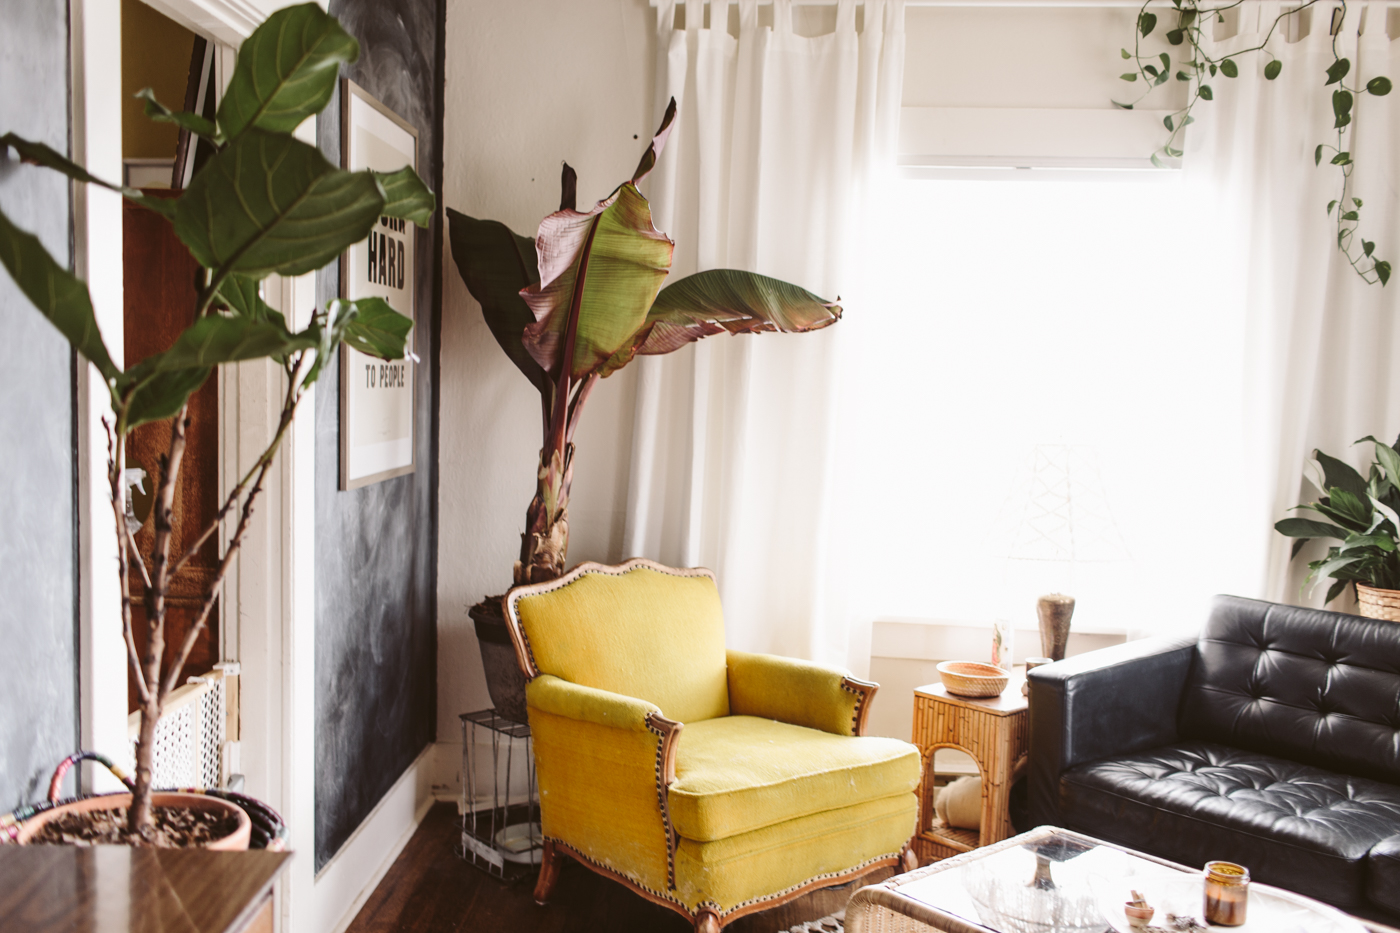
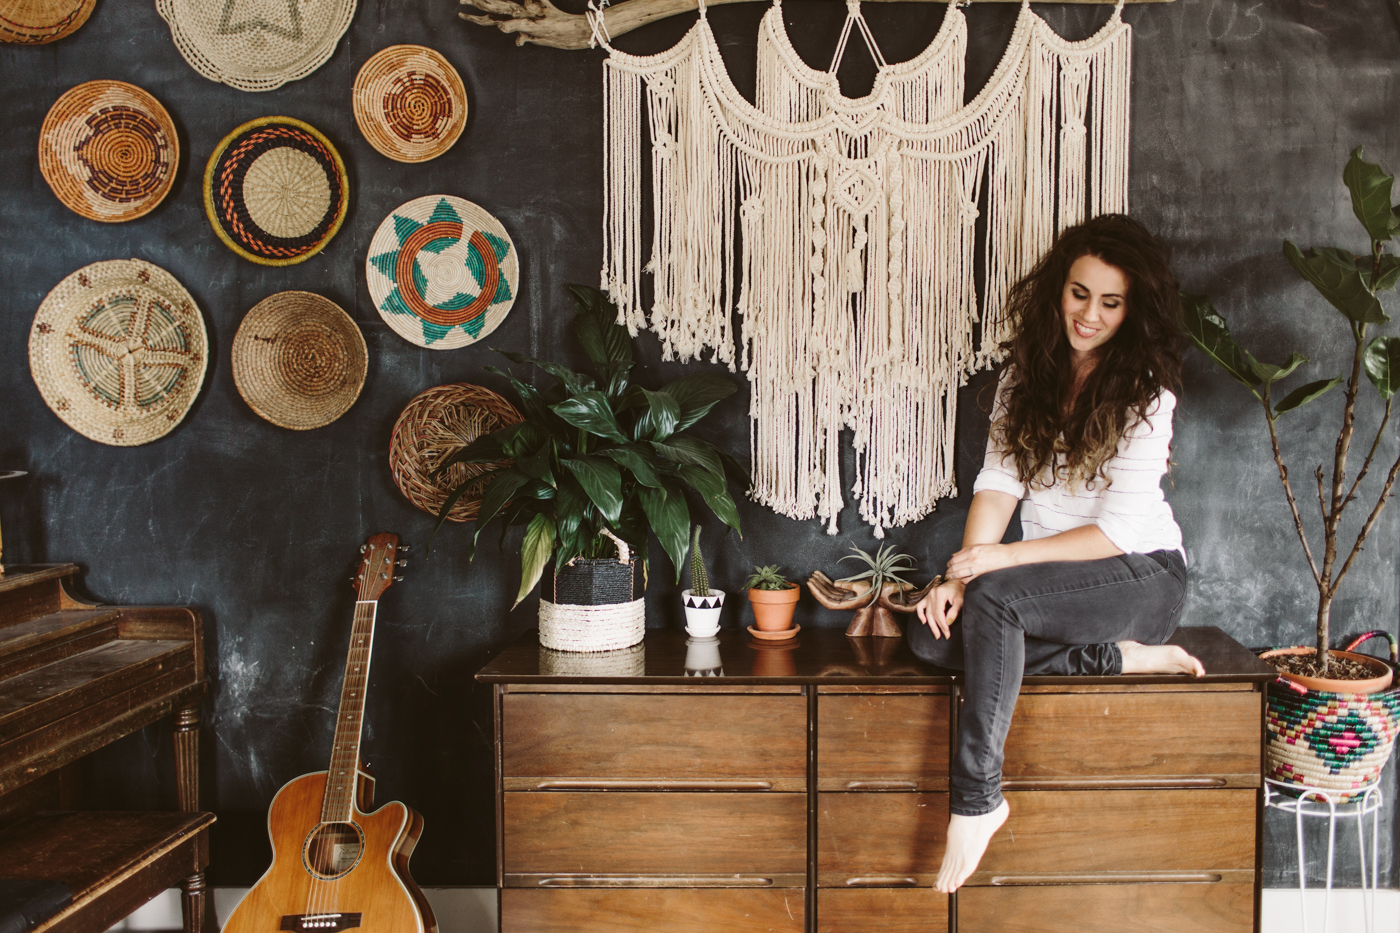
My space probably hasn't reached the level of Jungalow status yet, but I'm getting there! I recently re-did my living room layout and it feels SO good. I feel like there's some unspoken rule about not doing diagonal layouts in rooms, but rules are meant to be broken, and for our space, this is actually the most practical layout, so much so that I can't believe I haven't arranged our furniture like this before in the 5 years we've lived here! This space finally feels complete and I'm so in love with everything! Everything except the rug (from Wayfair) and the couch (Ikea) is thrifted or craigslisted!
You may also like
Hi, I’m Liz
I'm an artist, writer, designer, DIY renovator, and … well basically I like to do all the things. If it’s creative I’m probably doing it. I’ve spent over 30 years voraciously pursuing a life steeped in creativity and I wholeheartedly believe creativity and joy are inextricably linked.
Read more…
Explore The Archive
- July 2025
- May 2025
- January 2025
- December 2024
- August 2024
- July 2024
- May 2024
- April 2024
- January 2024
- December 2023
- October 2023
- September 2023
- July 2023
- June 2023
- May 2023
- April 2023
- March 2023
- February 2023
- January 2023
- December 2022
- November 2022
- October 2022
- August 2022
- June 2022
- May 2022
- April 2022
- March 2022
- November 2021
- October 2021
- August 2021
- July 2021
- May 2021
- January 2021
- November 2020
- October 2020
- September 2020
- August 2020
- July 2020
- June 2020
- May 2020
- April 2020
- February 2020
- January 2020
- November 2019
- October 2019
- August 2019
- July 2019
- June 2019
- May 2019
- April 2019
- February 2019
- January 2019
- December 2018
- November 2018
- October 2018
- September 2018
- August 2018
- July 2018
- June 2018
- May 2018
- April 2018
- February 2018
- January 2018
- November 2017
- September 2017
- August 2017
- July 2017
- June 2017
- May 2017
- April 2017
- March 2017
- February 2017
- January 2017
- December 2016
- November 2016
- October 2016
- September 2016
- August 2016
- June 2016
- May 2016
- April 2016
- March 2016
- February 2016
- January 2016
- December 2015
- November 2015
- October 2015
- September 2015
- August 2015
- July 2015
- June 2015
- May 2015
- April 2015
- March 2015
- February 2015
- January 2015
- December 2014
- November 2014
- October 2014
- September 2014
- August 2014
- July 2014
- June 2014
- May 2014
- April 2014
- March 2014
- February 2014
- January 2014
- December 2013
- November 2013
- October 2013
- September 2013
- August 2013
- July 2013
- June 2013
- May 2013
- April 2013
- March 2013
- February 2013
- January 2013
- December 2012
- November 2012
- October 2012
- September 2012
- August 2012
- July 2012
- June 2012
- May 2012
- April 2012
- March 2012
- February 2012
- January 2012
- December 2011
- November 2011
- October 2011
- September 2011
- August 2011
- July 2011
- June 2011
- May 2011
- April 2011
- March 2011
- February 2011
- January 2011
- December 2010
- November 2010
- October 2010
- September 2010
- August 2010
- July 2010
- June 2010
- May 2010
- April 2010
- March 2010
- February 2010
- January 2010
- December 2009
- November 2009
- October 2009
- September 2009
- August 2009
- July 2009
- June 2009
- May 2009
- April 2009
- March 2009
- February 2009
- January 2009
- December 2008
- November 2008
- October 2008
- September 2008
- August 2008
- July 2008
VISIT THE SHOP
PRIVACY POLICY & DISCLOSURE
We are a participant in the Amazon Services LLC Associates Program, an affiliate advertising program designed to provide a means for us to earn fees by linking to Amazon.com and affiliated sites.


