Budget vs Investment Pergola Comparison
Are you considering adding a pergola to your outdoor space but unsure whether to opt for a budget-friendly option or invest in higher-quality materials and expert craftsmanship? When it comes to outdoor structures like pergolas, it's important to weigh the benefits and drawbacks of both options. While a budget-friendly option may seem attractive upfront, investing in a high-quality pergola can provide long-term benefits such as increased durability, better resistance to outdoor elements, and a longer lifespan overall. To help you make an informed decision, we've put together a comparison of two different pergola projects: one completed on a budget using lower-quality materials, and one that utilized high-end materials and expert craftsmanship.
Let’s start with the budget pergola.
Several years ago I spotted a modern black pergola at Target. It was metal, and had a really simple silhouette that I loved. I believe it was around $400-500, which at the time was out of my budget (they no longer sell that one, but this one is similar). So one weekend I decided to build one myself that had a similar feel to it, and I did it for around $100. You can see that project here.
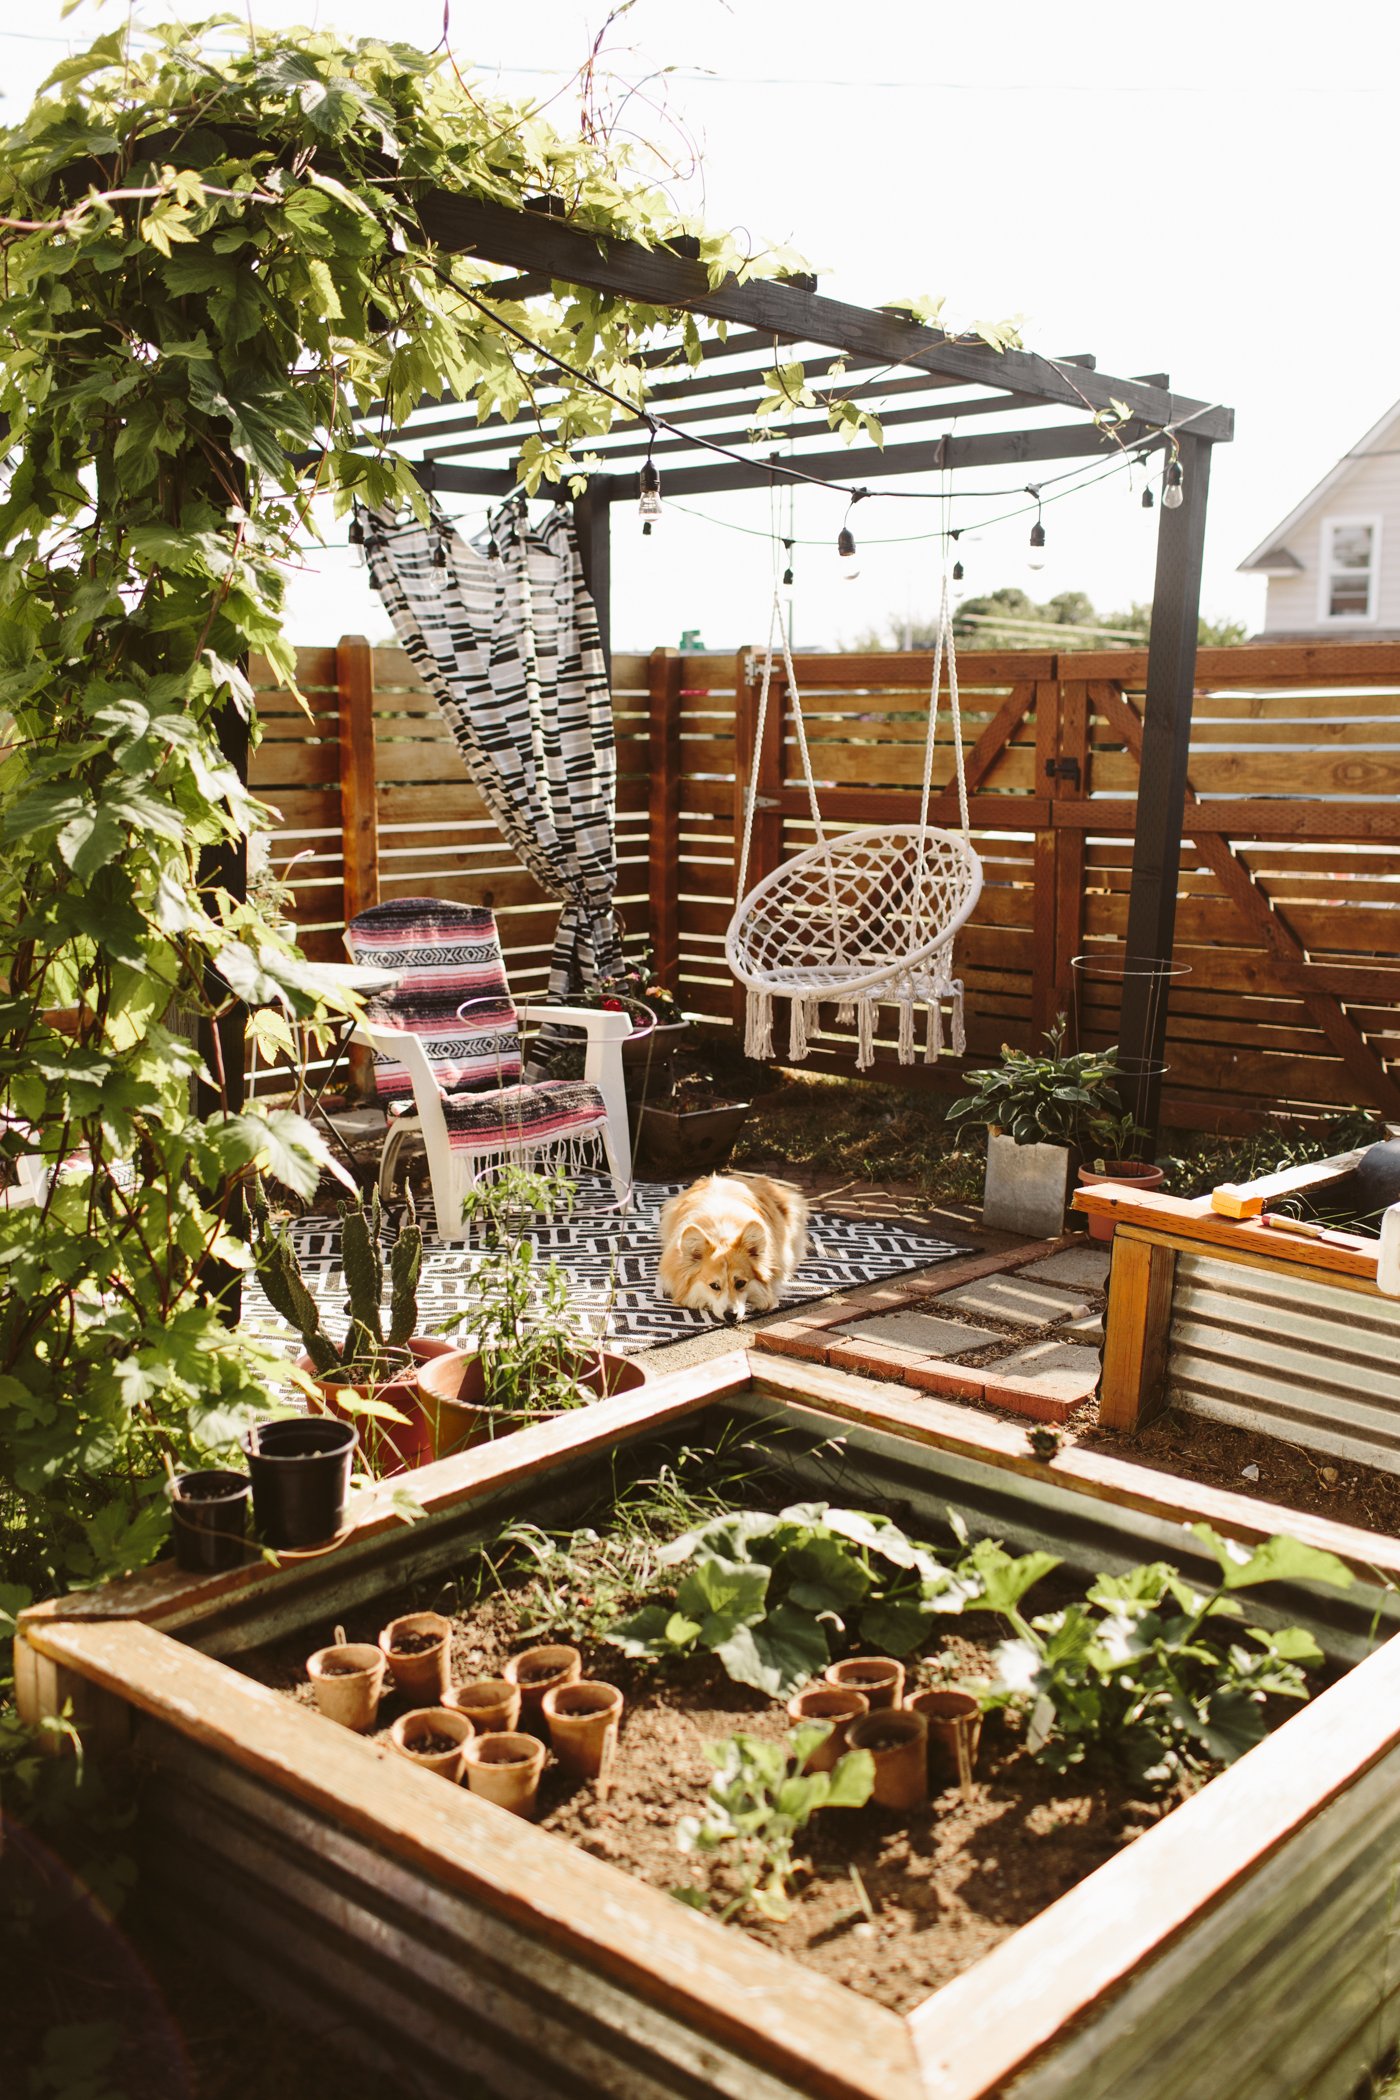
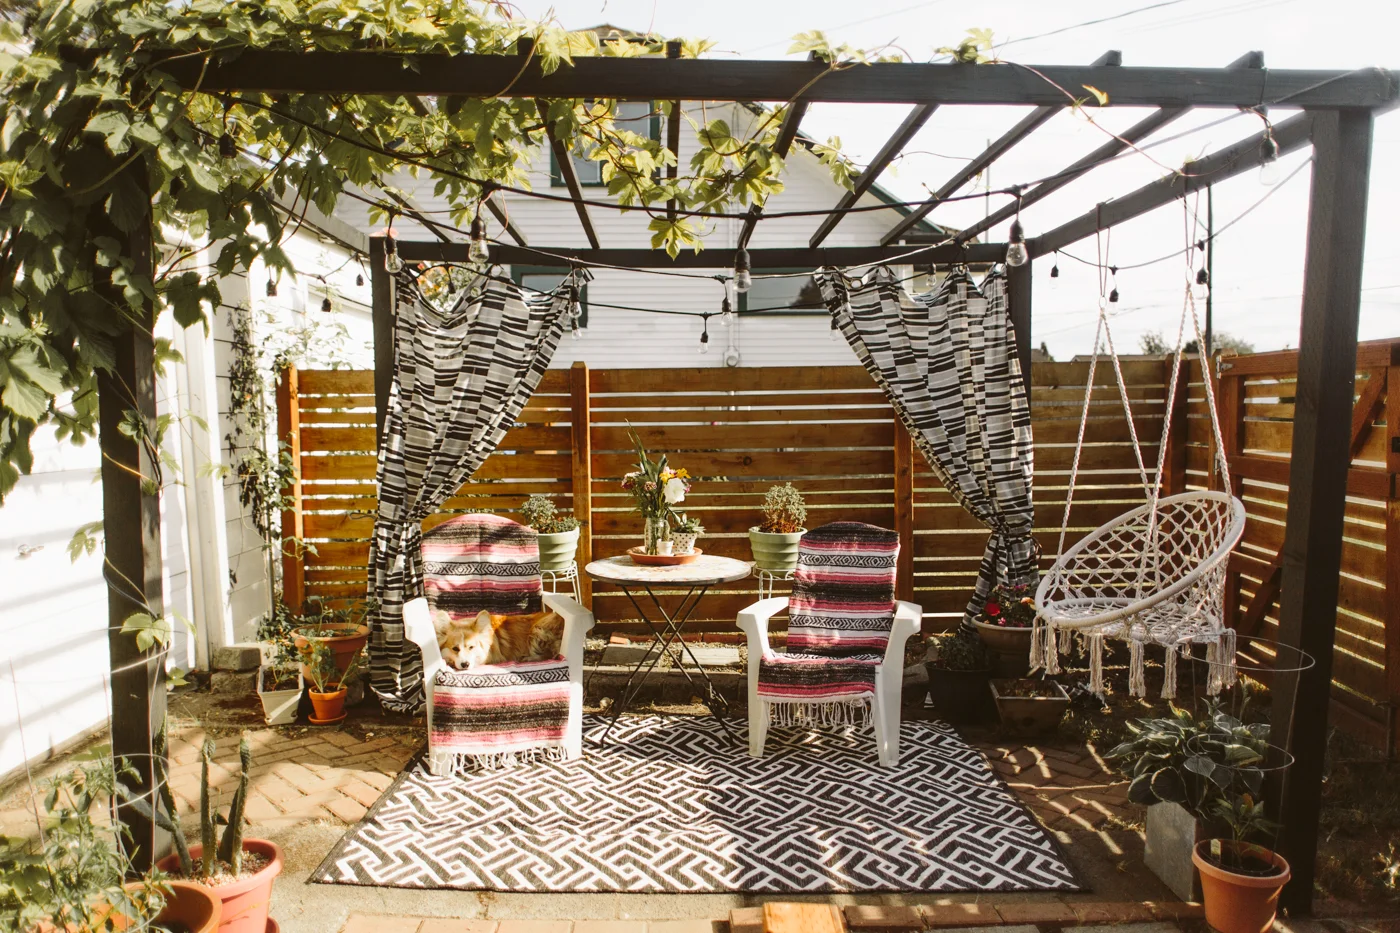
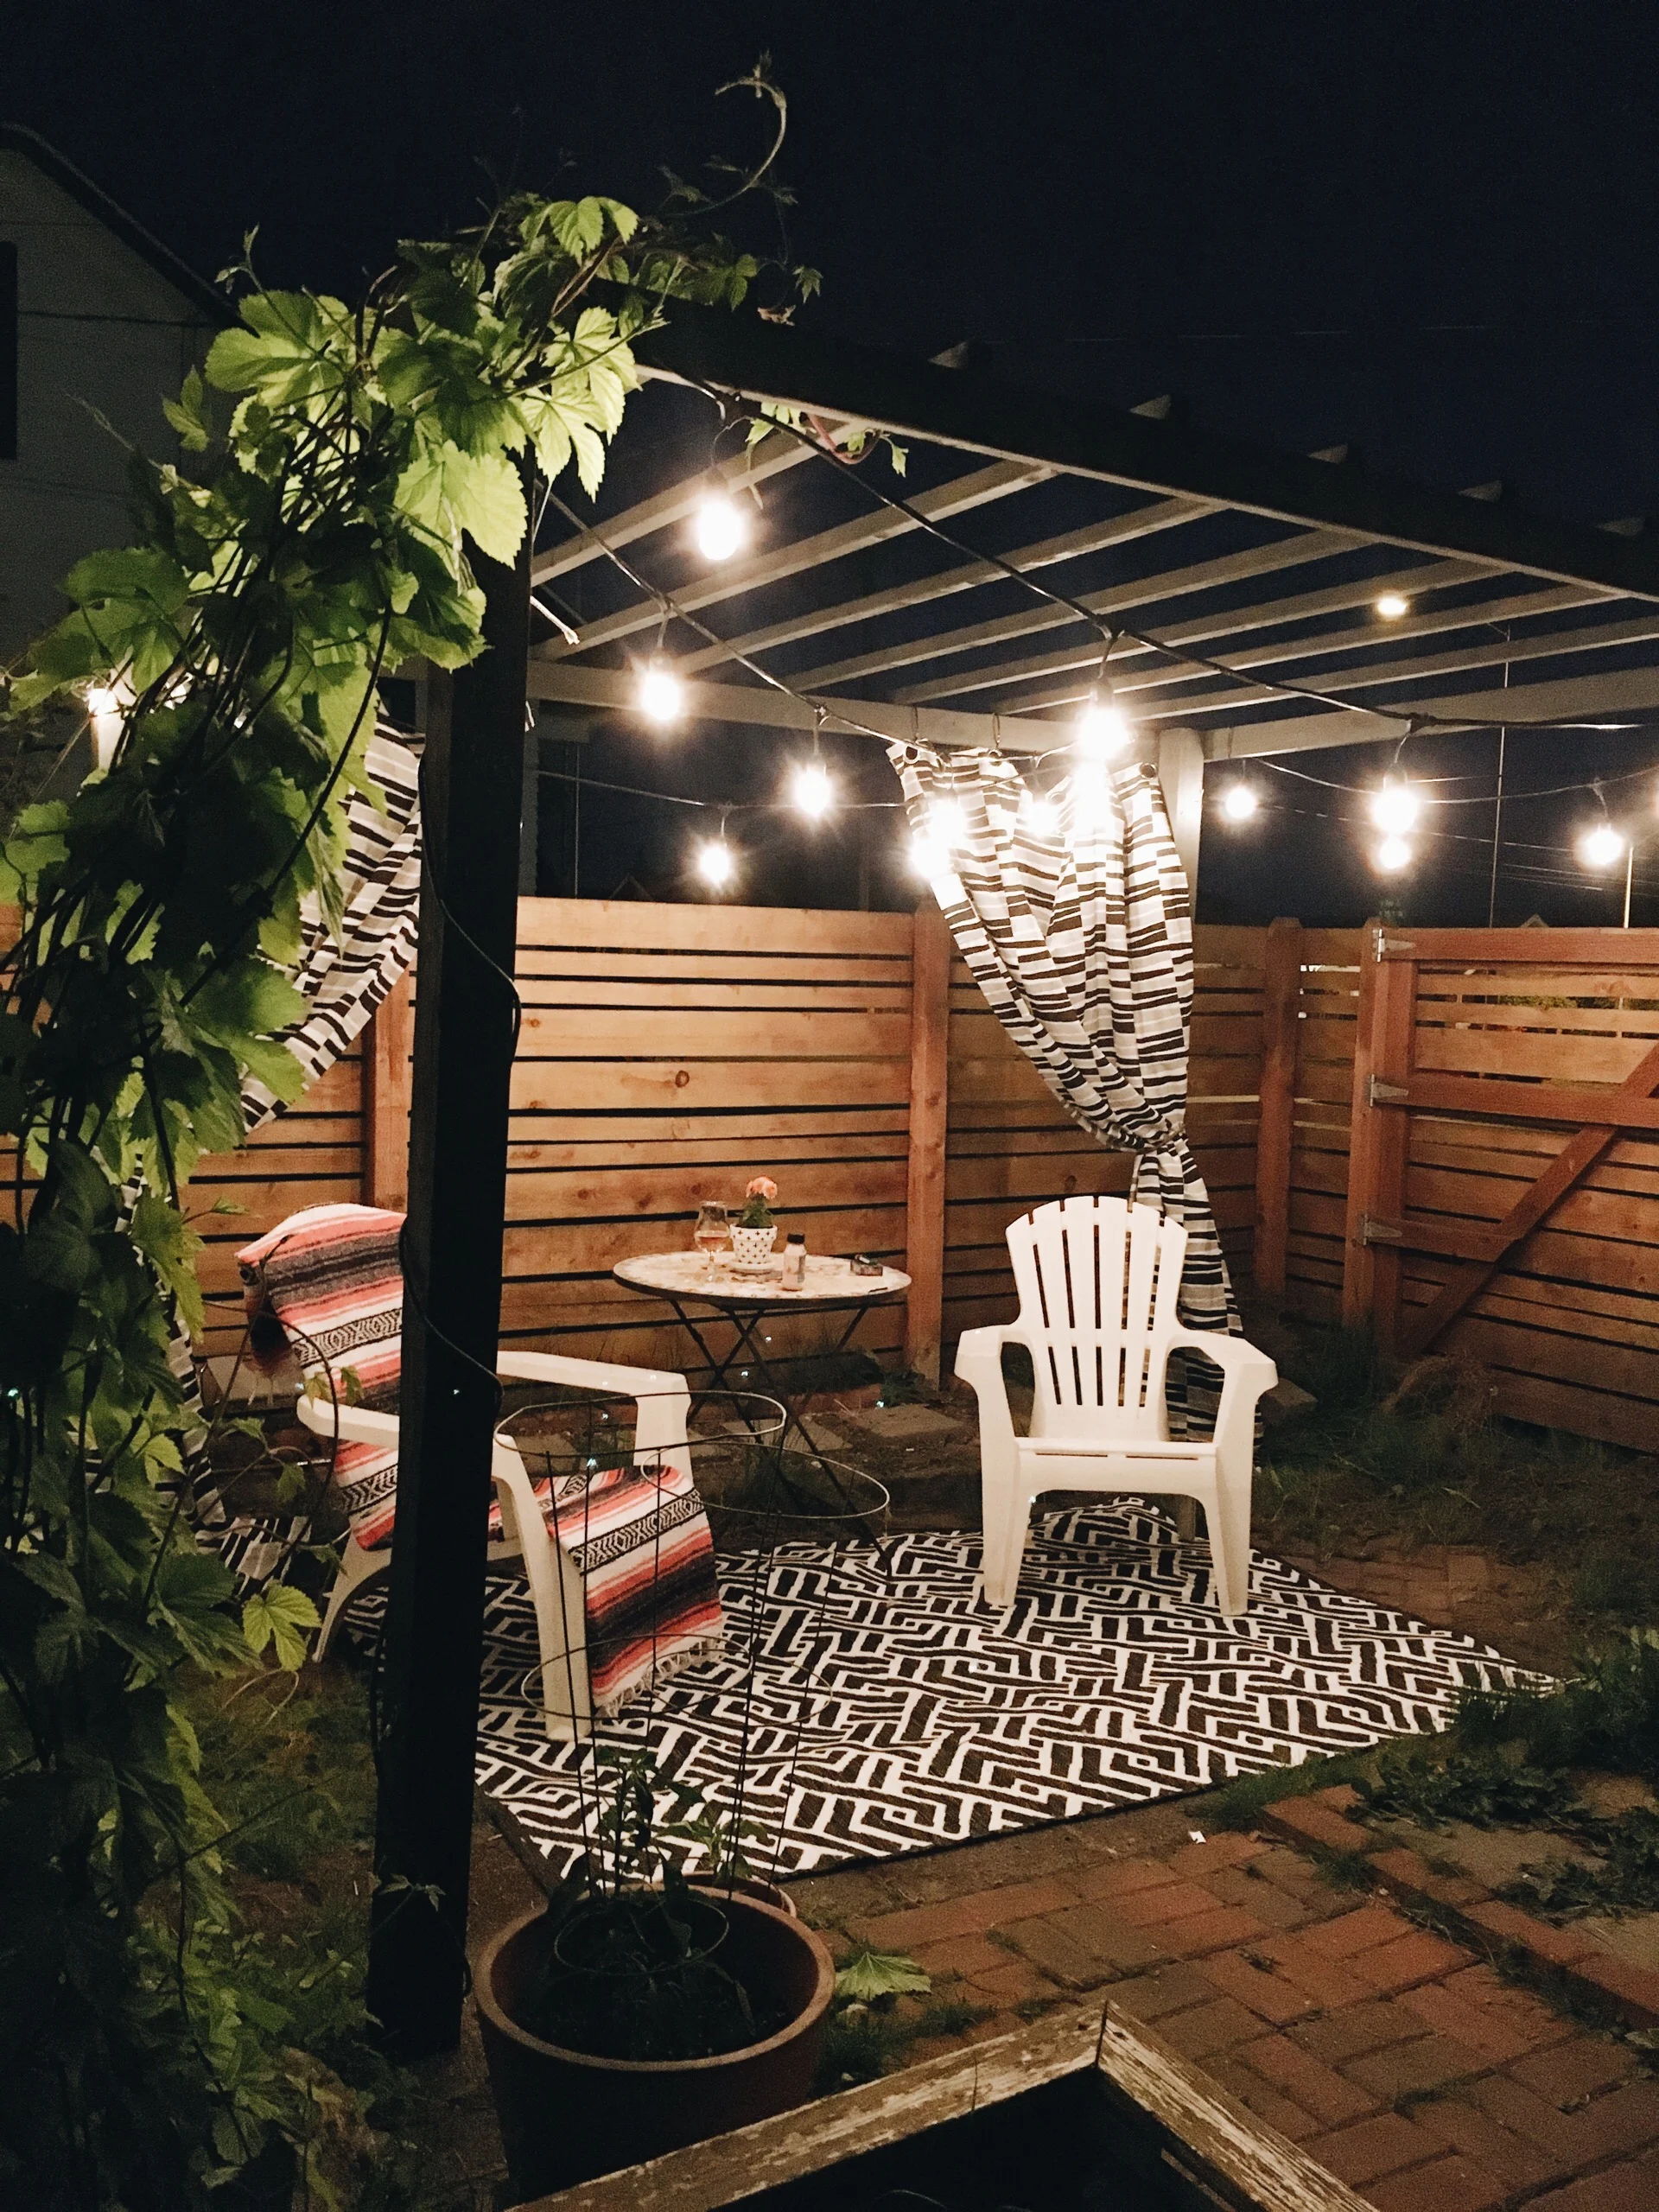
It actually ended up being a pretty great dupe of the Target version, and I made it using 4x4, 2x4, and 2x2 lumber, painted black. It was the perfect little pergola for our hops to climb on and I believe we had this pergola for about 3 years before we sold the house.
Pros:
— It was super affordable. I used cheap pine (instead of outdoor treated lumber or cedar), and paint I already had on hand.
— It was the perfect place for our hops to climb, which made perfect shade in the summertime.
— It had the style I was wanting.
— It was easy and quick to build.
Cons:
— After a while it wasn’t very sturdy. I didn’t anchor it to the ground because it was sitting on concrete (and because I didn’t want it permanent), and it didn’t have any angle bracing in the corners. After a couple years we added some angle bracing in the corners to shore it up.
— Because it wasn’t made with outdoor lumber it might not have lasted for many years due to rot (especially because of how wet the winters are here in the pnw).
Despite the cons, I really liked this pergola. It was extremely affordable to build, and brought us tons of enjoyment for the few years we had it. We didn’t have the budget for something more expensive, so rather than not having a pergola at all, we had one that was a little chintzy, quality-wise, but it was all we needed. Had we stayed at this house for longer, I probably would have eventually replaced it or rebuilt it to something more high quality that would last a long time. (Also, it should be noted that this was built prior to the price hikes on lumber in 2020, so it might be over $100 to build at this time).
The investment pergola:
This pergola was part of an entire patio build project, so I knew I wanted something that was high quality, sturdy, and would last. Because the budget pergola was built in front of our garage door, I didn’t want it to be permanent in case we ever needed to drive a car into the garage (we didn’t use it for a car, but just in case). This pergola wasn’t going to be going anywhere that it might need to move, so I felt comfortable installing something super permanent.
This pergola, with all the components we used, totals about $3500. Because I worked with LINX on this project as a sponsored campaign they provided the materials, so I made sure to price things out online so I could know the full cost of this pergola. This number includes all the brackets (the corner brackets, and the base brackets that attach it to the patio), the metal grate on the roof, and the 6x6 timbers. LINX makes their own hollow engineered timbers, which I used in this pergola (they’re nice because they are lighter weight and you can hide any electrical cords inside the hollow core if you’re doing any sort of lighting). These timbers are definitely more expensive than standard 6x6 lumber, so you could also cut costs there as well.
Pros:
— This thing is solid. It’s definitely going to last decades.
— It has the style I want (again— modern), but there are also a ton of different ways to utilize the LINX bracket system to create a totally custom pergola.
— Even though the timbers are engineered, they’re still real wood (unlike something like Trex decking, which isn’t) so I could stain them the color I wanted.
— I designed the custom roof to be the perfect place for hops to climb because I loved how the hops climbed on our old pergola so much (LINX also has shade sails that work perfectly with their brackets, if you’re wanting a shade situation)
Cons:
— Way more expensive than $100 (we built ours with 6x6 lumber/brackets, which are more expensive. LINX also has 4x4 brackets and STIX timbers that cost a bit less).
— Not as easy or quick to build. Because this was made with 6x6 timbers, it was much heavier, and we needed about 4 people to put it up, whereas I was able to build and put up the cheaper pergola entirely by myself.
I love both of these pergolas for different reasons, and I don’t think one is better than the other because each one has their place. Not everything has to always be the highest, best quality. It’s okay to do things in a more affordable way, especially if you go into it knowing that it’s not going to last forever. Our cheap pergola worked amazing for us, and the fancier LINX pergola is perfect in its own way as well. Most importantly, do what works for your life, your space, and your finances.
Now, obviously, there’s a pretty big gap between $100 and $3500 and there are plenty of pergola options out there in between that price range.
10x12ft Pergola — $1422
12x12ft Pergola — $599
10x12 ft Pergola — $2048
10x12 ft Pergola — $1633
10x12ft Pergola — $630
I hope that gives you a few more options within some different budgets for pergolas. I haven’t used any of the ones I linked above so I can’t speak to their quality, but they all have a similar modern look, which is what I was going for with both of my pergolas. I can’t wait to get outside this summer and enjoy our new patio and pergola, and I hope this helps you figure out your pergola patio situation this summer too!
DIY Corrugated Metal Raised Beds
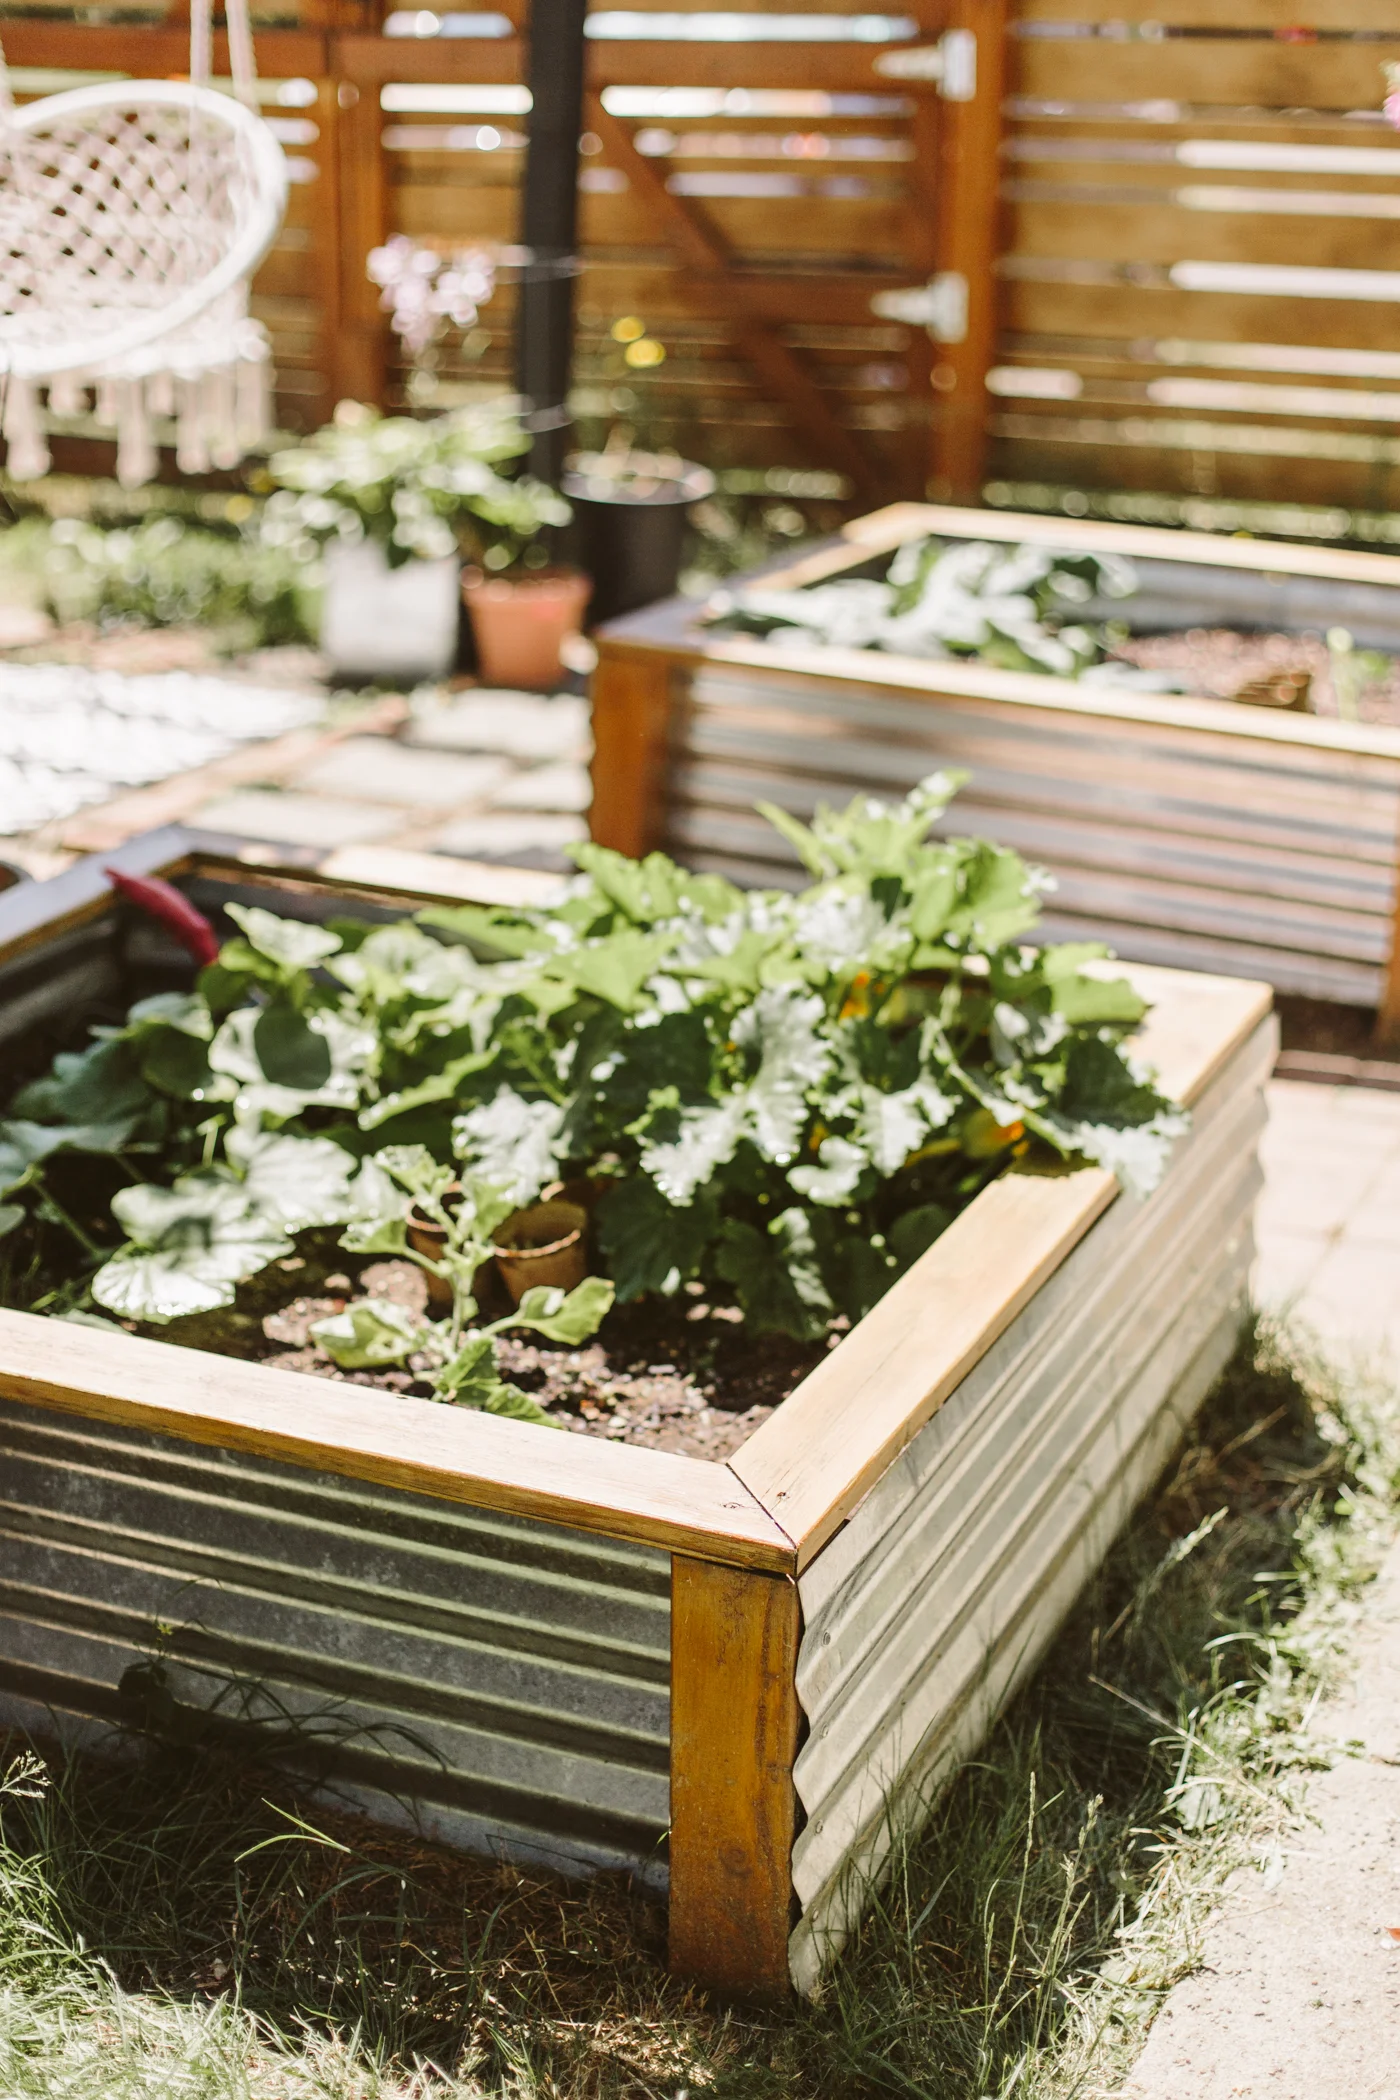
I made these galvanized corrugated metal raised beds a few years ago and always intended on doing a DIY tutorial for them and never got around to it until now! I'm actually kind of glad because I was able to see how they held up over the years. They've held up beautifully! The only part that needed some TLC was the top trim, which needed to be re-stained after years of being pelted with rain for months on end during our wet winters here in the PNW. So today I sanded those down and put a new coat of stain on and they look nice and (almost) new.
These beds are seriously one of my favorite DIYs that we did in our yard, they were pretty easy to build and I like the way they add a little bit of industrial vibes. I'm not usually a fan of corrugated metal, it can get too kitschy and shabby chic, but these are pretty low-profile and to me they don't read as either of those aesthetics.
What you'll need to make one 4ft x 4ft raised bed:
(adjust quantities sizes depending on the size of the beds you're making)
1- 8ft 4x4
2- 8ft galvanized corrugated metal sheets
2- 8ft 1x4's
16- 1 in screws with small washers (to attach the metal to the 4x4s)
8- 1.5 in wood screws (to attach the top trim to the 4x4s)
Skill Saw
Metal cutting skill saw blade (to cut the corrugated metal)
01/ Cut the 4x4 into four 15 inch long pieces to make the "legs" of your raised bed.
02/ Chop the two corrugated metal pieces in half to create four 4 ft pieces. Then cut each piece down to be 15 in wide-- the height of your raised beds.
03/ Attach one of your four metal pieces to two of the 4x4s to create the first side of the raised bed. Do this again to create the opposite side. Use the screws with washers and place the screws in the dips of the corrugated metal- I used 4 screws for each 4x4.
04/ Now you'll start putting the sides together. Place the two sides you've just made so they stand up (they should be able to stand up on their own, but if not, have someone help hold them), and have the metal sides facing each other. Take another piece of the corrugated metal that you pre-cut and place it against the 4x4 to create the third side of your bed. Screw it to the 4x4s with your screws + washers.
Two of the sides will have the metal "inside" the 4x4s and two will have the metal on the outside.
Do this again to attach the final side of the bed.
05/ Cut the 1x4s into four 4ft pieces, then cut a 45º angle on every end so that they fit together to create 90º corners. Place these flat on top the 4x4's and screw them into the top of the 4x4s.
06/ optional, but I recommend staining the wood to protect it from the elements. We built our beds about 4 years ago and I just now had to sand and re-stain the top trim because it'd been worn down by all the rain we get in the winters.
The metal is still perfect and hasn't rusted at all! These beds are super affordable and can be made in an afternoon!
If you're worried about the beds moving (mine haven't at all) and want to anchor them a little, you can make the 4x4's a little longer than the bottom of the corrugated metal and dig those down into the ground, or just dig the whole thing, sides and all, into the ground a few inches.
You Might Also Like
DIY Modern Pergola Tutorial for under $100
I've wanted a pergola in our side yard for quite a while. First of all, we've got these hops that grow like mad and I wanted somewhere for them to climb. Second of all, our side yard is on the south side of our home and it gets real hot over there, so I wanted something to cover the area a bit and provide shade. I saw a lovely, black, modern pergola at Target one day for like $450 and was not about to drop $450 on it, but wanted to create something similar and figured it'd be a pretty simple DIY. Lo and behold, it was!
What you'll need:
Skill Saw
Drill
3 in deck screws
2 10ft 2x4's
2 8ft 2x4s'
4 8ft 4x4's
8 8ft 2x2's
Paint/stain (optional)
01/ Lay your 4x4's down on the ground 10 feet apart and then lay the first 10ft 2x4 across them. Attach each end of the 2x4 to what will be the top end of the 4x4s using three screws. I pre-drilled all my screw holes with a bit slightly smaller than my screws just to ensure that I wouldn't split any of my wood.
02/ Once both sides of the 10ft 2x4 are screwed to the 4x4s, tilt it up to standing. If you have a pal or two helping you (which I recommend), they can hold it up while you build the next side, using the same process. If you have zero friends willing to help, you can be like me and do it alone, you'll just have to prop your two sides up by lashing them to sawhorses.
03/ Now that your long sides are up and finished, you can put them together with the two 8ft 2x4s. Using 3 screws on either end, screw the 8 ft 2x4s into the top end of the 4x4, but make sure the end of the 2x4 goes all the way to the side of your first 10ft 2x4s, otherwise your pergola will be too wide for the top 2x2 slats!
/04 Now that everything is connected, you can add the top slats. I just used one screw on each end of the 2x2s and screwed them into the top of the 10ft 2x4s.
05/ if you'd like to add more stabilization, you can put some diagonal 2x4s in each of the top corners. If you're not too worried about wind, you can leave it as is, as it's pretty heavy, but if you want it to be more anchored, you can either dig holes for the legs to sit in and pour some concrete, or you can buy concrete pier blocks to screw your legs to for a little less permanent of an anchor.
I also chose to paint mine black to match the exterior of our house, so you could either paint yours or stain it to preserve the wood.

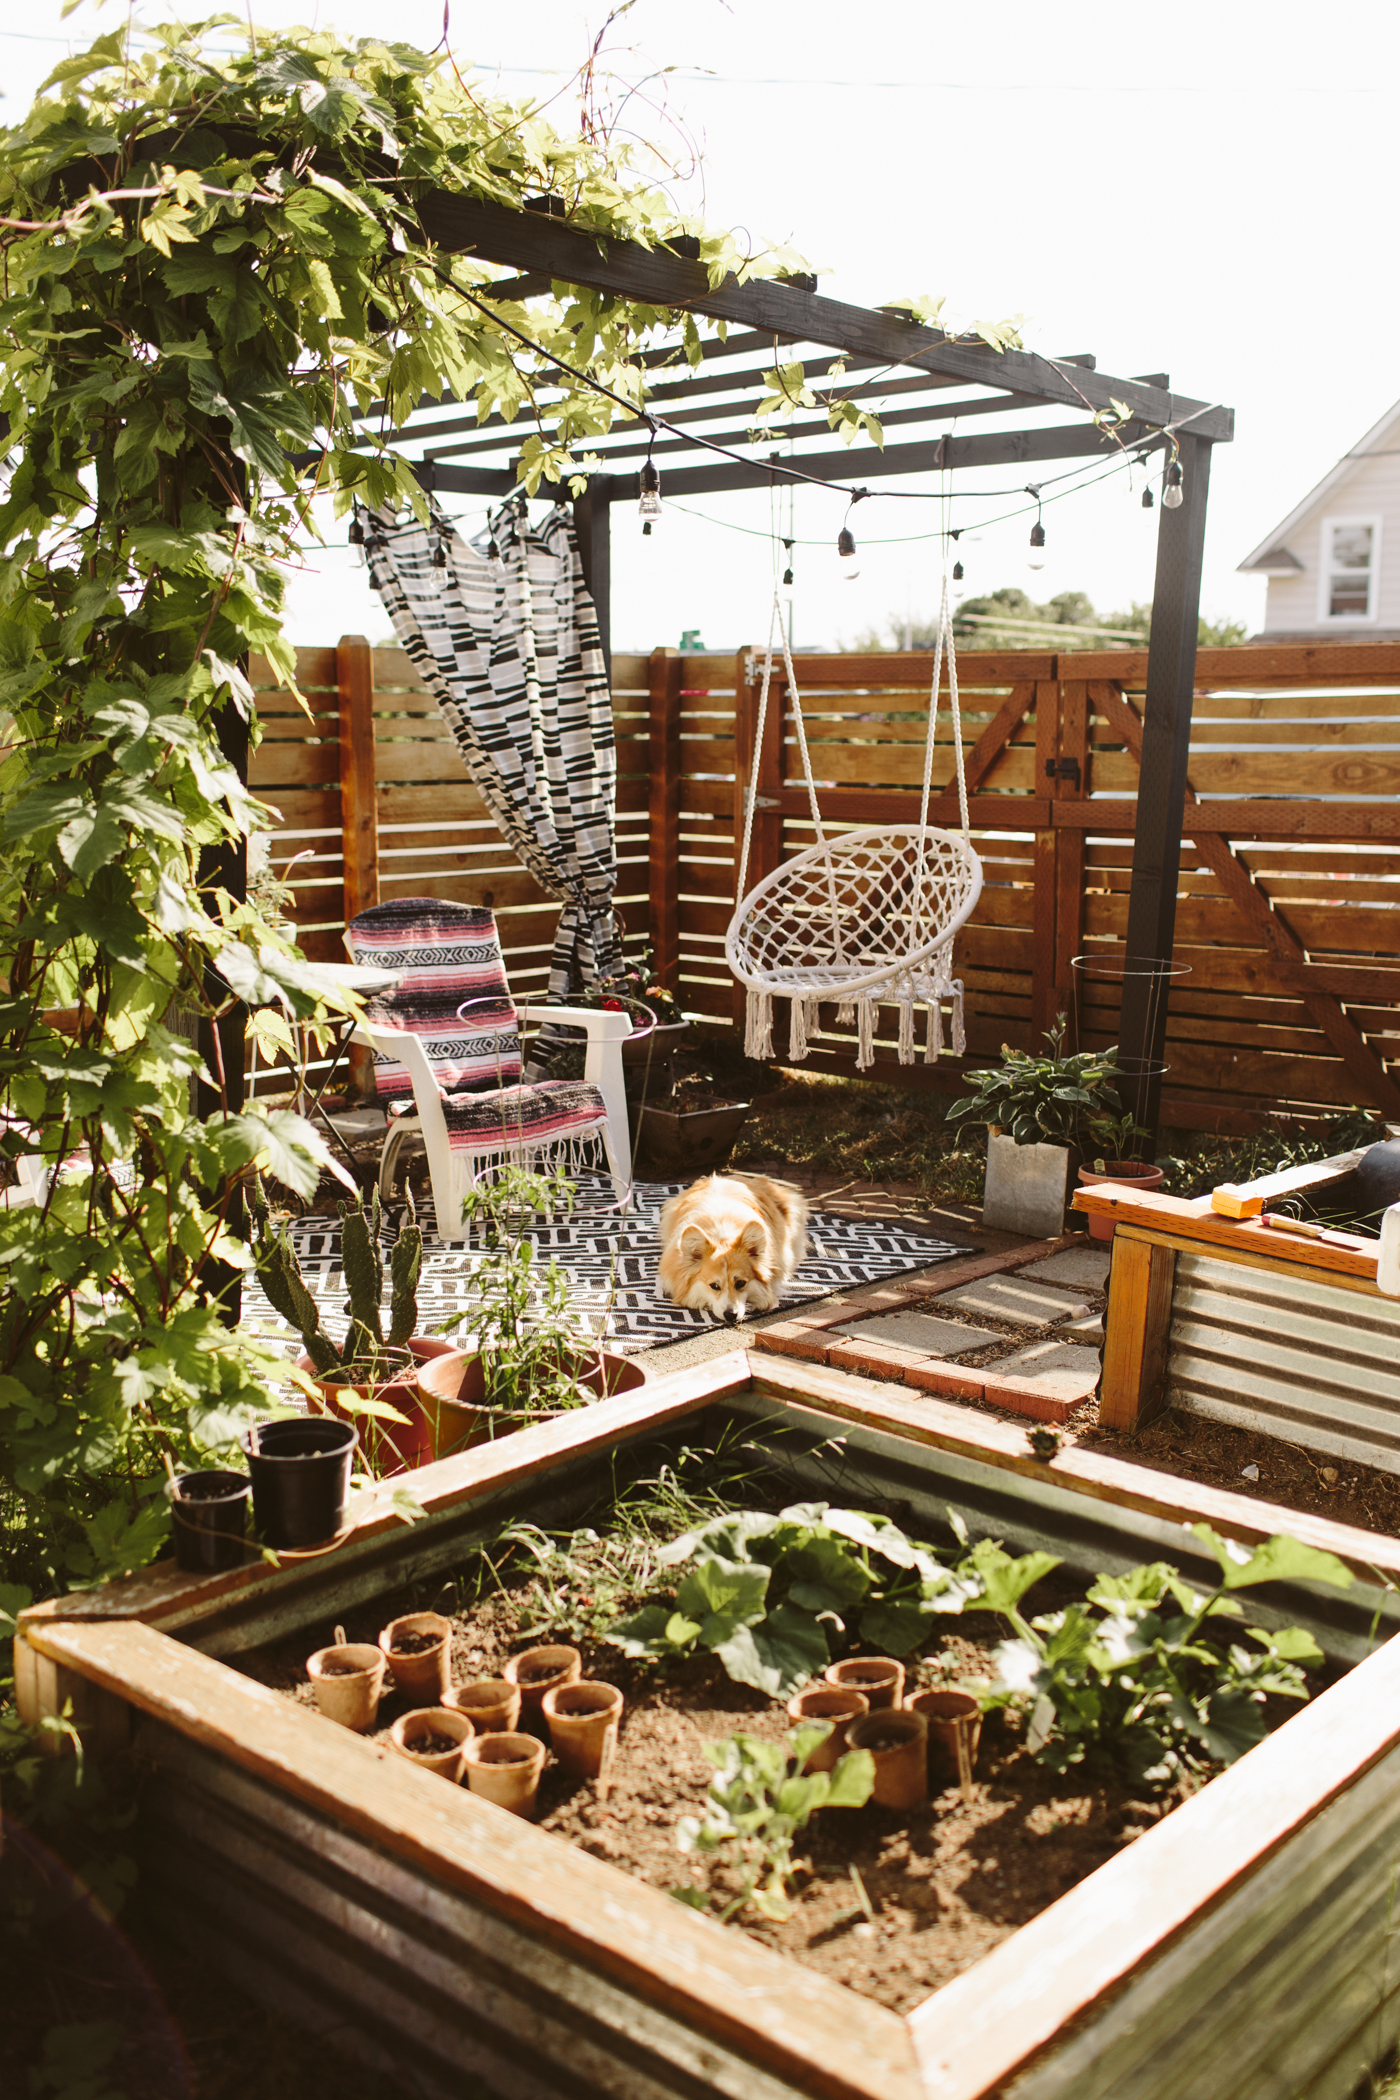
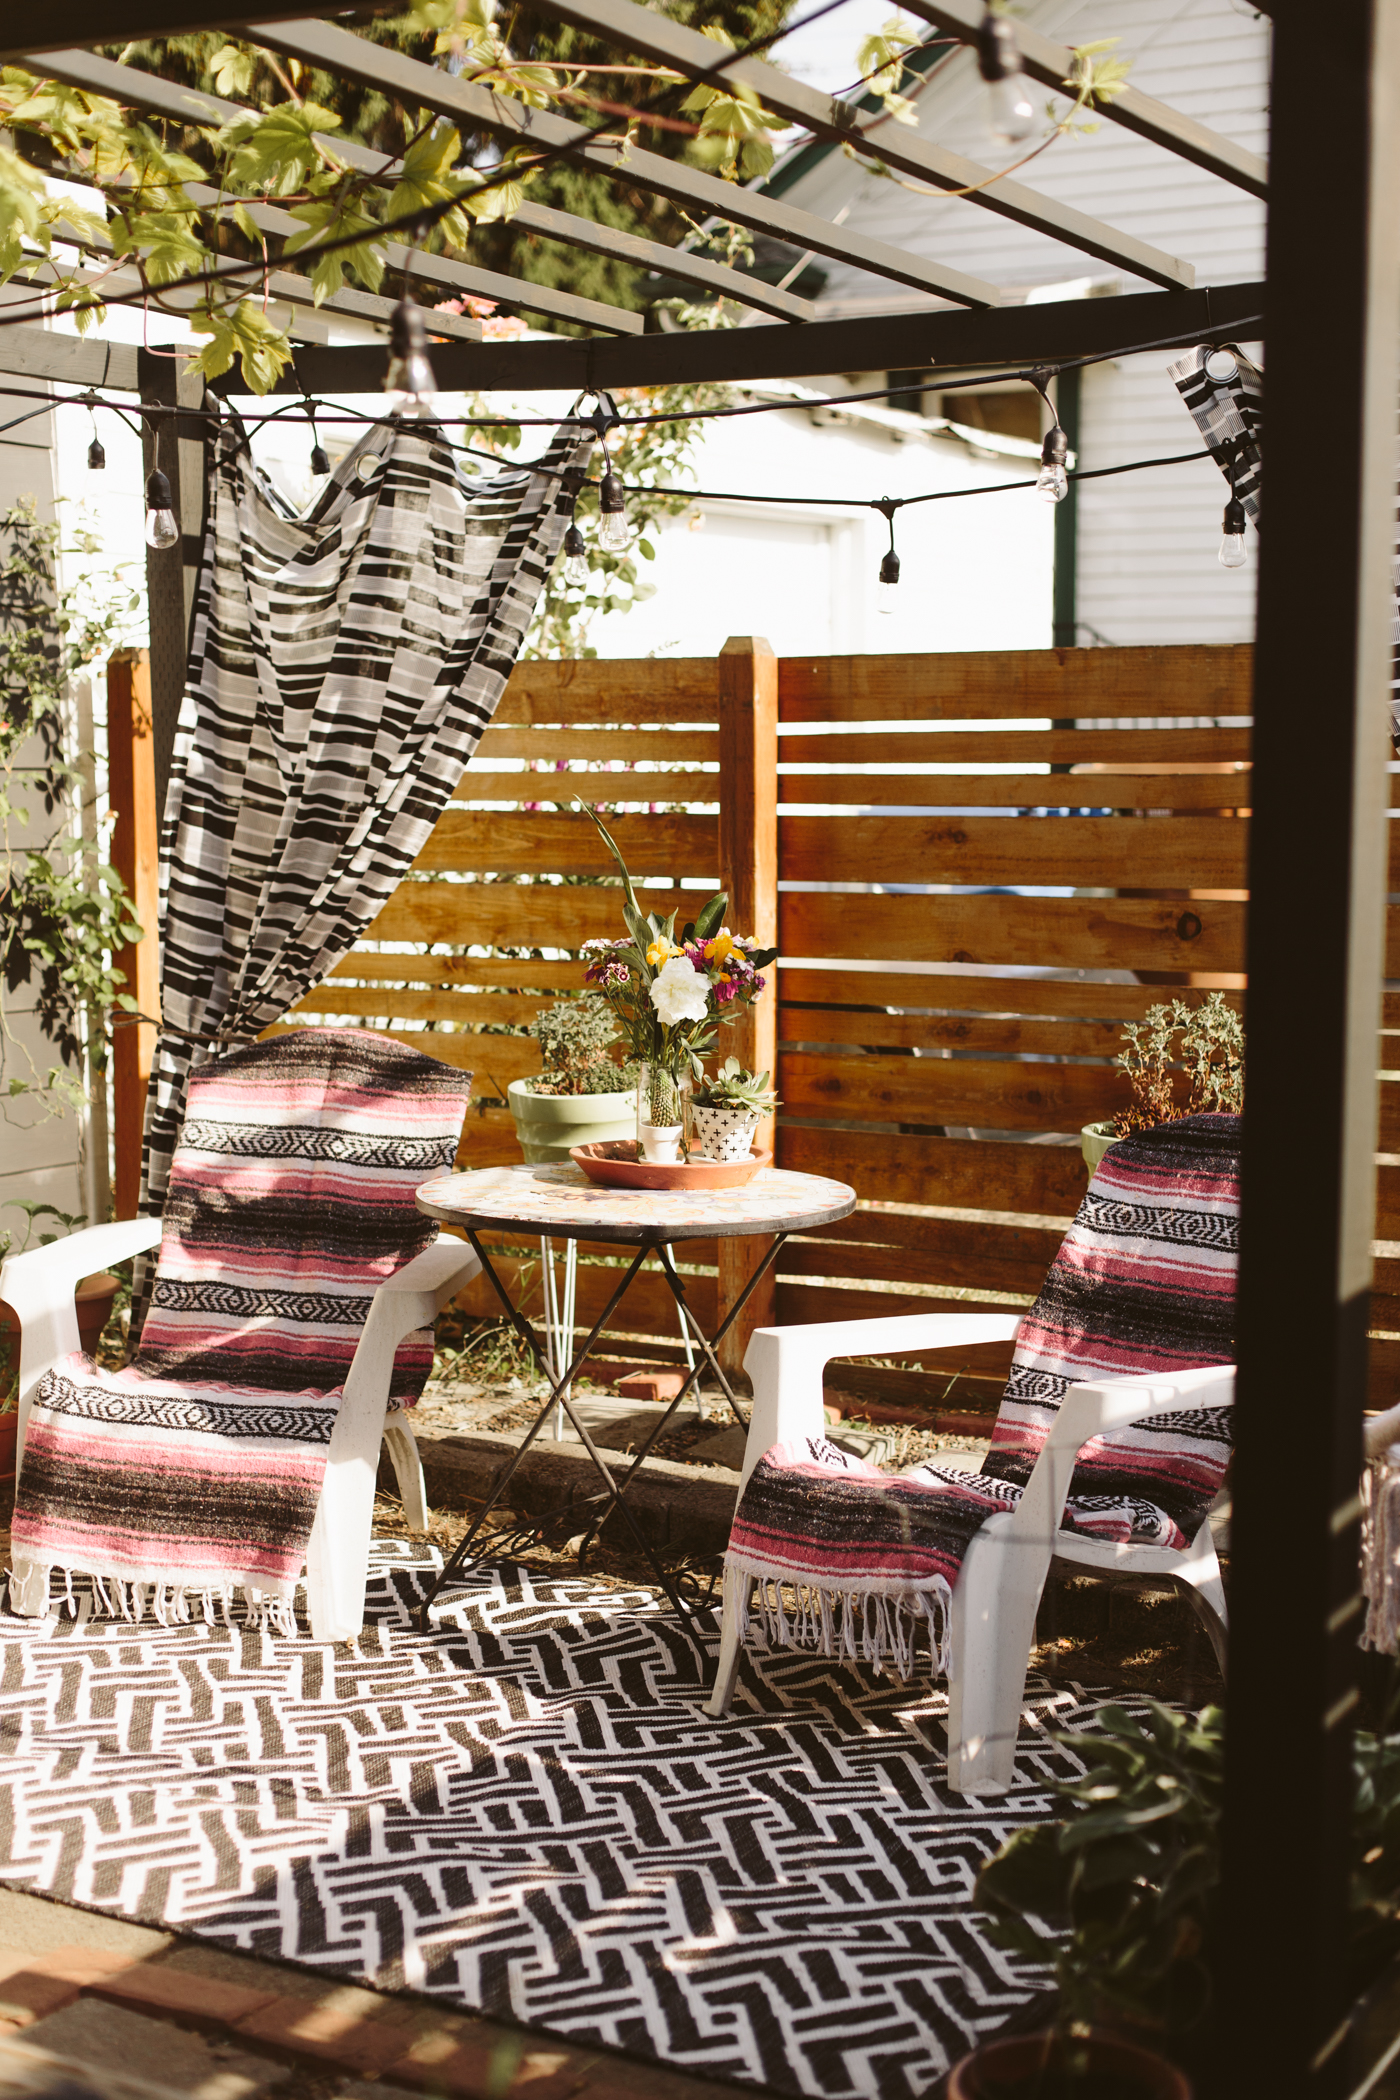
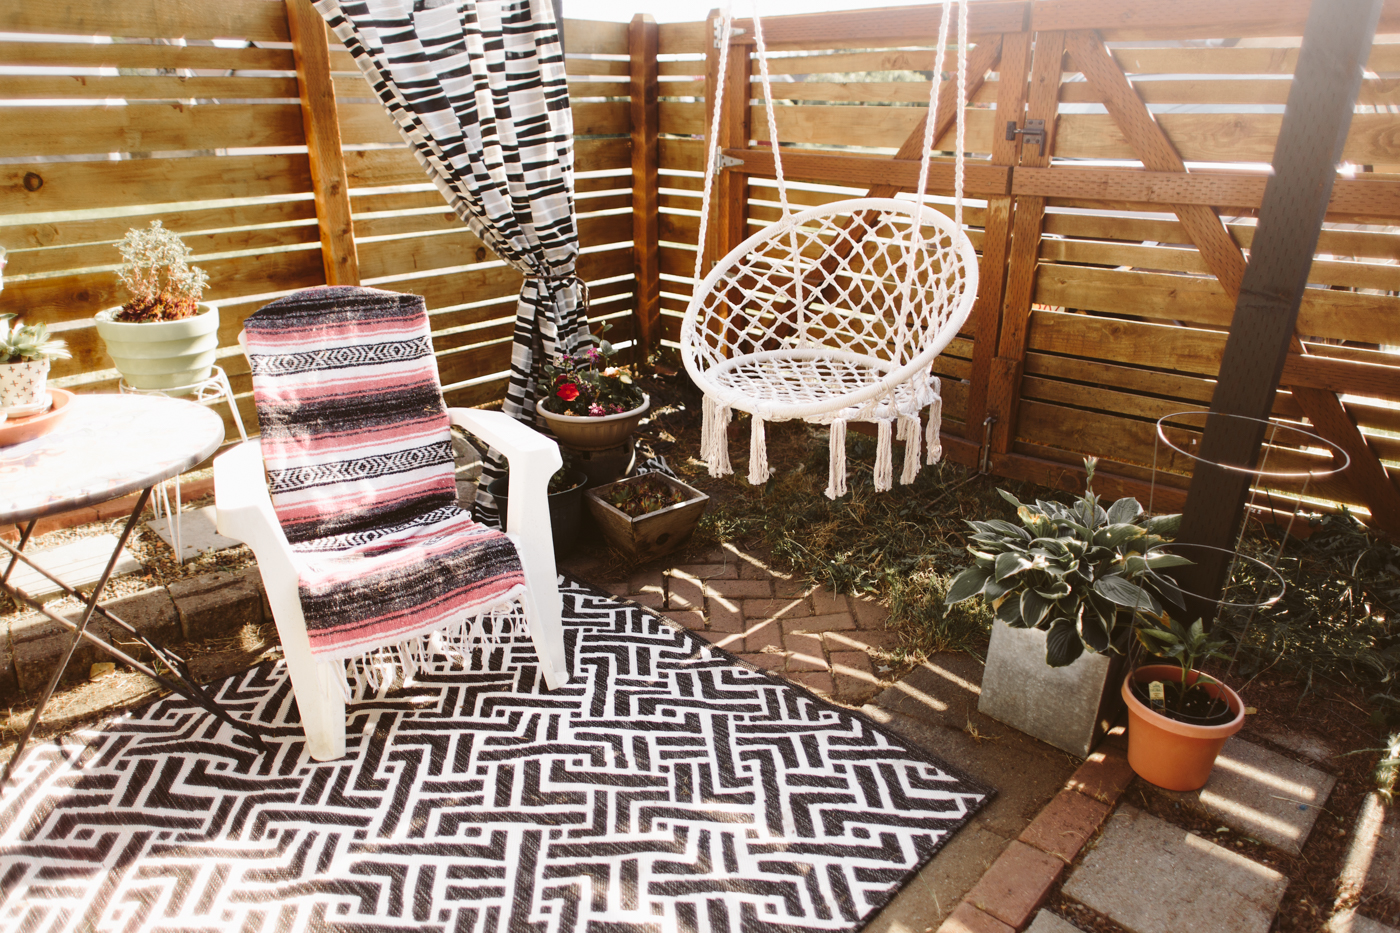

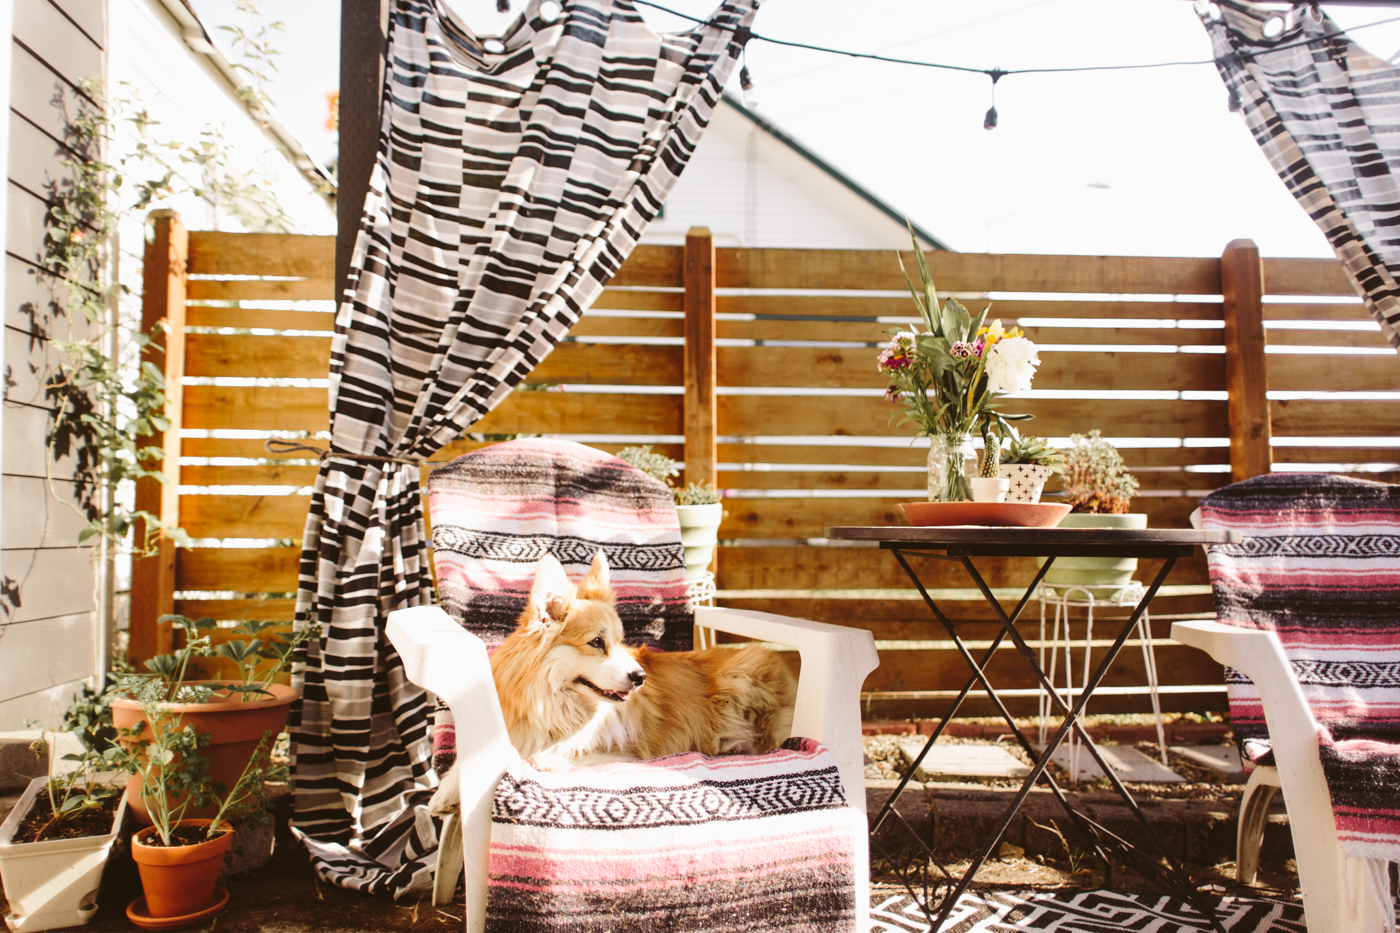
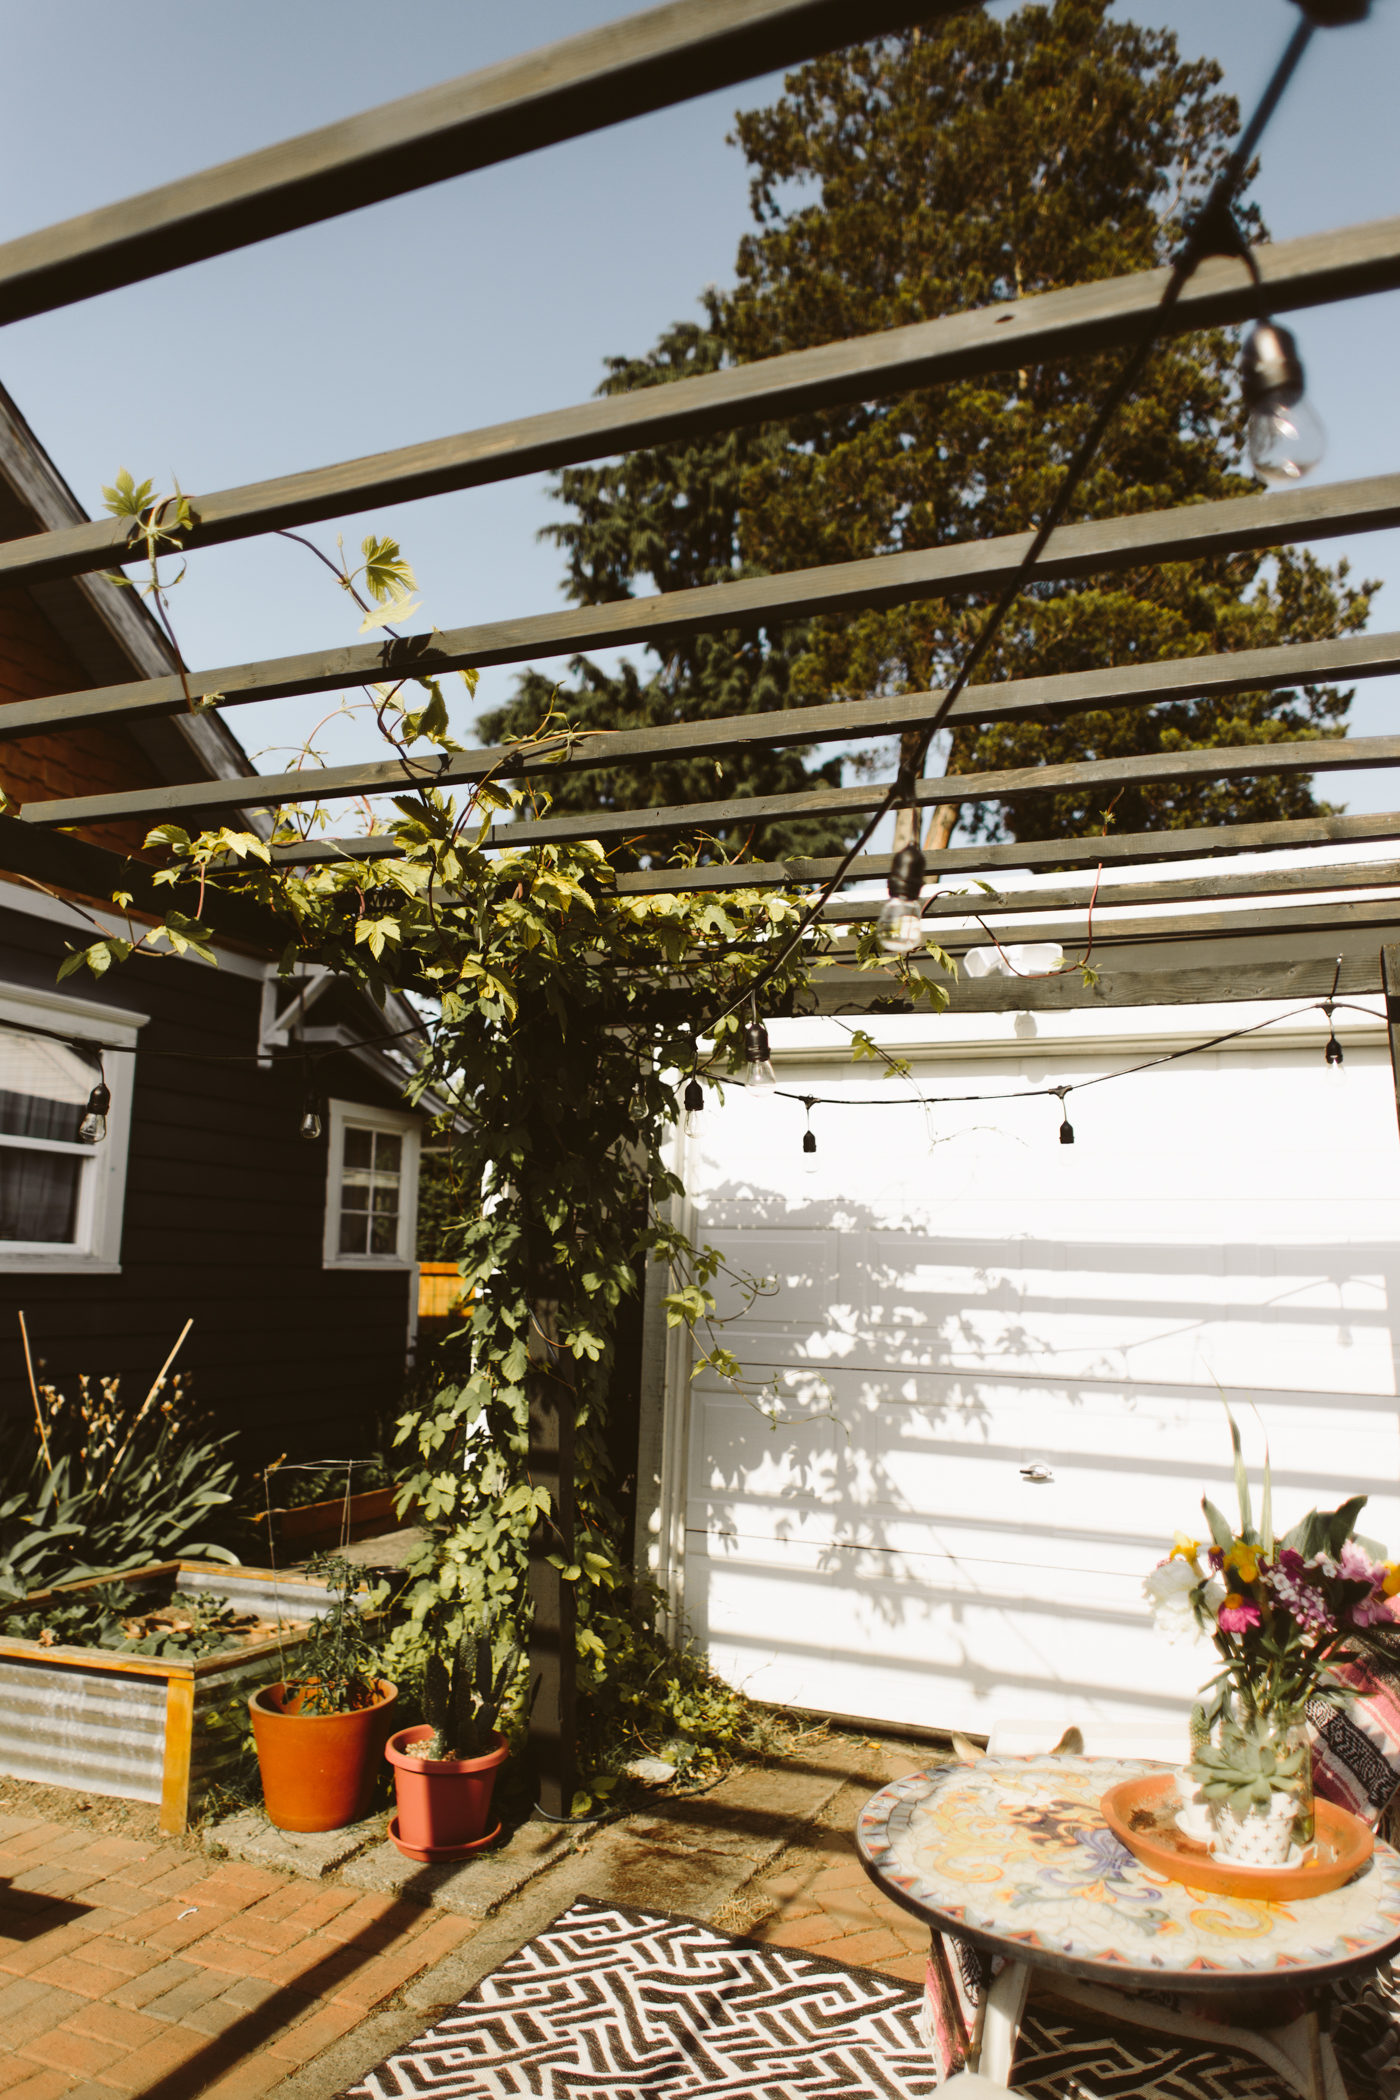
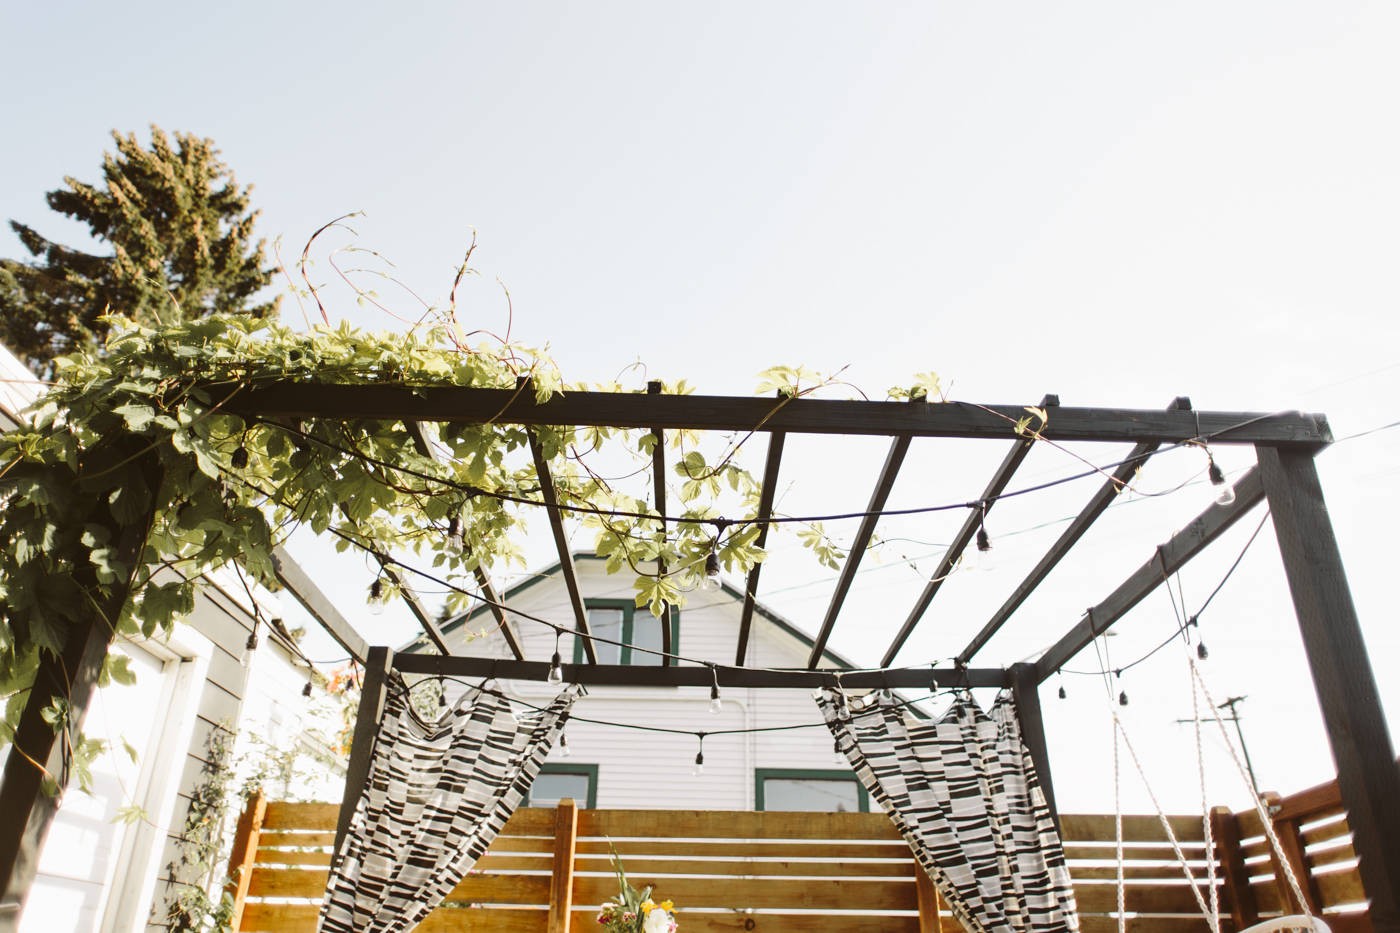
Rug : Target | Adirondack Chairs : Fred Meyer
Cafe Lights : Costco | Hanging Macrame Chair : Sorbus
You might also like
Hi, I’m Liz
I'm an artist, writer, designer, DIY renovator, and … well basically I like to do all the things. If it’s creative I’m probably doing it. I’ve spent over 30 years voraciously pursuing a life steeped in creativity and I wholeheartedly believe creativity and joy are inextricably linked.
Read more…
Explore The Archive
- July 2025
- May 2025
- January 2025
- December 2024
- August 2024
- July 2024
- May 2024
- April 2024
- January 2024
- December 2023
- October 2023
- September 2023
- July 2023
- June 2023
- May 2023
- April 2023
- March 2023
- February 2023
- January 2023
- December 2022
- November 2022
- October 2022
- August 2022
- June 2022
- May 2022
- April 2022
- March 2022
- November 2021
- October 2021
- August 2021
- July 2021
- May 2021
- January 2021
- November 2020
- October 2020
- September 2020
- August 2020
- July 2020
- June 2020
- May 2020
- April 2020
- February 2020
- January 2020
- November 2019
- October 2019
- August 2019
- July 2019
- June 2019
- May 2019
- April 2019
- February 2019
- January 2019
- December 2018
- November 2018
- October 2018
- September 2018
- August 2018
- July 2018
- June 2018
- May 2018
- April 2018
- February 2018
- January 2018
- November 2017
- September 2017
- August 2017
- July 2017
- June 2017
- May 2017
- April 2017
- March 2017
- February 2017
- January 2017
- December 2016
- November 2016
- October 2016
- September 2016
- August 2016
- June 2016
- May 2016
- April 2016
- March 2016
- February 2016
- January 2016
- December 2015
- November 2015
- October 2015
- September 2015
- August 2015
- July 2015
- June 2015
- May 2015
- April 2015
- March 2015
- February 2015
- January 2015
- December 2014
- November 2014
- October 2014
- September 2014
- August 2014
- July 2014
- June 2014
- May 2014
- April 2014
- March 2014
- February 2014
- January 2014
- December 2013
- November 2013
- October 2013
- September 2013
- August 2013
- July 2013
- June 2013
- May 2013
- April 2013
- March 2013
- February 2013
- January 2013
- December 2012
- November 2012
- October 2012
- September 2012
- August 2012
- July 2012
- June 2012
- May 2012
- April 2012
- March 2012
- February 2012
- January 2012
- December 2011
- November 2011
- October 2011
- September 2011
- August 2011
- July 2011
- June 2011
- May 2011
- April 2011
- March 2011
- February 2011
- January 2011
- December 2010
- November 2010
- October 2010
- September 2010
- August 2010
- July 2010
- June 2010
- May 2010
- April 2010
- March 2010
- February 2010
- January 2010
- December 2009
- November 2009
- October 2009
- September 2009
- August 2009
- July 2009
- June 2009
- May 2009
- April 2009
- March 2009
- February 2009
- January 2009
- December 2008
- November 2008
- October 2008
- September 2008
- August 2008
- July 2008
VISIT THE SHOP
PRIVACY POLICY & DISCLOSURE
We are a participant in the Amazon Services LLC Associates Program, an affiliate advertising program designed to provide a means for us to earn fees by linking to Amazon.com and affiliated sites.


