DIY Hog Panel Trellis
Over the past three years, I’ve slowly built and added on to our garden, and now that the essential layout and garden beds are done, I’m moving on to fleshing it out with elements that help define the space and give it a cozier feel. When we bought this house, it really just felt like the house was dropped onto a totally empty lot with no landscaping to speak of, so adding in things that help the house feel integrated with the land and neighborhood has been part of our long-term exterior goals.
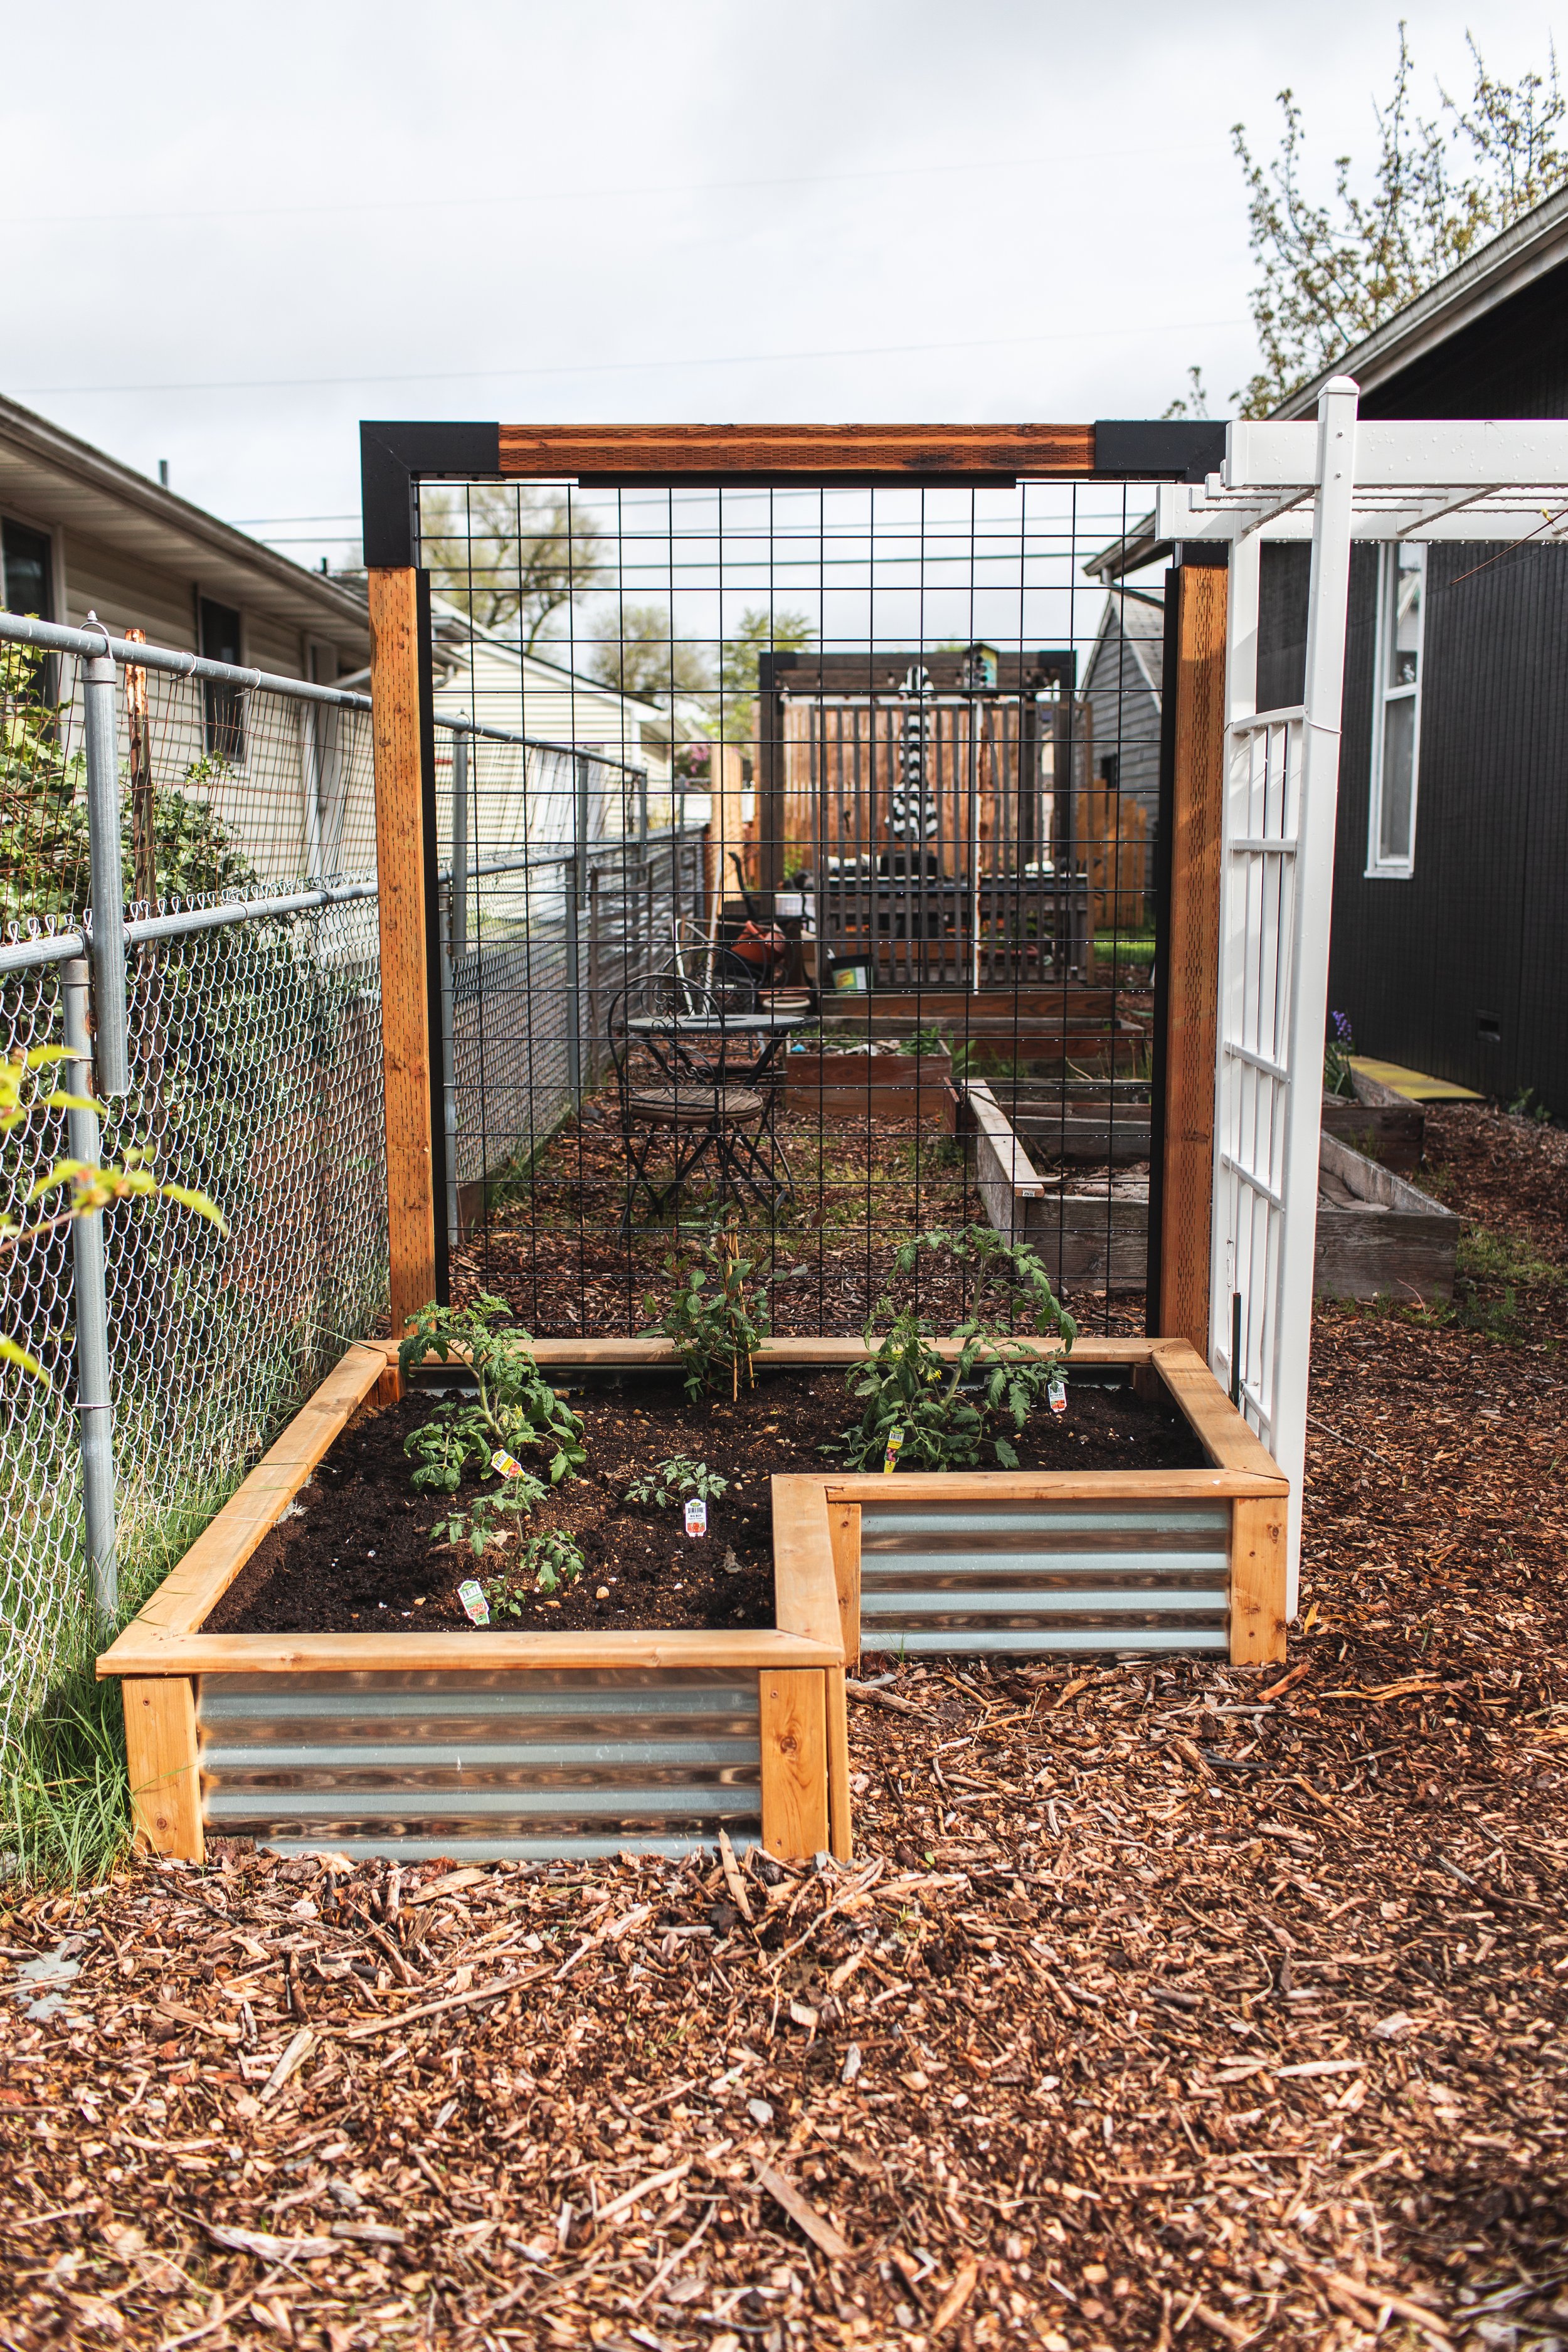
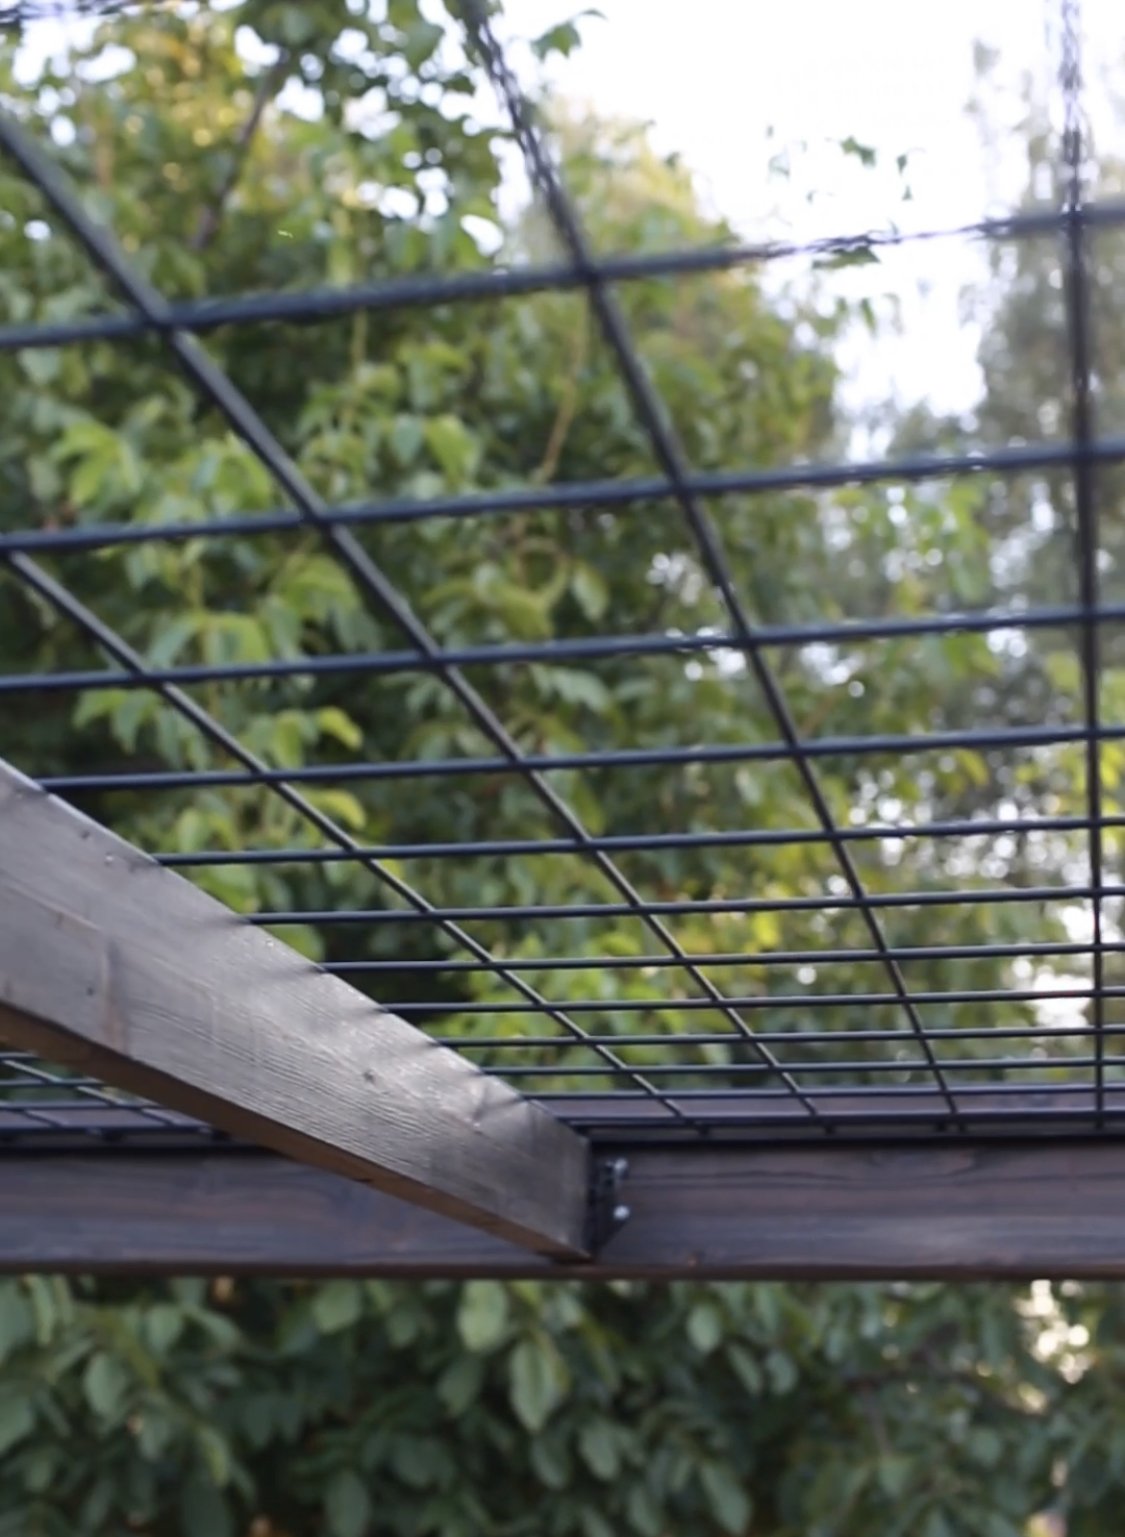
I’ve spent a couple years building raised beds for our vegetable/pollinator garden, but last year when I built the patio and pergola area in the back of our house, I realized that you could see all the way to that area from the front, so I wanted to create a little more privacy, with something for climbing plants to vine on. While I was walking the aisles of Home Depot, I saw a garden bed trellis made with Wild Hog fence panels and I knew that would be the perfect solution, since we already had garden beds right where I wanted trellis to go.
I’d built the pergola last year using LINX brackets and Wild Hog fence panels, so I was familiar with and loved those products already, so using them to create this trellis situation seemed like the perfect fit.
What you’ll need:
Materials (per 3.5 x 6.5 ft trellis):
2- 10ft 4x4 treated lumber
1- 8 ft 4x4 treated lumber
1- 36x72in Wild Hog Panel
1- 6ft Wild Hog Tracks kit
2- 4x4 LINX L-Fit Brackets
4- 3in Exterior Wood Screws
Gravel or Concrete for setting posts
Tools:
Circular Saw
Impact Driver/Drill
Angle Grinder
Tape Measure
Speed Square
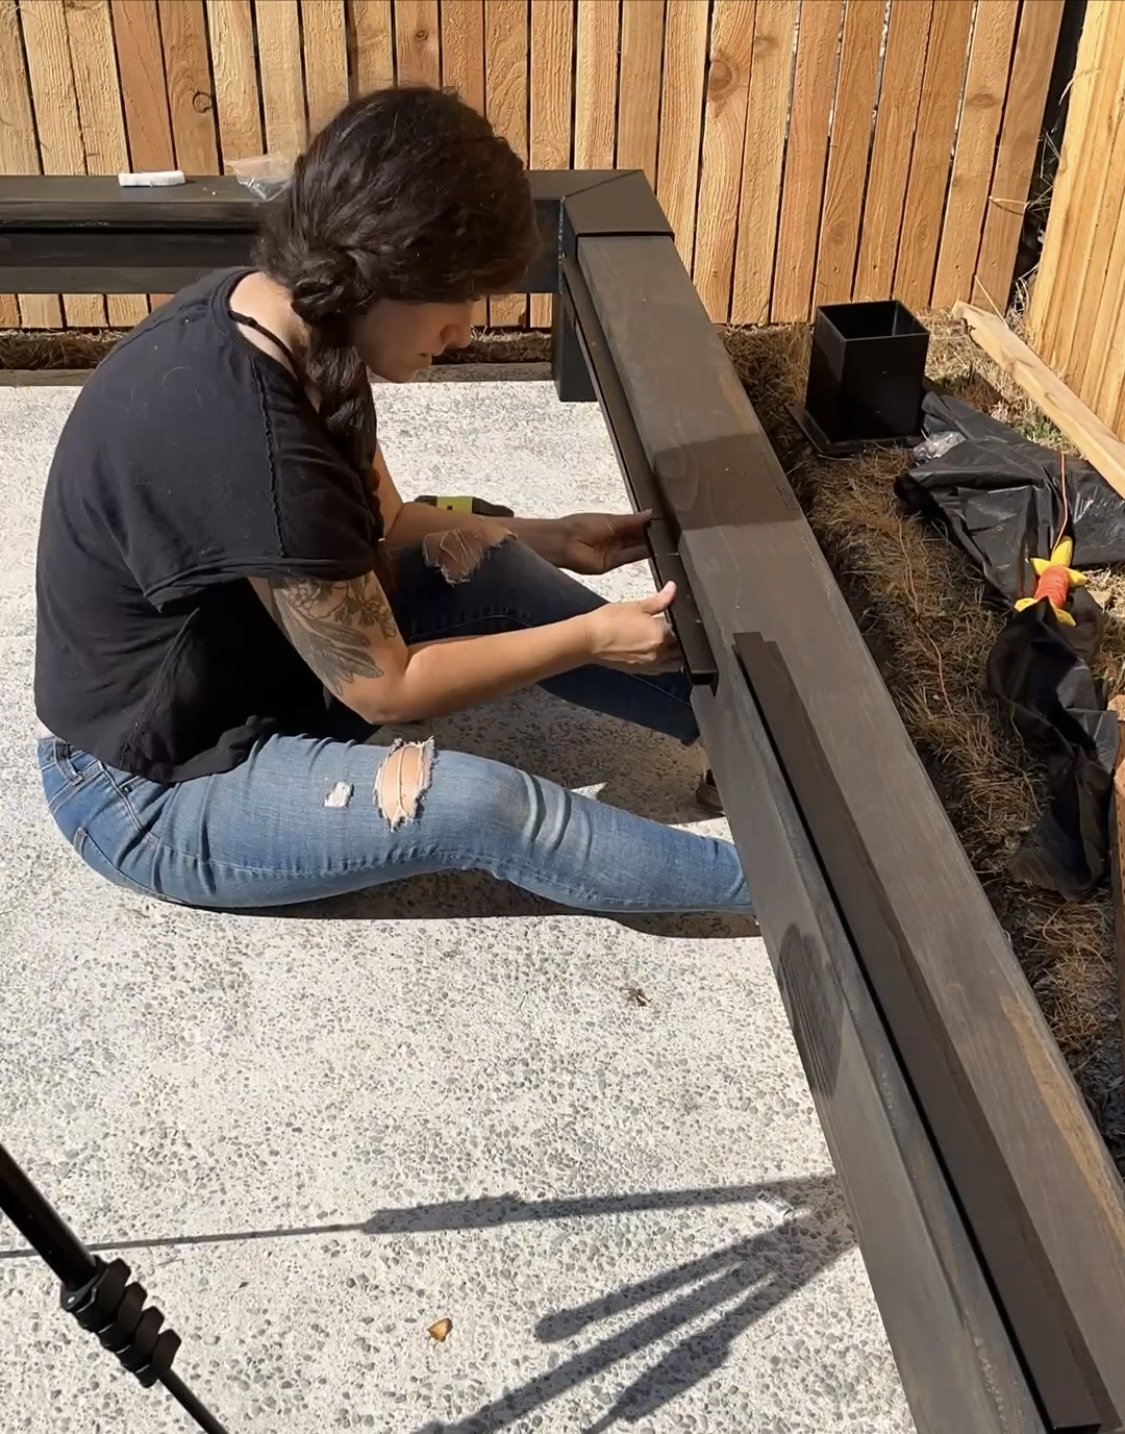
Start by inserting one of the 10ft 4x4s into the first LINX L-Fit brackets. Make sure the 4x4 goes all the way in, so that when you look inside from the other side, you see it fully inserted. Then slide in the 8ft (for the 36in wide panel, or 6ft for the 60in wide panel) 4x4, so that its inserted fully and touches the 10ft 4x4 you’ve already inserted.
Lay your Wild Hog panel in the middle where it will eventually go, with about a 1/4 - 1/2 in gap on all sides. Mark the width of that top 4x4 using your speed square, remove from the bracket, and cut on your mark.
3. Insert the other 10ft 4x4 to the second LINX bracket, then reinsert the top 4x4 you just cut, then secure the brackets using the screws provided with the LINX brackets.
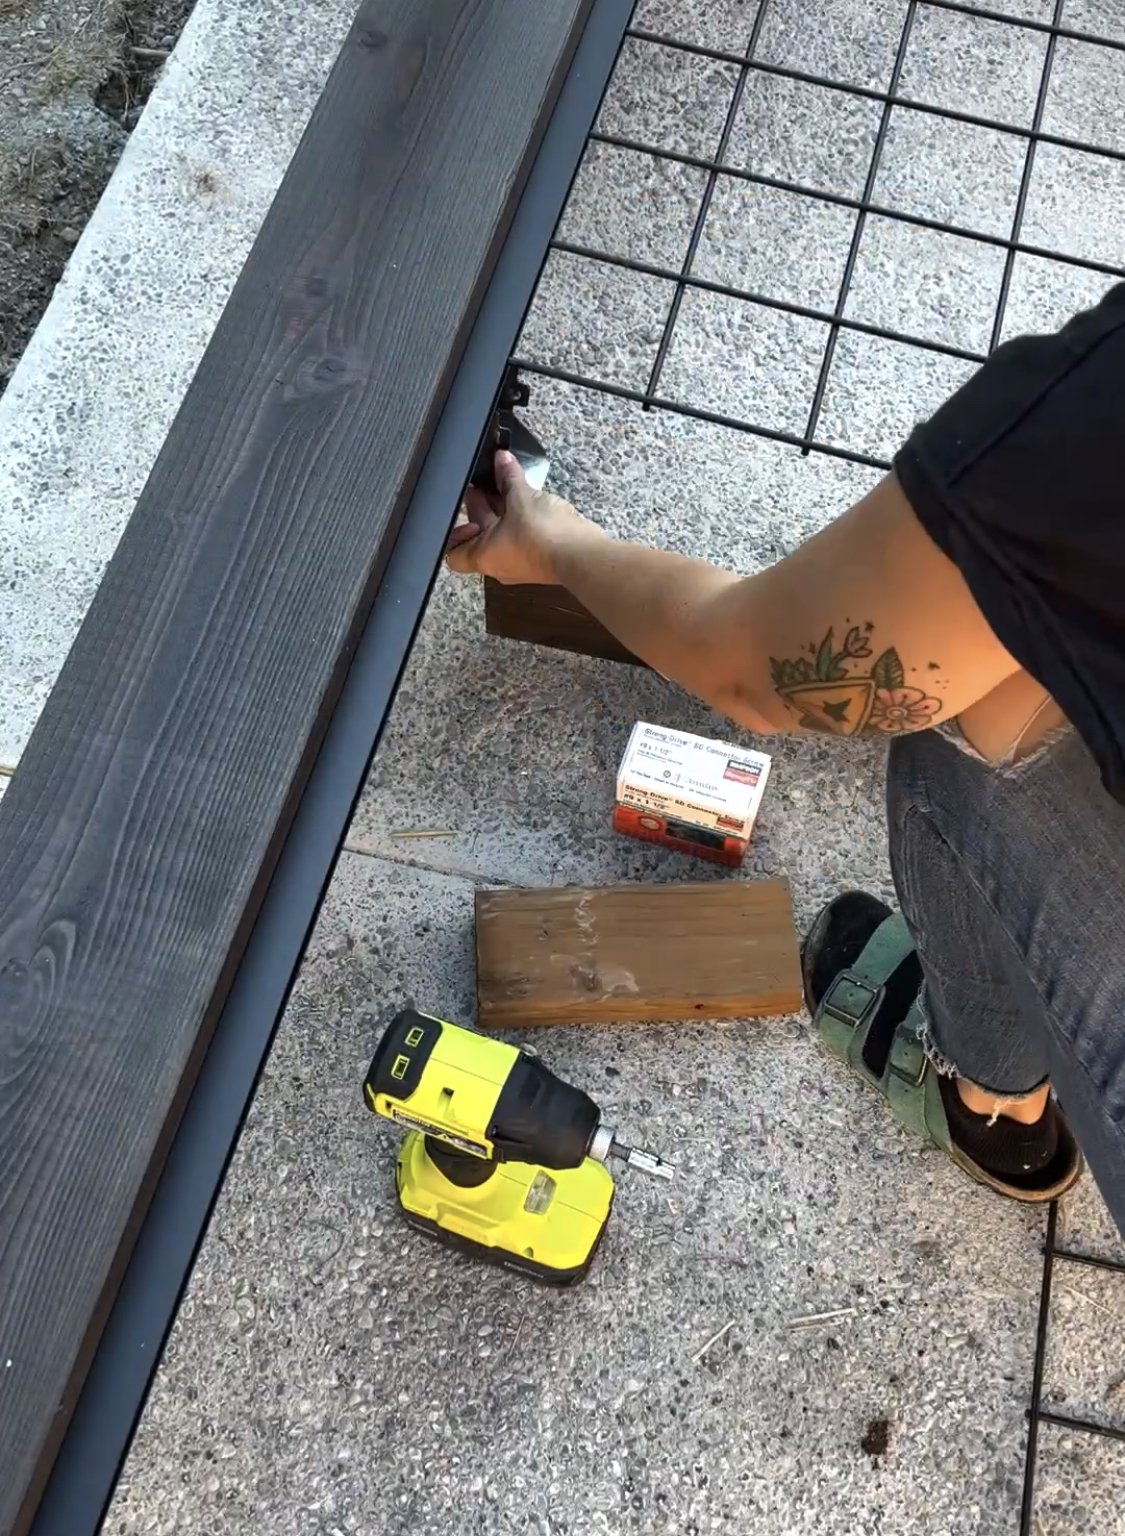
4. Open your Hog Track kit, you’ll have two 3ft tracks and two 6ft tracks. If you’re building a trellis using 36in wide Wild Hog Panel, you’ll need to cut the 3ft track to fit between the LINX Brackets (you won’t need to do this for the wider trellis using the 60in panel). You’ll also need to cut the excess off the bottom of the 6ft tracks to fit between the bottom of the LINX bracket and the bottom of the panel.
5. Cut the tracks using your angle grinder, then spray the cut end with black spray paint.
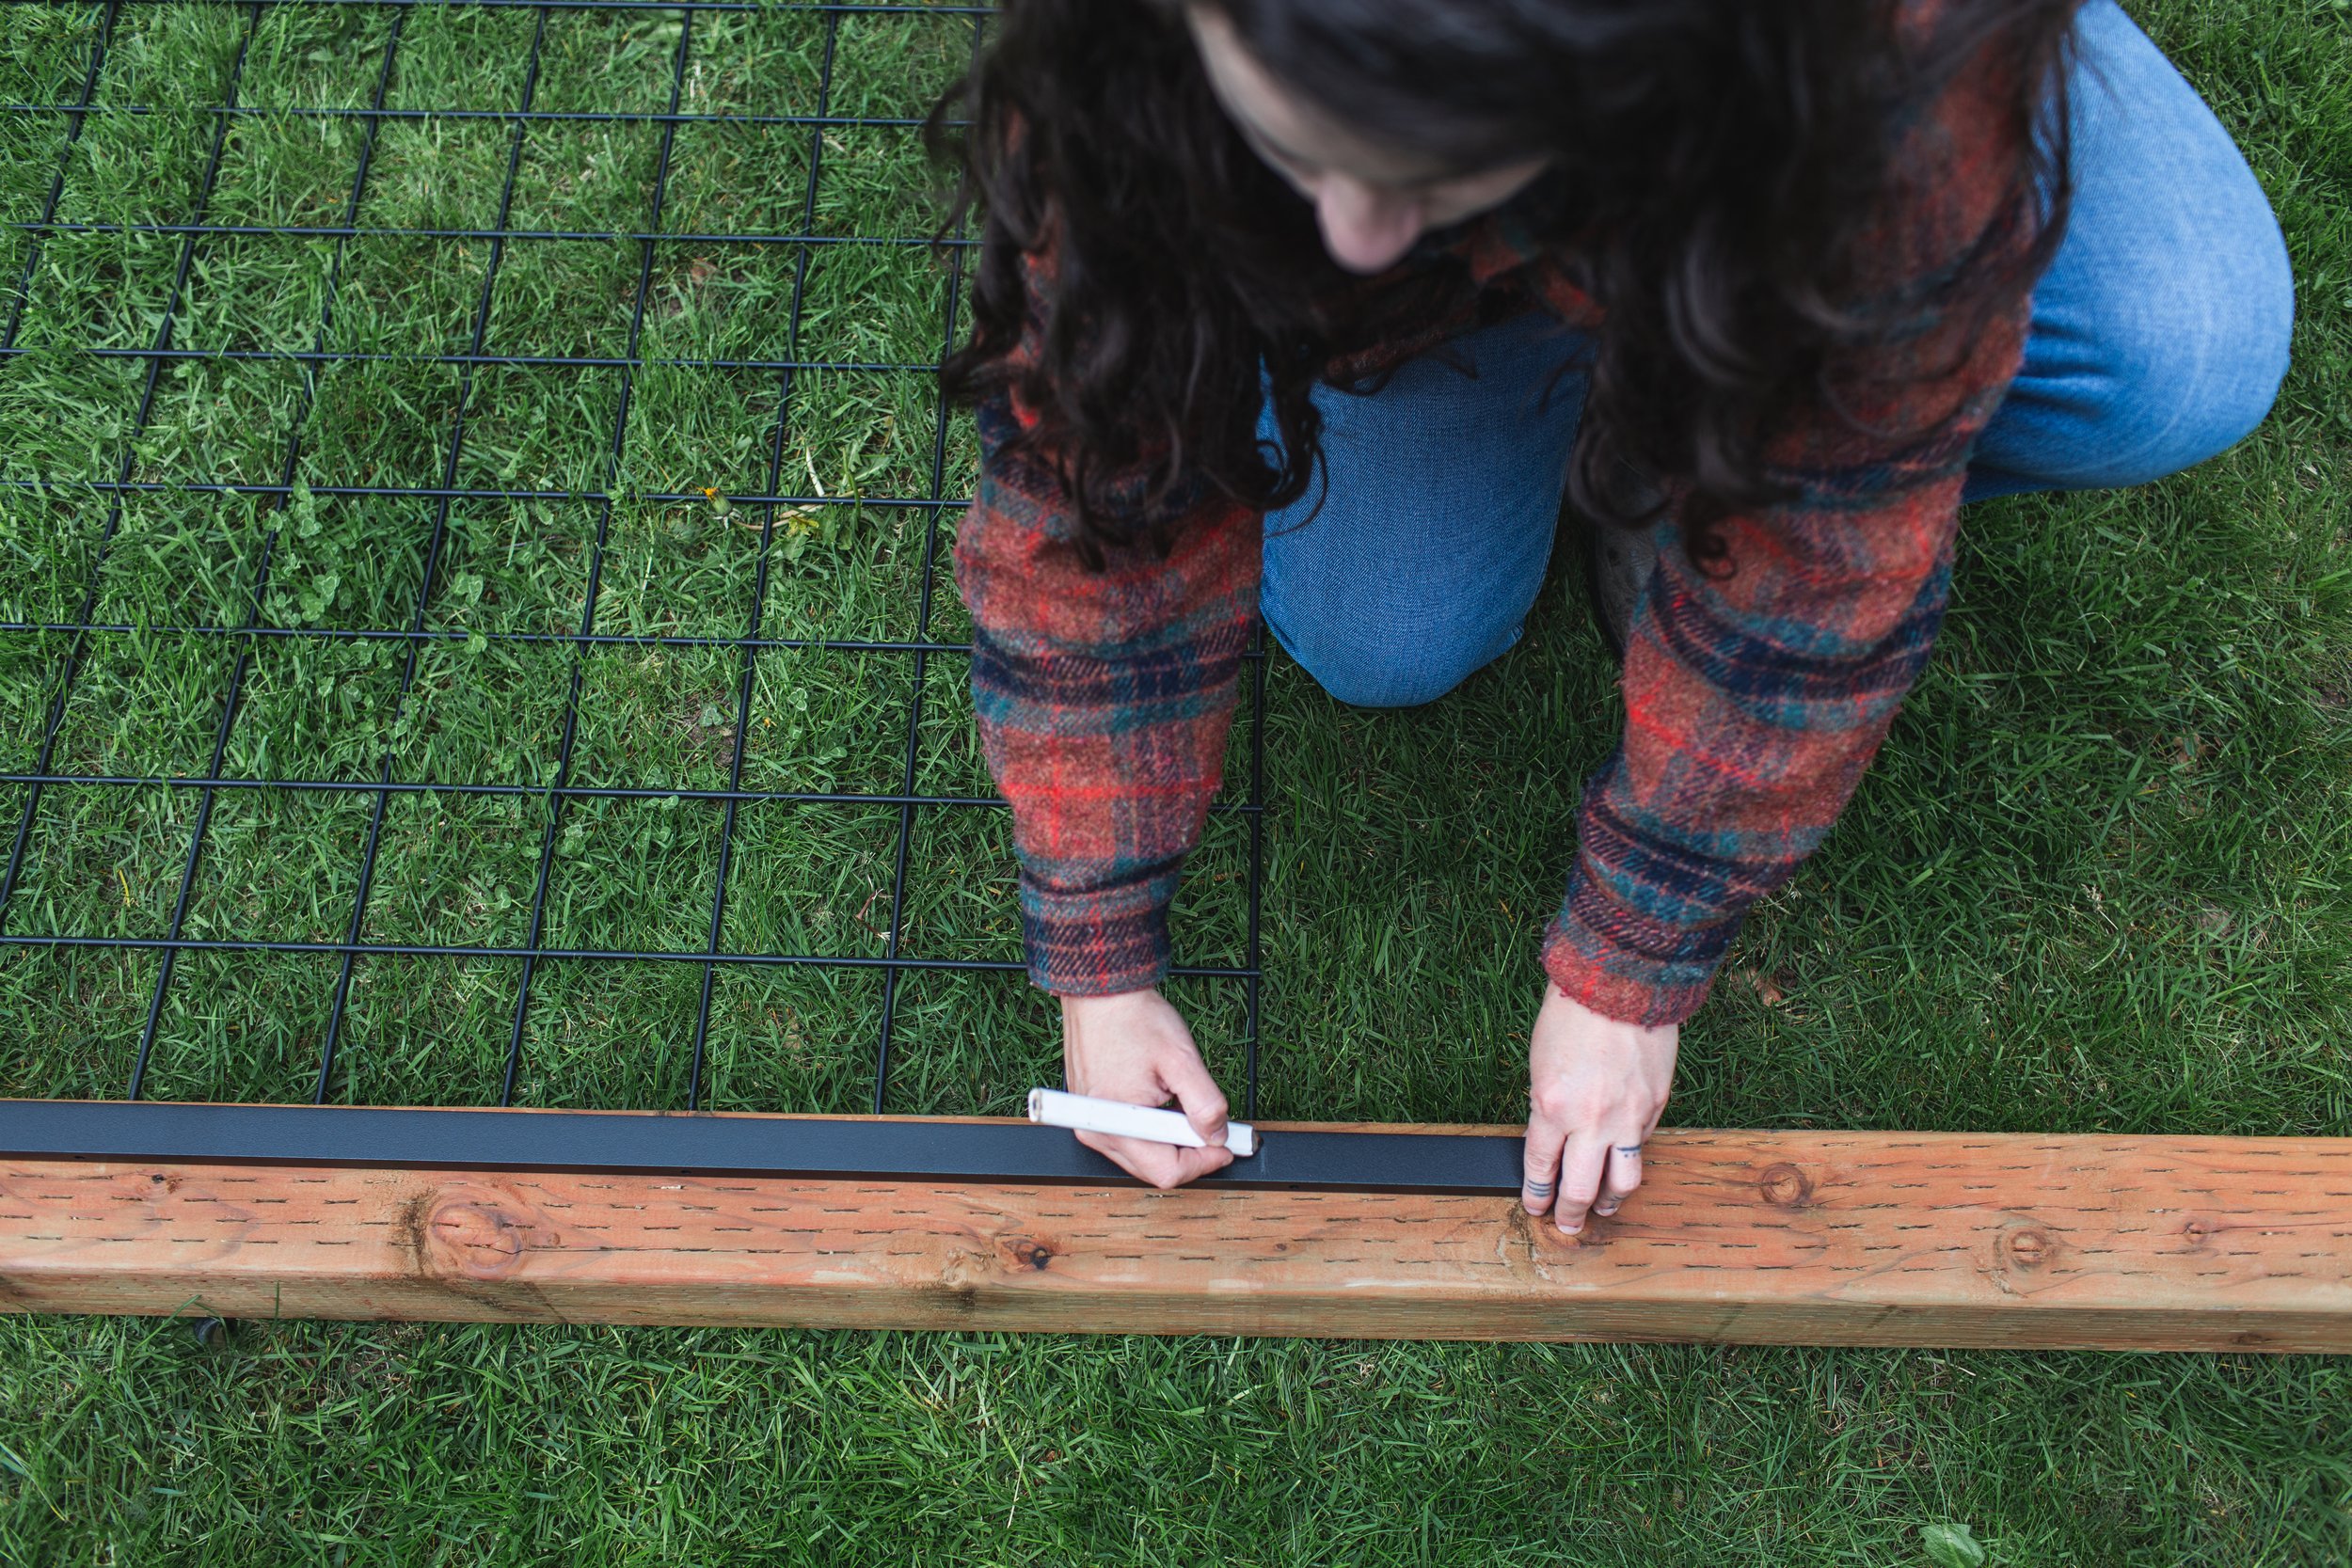
6. Mark the center of all of your 4x4s at 1 3/4in, this is where you’ll install the hog tracks. I used my speed square, holding my pencil at 1 3/4 and sliding the base of the square along the edge of the 4x4.
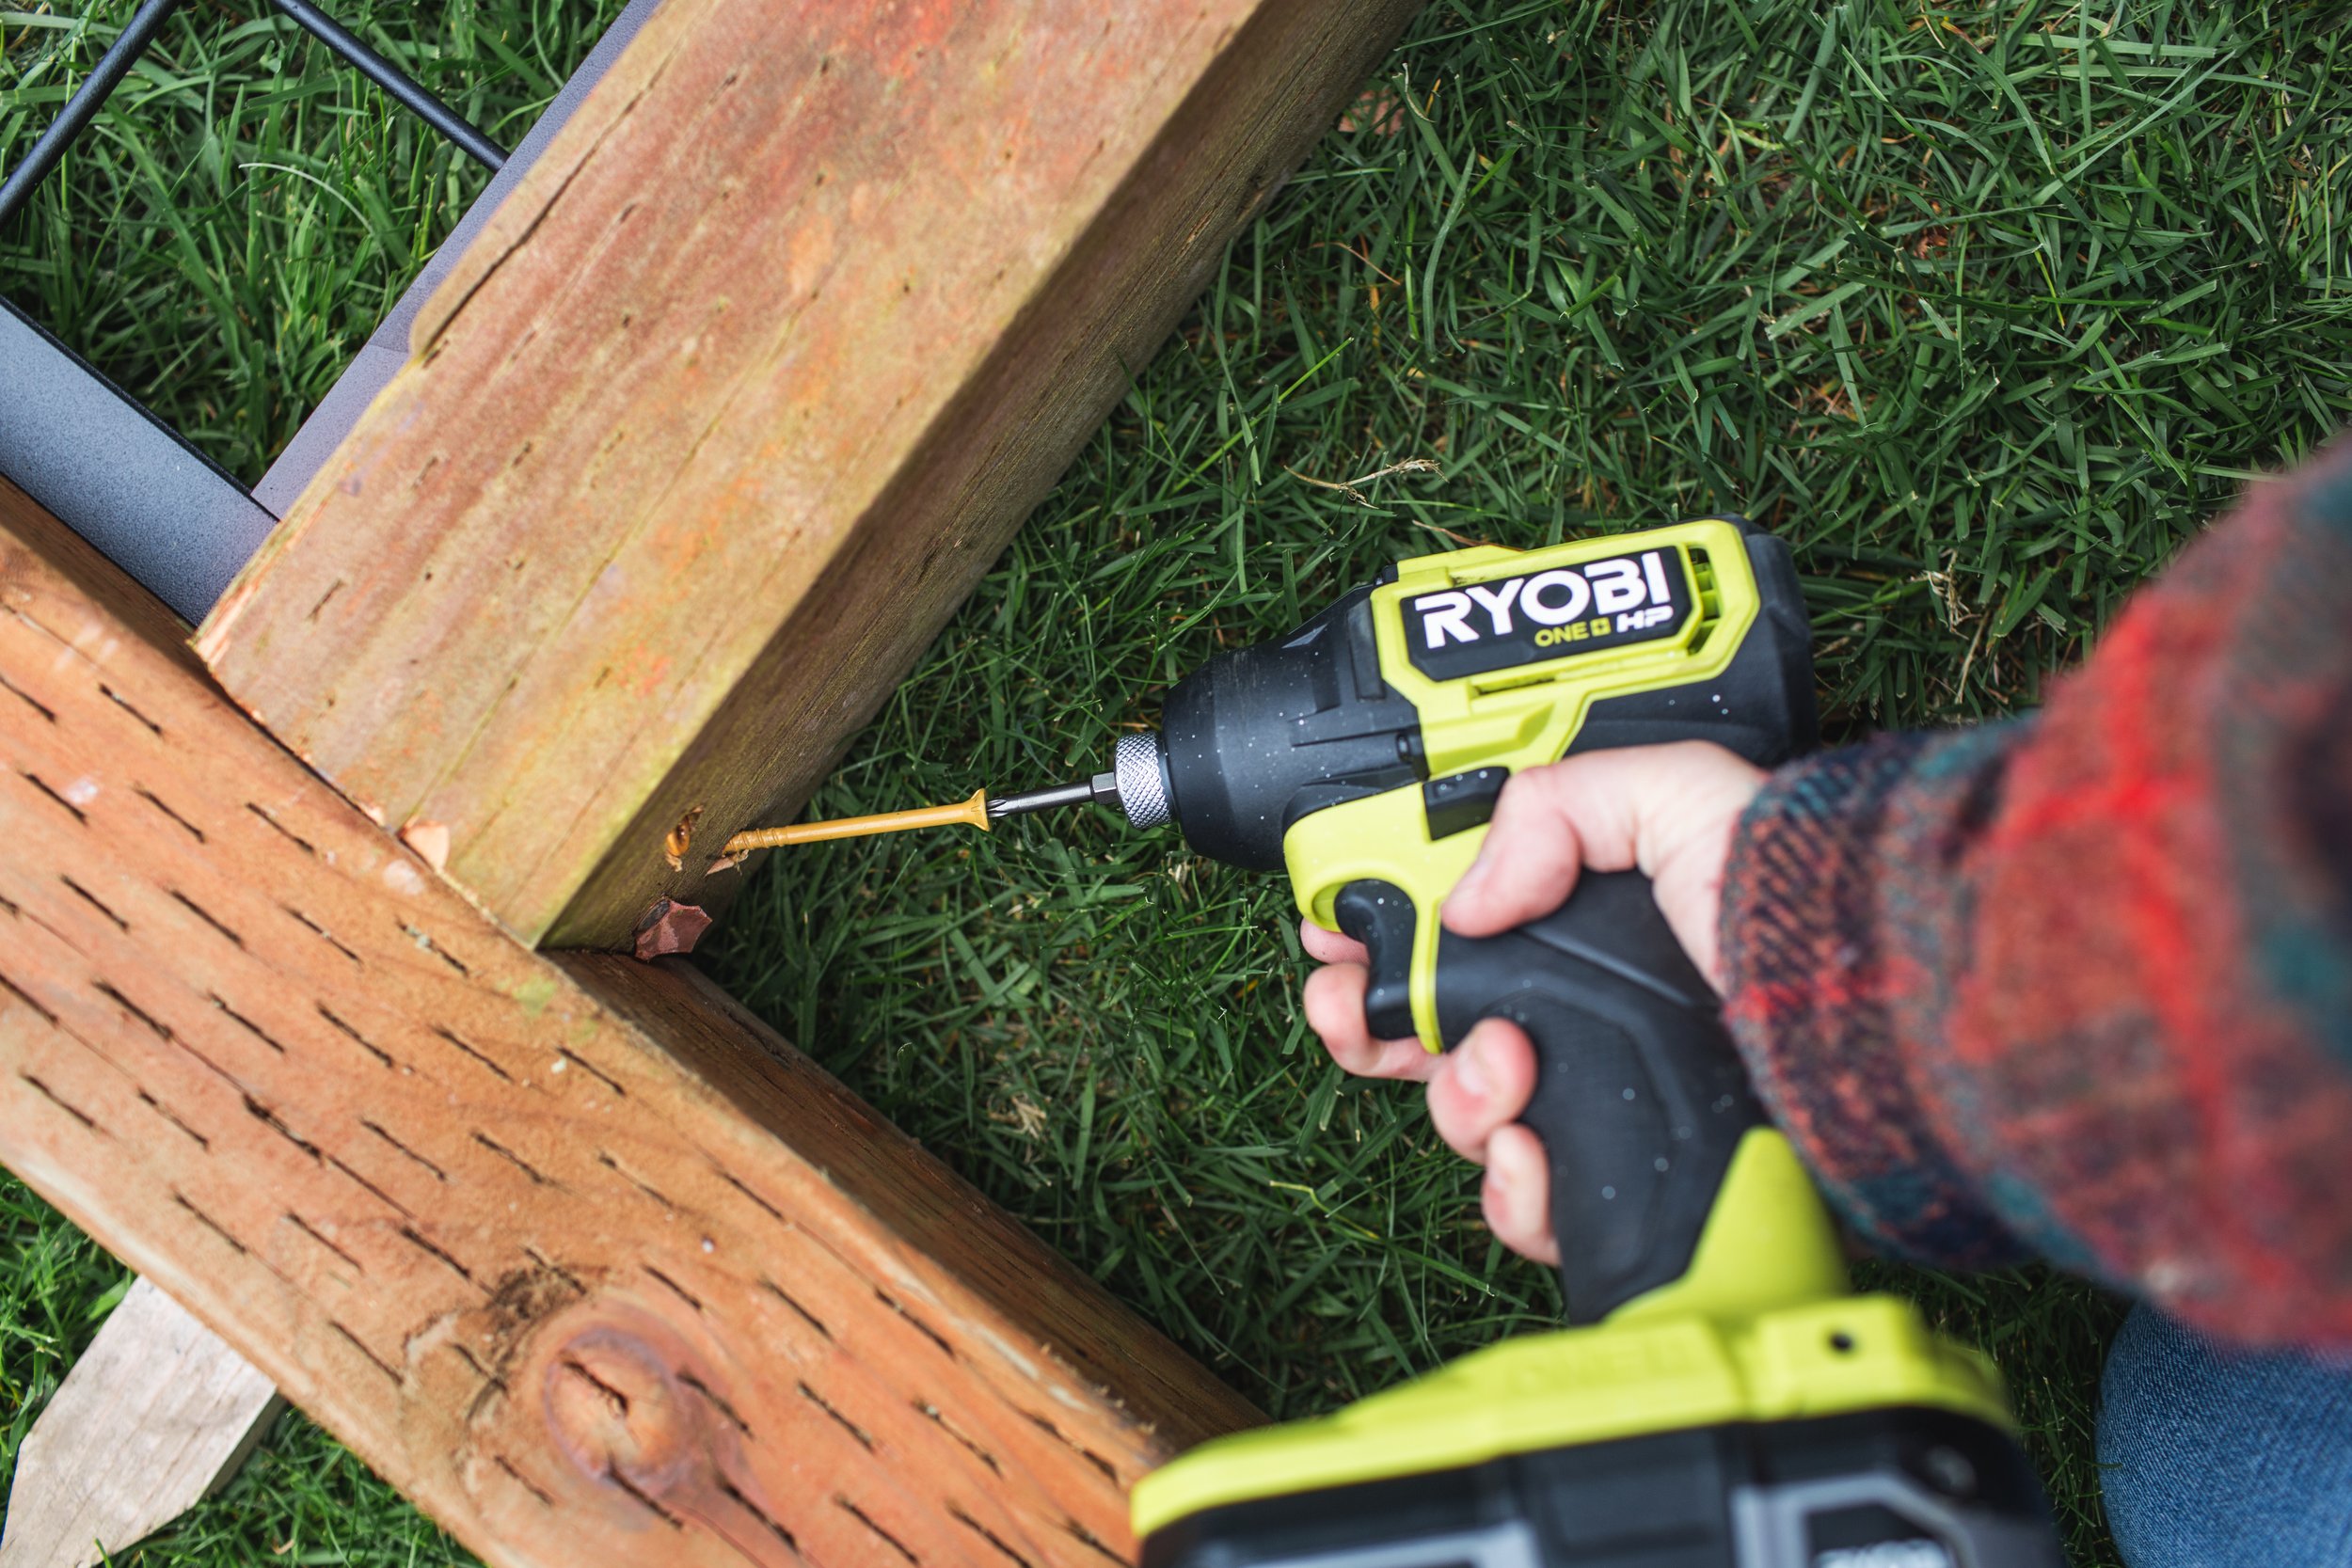
7. Using the provided screws, attach the Hog Tracks along this line.
Repeat this process for each side.
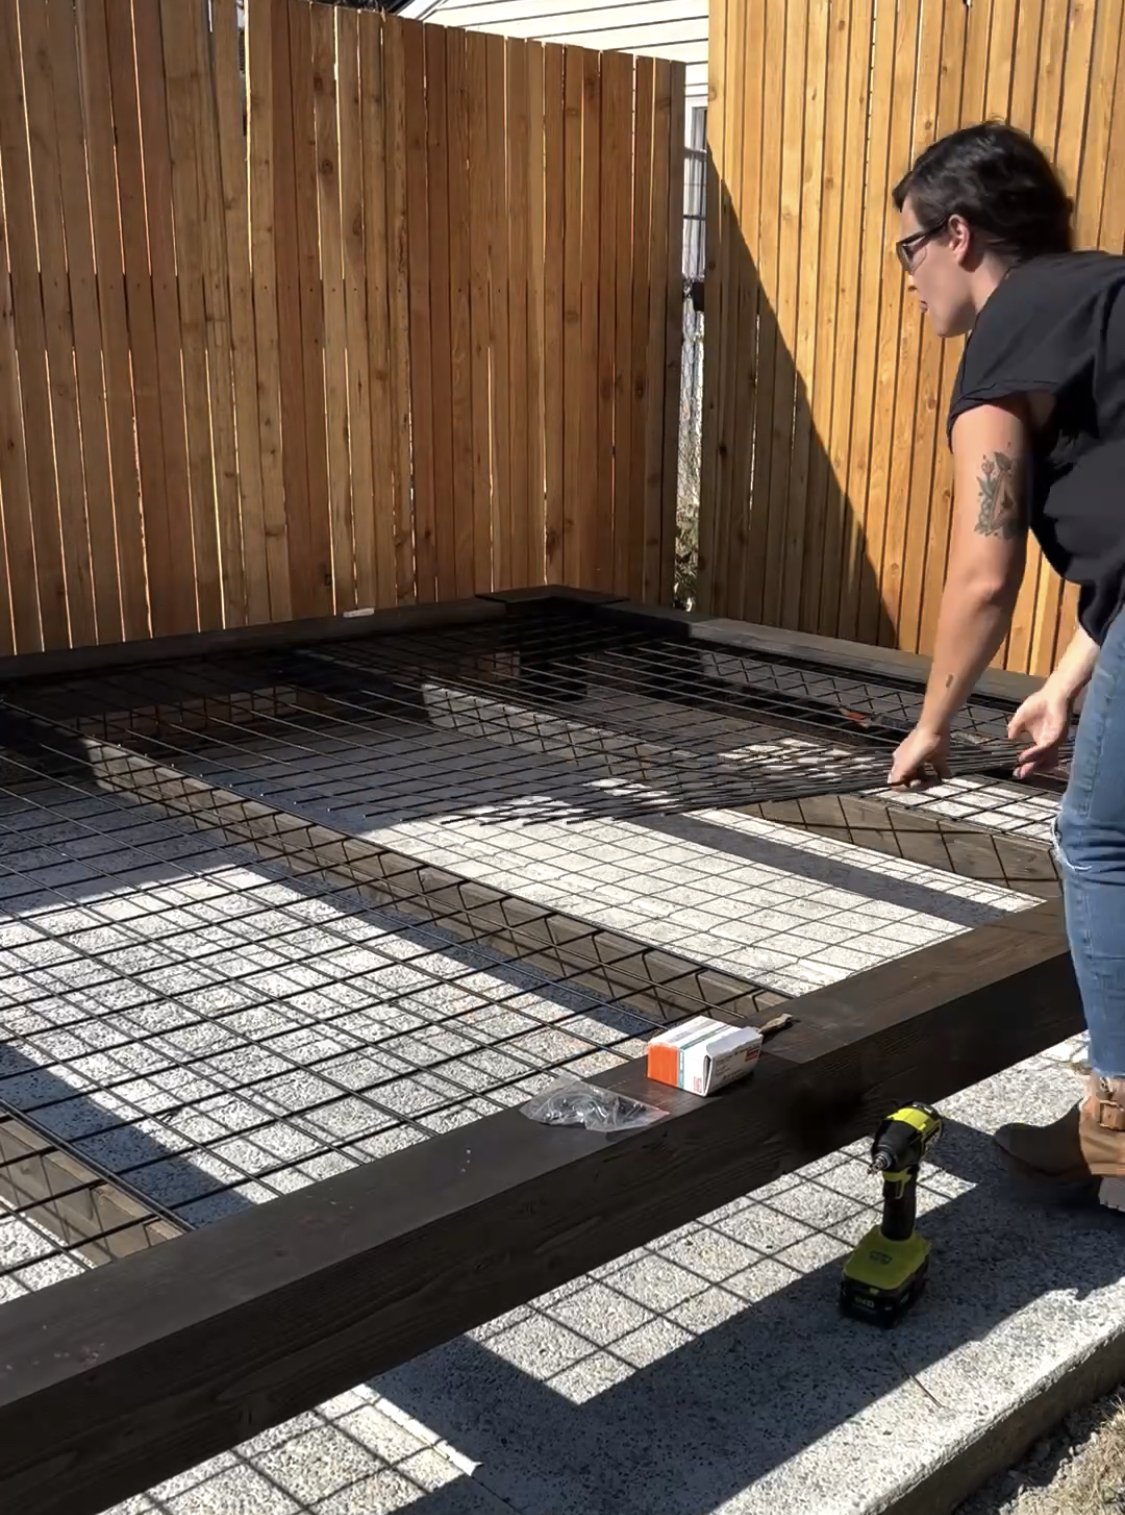
8. With the three sides installed, slide your panel in all the way. Once the panel is in, you can build and install the bottom piece.
9. Measure the inner width between the upright 4x4s and cut your final section of 4x4 to fit. If you’re making a trellis using the 36in panel, you’ll need to cut about 1in off your final 3ft Hog Track, so it will fit between the vertical Hog Tracks on either side. Again, mark the center of the 4x4, and install that Hog Track. You can then slide this up so the panel slips inside that bottom track.
10. Secure this bottom piece by toenailing in using 3in exterior screws.
11. At the location where you’re going to install your trellis, measure and mark where the posts will go. Using a post hole digger, dig a hole about 38-42in deep.
12. Place about an inch or so of gravel in the base of the hole, then (with a friend— these trellises are heavy!) slide the trellis posts into the holes.
13. You can secure this trellis either using quick-setting concrete, or I simply filled in around the posts using gravel. Since my garden plan is constantly in flux, I wanted to make sure I had the option to move these in the future if my plans change, and gravel keeps them secure without making them 100% permanent.
If you’re also wanting to build some of these corrugated metal raised beds, they’re one of my favorite budget-friendly and (IMHO) cool-looking garden beds. You can find my tutorial for those here!
Our existing arbor that you can see is a Home Depot find, I’m not finding the exact model but you can see a very similar one here.
Budget vs Investment Pergola Comparison
Are you considering adding a pergola to your outdoor space but unsure whether to opt for a budget-friendly option or invest in higher-quality materials and expert craftsmanship? When it comes to outdoor structures like pergolas, it's important to weigh the benefits and drawbacks of both options. While a budget-friendly option may seem attractive upfront, investing in a high-quality pergola can provide long-term benefits such as increased durability, better resistance to outdoor elements, and a longer lifespan overall. To help you make an informed decision, we've put together a comparison of two different pergola projects: one completed on a budget using lower-quality materials, and one that utilized high-end materials and expert craftsmanship.
Let’s start with the budget pergola.
Several years ago I spotted a modern black pergola at Target. It was metal, and had a really simple silhouette that I loved. I believe it was around $400-500, which at the time was out of my budget (they no longer sell that one, but this one is similar). So one weekend I decided to build one myself that had a similar feel to it, and I did it for around $100. You can see that project here.
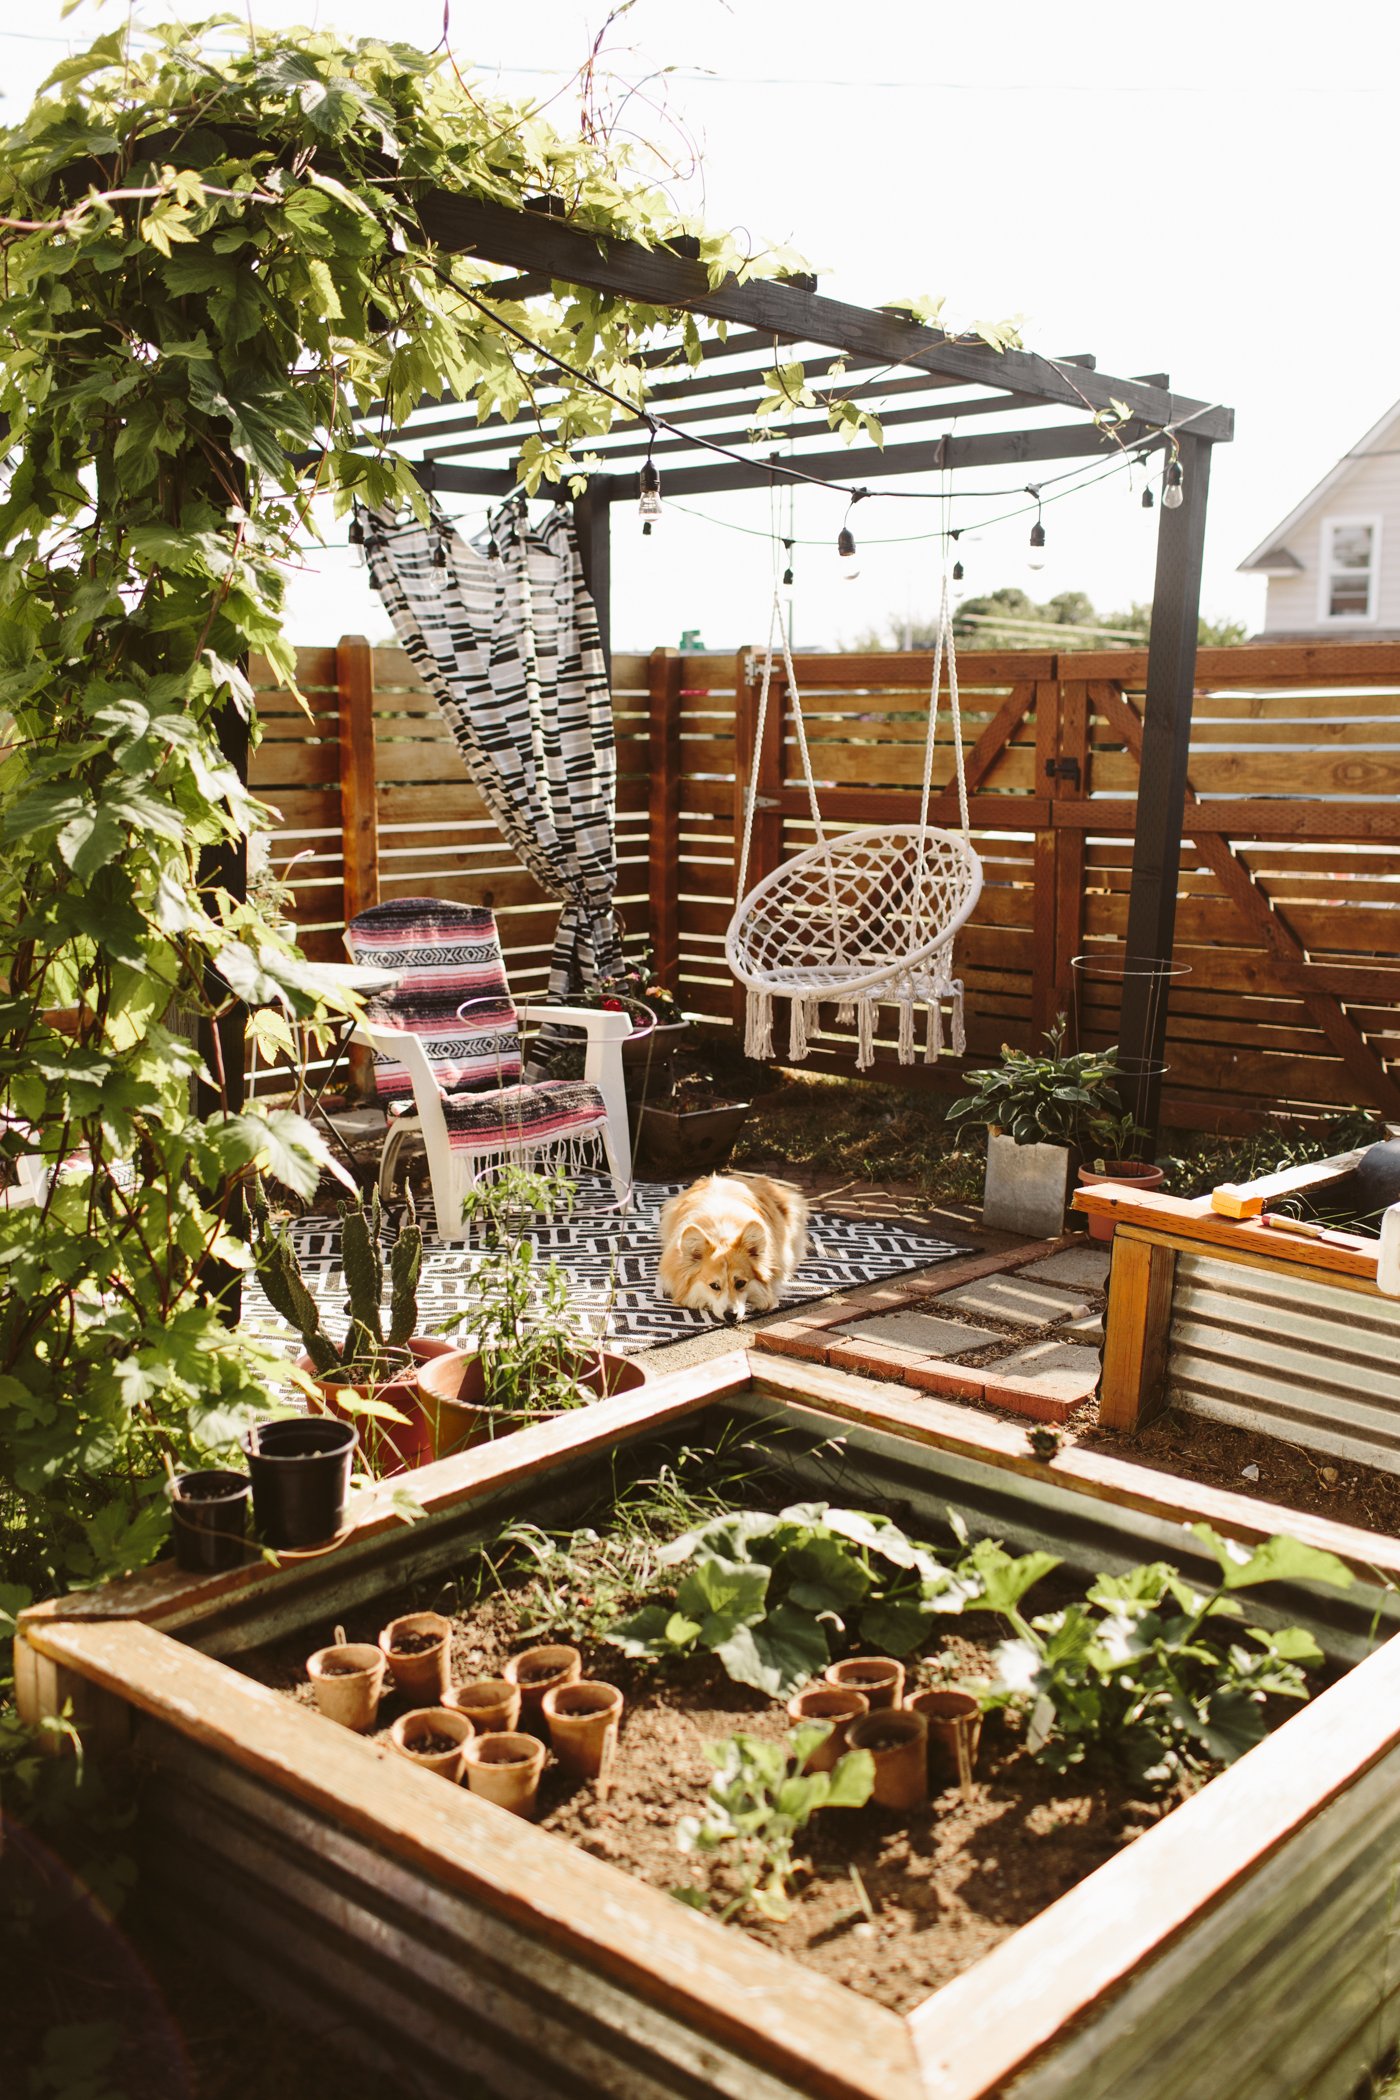
It actually ended up being a pretty great dupe of the Target version, and I made it using 4x4, 2x4, and 2x2 lumber, painted black. It was the perfect little pergola for our hops to climb on and I believe we had this pergola for about 3 years before we sold the house.
Pros:
— It was super affordable. I used cheap pine (instead of outdoor treated lumber or cedar), and paint I already had on hand.
— It was the perfect place for our hops to climb, which made perfect shade in the summertime.
— It had the style I was wanting.
— It was easy and quick to build.
Cons:
— After a while it wasn’t very sturdy. I didn’t anchor it to the ground because it was sitting on concrete (and because I didn’t want it permanent), and it didn’t have any angle bracing in the corners. After a couple years we added some angle bracing in the corners to shore it up.
— Because it wasn’t made with outdoor lumber it might not have lasted for many years due to rot (especially because of how wet the winters are here in the pnw).
Despite the cons, I really liked this pergola. It was extremely affordable to build, and brought us tons of enjoyment for the few years we had it. We didn’t have the budget for something more expensive, so rather than not having a pergola at all, we had one that was a little chintzy, quality-wise, but it was all we needed. Had we stayed at this house for longer, I probably would have eventually replaced it or rebuilt it to something more high quality that would last a long time. (Also, it should be noted that this was built prior to the price hikes on lumber in 2020, so it might be over $100 to build at this time).
The investment pergola:
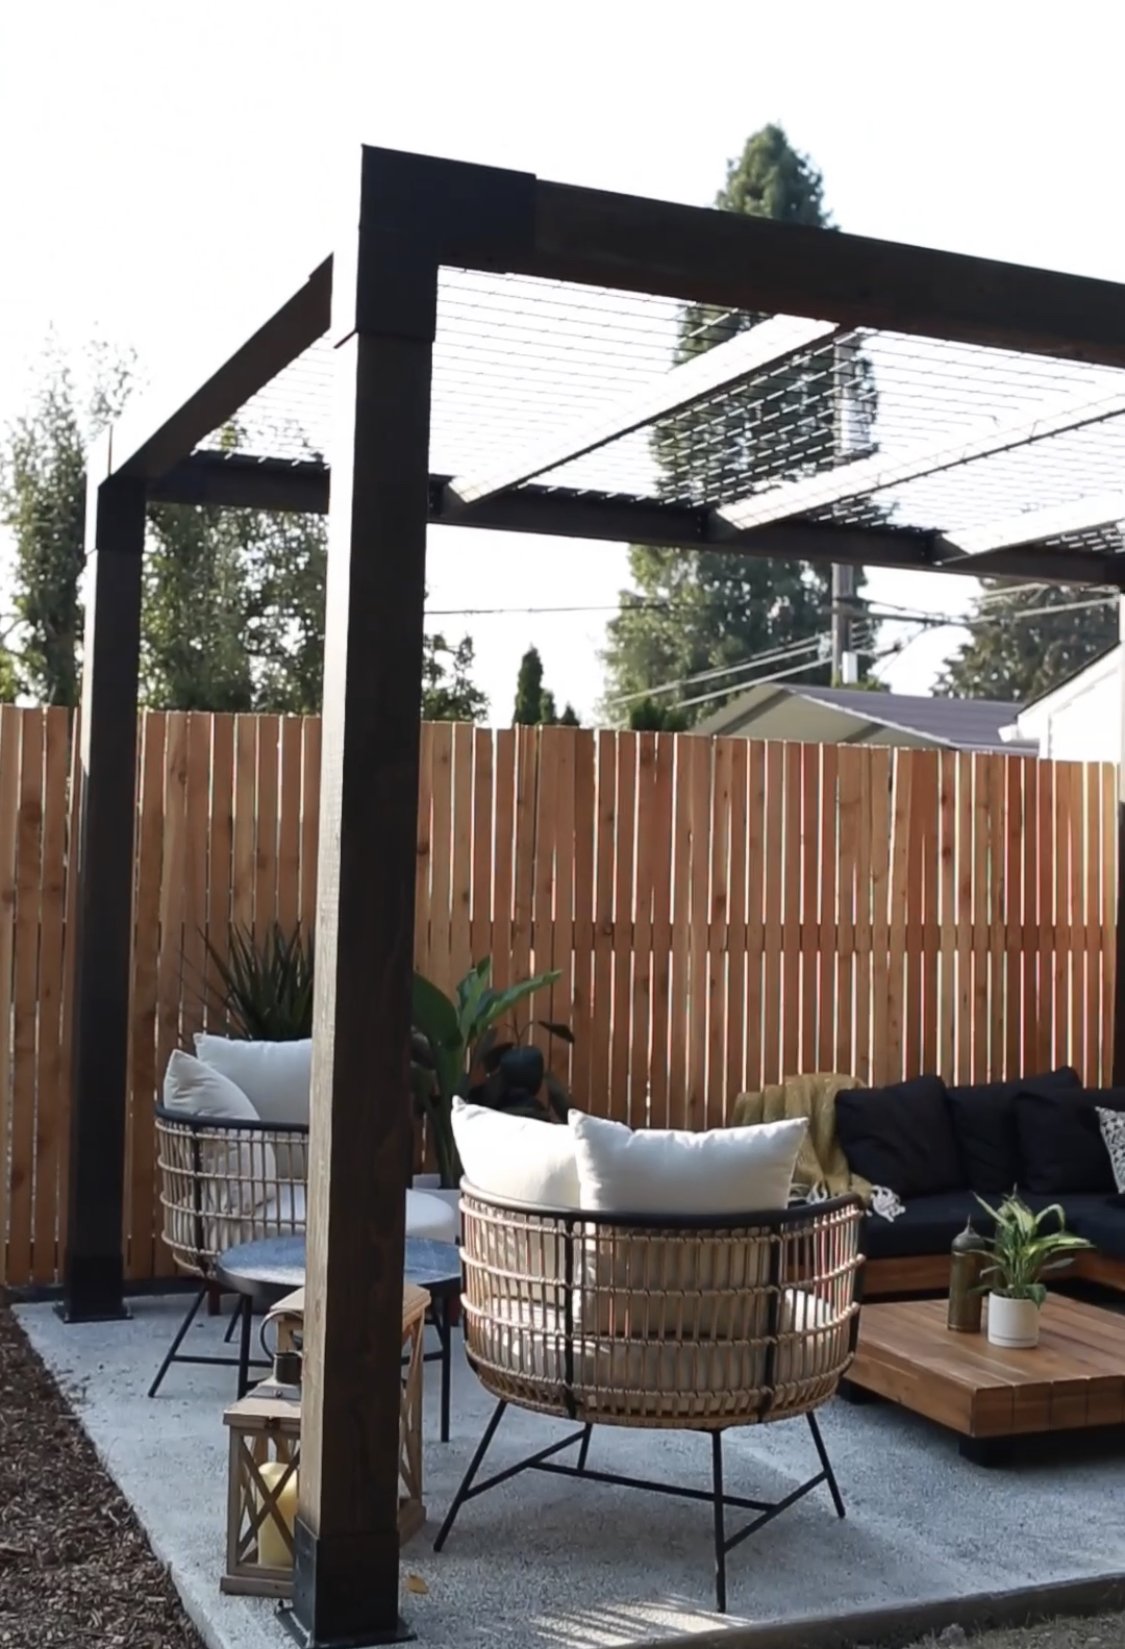
This pergola was part of an entire patio build project, so I knew I wanted something that was high quality, sturdy, and would last. Because the budget pergola was built in front of our garage door, I didn’t want it to be permanent in case we ever needed to drive a car into the garage (we didn’t use it for a car, but just in case). This pergola wasn’t going to be going anywhere that it might need to move, so I felt comfortable installing something super permanent.
This pergola, with all the components we used, totals about $3500. Because I worked with LINX on this project as a sponsored campaign they provided the materials, so I made sure to price things out online so I could know the full cost of this pergola. This number includes all the brackets (the corner brackets, and the base brackets that attach it to the patio), the metal grate on the roof, and the 6x6 timbers. LINX makes their own hollow engineered timbers, which I used in this pergola (they’re nice because they are lighter weight and you can hide any electrical cords inside the hollow core if you’re doing any sort of lighting). These timbers are definitely more expensive than standard 6x6 lumber, so you could also cut costs there as well.
Pros:
— This thing is solid. It’s definitely going to last decades.
— It has the style I want (again— modern), but there are also a ton of different ways to utilize the LINX bracket system to create a totally custom pergola.
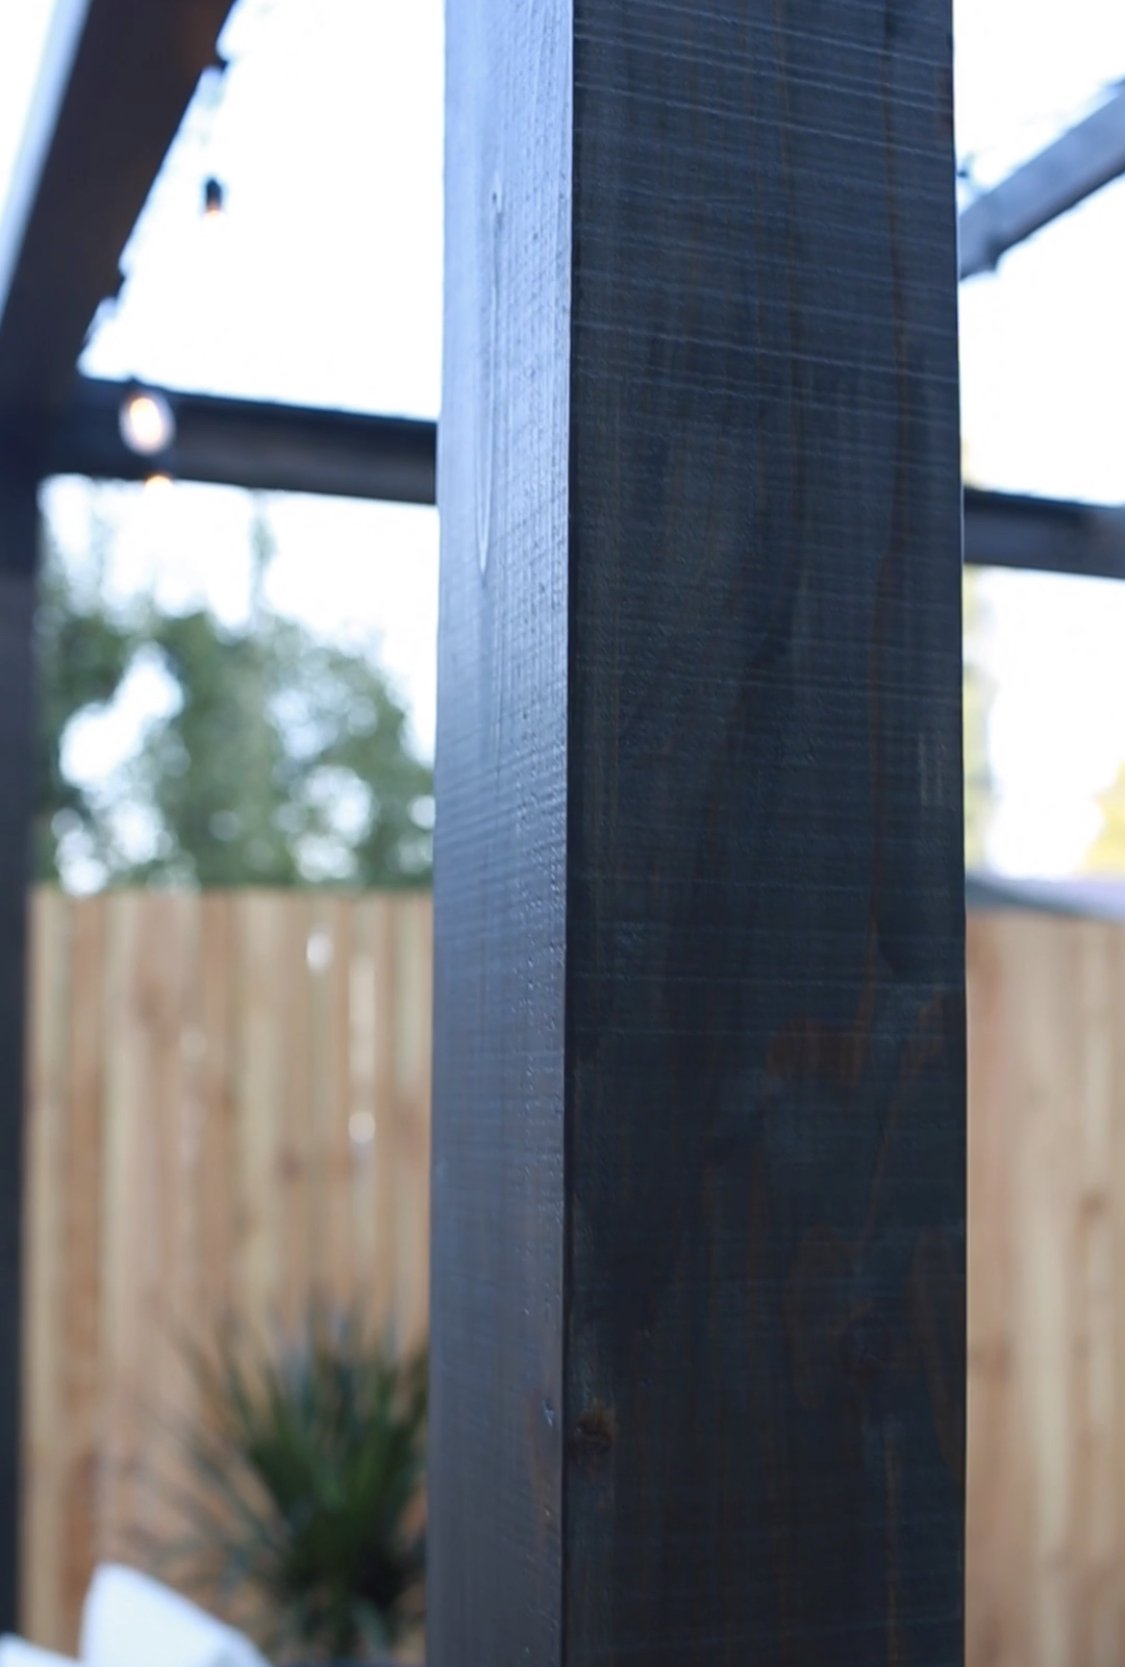
— Even though the timbers are engineered, they’re still real wood (unlike something like Trex decking, which isn’t) so I could stain them the color I wanted.
— I designed the custom roof to be the perfect place for hops to climb because I loved how the hops climbed on our old pergola so much (LINX also has shade sails that work perfectly with their brackets, if you’re wanting a shade situation)
Cons:
— Way more expensive than $100 (we built ours with 6x6 lumber/brackets, which are more expensive. LINX also has 4x4 brackets and STIX timbers that cost a bit less).
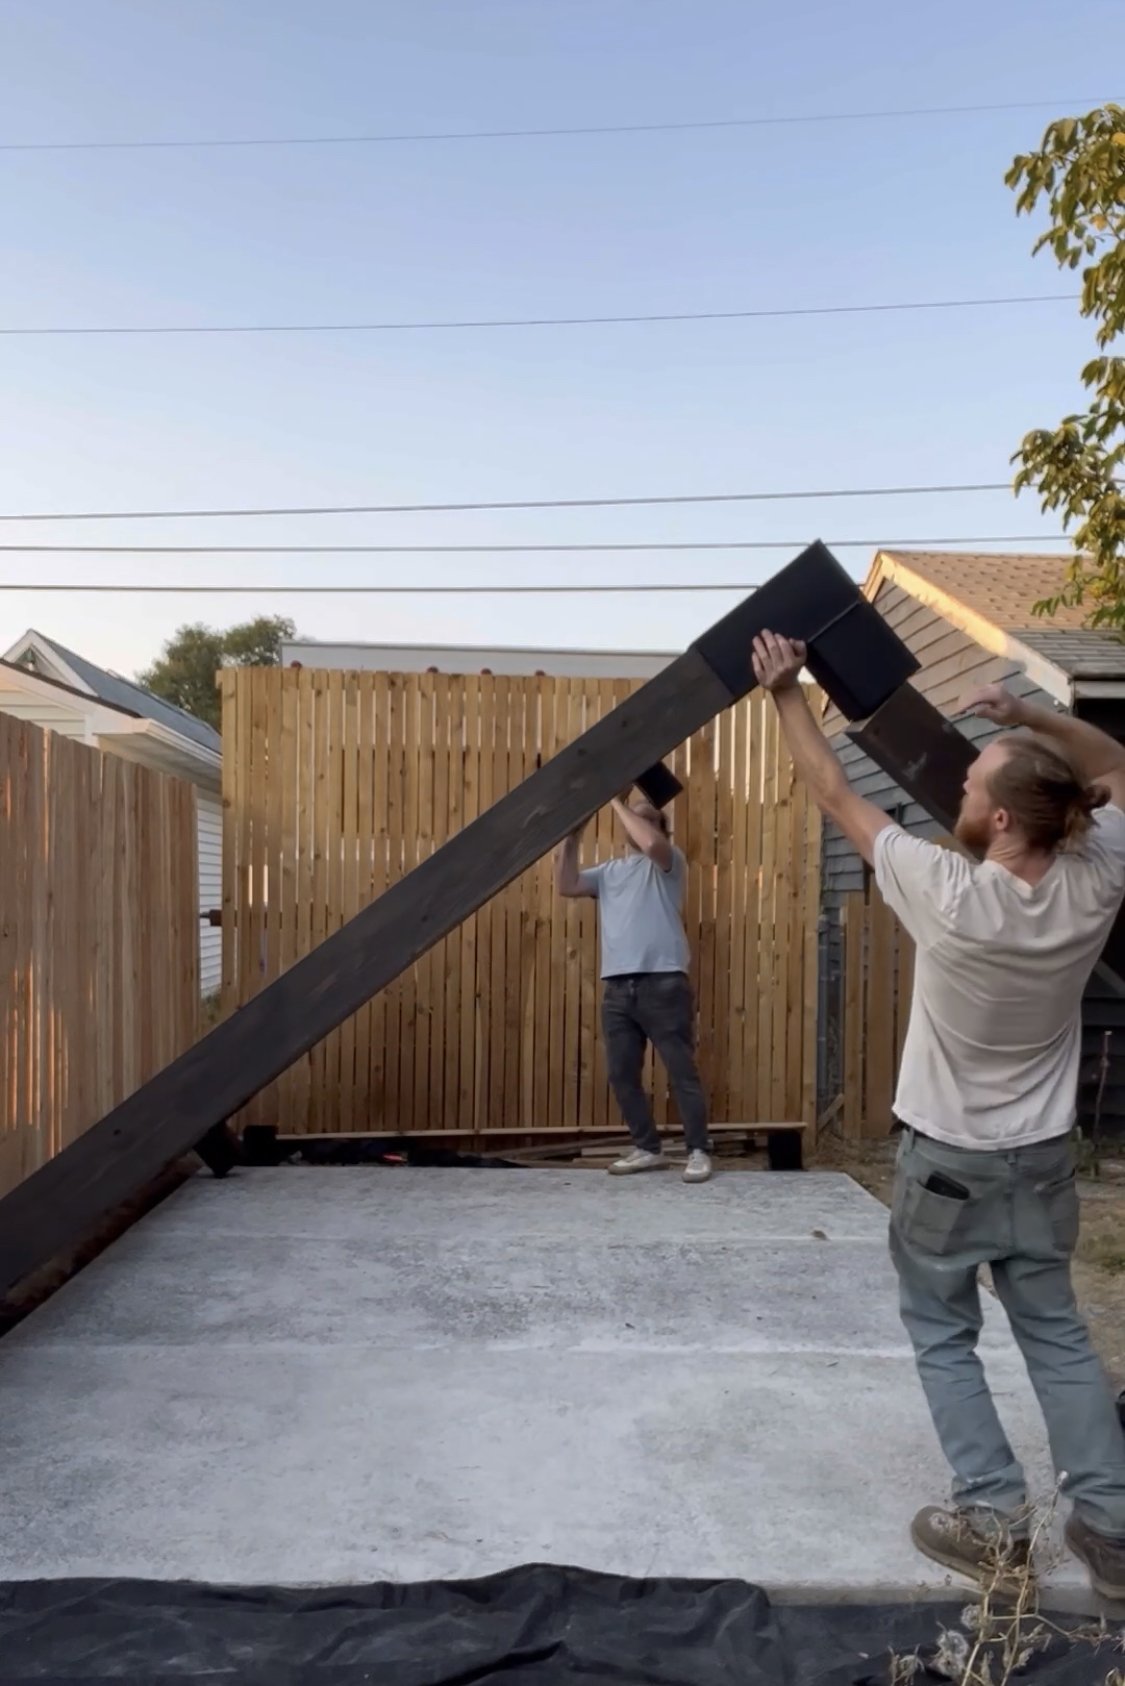
— Not as easy or quick to build. Because this was made with 6x6 timbers, it was much heavier, and we needed about 4 people to put it up, whereas I was able to build and put up the cheaper pergola entirely by myself.
I love both of these pergolas for different reasons, and I don’t think one is better than the other because each one has their place. Not everything has to always be the highest, best quality. It’s okay to do things in a more affordable way, especially if you go into it knowing that it’s not going to last forever. Our cheap pergola worked amazing for us, and the fancier LINX pergola is perfect in its own way as well. Most importantly, do what works for your life, your space, and your finances.
Now, obviously, there’s a pretty big gap between $100 and $3500 and there are plenty of pergola options out there in between that price range.
10x12ft Pergola — $1422
12x12ft Pergola — $599
10x12 ft Pergola — $2048
10x12 ft Pergola — $1633
10x12ft Pergola — $630
I hope that gives you a few more options within some different budgets for pergolas. I haven’t used any of the ones I linked above so I can’t speak to their quality, but they all have a similar modern look, which is what I was going for with both of my pergolas. I can’t wait to get outside this summer and enjoy our new patio and pergola, and I hope this helps you figure out your pergola patio situation this summer too!
DIY pergola build with LINX Pergola
Thanks to LINX Pergola for sponsoring this post
The perfect DIY pergola system doesn’t exi— just kidding, I totally found it, y’all. The most important part of this build was finding the right bracket system. I knew I wanted something simple, modern, and DIY friendly and when I came across LINX Pergola, I was immediately intrigued. Not only did LINX have the brackets that fit my vision, they also had their STIX engineered hollow timbers. They work perfectly with the brackets, are lighter than standard lumber, and can be used to hide cords for lighting.
Using LINX took a ton of guesswork out of building a pergola, the instructions were easy to understand and follow, and it was also super easy to create something totally custom because of how versatile all their different brackets are.
Lets go through how I designed and built my pergola.
Materials + Tools:
4 LINX UNIFIT base brackets
4 LINX TRIFIT corner brackets
2 12ft STIX 6x6 timbers
6 8ft STIX 6x6 timbers
1 gal Behr semi-transparent stain in Slate
4 36x96in Wild Hog fence panels
2 6ft Wild Hog Hog Tracks kits
3 8ft cedar 2x4s
6 2x4 joist hanger brackets
16 1/4 x 4 1/2in concrete expansion anchors
Impact Driver
Rotary Hammer
I knew I wanted enough space for a sectional and some lounge chairs on our patio, so I wanted a pergola that was about 8ft by 12ft. Because the posts are 6x6, that added 1ft to the total length and width of the pergola, and when we poured our concrete patio, we made it an additional foot larger to give 6 inches of space on the outside of the pergola.
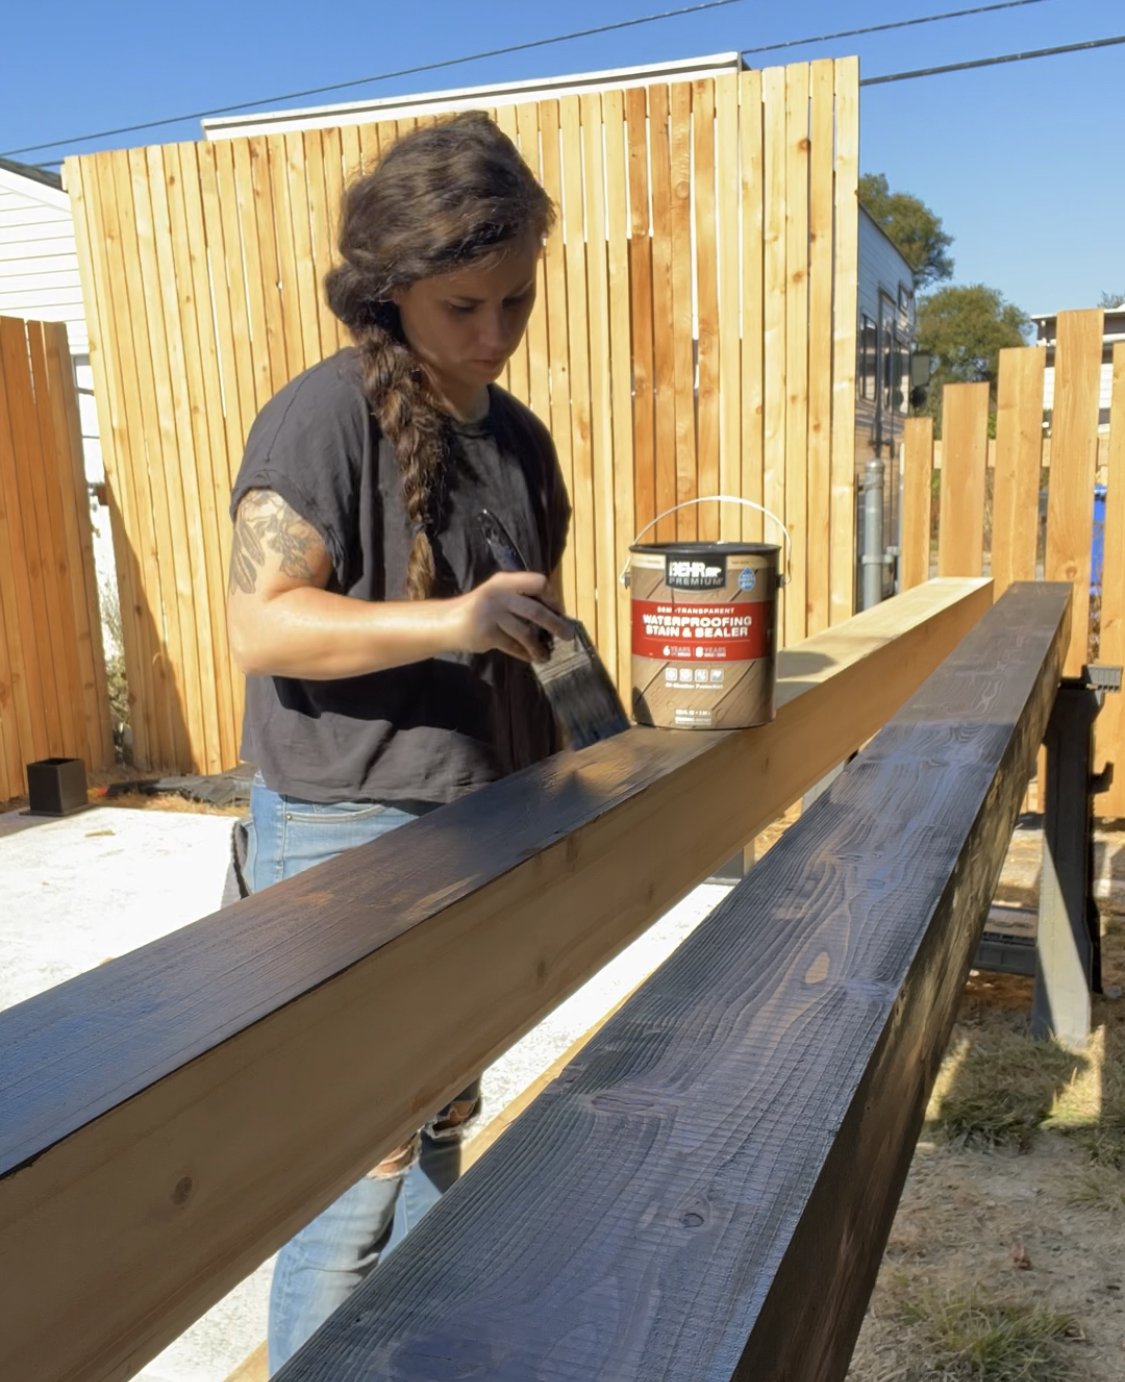
With the fencing and furniture having a lot of very warm wood tones, I didn’t want the pergola to disappear into the background, so I stained the timbers an off black color, the color Slate in Behr’s semi-transparent deck stain, to complete the modern look.
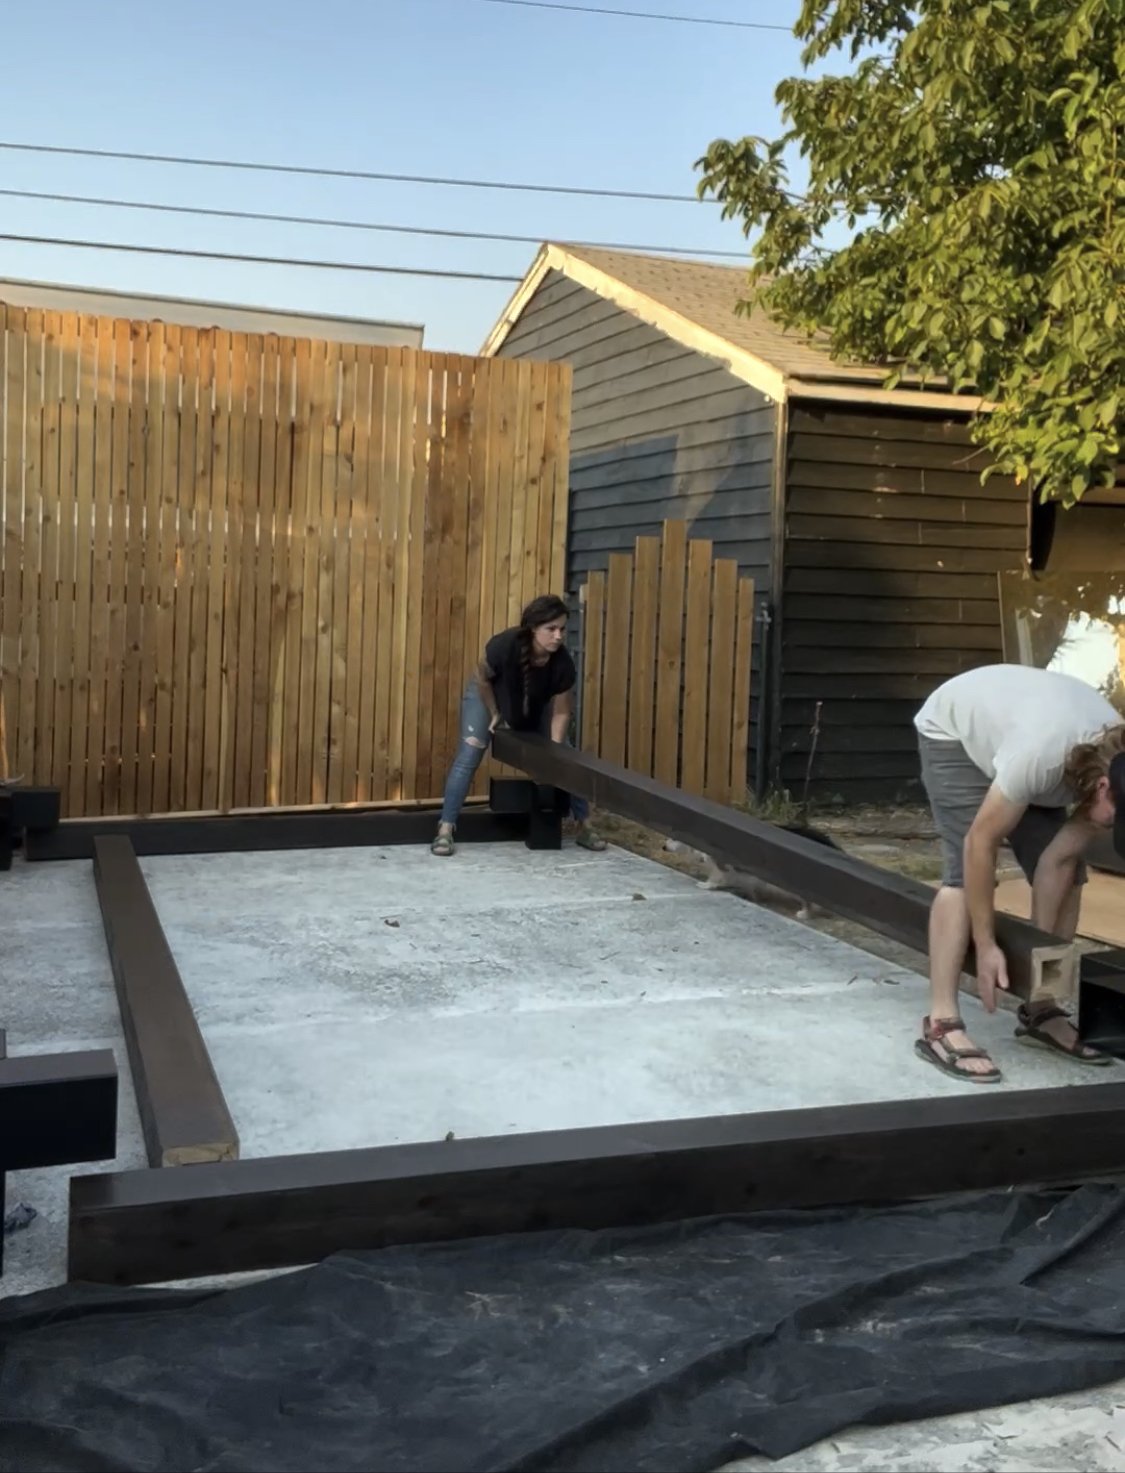
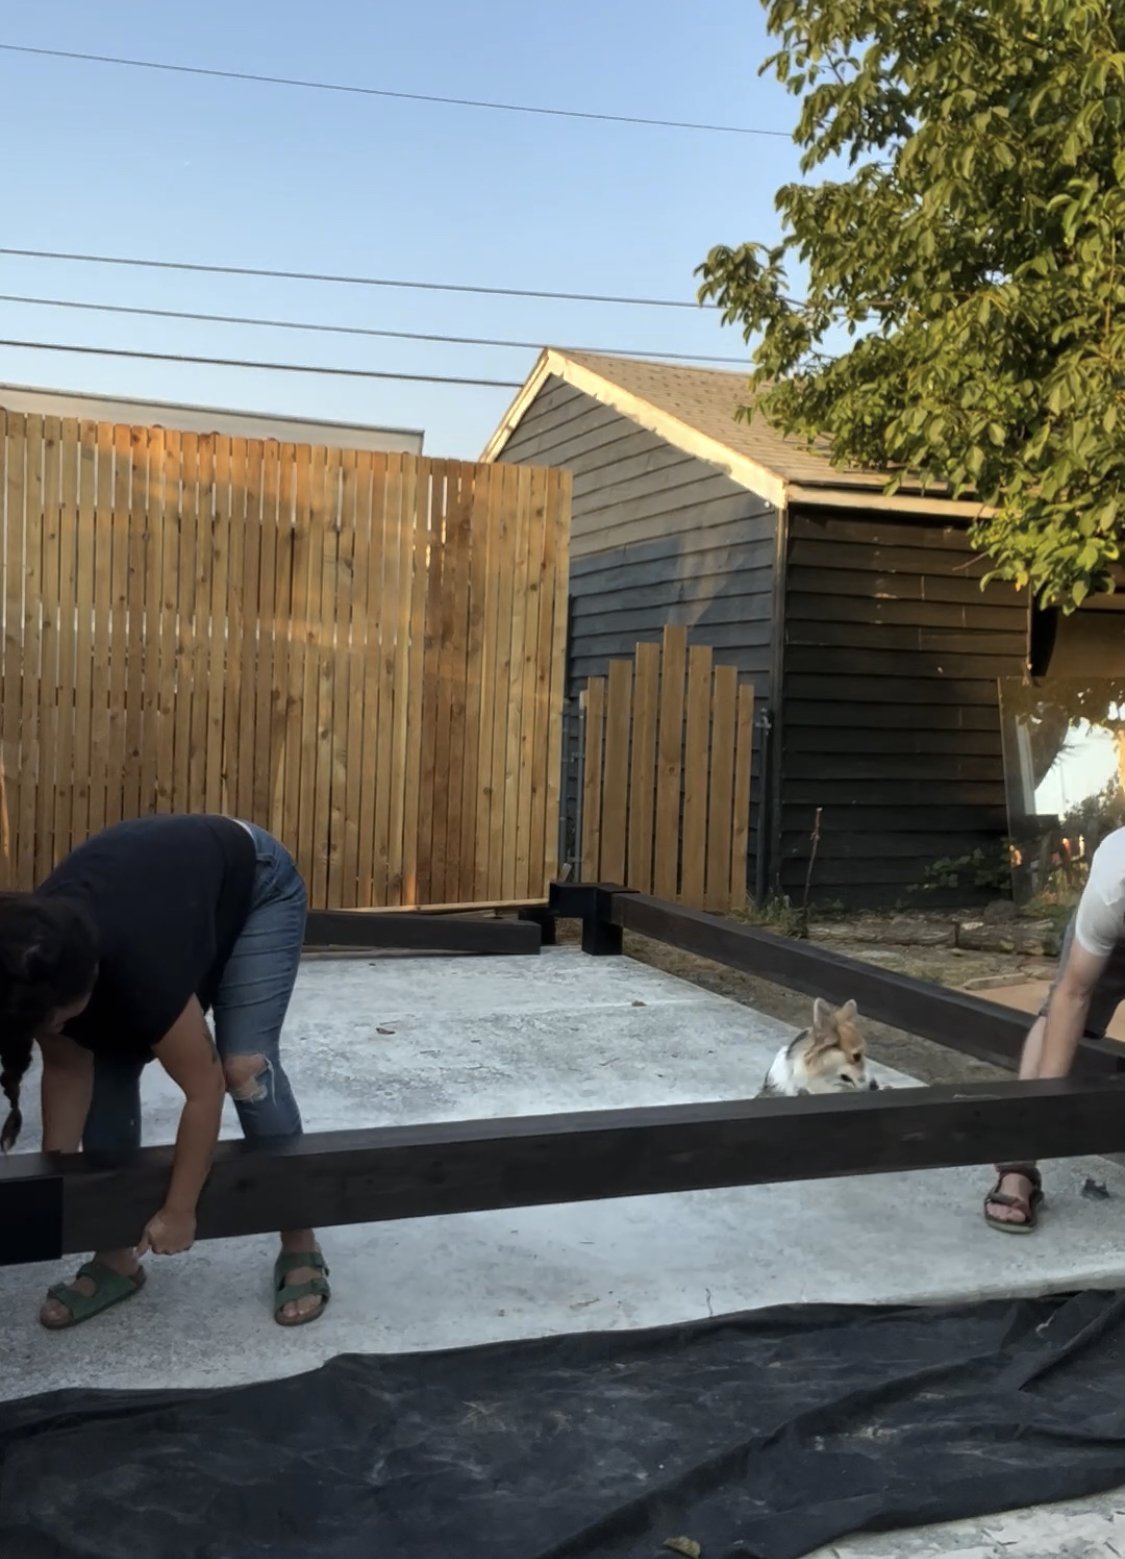
Once all the wood was stained, it was time to start assembling. You start by sliding the corner brackets onto the ends of two opposite side beams, then slide in the other two side beams to one of those to create a U shape. Finally, close up the U shape by sliding the final side, and secure with the provides screws. LINX includes all the screws as well as the driver bits, so you don’t have to worry about finding the proper screws.
At this point you can install a shade cover if you want (LINX has shade covers that work perfectly with their system), but I wanted to create a gridded roof for my hop plants to climb on during the summer. I used Wild Hog fence panels along with their Hog Tracks to seamlessly integrate the fence panels into the pergola. I installed three cedar 2x4’s across the middle to support those Wild Hog fence panels.
Now, the exciting part— getting this bad boy raised up! This is a step you definitely want to have help with. For a pergola with 6x6 lumber I’d highly recommend having at least 4 strong people, and you’ll want two 6ft ladders. First, you raise up one side at an angle to slide in the posts into the brackets. Then you’ll go to the other side, raise that side up so you can slide the ladders under to support it, then two people will climb up the ladders and raise the pergola high enough that the other two people can slide the remaining two posts in. Then, you’ll position the pergola in place (one person on each leg of the pergola, lift the pergola and carefully move it to its final resting place).
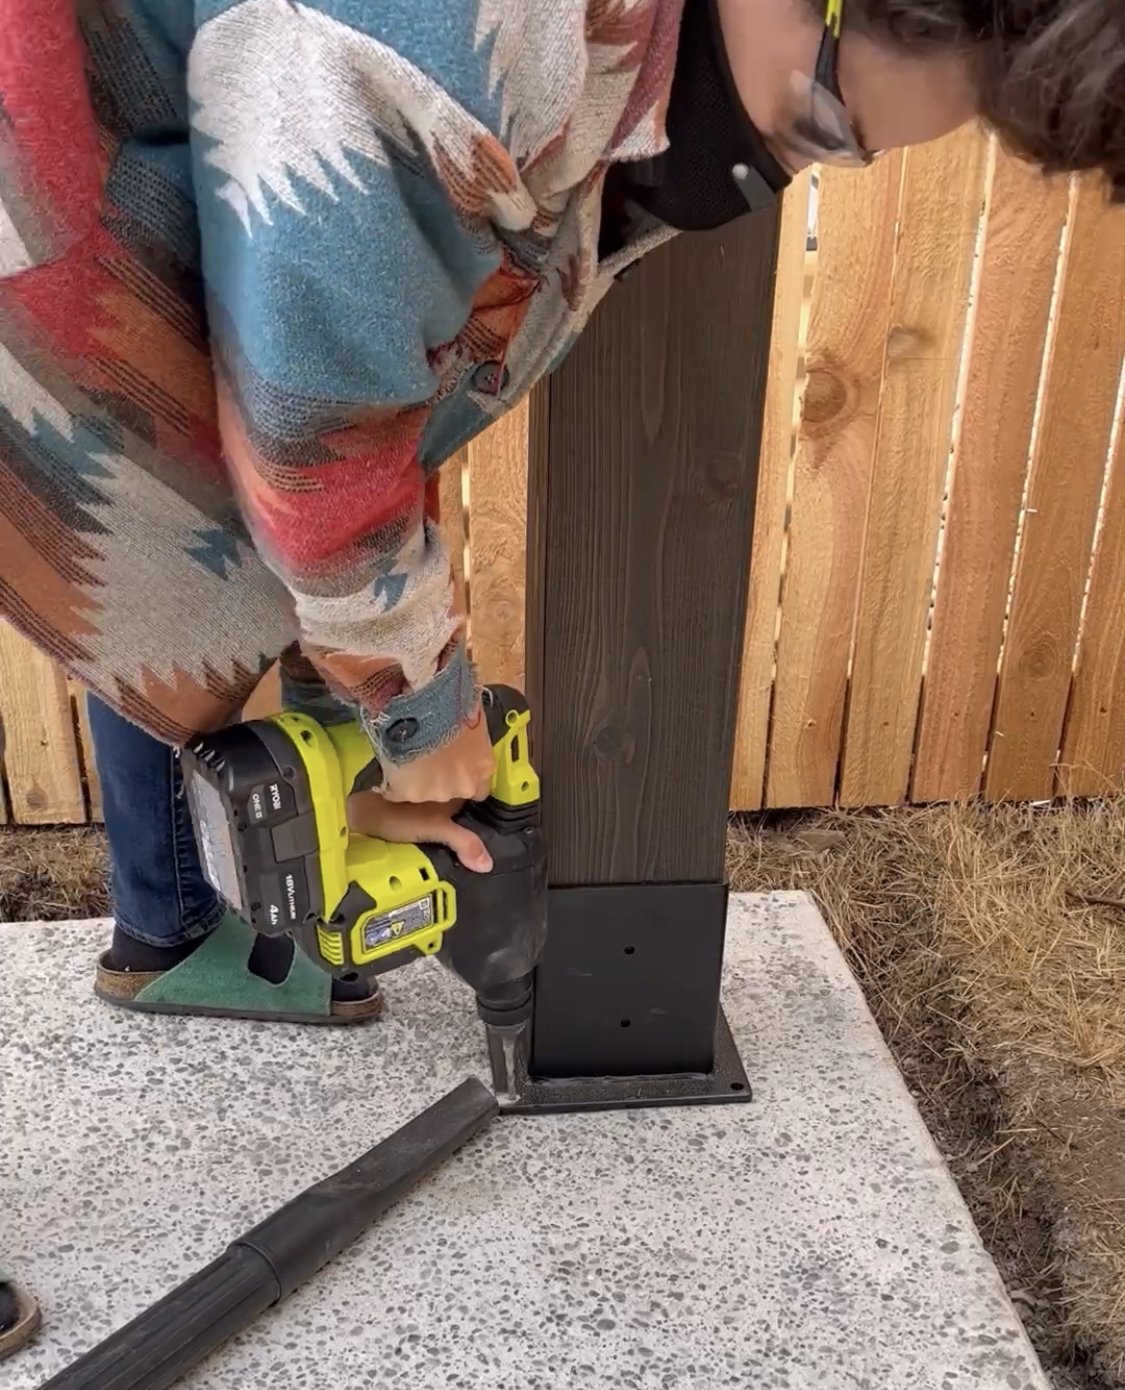
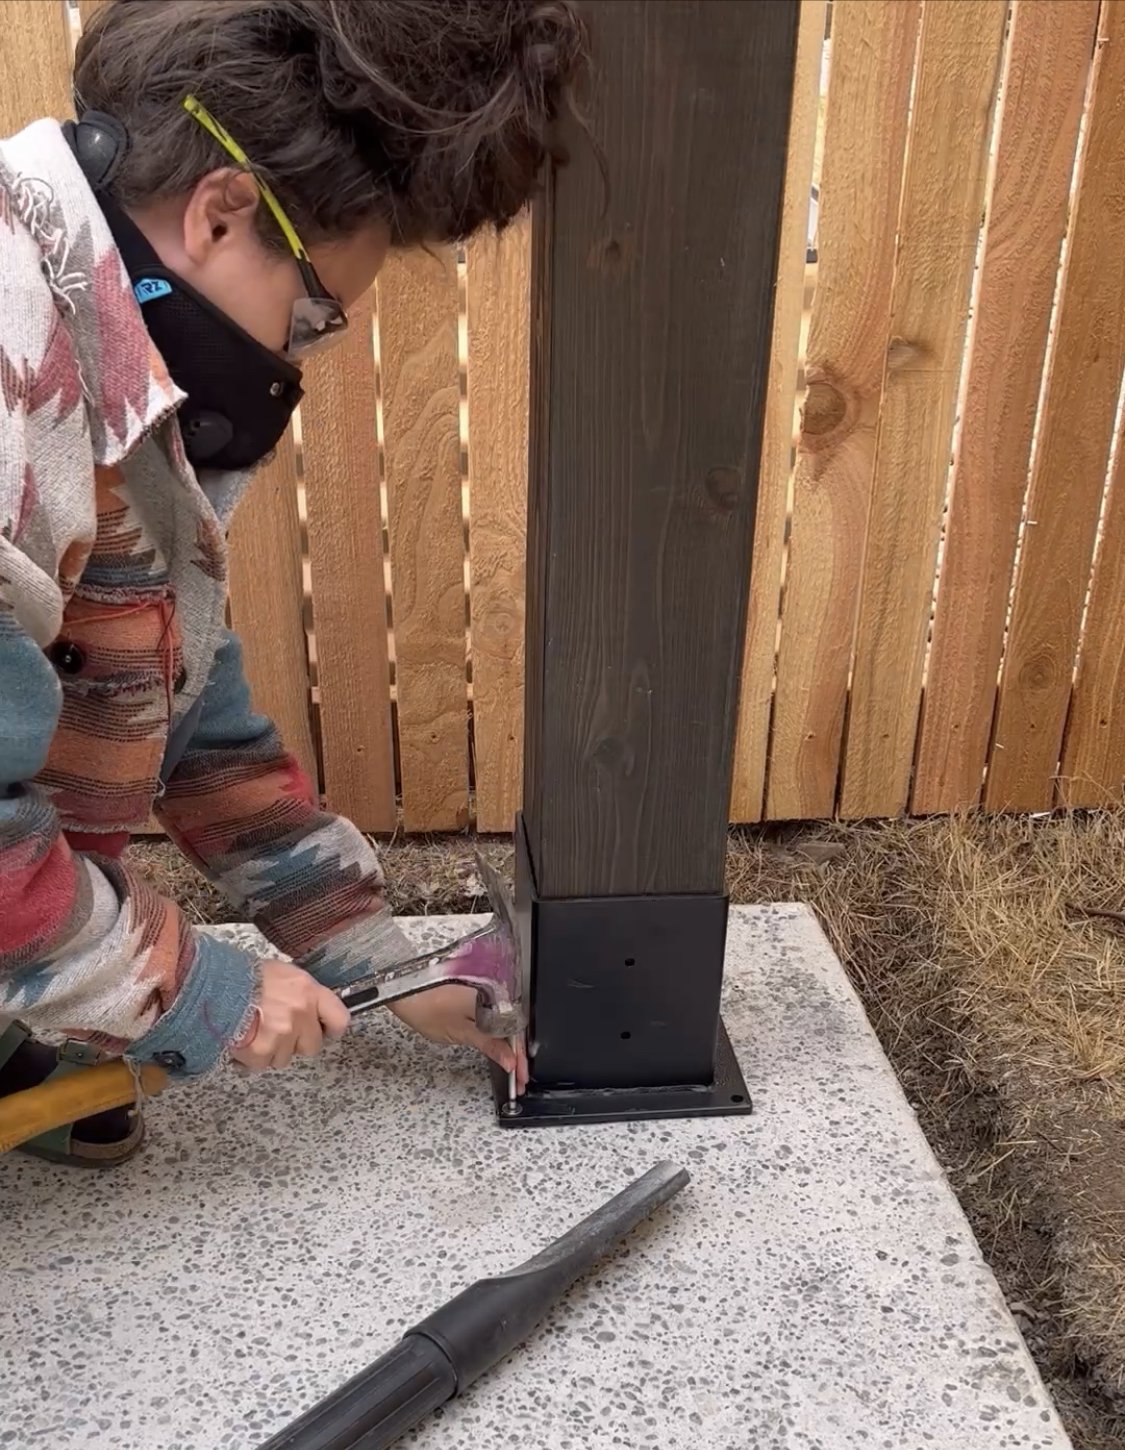
Securing the pergola will depend on what it’s sitting on. If it’s a deck, you’ll use the base brackets to attach it to the deck, since we put it on a concrete patio, we used concrete expansion anchors to secure it. If you’re not sure the best way to secure it, you can look up your local building codes.
That’s it! It’s a really simple plug-and-play installation, and with all the different bracket configurations, there’s a ton of options for creating something completely custom. Check out LINX’s instagram to see a bunch of ways that people have created their own custom designs! I’ve got some of my own ideas scheming up in my head for some custom creations!
Season of the Witch
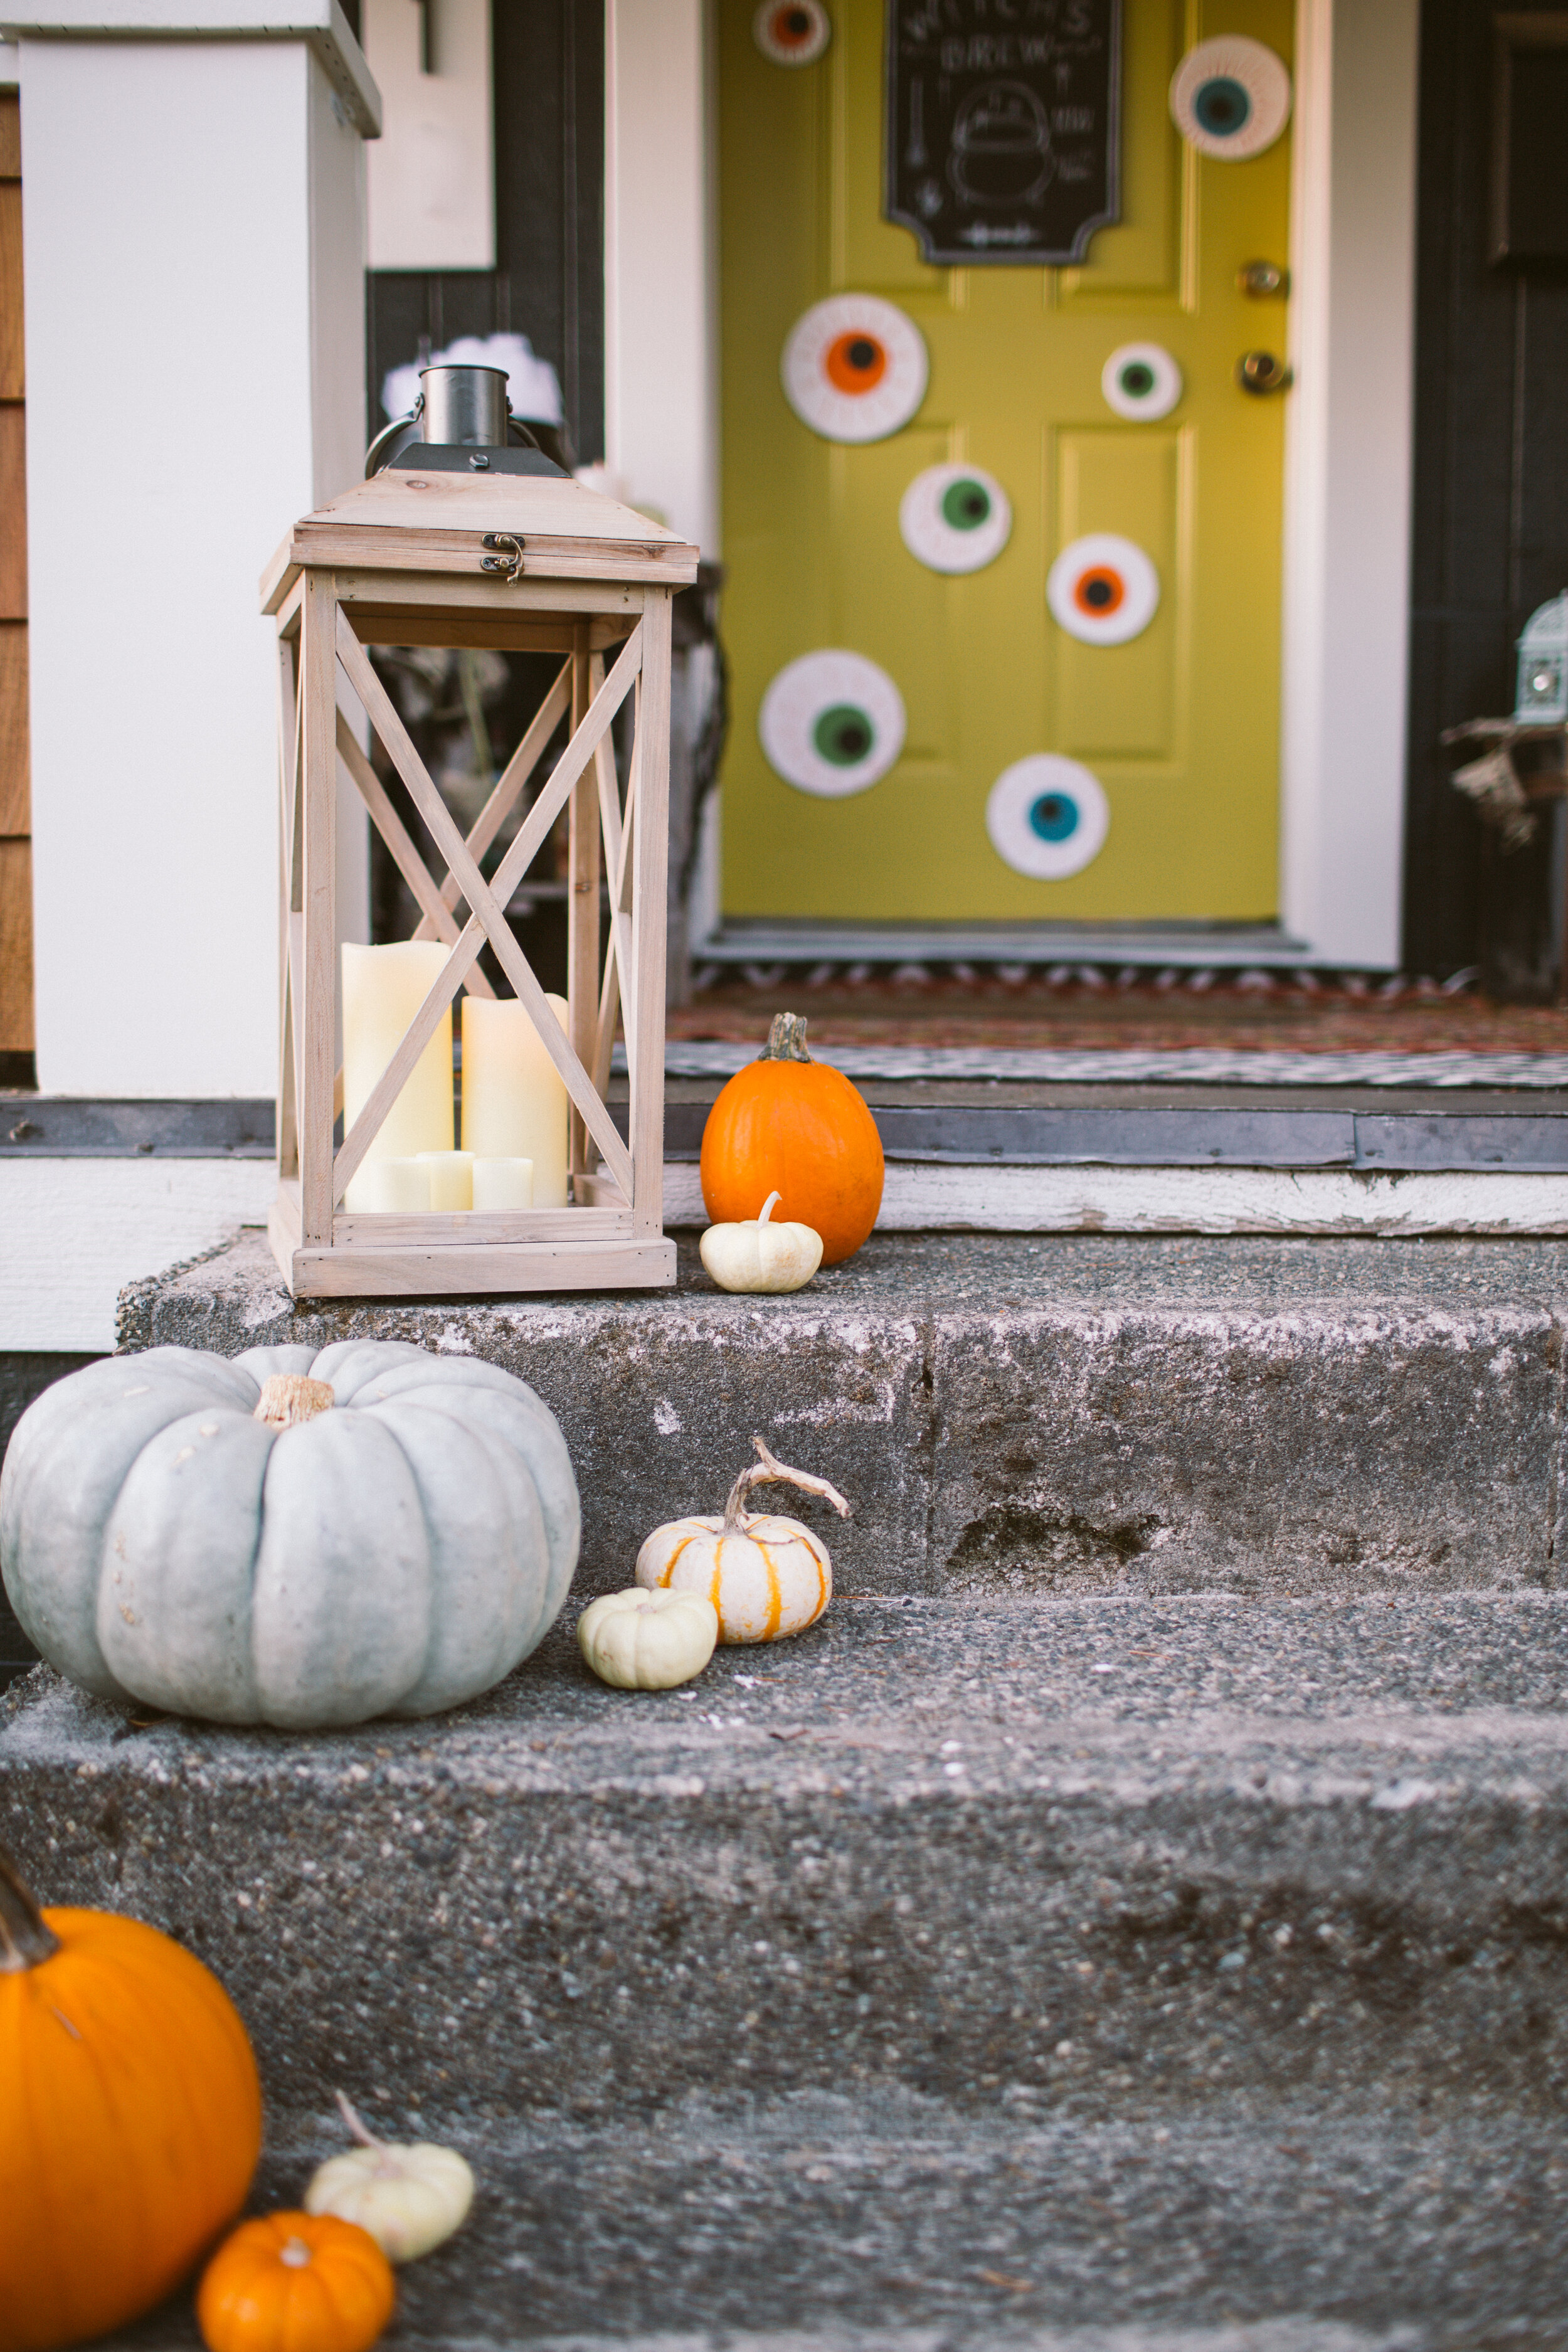
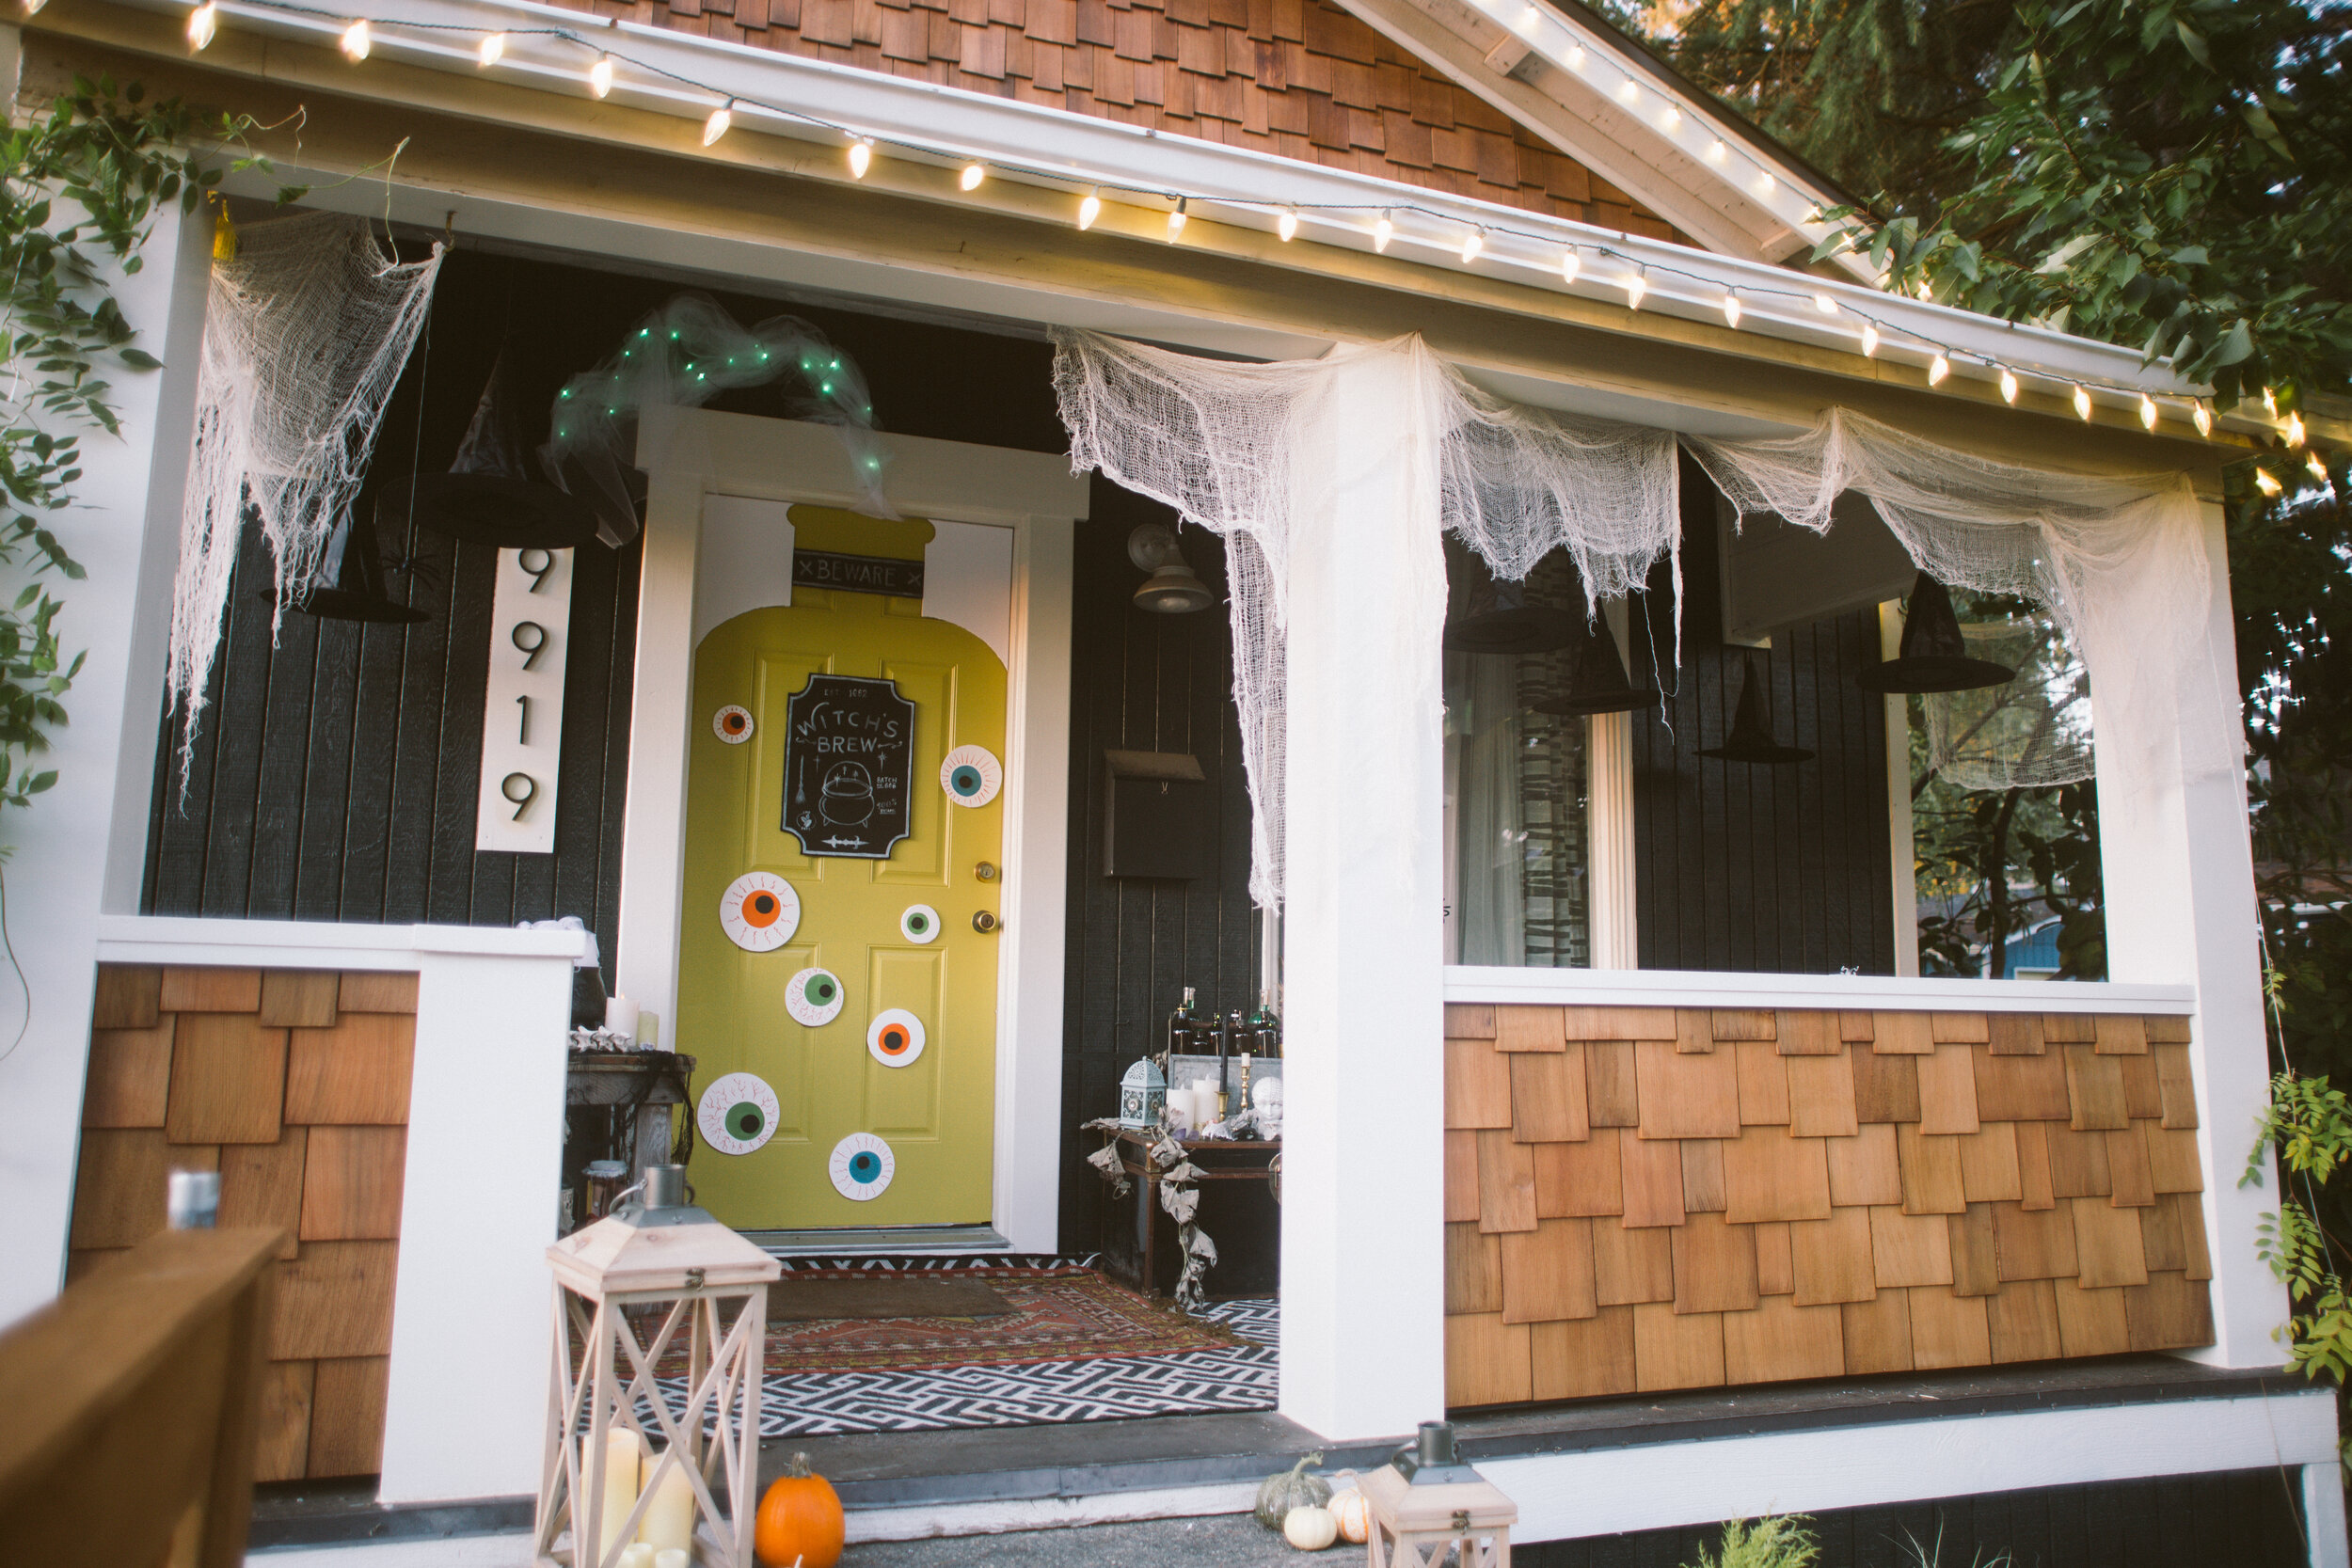
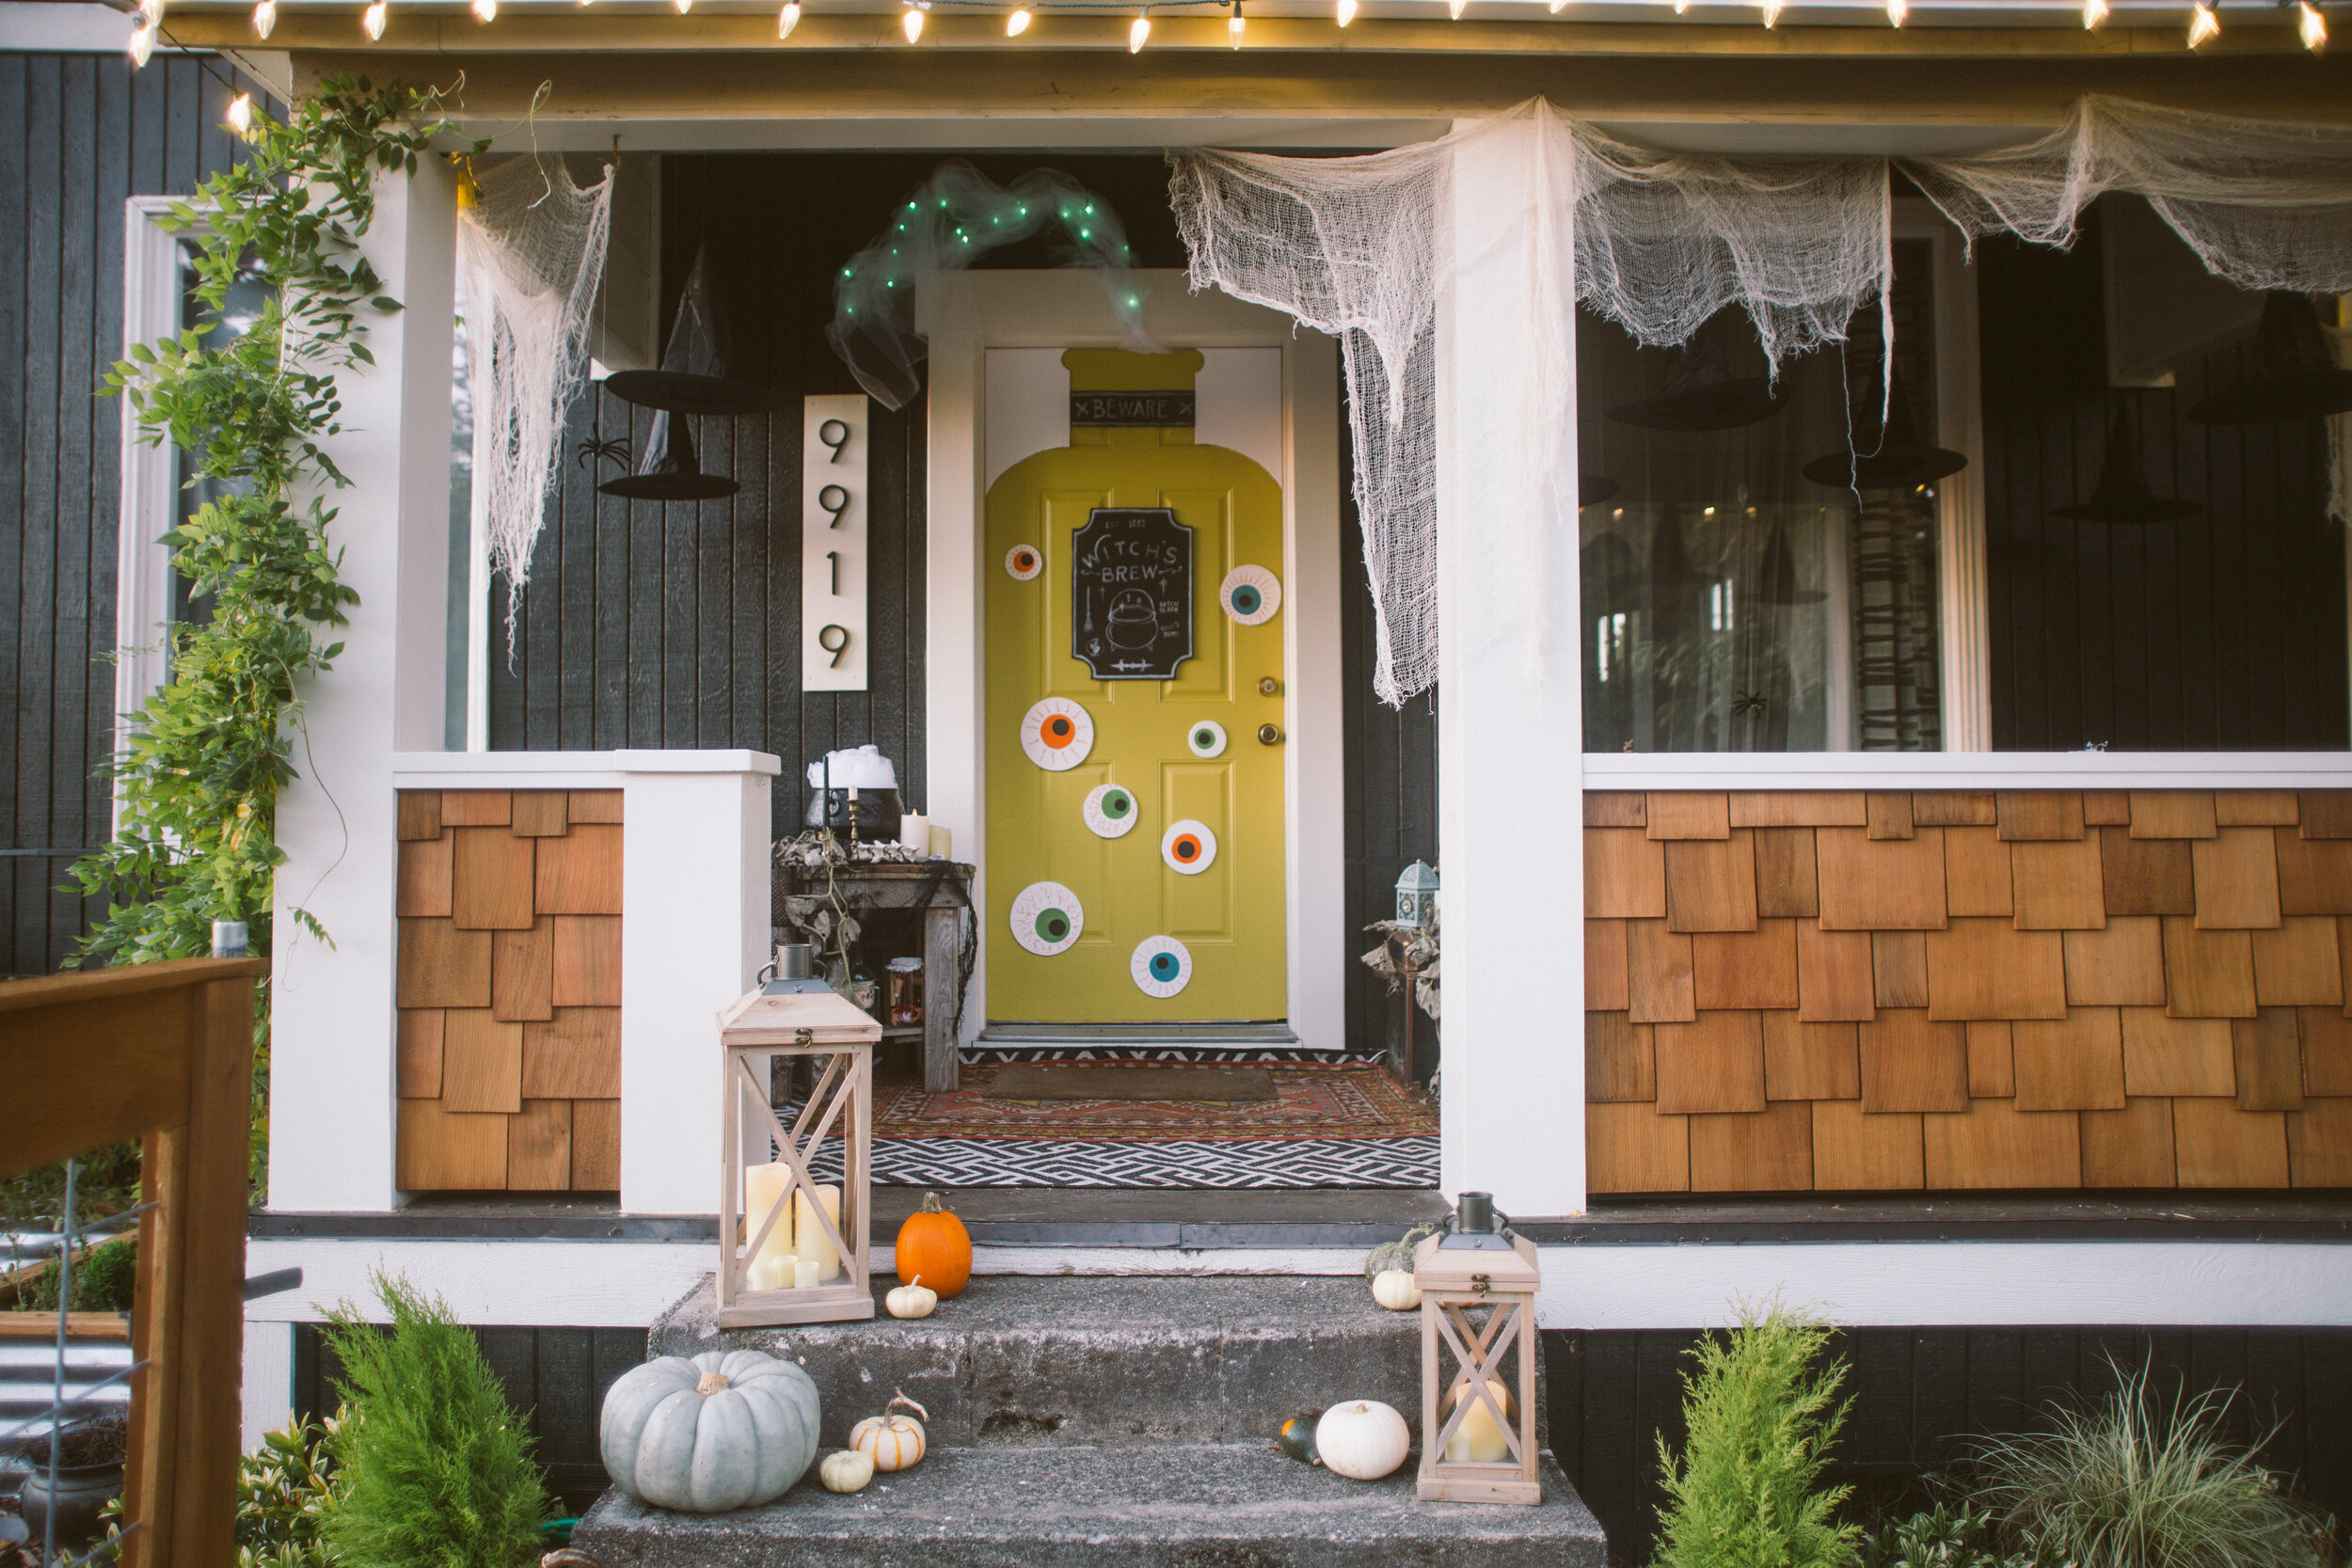
Y’all, I’m unreasonably proud of this little halloween porch. Gah! I don’t usually go full out on Halloween decor, I typically stick to more fall themed stuff— pumpkins and the like. But for some reason this year I felt like getting SPOOKY.
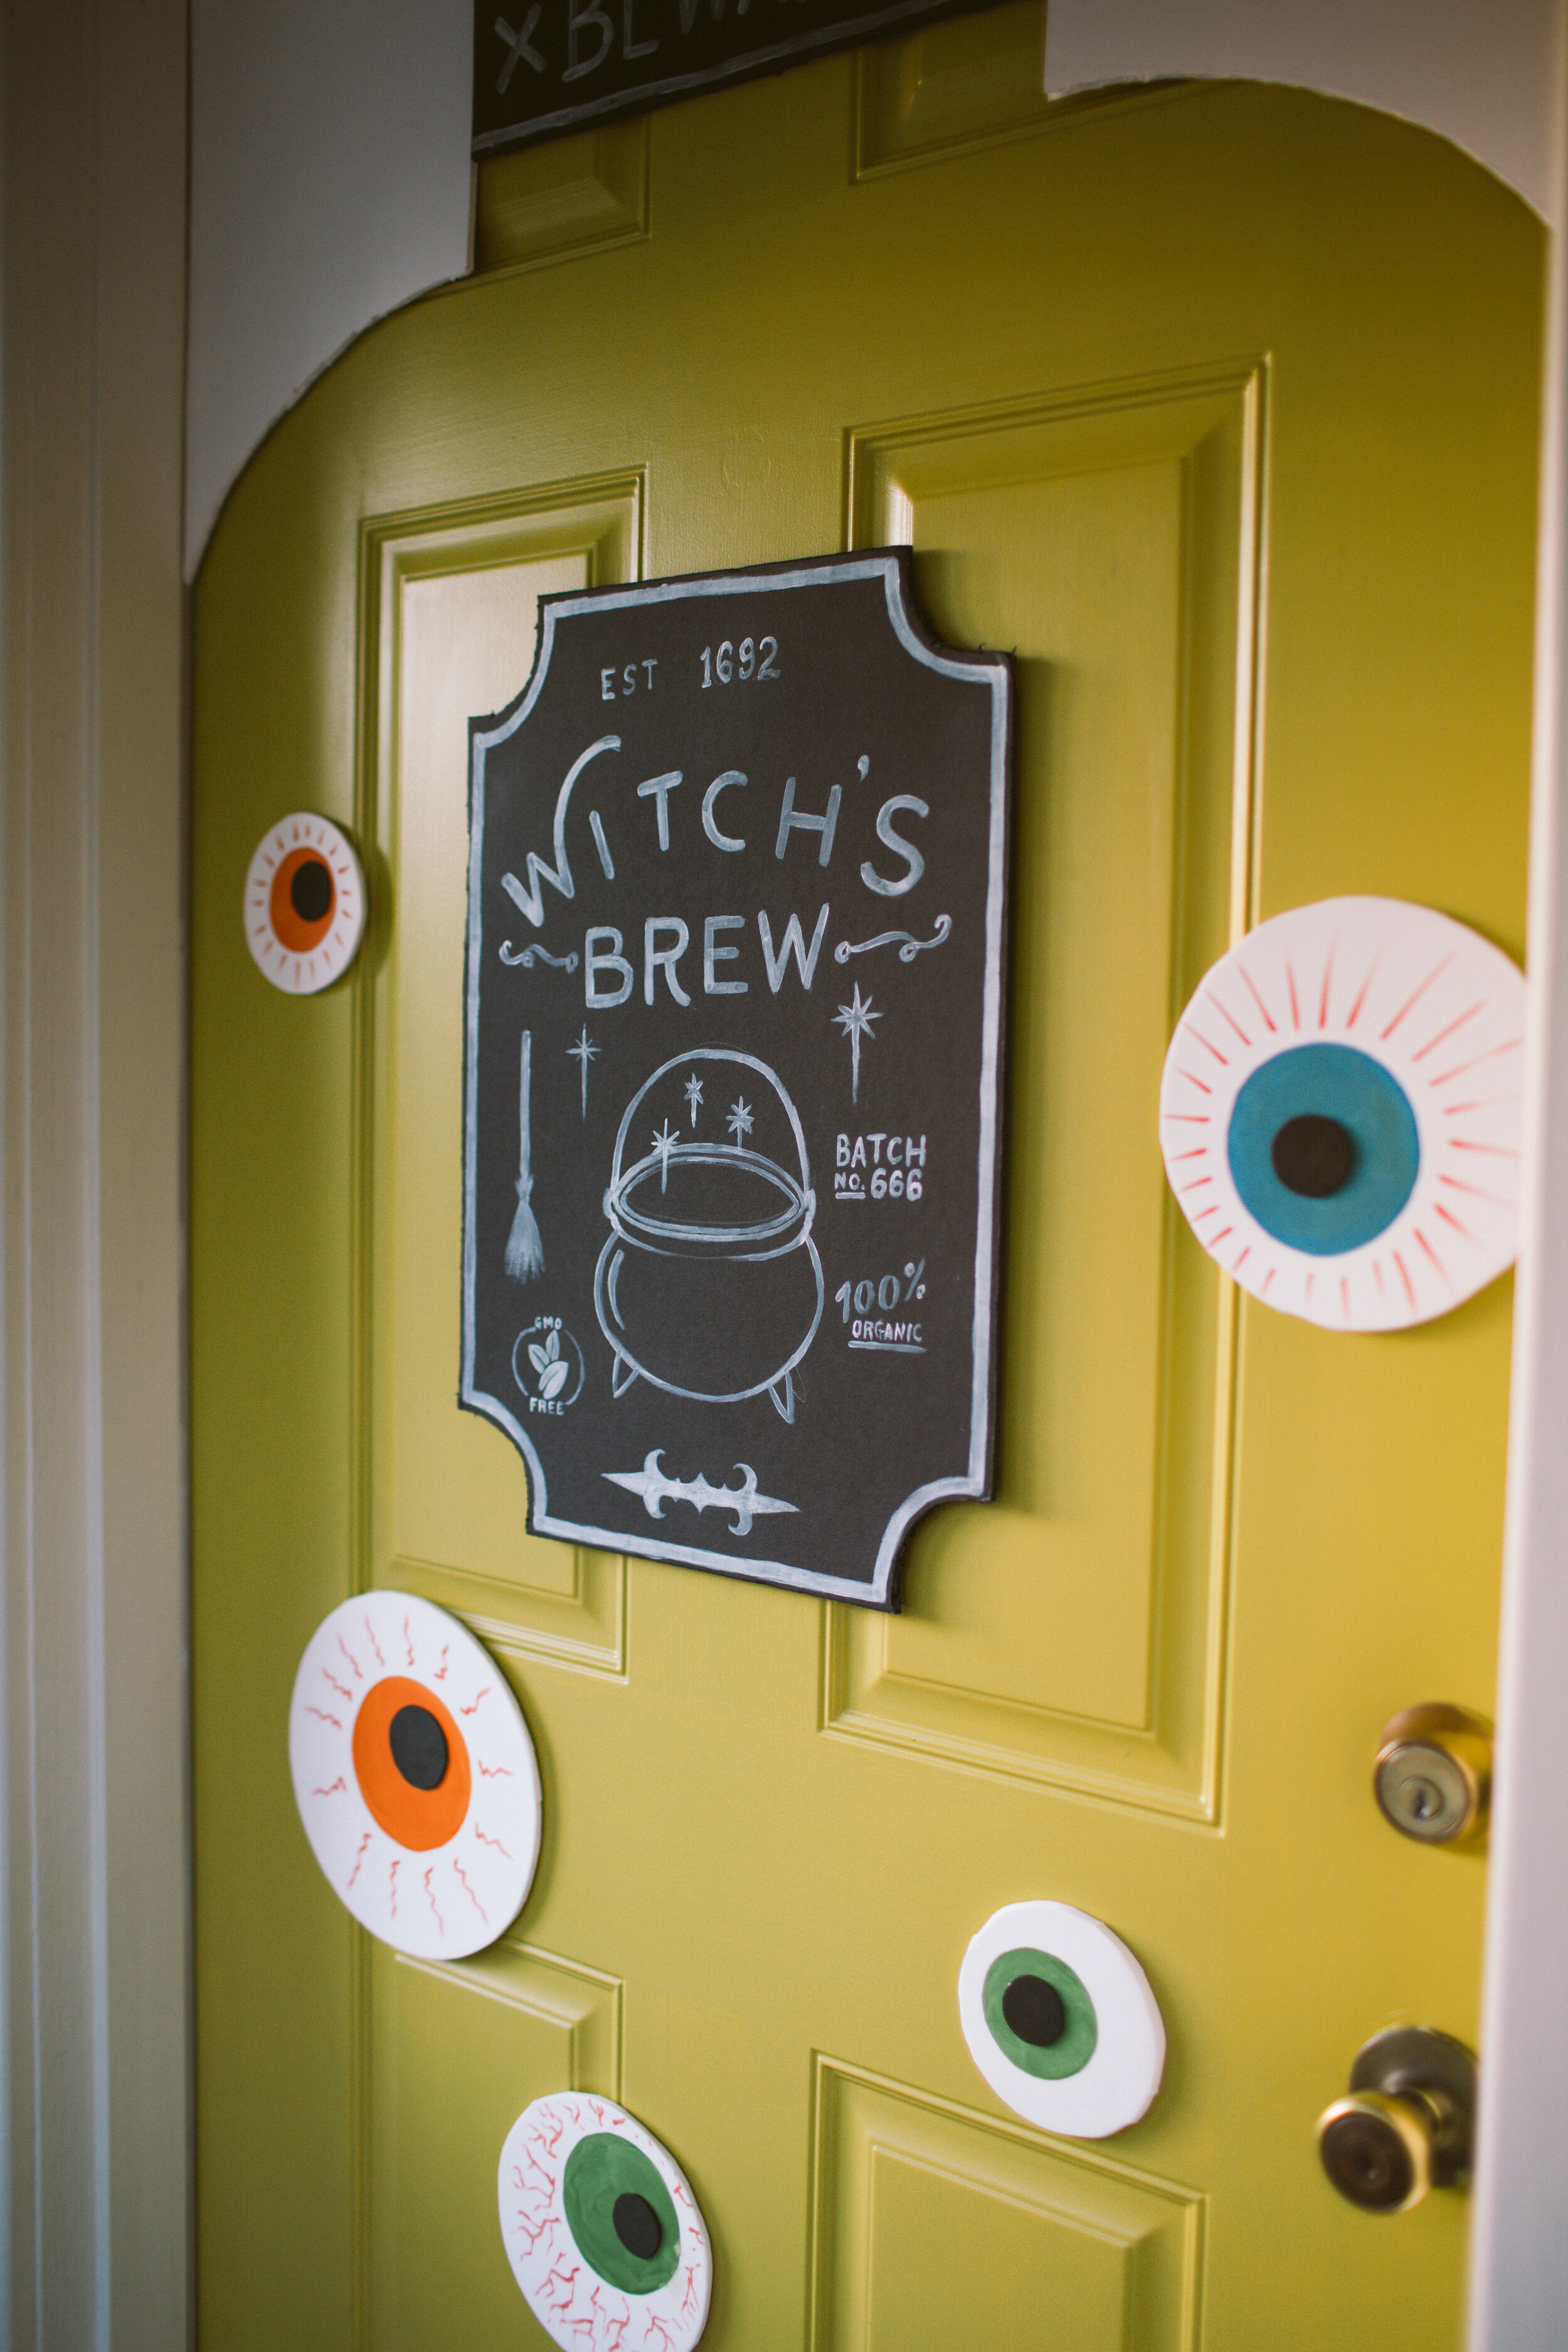
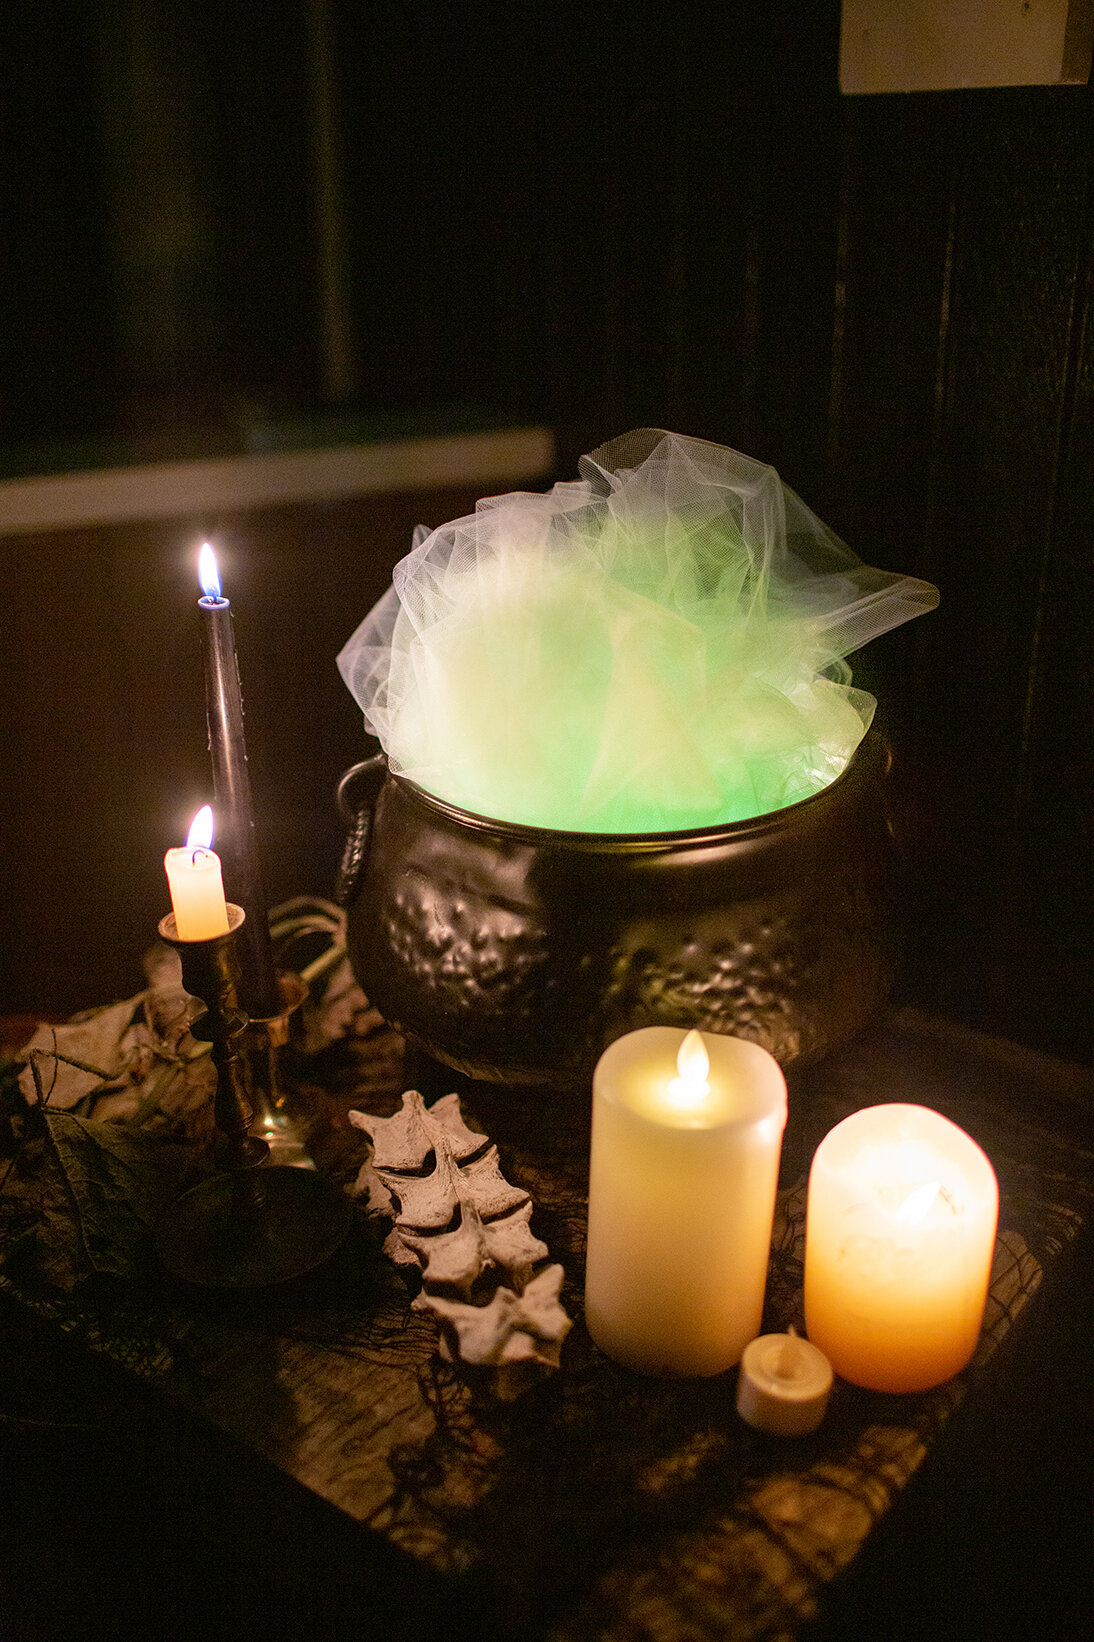
Last year’s monster door was super fun, especially with the door being pink, but after painting it chartreusey yellow, it felt like it wanted to be a spooky witch potion this year! With the door being a potion bottle, I kind of took that idea and ran with it for the rest of the porch, leaning heavy into the witch theme. So we hung some witch hats from the ceiling of the porch, made a witchy cauldron, and then a bunch of bottles filled with “potion” to finish things off.
The door was made with sheets of craft foam and foam core poster board. The eyes are cut out of white craft foam, then painted with the iris and the blood vessels, then I hot glued the pupils on, which are made of black craft foam. I used about five sheets of the white 6mm craft foam, one sheet of the 2mm black craft foam, one 20x30 white foam core board, and one 20x30 black foam core board.
The top where the bottle top shape is, was made out of foam core poster board, cut to form the negative space that make the door look like a bottle. Then I added the “witches brew” labels and attached everything with Command Strips.
I decided I wanted some witchy steam billowing out of the top of the bottle so I bought a few yards of white tulle, stapled half of it to the wall above the door, and then threaded some battery powered green twinkly lights through the tulle!
With the other half of the tulle, I put green Christmas lights in the bottom of the cauldron, then stuffed the tulle on top of it so it illuminates and looks like a frothing witch cauldron. On the opposite side of the door I salvaged some potion-y looking bottles from our recycling bin, and filled the clear ones with water mixed with green food coloring. Then I grabbed some of the crusty old squash vines that were left in our garden and wove them around everything.
Witch Hats | White Craft Foam | Black Craft Foam | White Foam Core Board | Black Foam Core Board | Witch Cauldron | Brown Bottles | Spooky fabric
Wood Lanterns | Green Christmas Lights | Battery Powered Green Fairy Lights




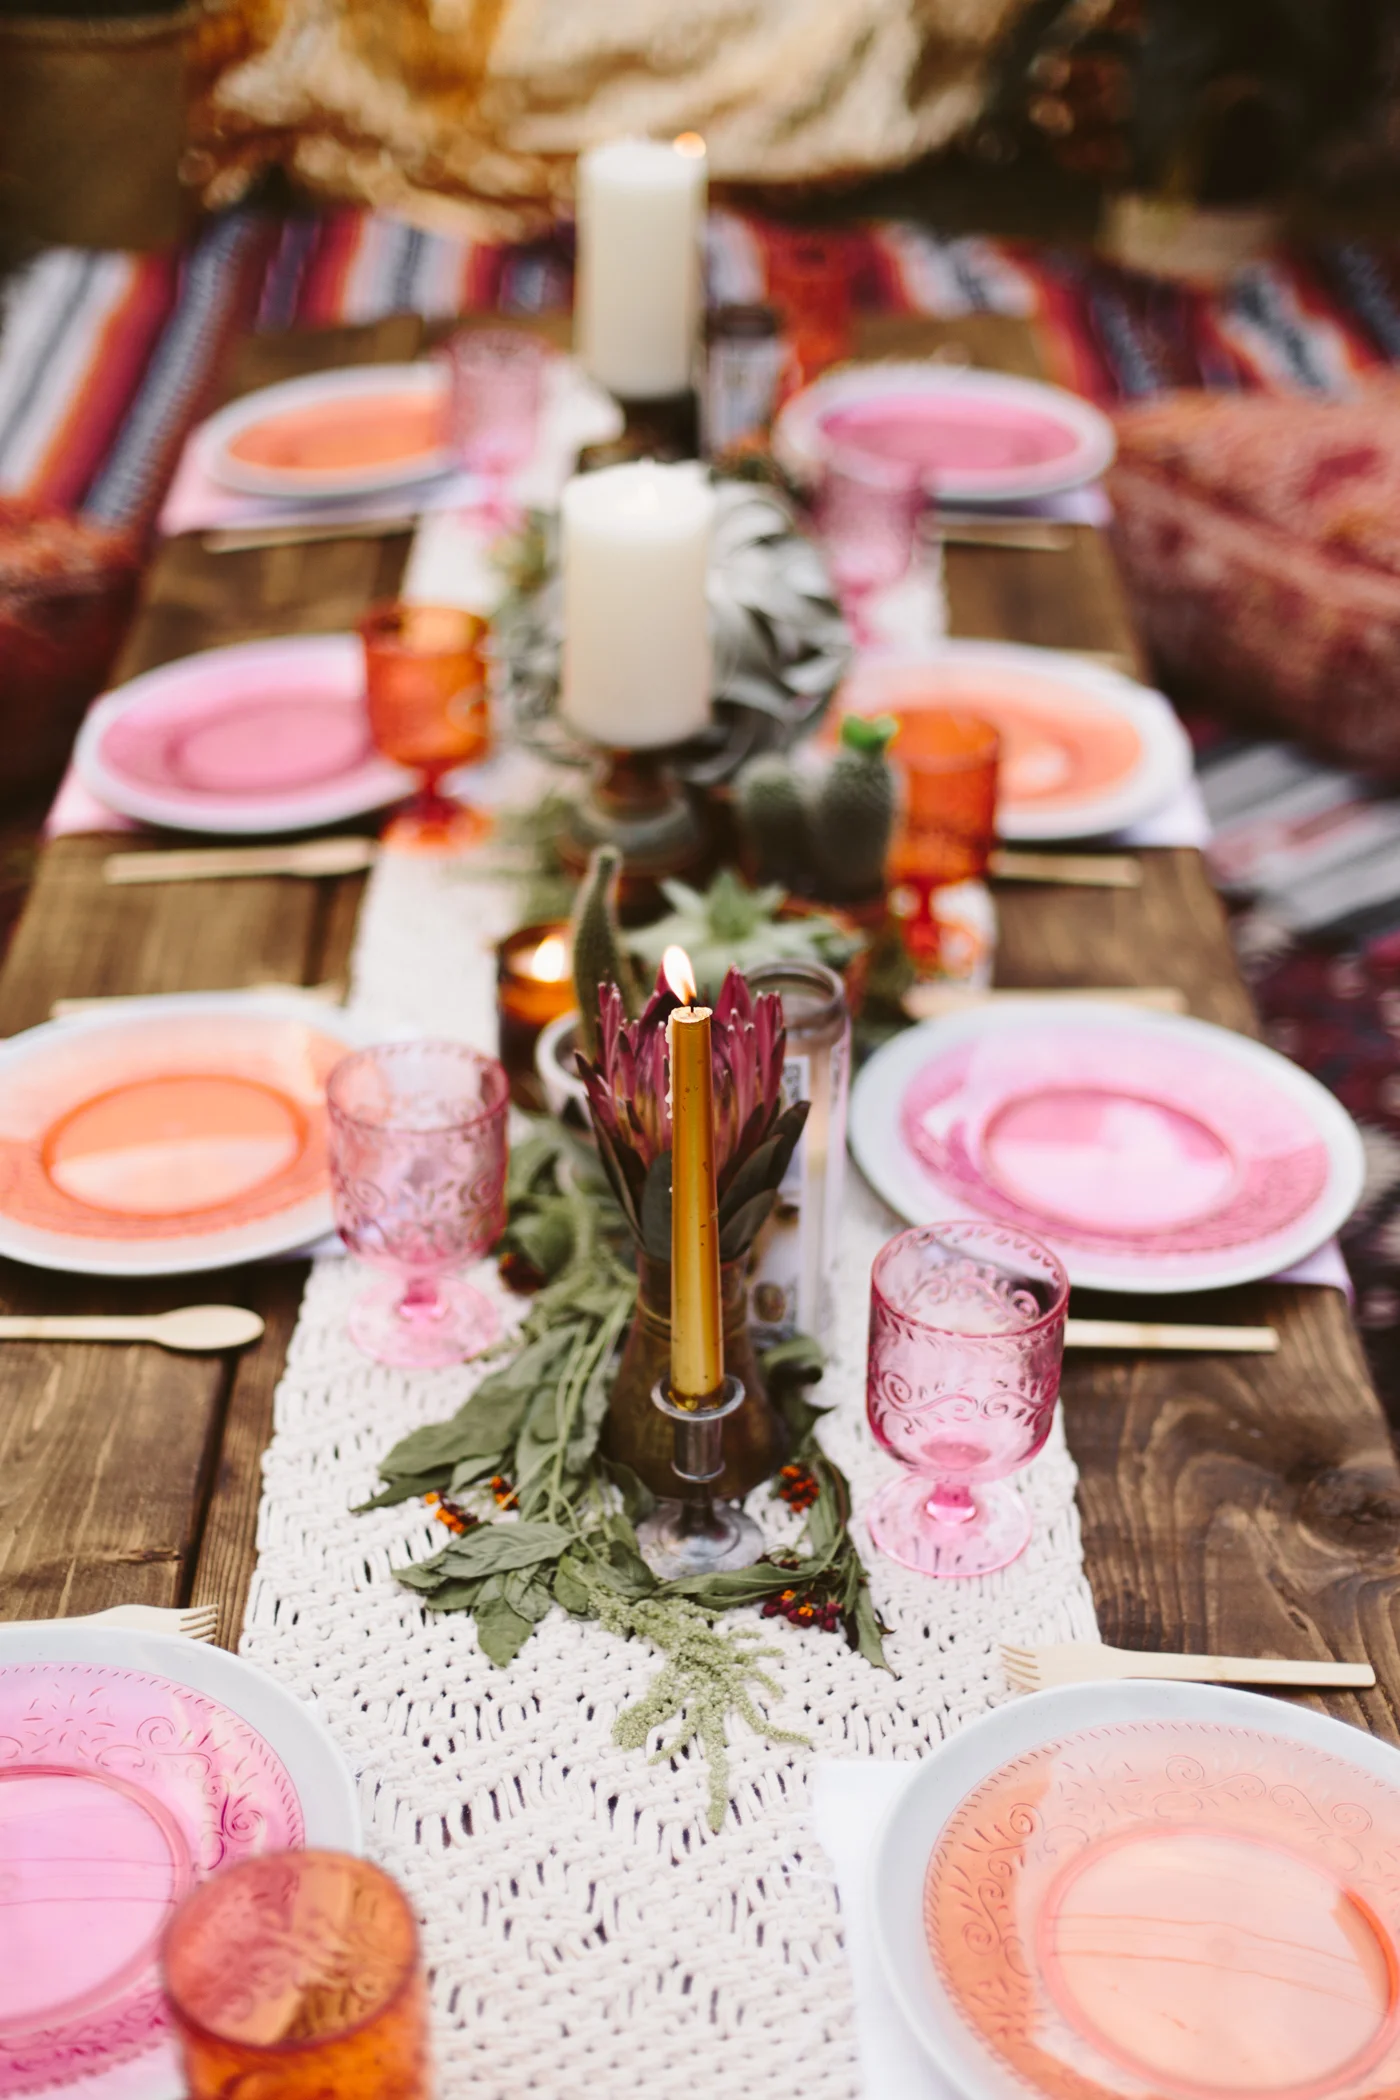
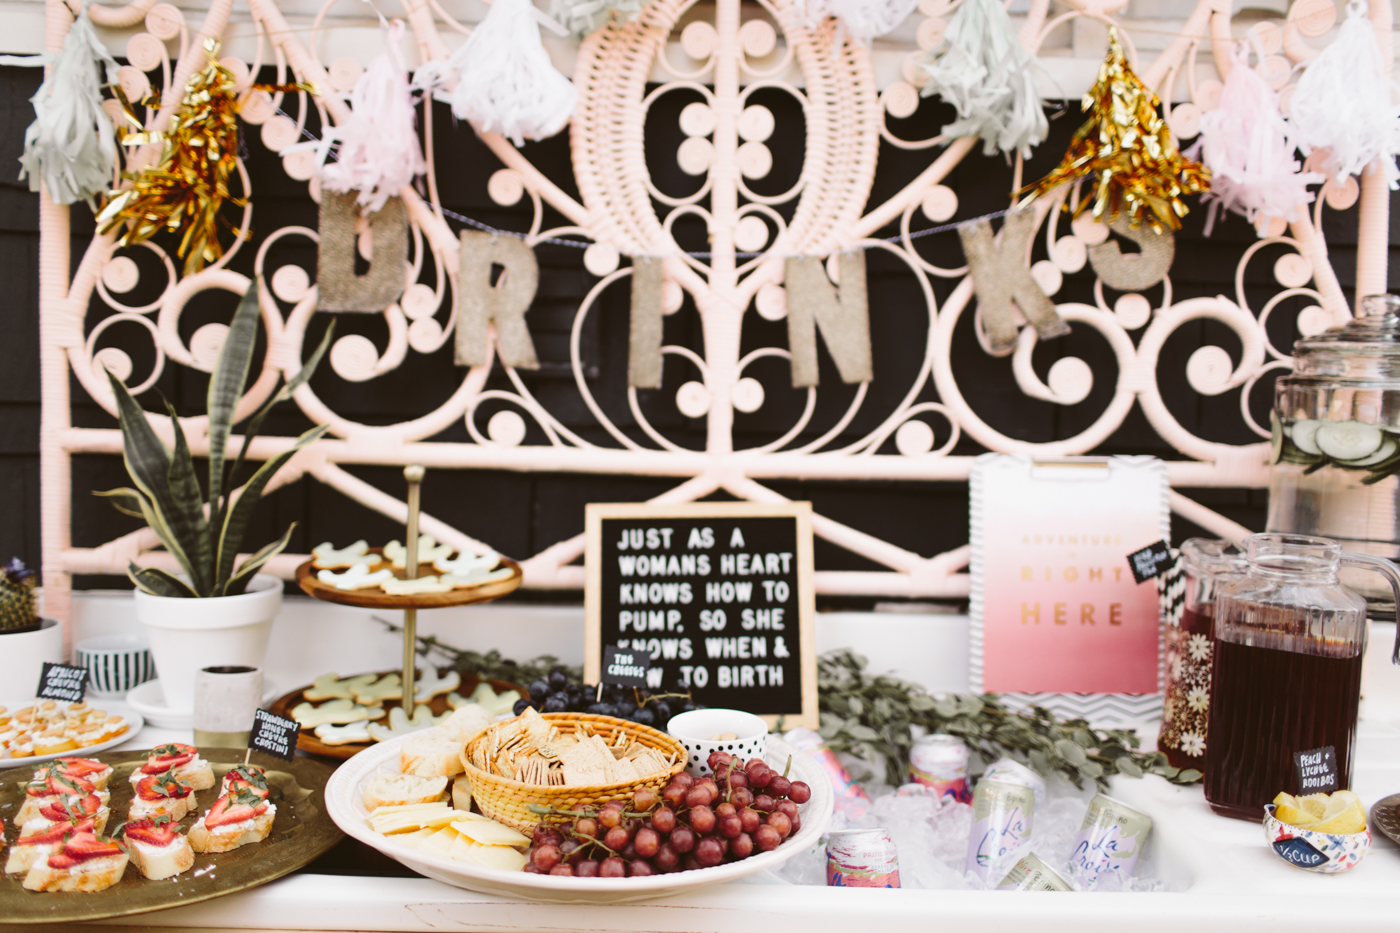
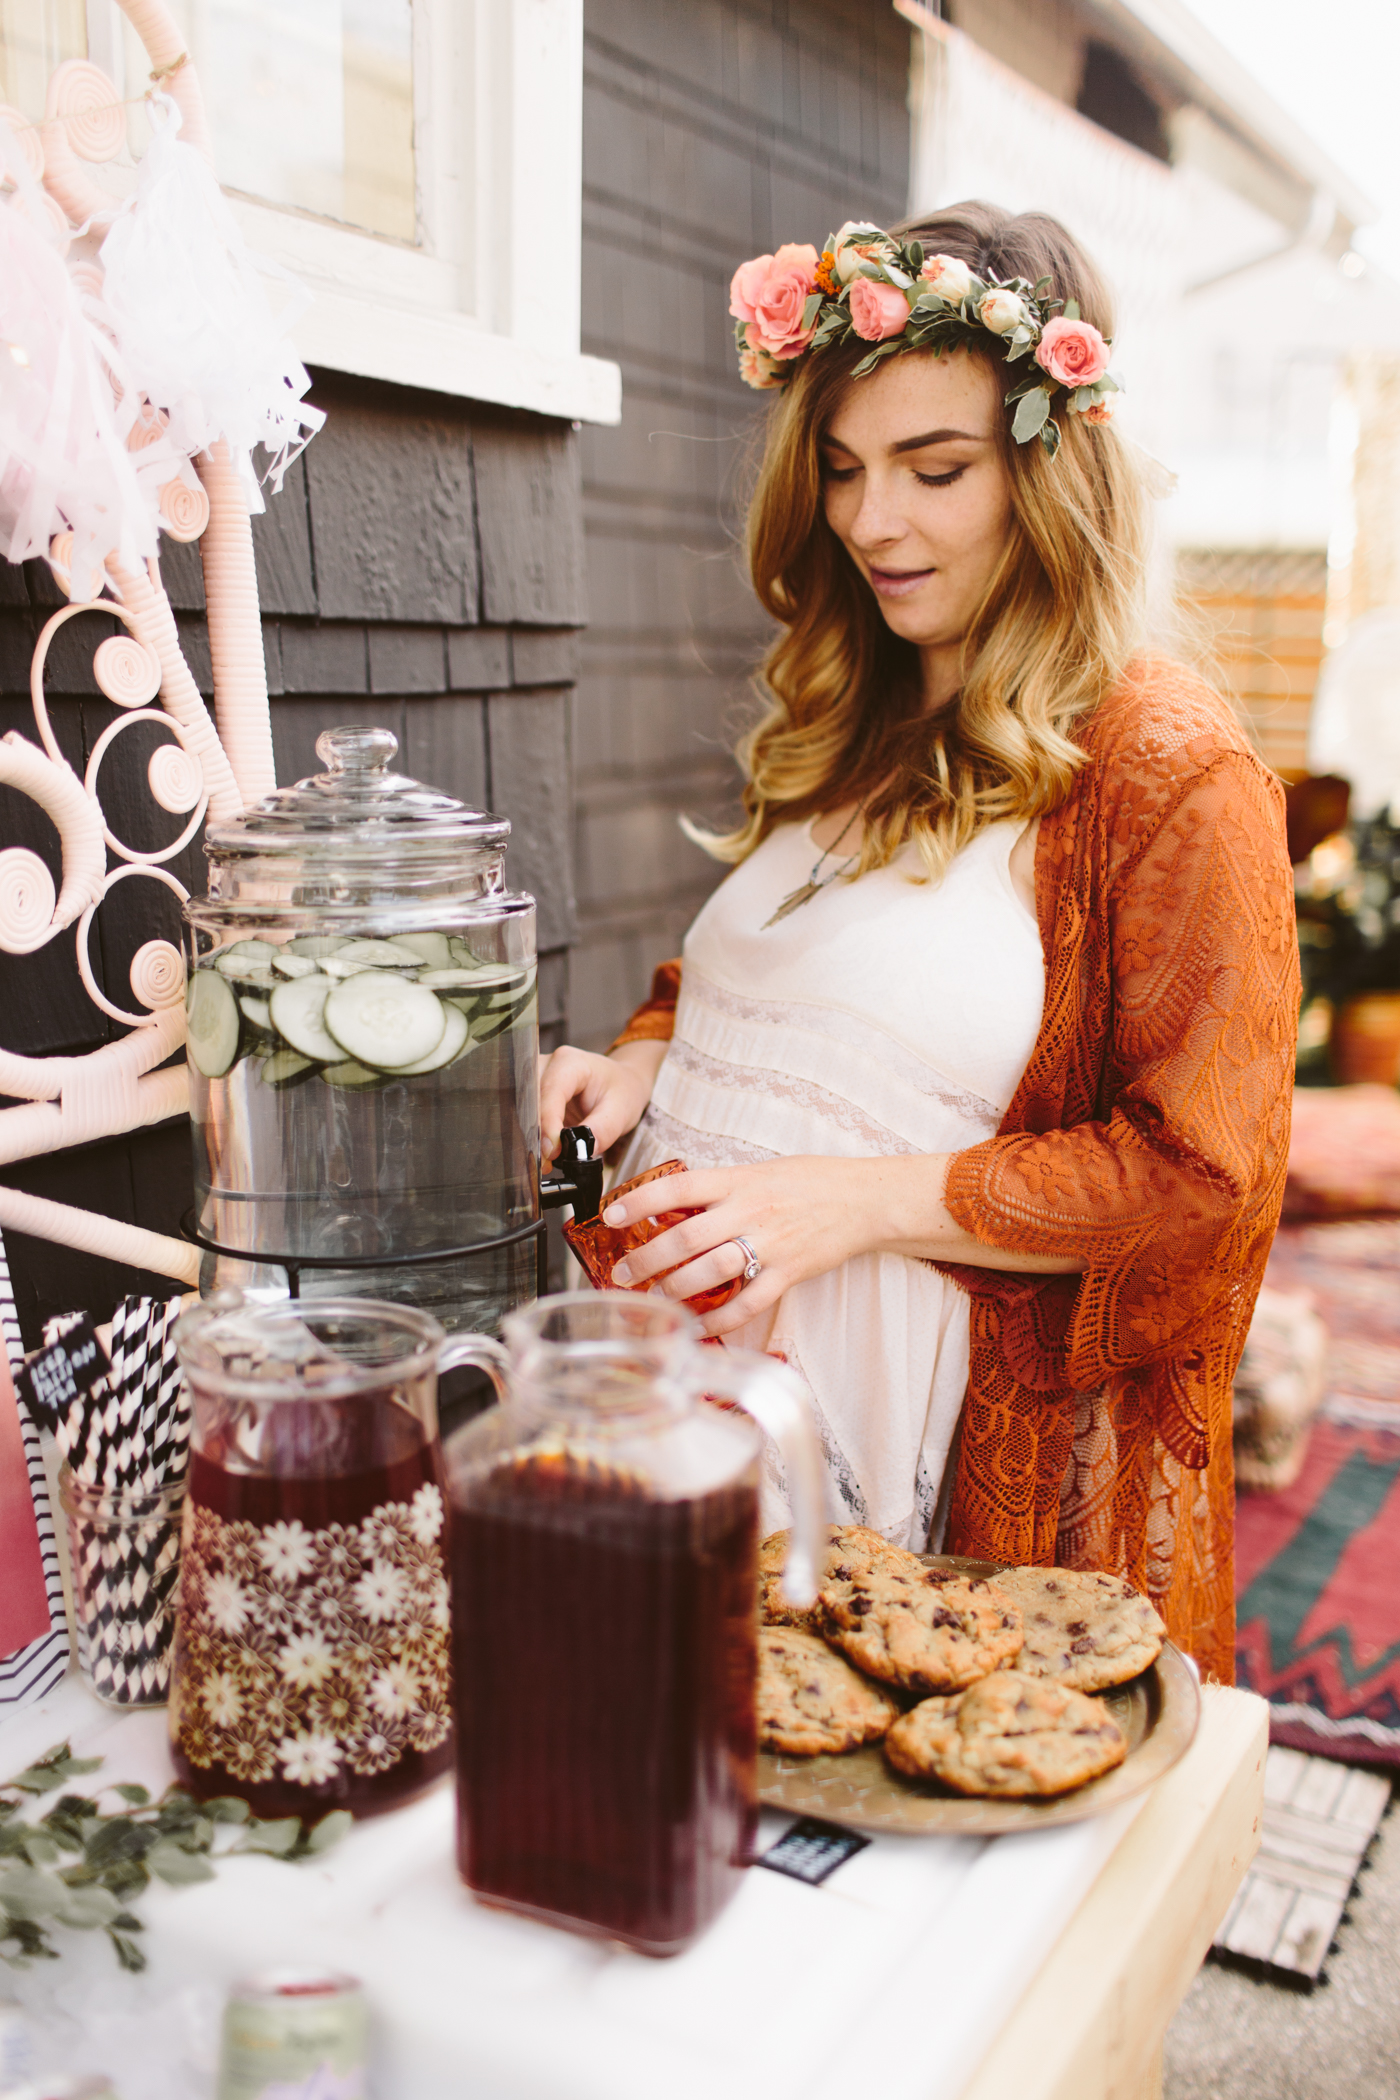
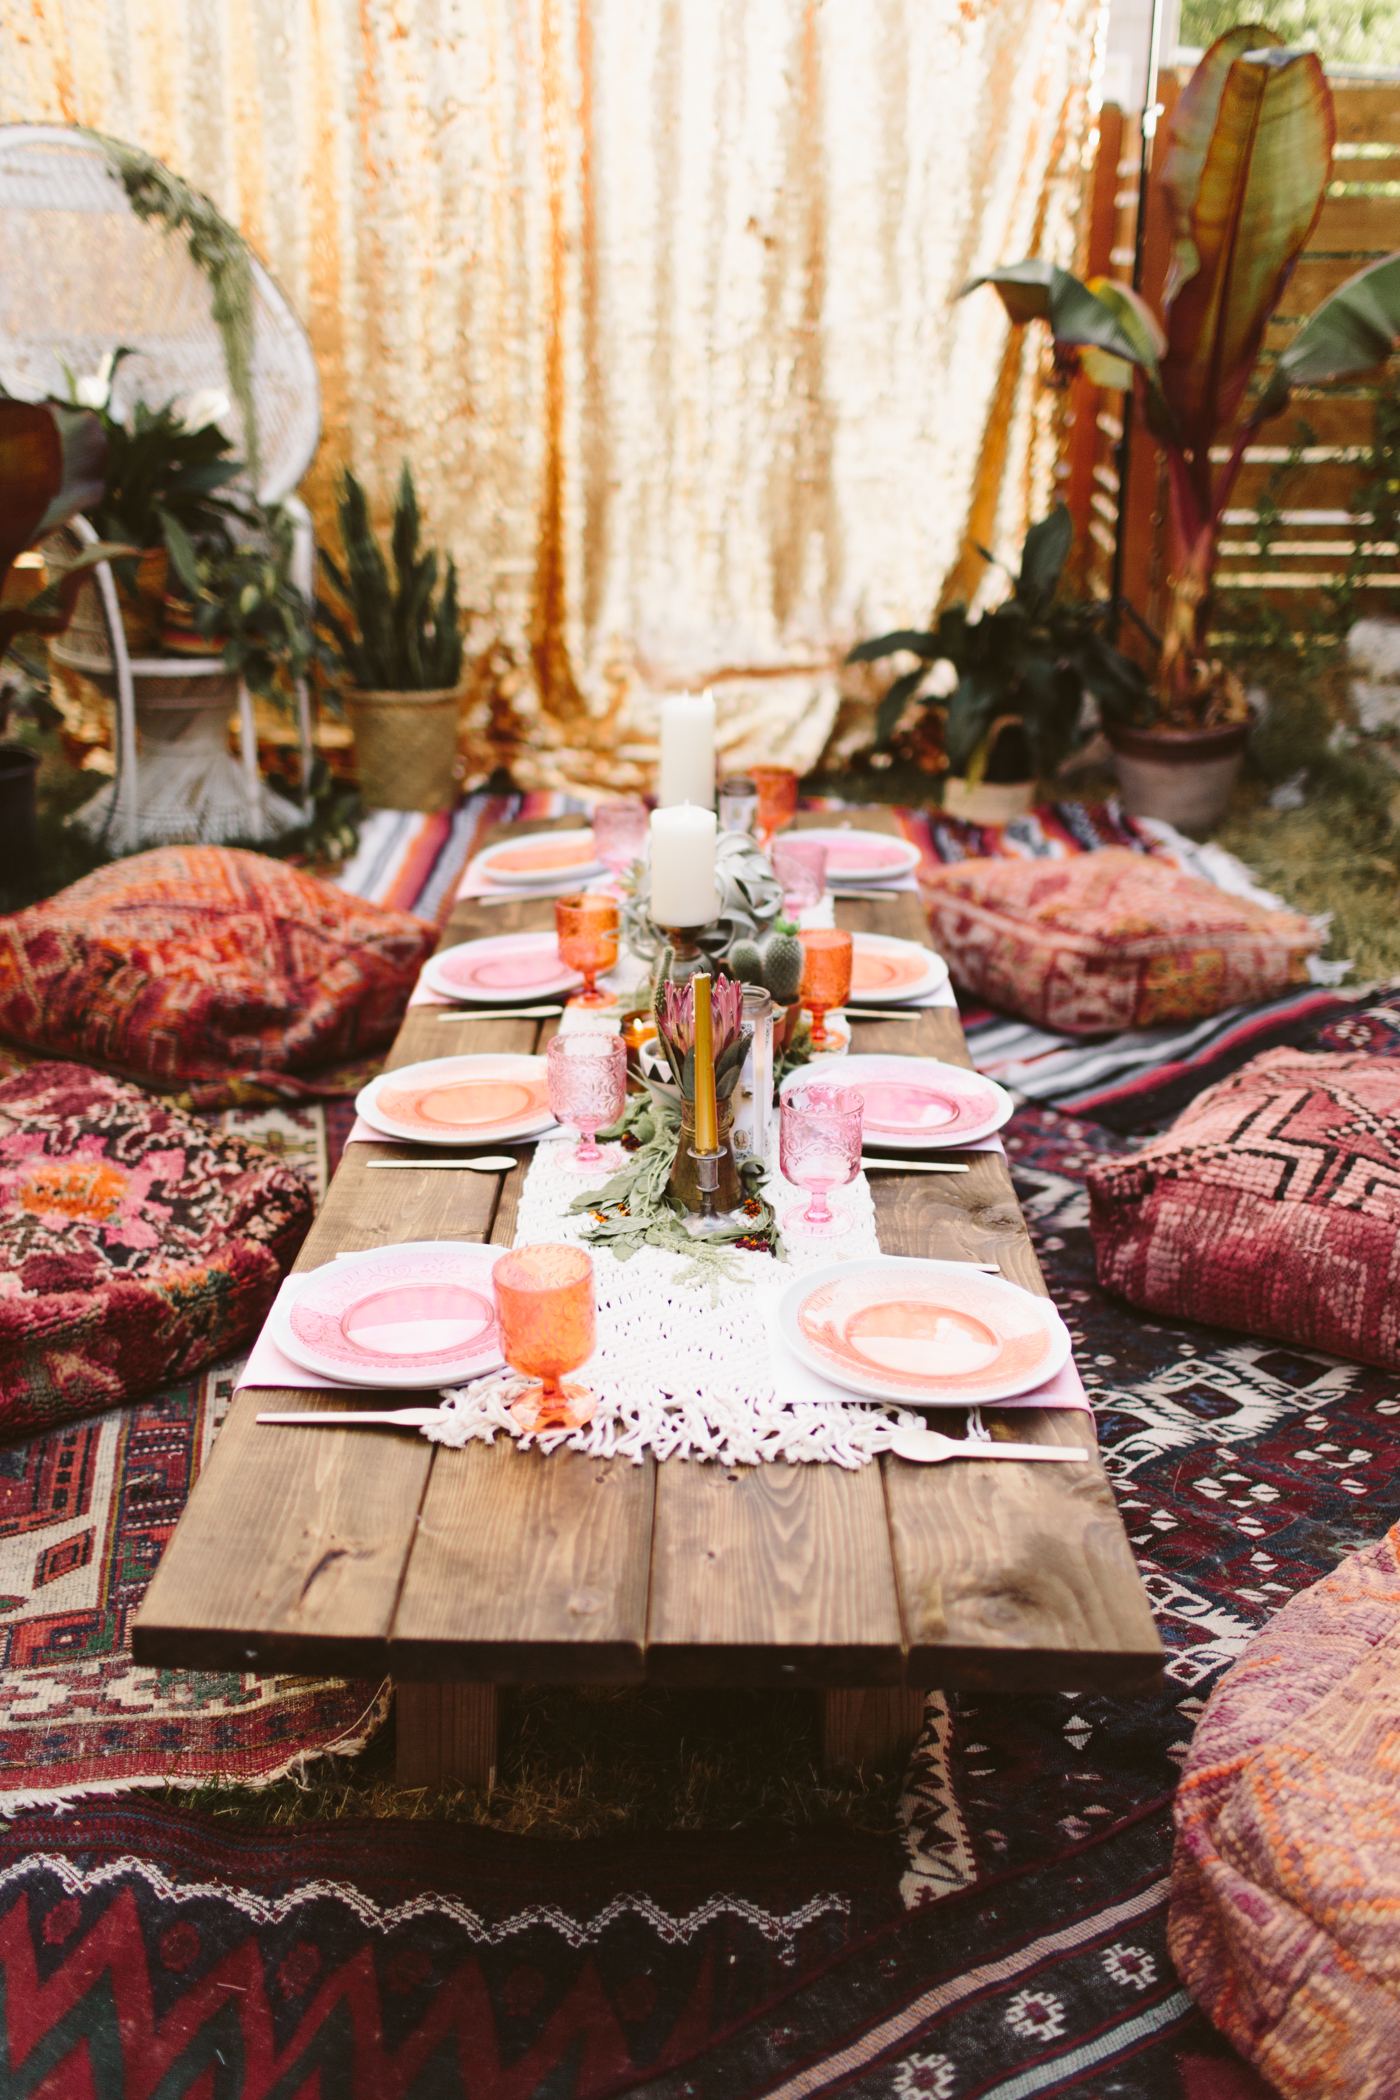
Moroccan Inspired Blessingway
What is a "Blessingway," you might be asking? A blessingway is kind of like a baby shower for the new mama. In our culture there's a lot of importance and pomp and circumstance given to a new baby. Which is fair enough, a new human is exciting and should be celebrated! But in all the hullaballoo about the baby, the fact that this other new creature is also being birthed-- the mother-- is forgotten and ignored. We just expect women to shift into this new, completely life-altering role, as if it was like changing a pair of underwear.
But it's not. It IS life altering. It IS important and deserving of creating a sacred celebration for. Mothers deserve honoring, just as much as a new baby. And that's what a blessingway is-- a celebration and honoring of the woman making the huge transformation from regular human to mother human. I was given a blessingway by my best friends when I was 36 weeks pregnant and it was so lovely, so I wanted to do the same for them, now that they are both in their final month of pregnancy!
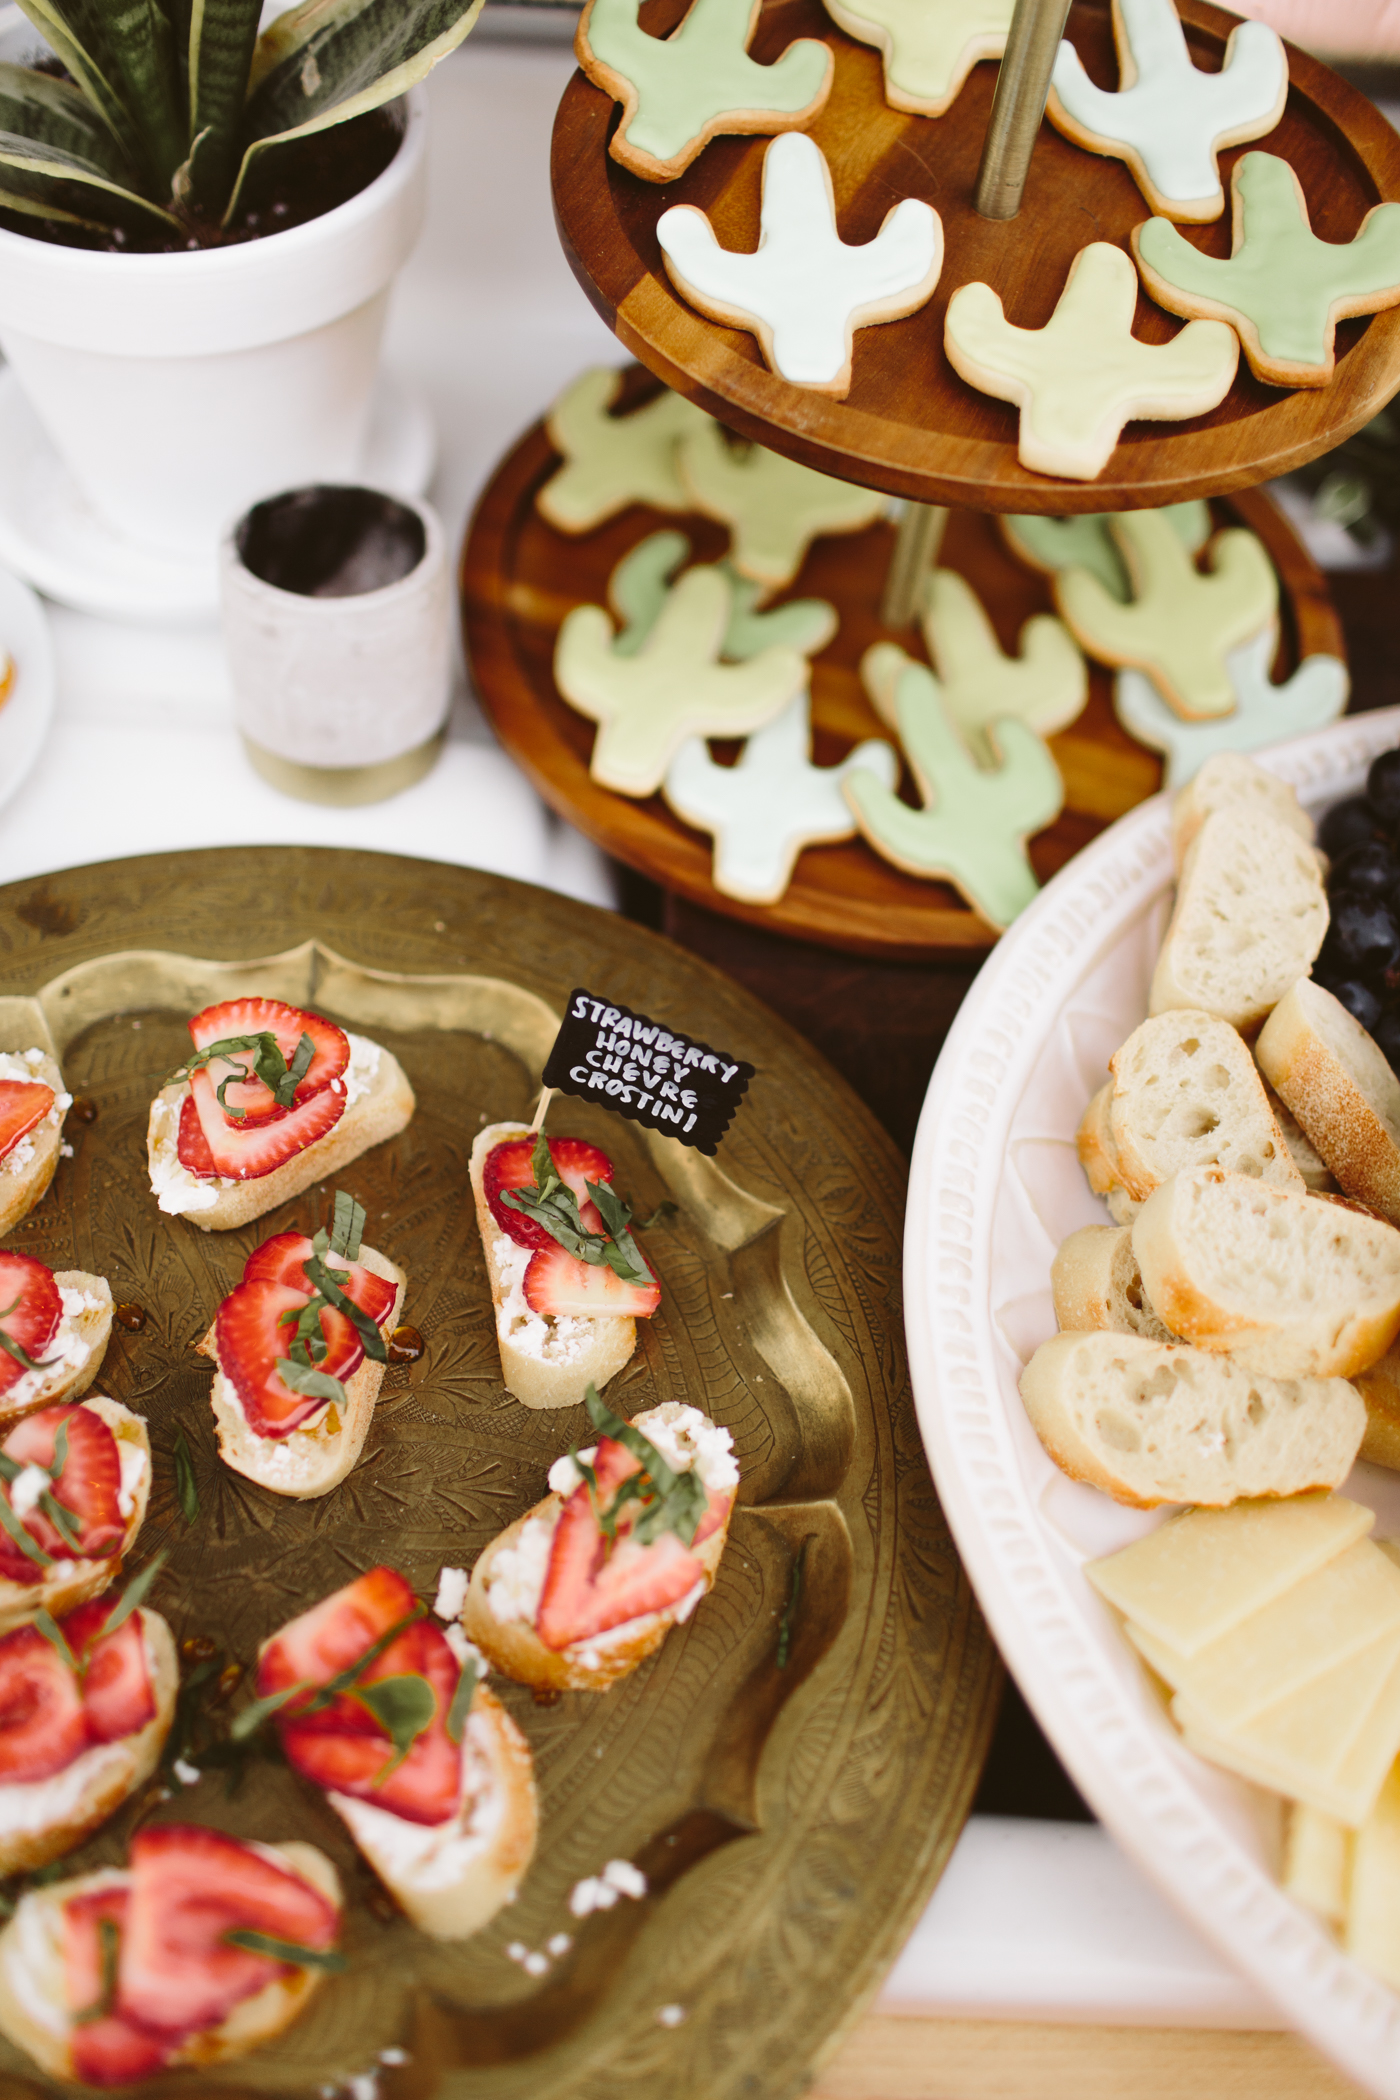
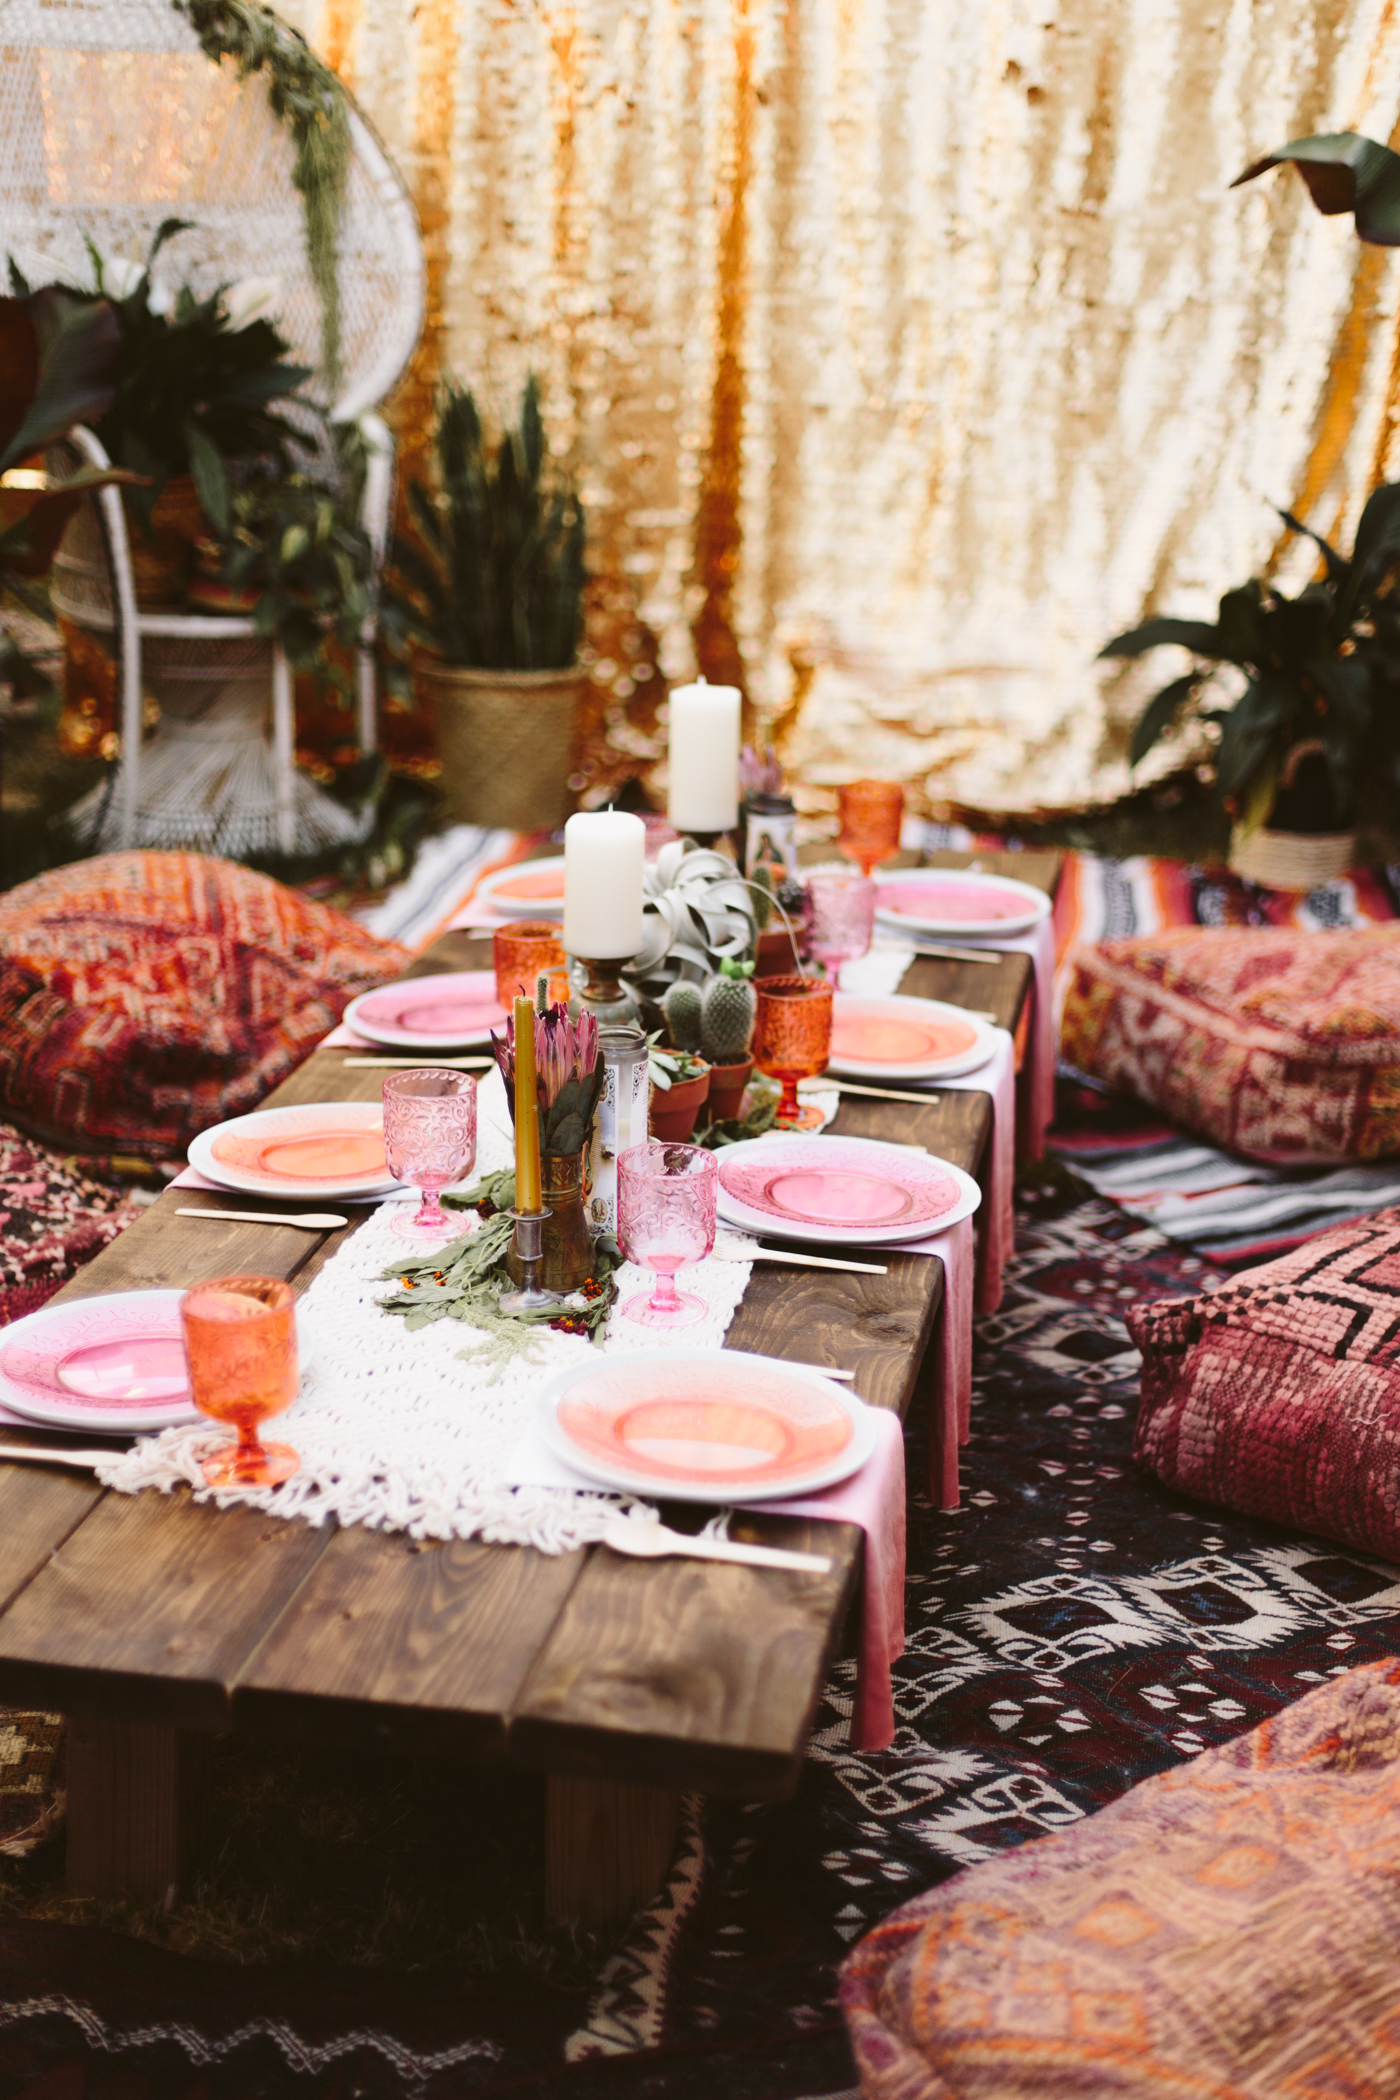
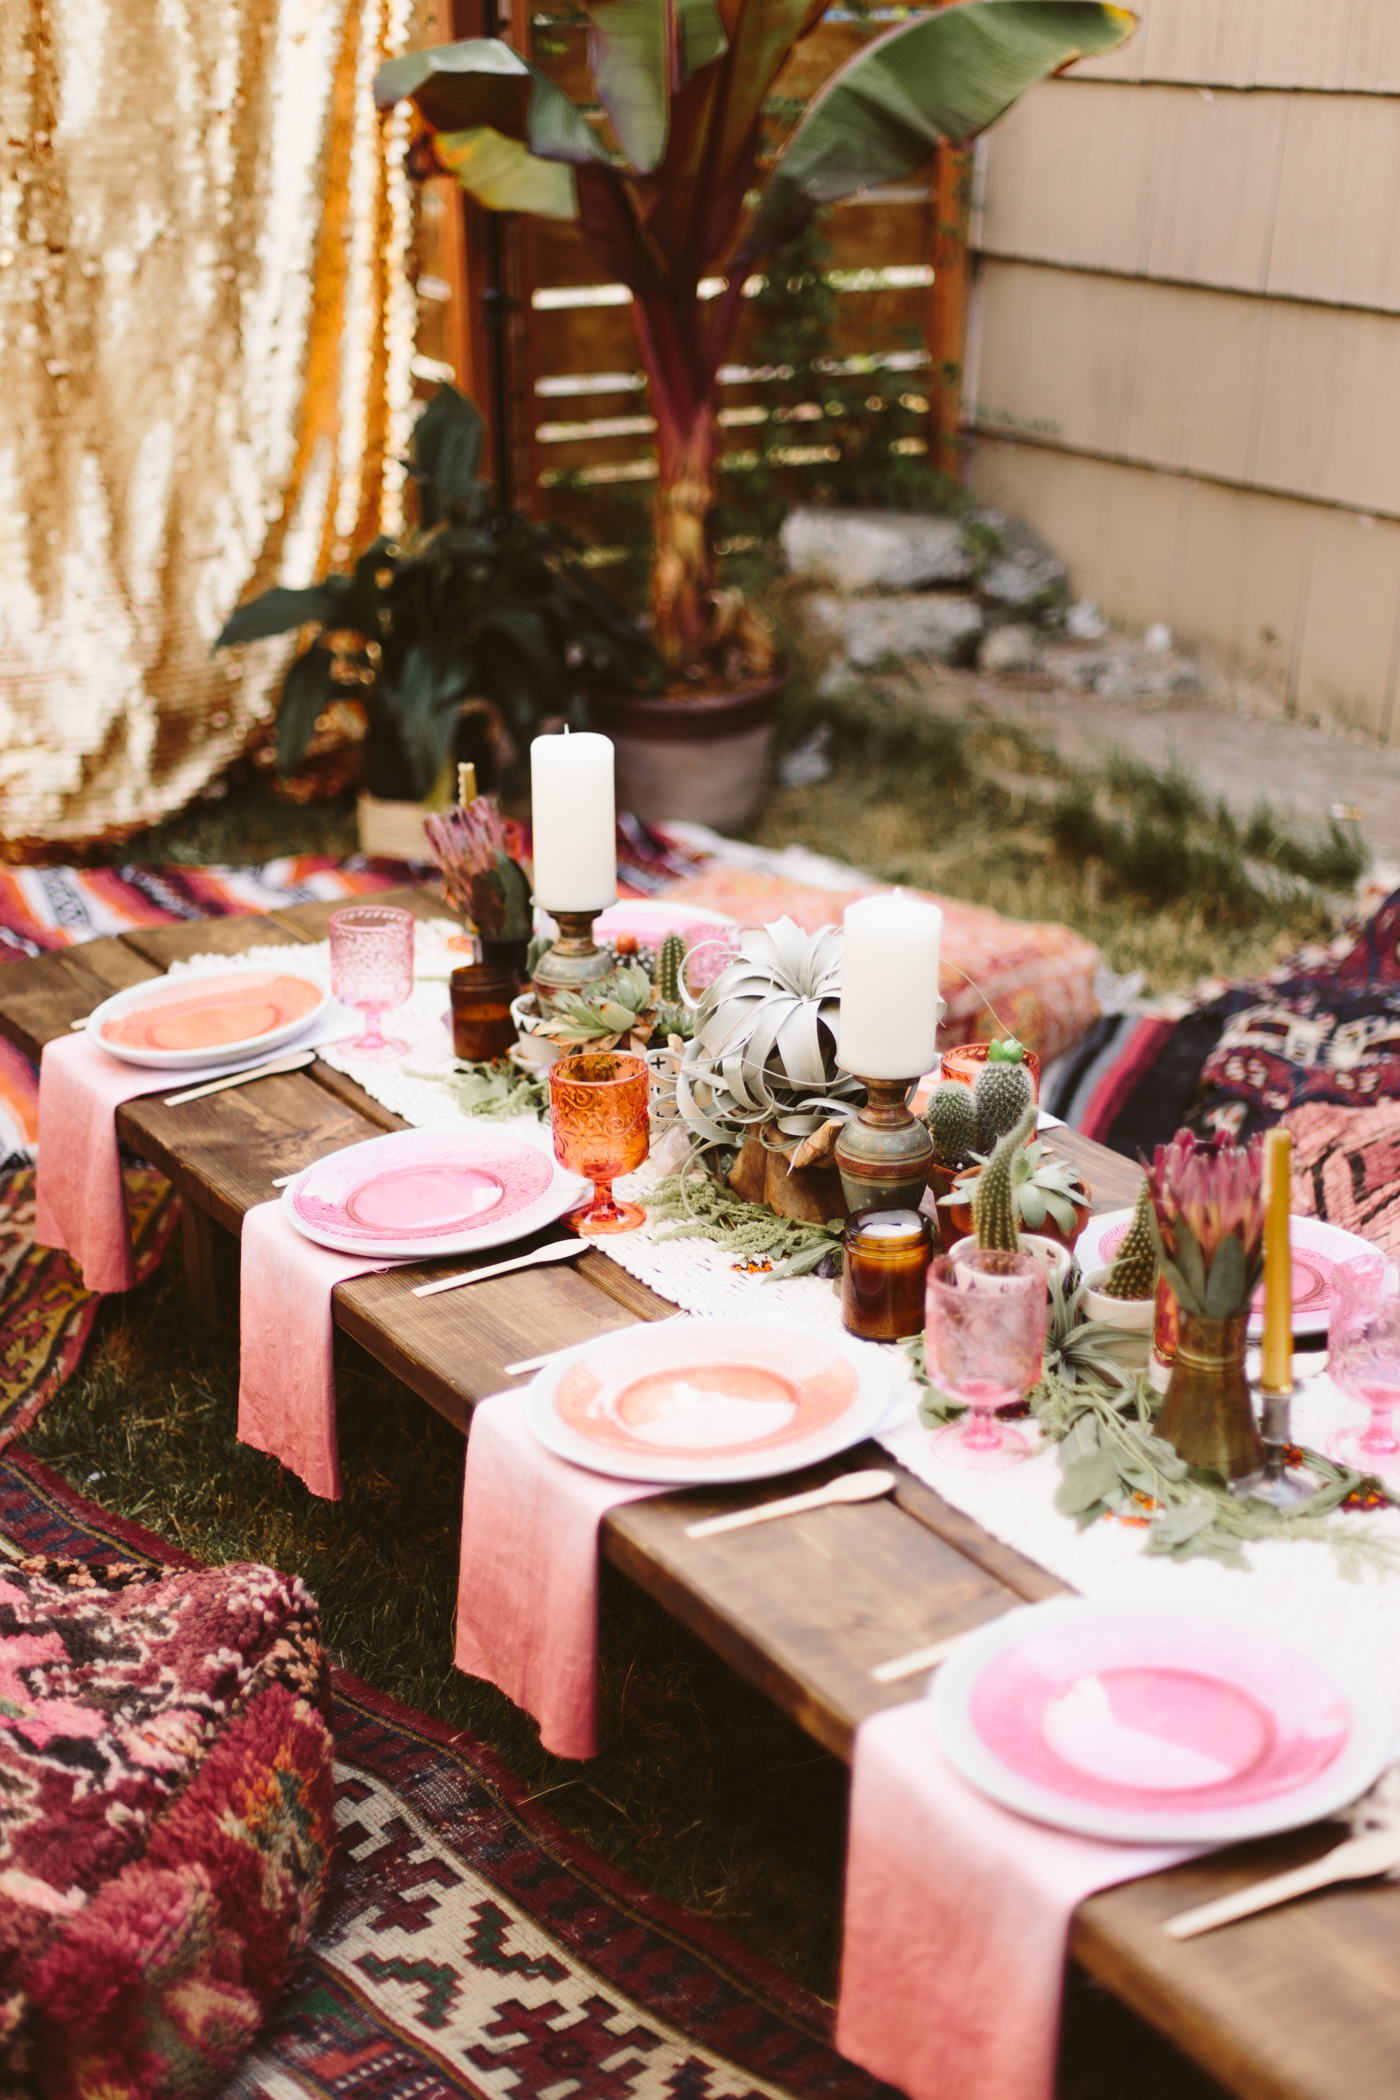
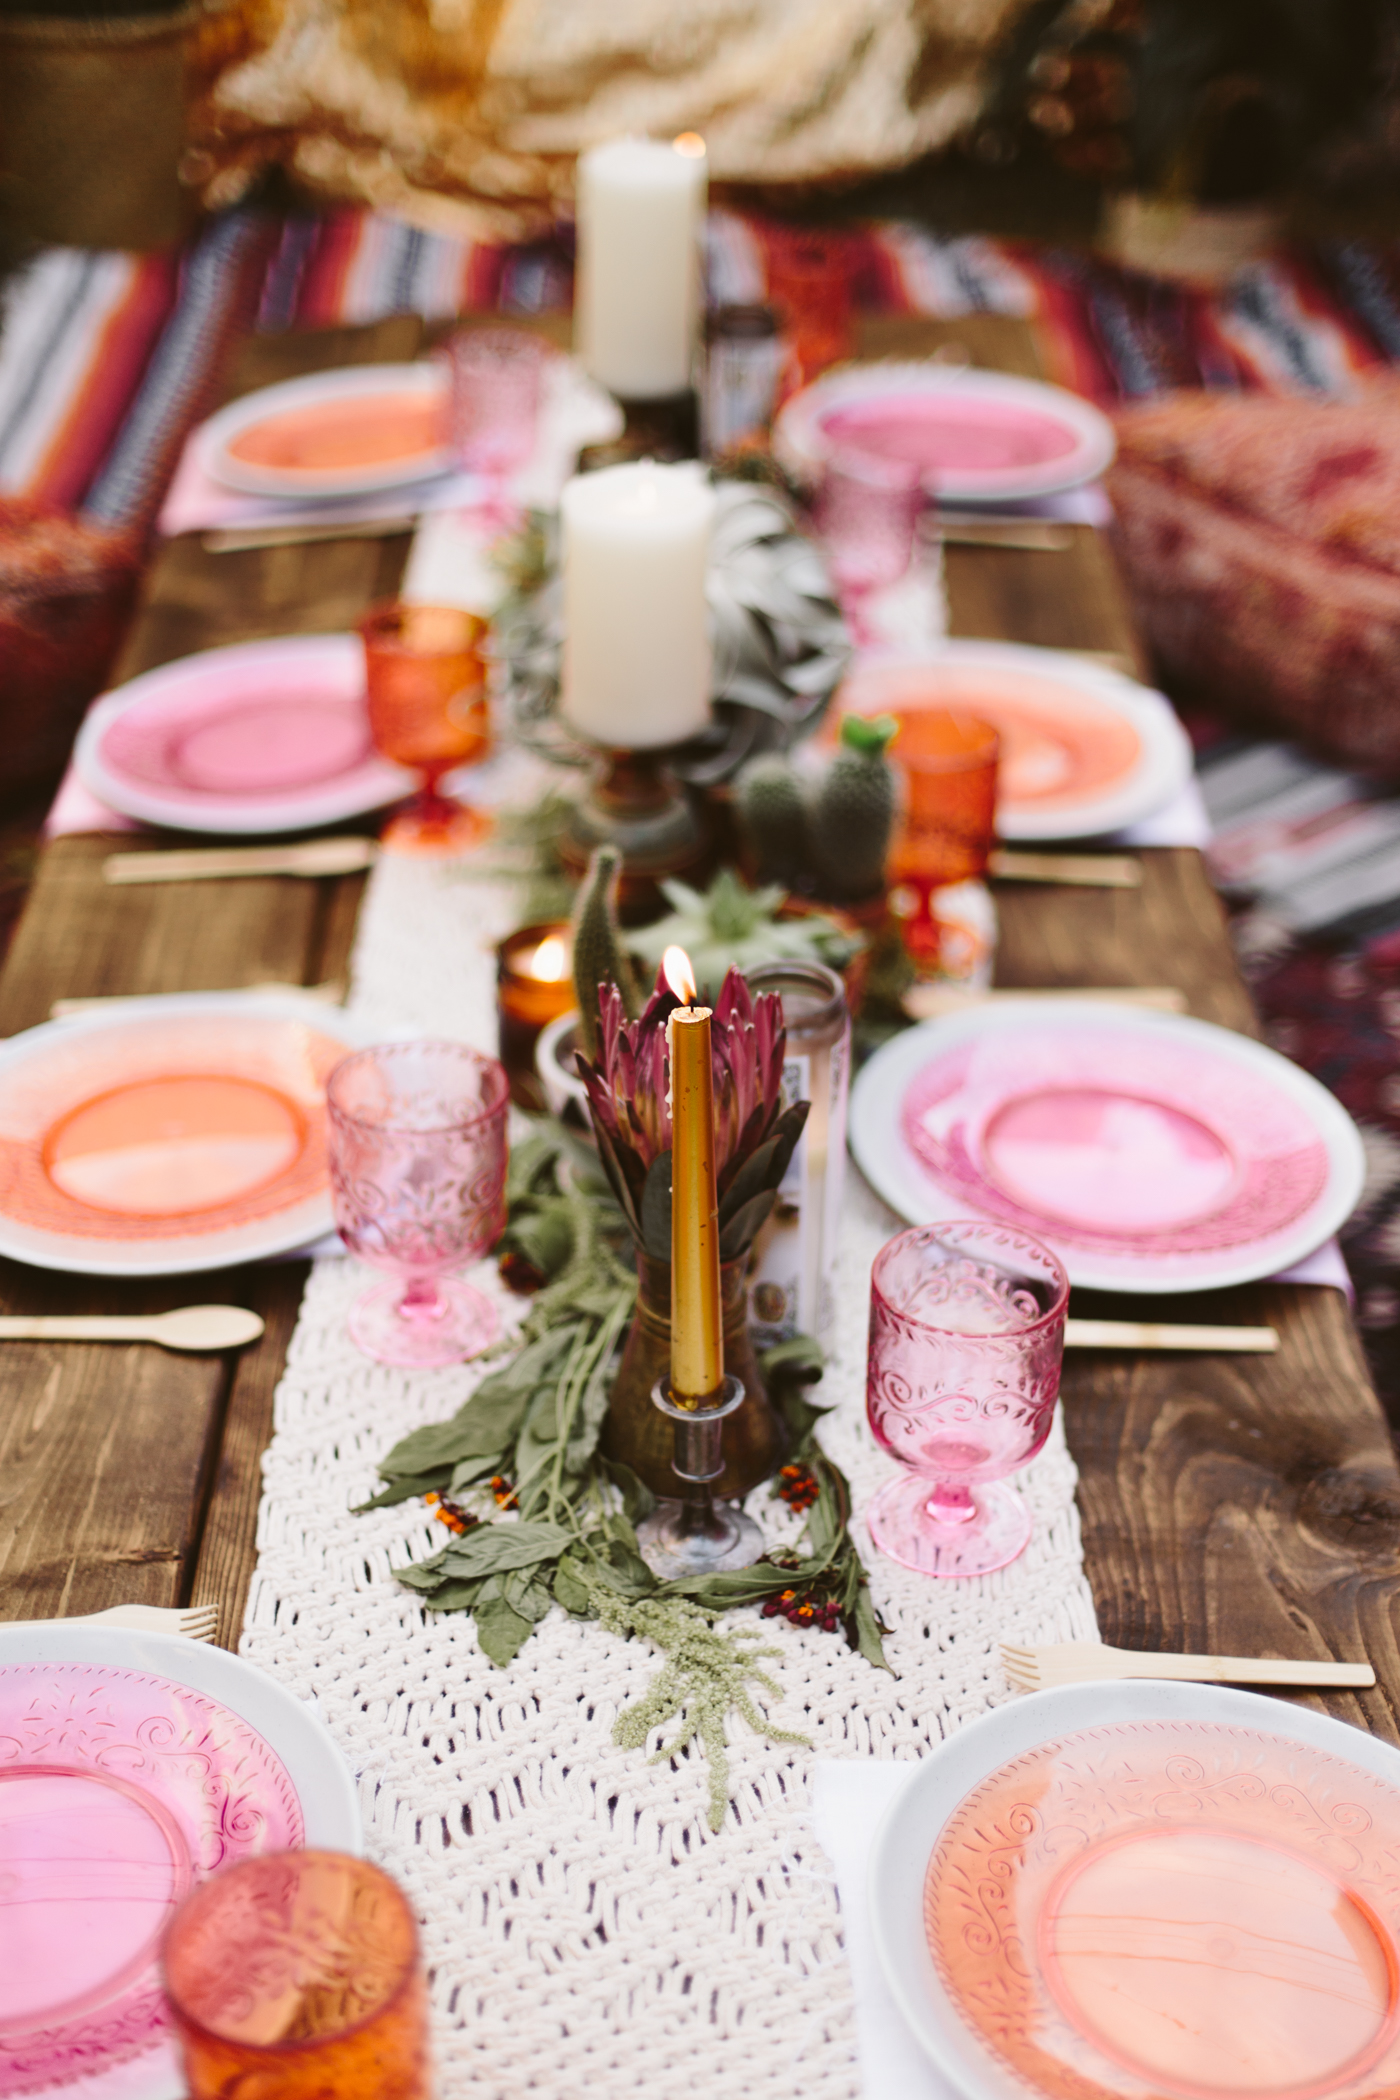
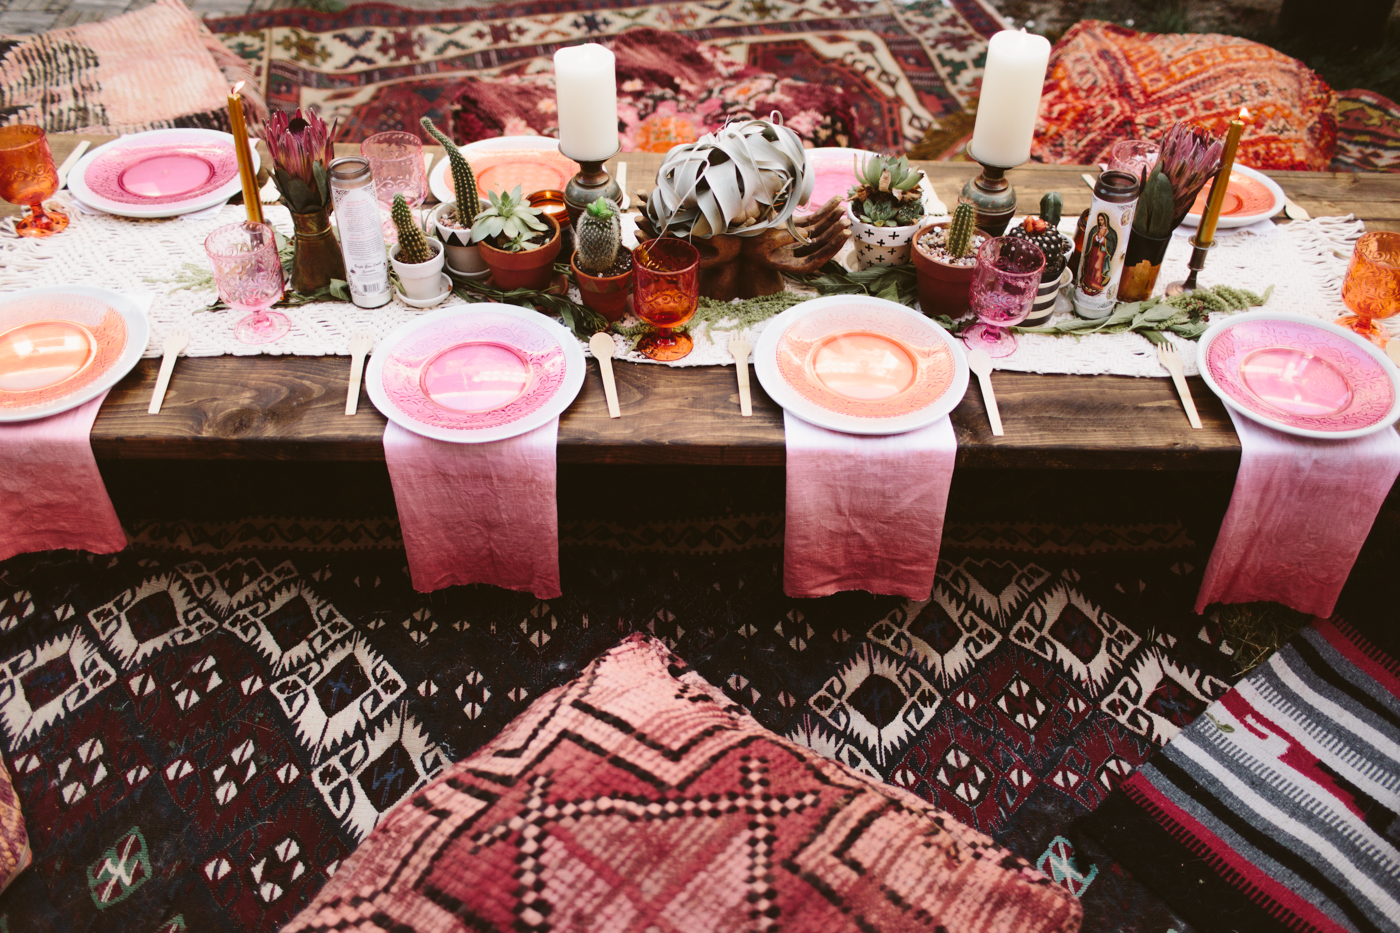
I'll pop the sources for everything I can link to down at the bottom of this post if you're wanting to throw a similarly styled party! A lot of the stuff is either DIY or craigslist/thrifted, so some things I won't be able to link, but hopefully you can find something similar!
So what does one do at a blessingway? Want to throw one for your pregnant mama friend? Here are some ideas for blessingway activities! I'm not into the hokey activities that often accompany a baby shower, and thankfully blessingway activities are much more beautiful and simple. Obviously you can come up with your own way to celebrate the new mother, but if you're looking for somewhere to start, here are some great things to incorporate:
Labor Bracelets
Get a long piece of string/twine. Long enough to go around everyone's wrists in a circle. Have everyone stand in a circle, and then pass the string around to everyone, wrapping the string around each wrist once or twice. With everyone connected, have each person give the mother an affirmation or blessing, then cut the string between each person and have them tie it into a bracelet. The bracelet stays on until the new mama goes into labor and then you cut it off!
Mother affirmation bead necklace
You can either have each person bring a bead to the blessingway, or have some beads ready if you don't want to make people procure a single bead. Each person adds a bead to the new mama's empty necklace string/cord and as she adds it, gives an affirmation for labor or motherhood. The mama can wear this or bring it to her labor so she can remember the affirmations as she's laboring.
Foot soak
Get a little tub big enough for the mama to put her feet in, put hot water in and some epsom salt and/or essential oils (make sure they are safe for a pregnant woman). You can also get some oil and rub her feet after she's done soaking
Belly Henna
I had this done at my blessingway and it was so fun! If you're decent at henna, you can get some henna and do a henna belly mandala design yourself, or find a local henna artist and have her do a gorgeous belly henna!
Flower crowns
This one is just for fun, but I love flower crowns. At my blessingway they just got a bunch of flowers and the stuff to make flower crowns and we all made one. For the blessingway I just threw I decided to just make two custom flower crowns for the two new mamas so they felt special and like mother goddesses. I've got a faux flower crown tutorial you can use, it works the exact same for real flowers.
Labor affirmation prayer flags
This is something I tried to do at my own baby shower actually, but it just didn't quite pan out. You can create some square blank prayer flags using just fabric, rope, and hem tape (you can use my bunting tutorial, this is exactly how I made the flags for the blessingway I just threw-- it's no sew!). I just created white, blank flags, and we all went around writing labor affirmations on them, so they can hang the flags in their labor/birthing space and look at it while laboring. Labor affirmation examples are: Your body was made for this, Your body knows how to do this, Breathe, I am choosing love not fear, each wave has a purpose, open open open, my body opens easily and naturally, my breath surrounds my baby and opens the way out, I trust my intuition.
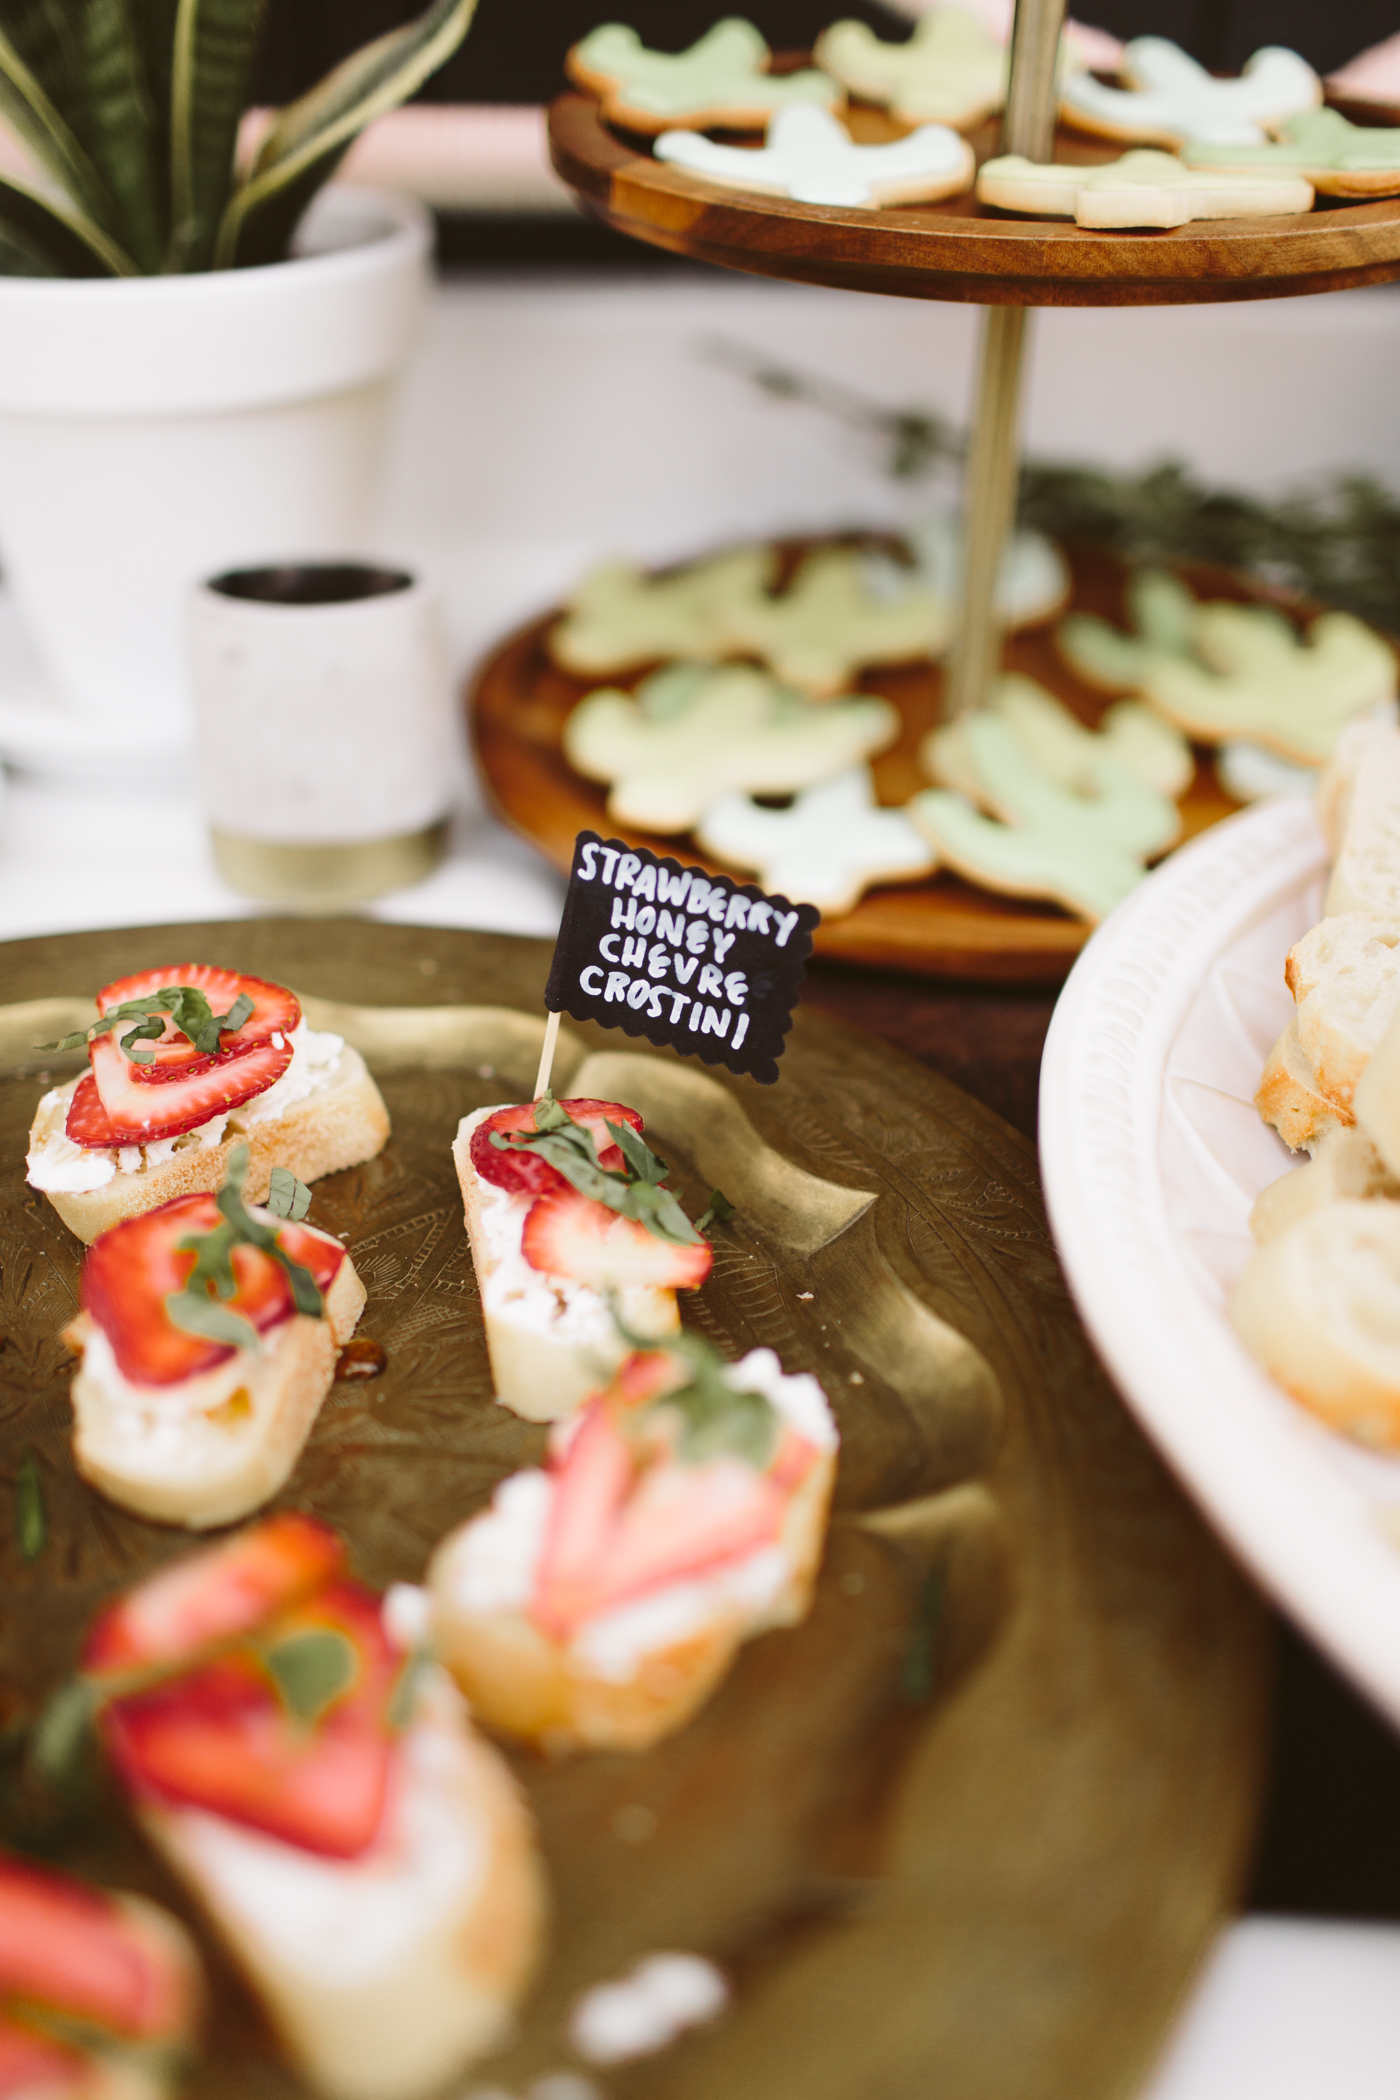
Oh, and make tasty snacks because everyone loves tasty food. And hopefully your pregnant buddy has enough room in her torso still to eat lots of tasty things.
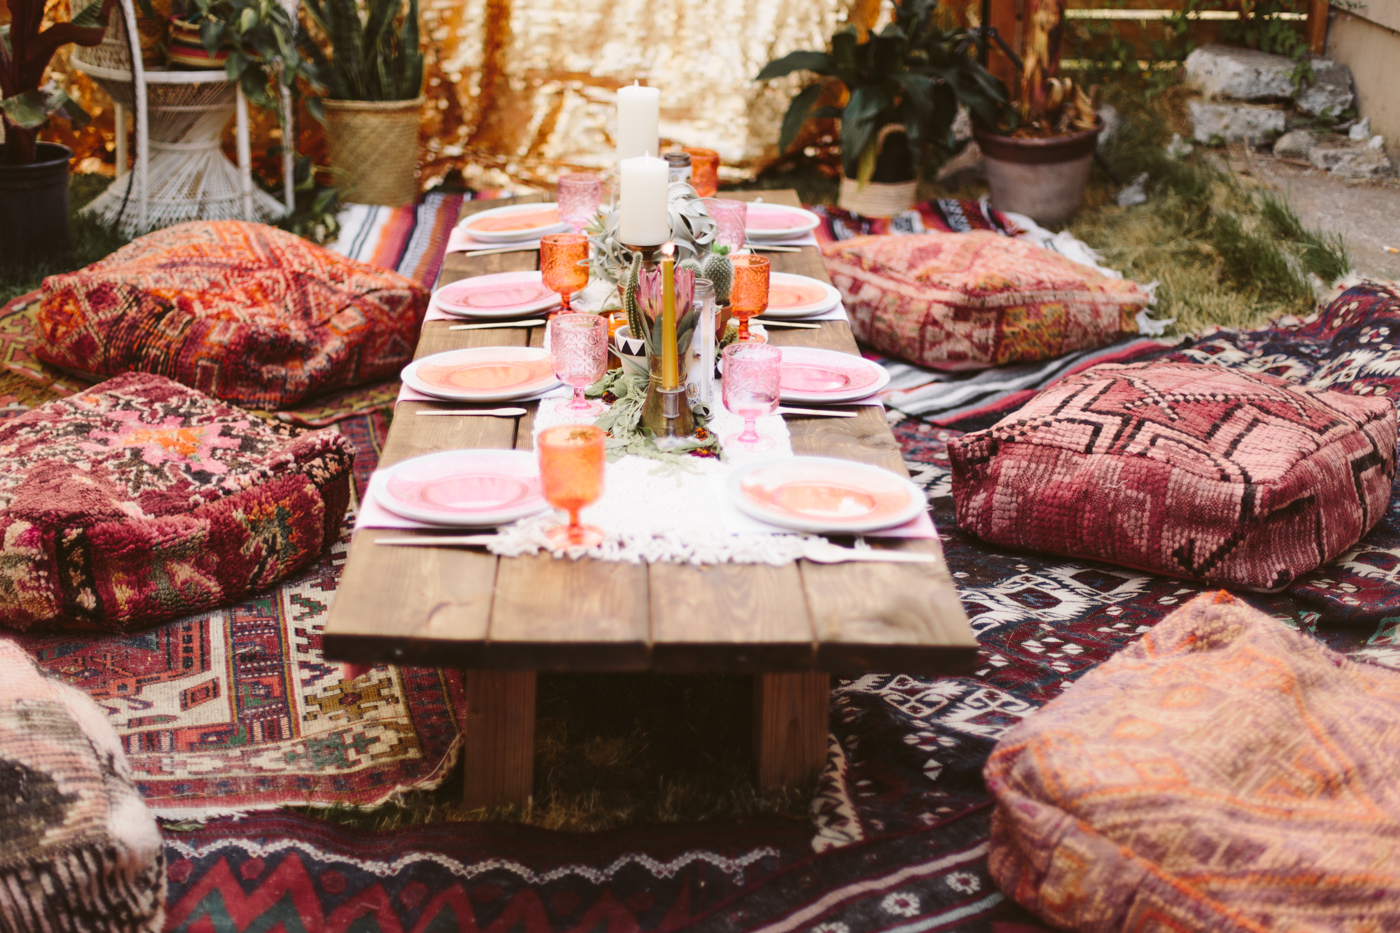
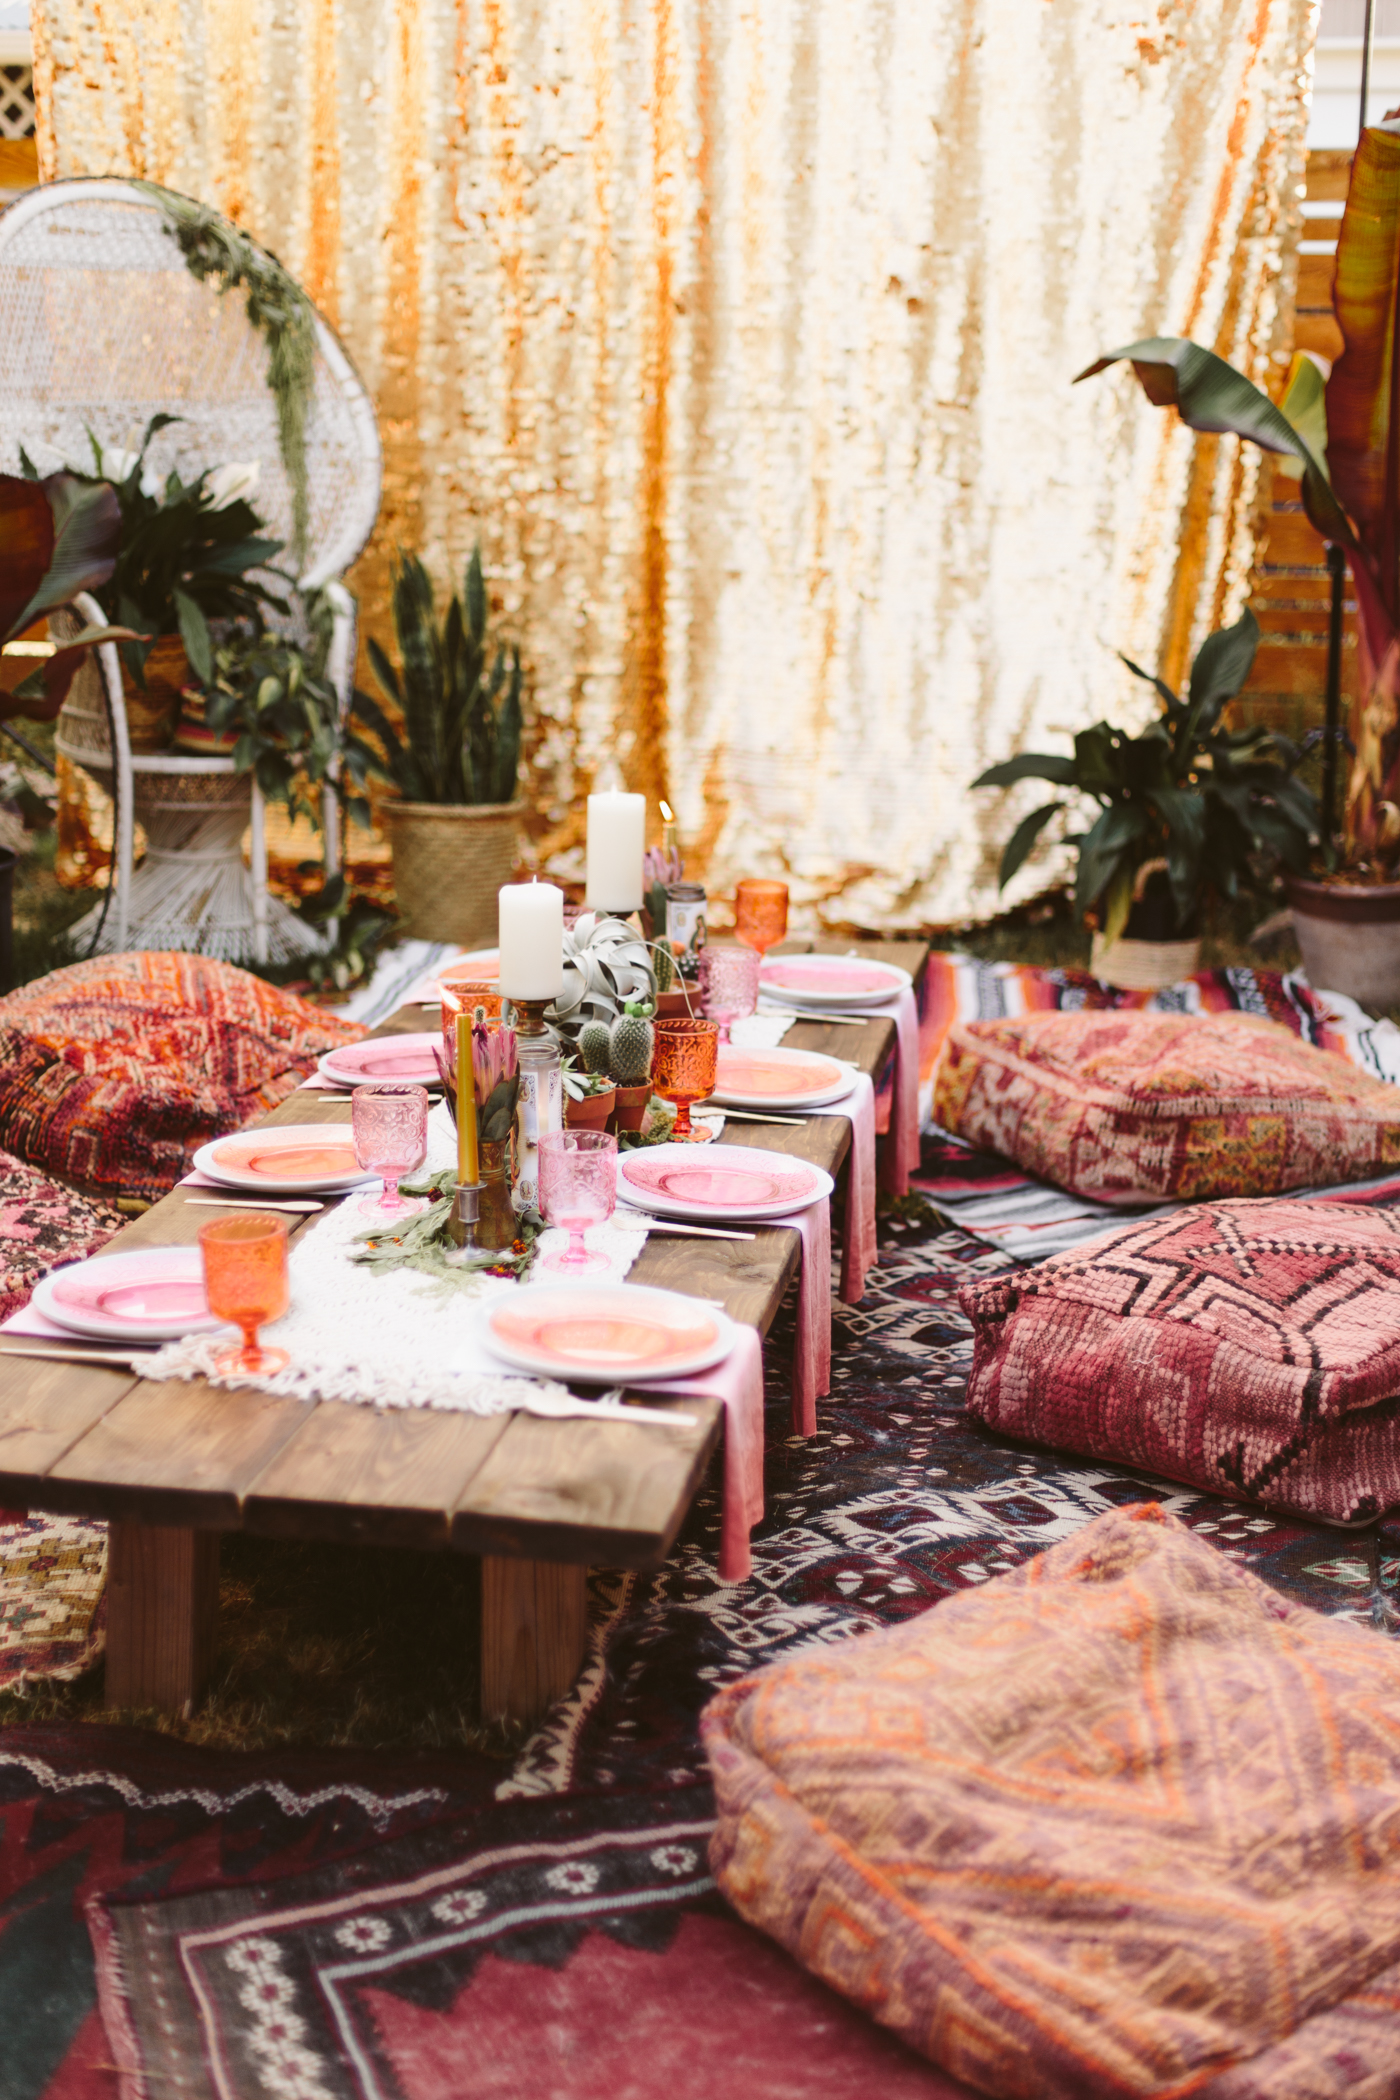
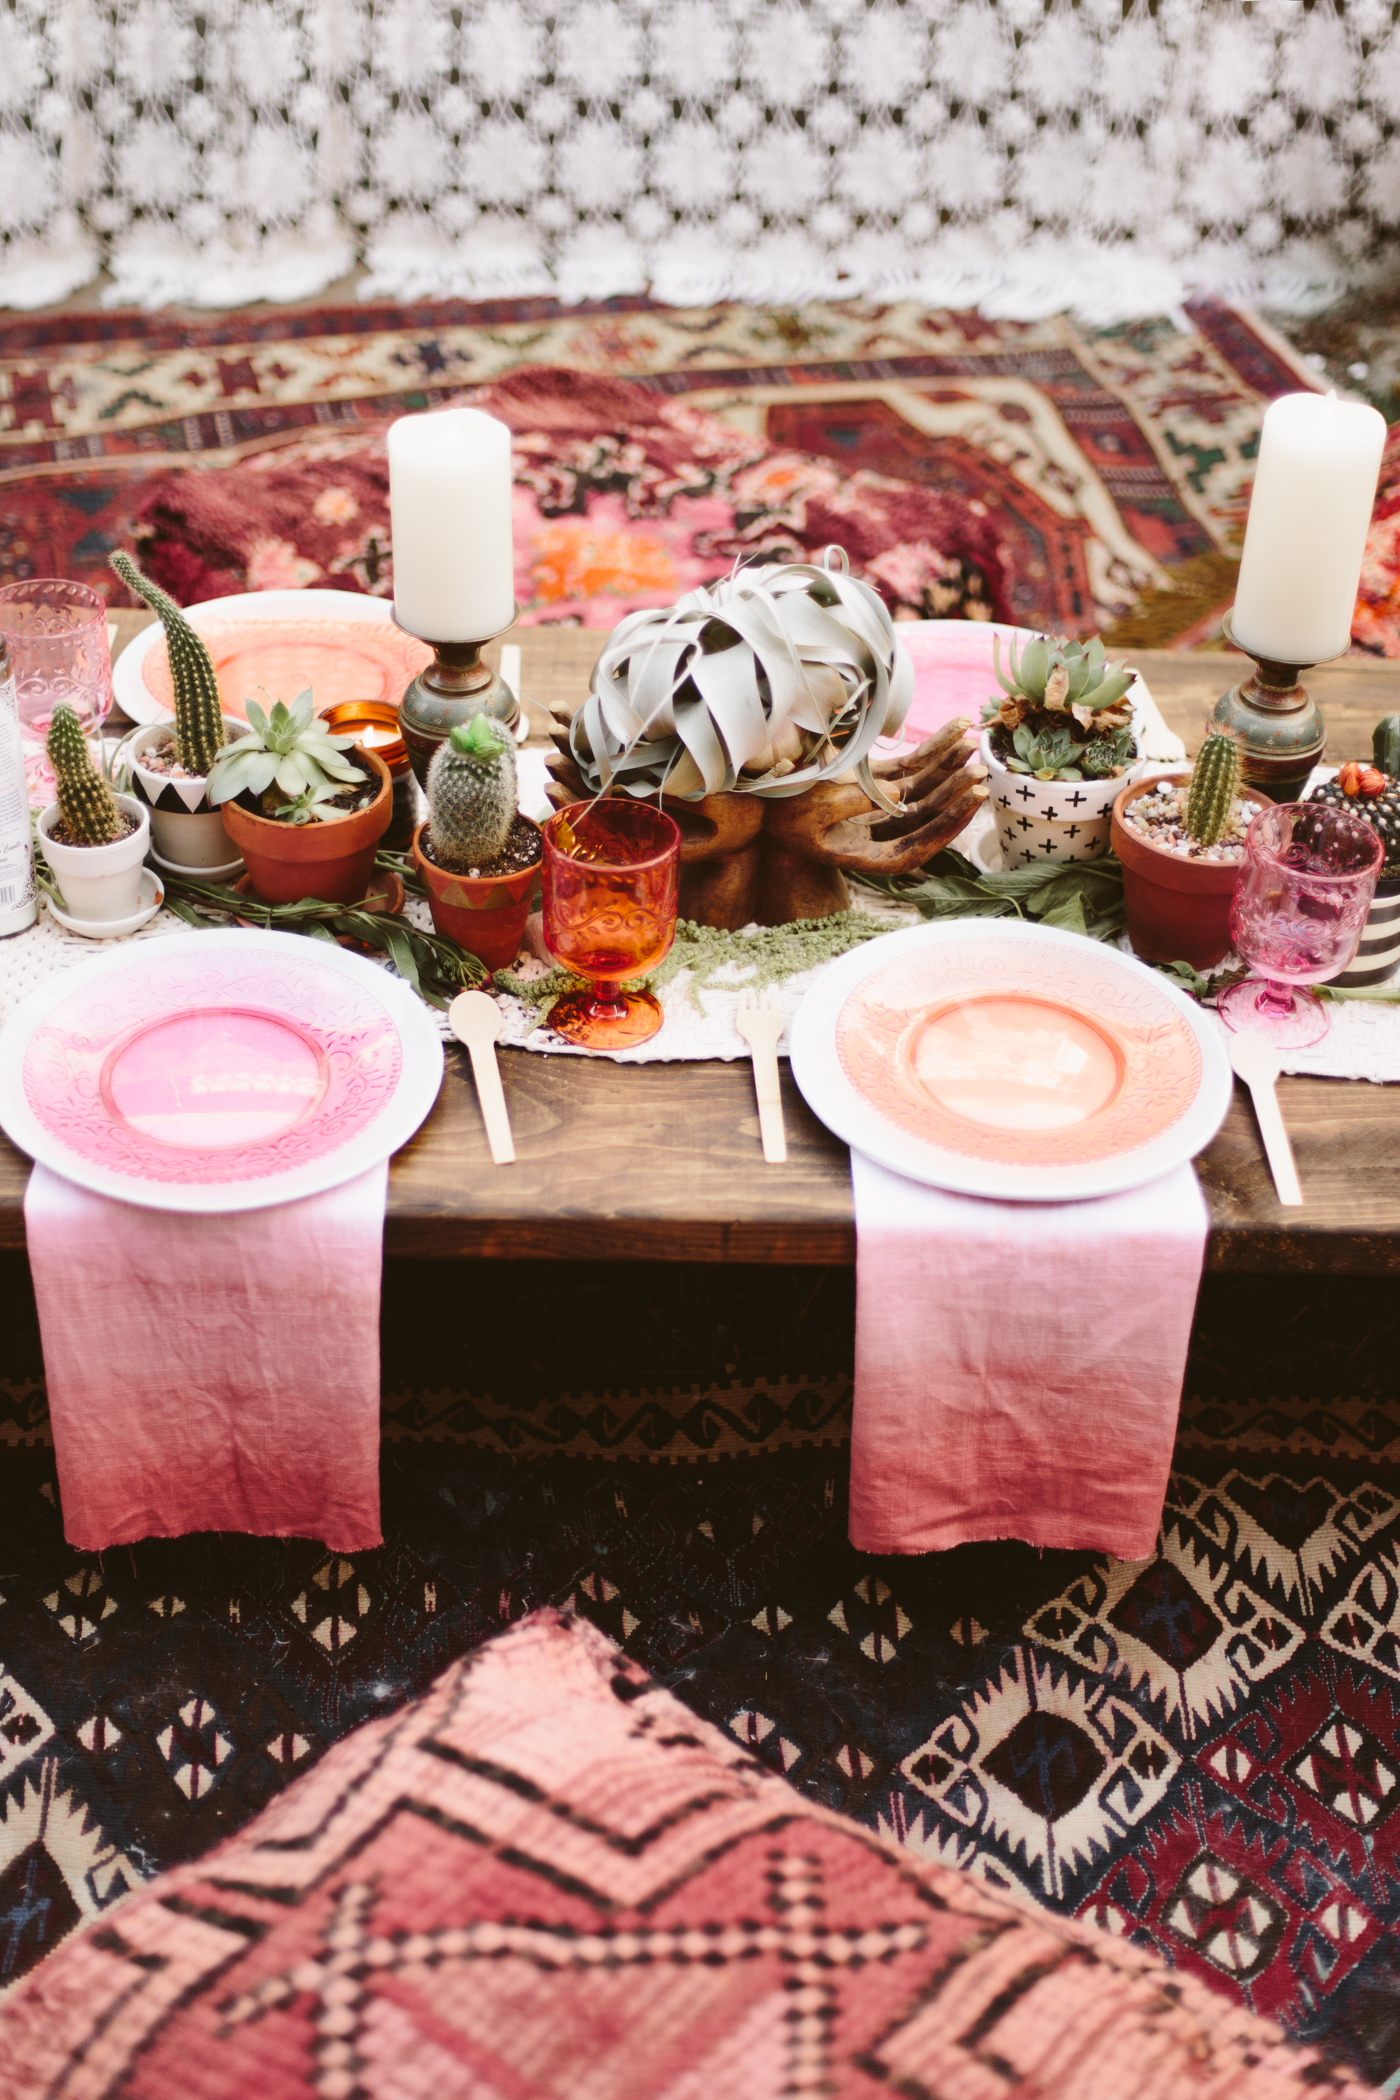
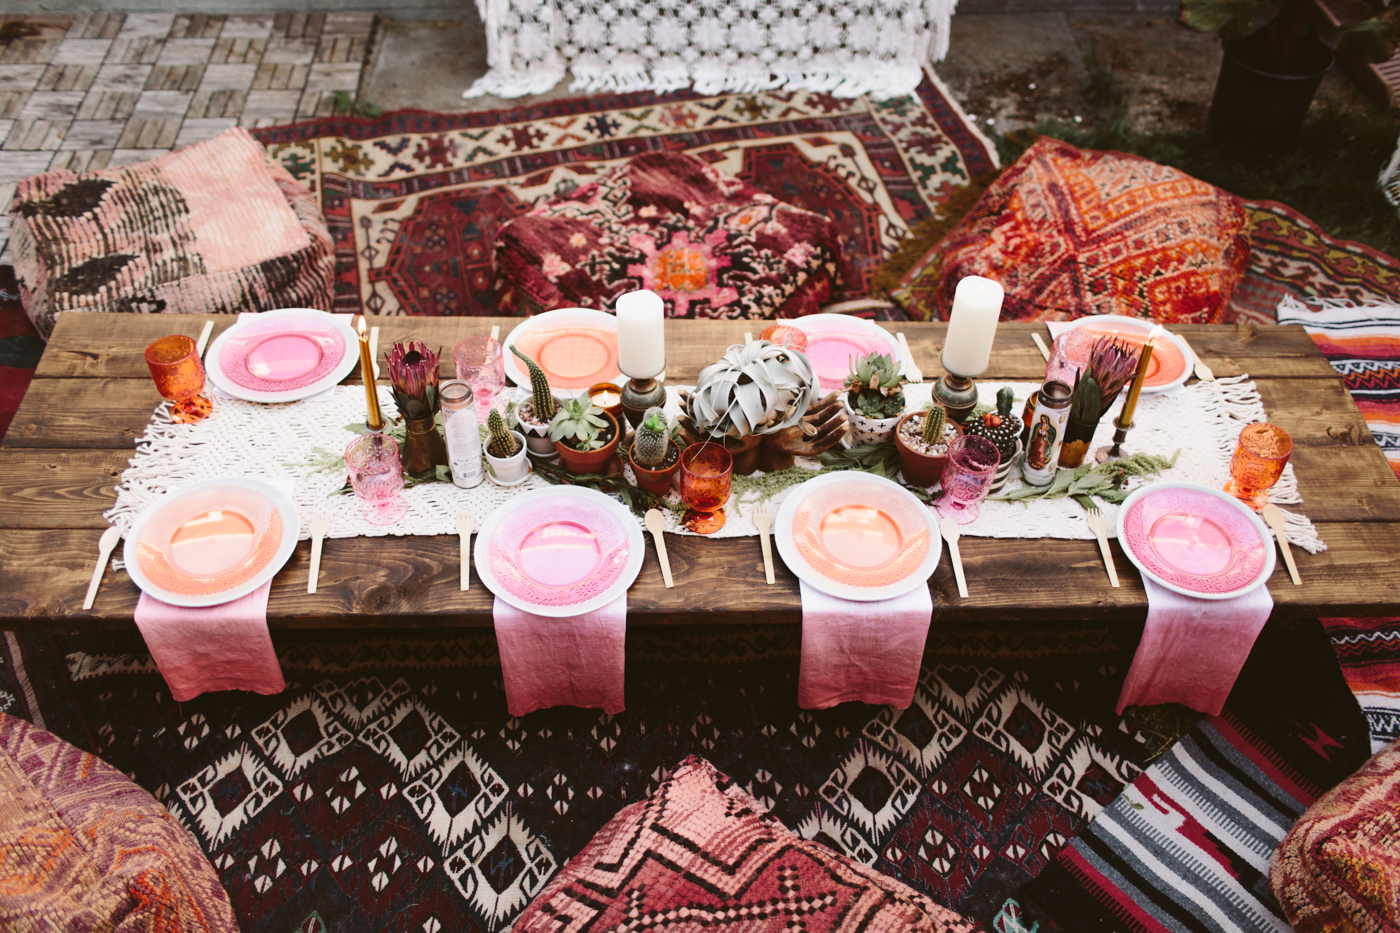
Macrame Table Runner : World Market | Colorful plates + cups : Michaels | White plates : Crate + Barrel | Poufs : D+K Renewal | Wooden Flatware : Amazon | Gold Sequin Backdrop (similar) : Drop it Modern | Table : DIY | Peacock Chair (similar) : Facebook Marketplace | Dip Dye Ombre Napkins (similar, similar) : DIY | Rugs : Craigslist
Outfits:
Kristina's Dress: Free People
Amy's Top: Free People
My dress : Thrifted | my shoes : c/o Modcloth | My hat (similar) : Forever 21
You might also like
Hi, I’m Liz
I'm an artist, writer, designer, DIY renovator, and … well basically I like to do all the things. If it’s creative I’m probably doing it. I’ve spent over 30 years voraciously pursuing a life steeped in creativity and I wholeheartedly believe creativity and joy are inextricably linked.
Read more…
Explore The Archive
- July 2025
- May 2025
- January 2025
- December 2024
- August 2024
- July 2024
- May 2024
- April 2024
- January 2024
- December 2023
- October 2023
- September 2023
- July 2023
- June 2023
- May 2023
- April 2023
- March 2023
- February 2023
- January 2023
- December 2022
- November 2022
- October 2022
- August 2022
- June 2022
- May 2022
- April 2022
- March 2022
- November 2021
- October 2021
- August 2021
- July 2021
- May 2021
- January 2021
- November 2020
- October 2020
- September 2020
- August 2020
- July 2020
- June 2020
- May 2020
- April 2020
- February 2020
- January 2020
- November 2019
- October 2019
- August 2019
- July 2019
- June 2019
- May 2019
- April 2019
- February 2019
- January 2019
- December 2018
- November 2018
- October 2018
- September 2018
- August 2018
- July 2018
- June 2018
- May 2018
- April 2018
- February 2018
- January 2018
- November 2017
- September 2017
- August 2017
- July 2017
- June 2017
- May 2017
- April 2017
- March 2017
- February 2017
- January 2017
- December 2016
- November 2016
- October 2016
- September 2016
- August 2016
- June 2016
- May 2016
- April 2016
- March 2016
- February 2016
- January 2016
- December 2015
- November 2015
- October 2015
- September 2015
- August 2015
- July 2015
- June 2015
- May 2015
- April 2015
- March 2015
- February 2015
- January 2015
- December 2014
- November 2014
- October 2014
- September 2014
- August 2014
- July 2014
- June 2014
- May 2014
- April 2014
- March 2014
- February 2014
- January 2014
- December 2013
- November 2013
- October 2013
- September 2013
- August 2013
- July 2013
- June 2013
- May 2013
- April 2013
- March 2013
- February 2013
- January 2013
- December 2012
- November 2012
- October 2012
- September 2012
- August 2012
- July 2012
- June 2012
- May 2012
- April 2012
- March 2012
- February 2012
- January 2012
- December 2011
- November 2011
- October 2011
- September 2011
- August 2011
- July 2011
- June 2011
- May 2011
- April 2011
- March 2011
- February 2011
- January 2011
- December 2010
- November 2010
- October 2010
- September 2010
- August 2010
- July 2010
- June 2010
- May 2010
- April 2010
- March 2010
- February 2010
- January 2010
- December 2009
- November 2009
- October 2009
- September 2009
- August 2009
- July 2009
- June 2009
- May 2009
- April 2009
- March 2009
- February 2009
- January 2009
- December 2008
- November 2008
- October 2008
- September 2008
- August 2008
- July 2008
VISIT THE SHOP
PRIVACY POLICY & DISCLOSURE
We are a participant in the Amazon Services LLC Associates Program, an affiliate advertising program designed to provide a means for us to earn fees by linking to Amazon.com and affiliated sites.


