Retaining Wall Mural Process | Tacoma Mural Artist
I’ve got this terrible mural client. She doesn’t know what she wants, she keeps jumping from idea to idea and giving me inspiration photos that have nothing to do with each other… it’s exhausting. Did I mention the client is me? Lol. Le sigh.
This is the problem of designing for yourself. With anything, really. As artists we’re our own worst clients sometimes. All that to say, I’ve been playing with mural ideas for my front retaining wall for months. MONTHS. But I think I finally have something pinned down that I really love.
When we bought this house we’d intended to fix it up and sell it, but plans changed and we’ve been living here for five years now. So some of the early decisions I made, design-wise, were more tame than my current style. But now, I’m really wanting to lean into a creative, artistic, and bold vibe for the house as a whole, and while most of the interior reflects that, I’m working on bringing that outside to the exterior.
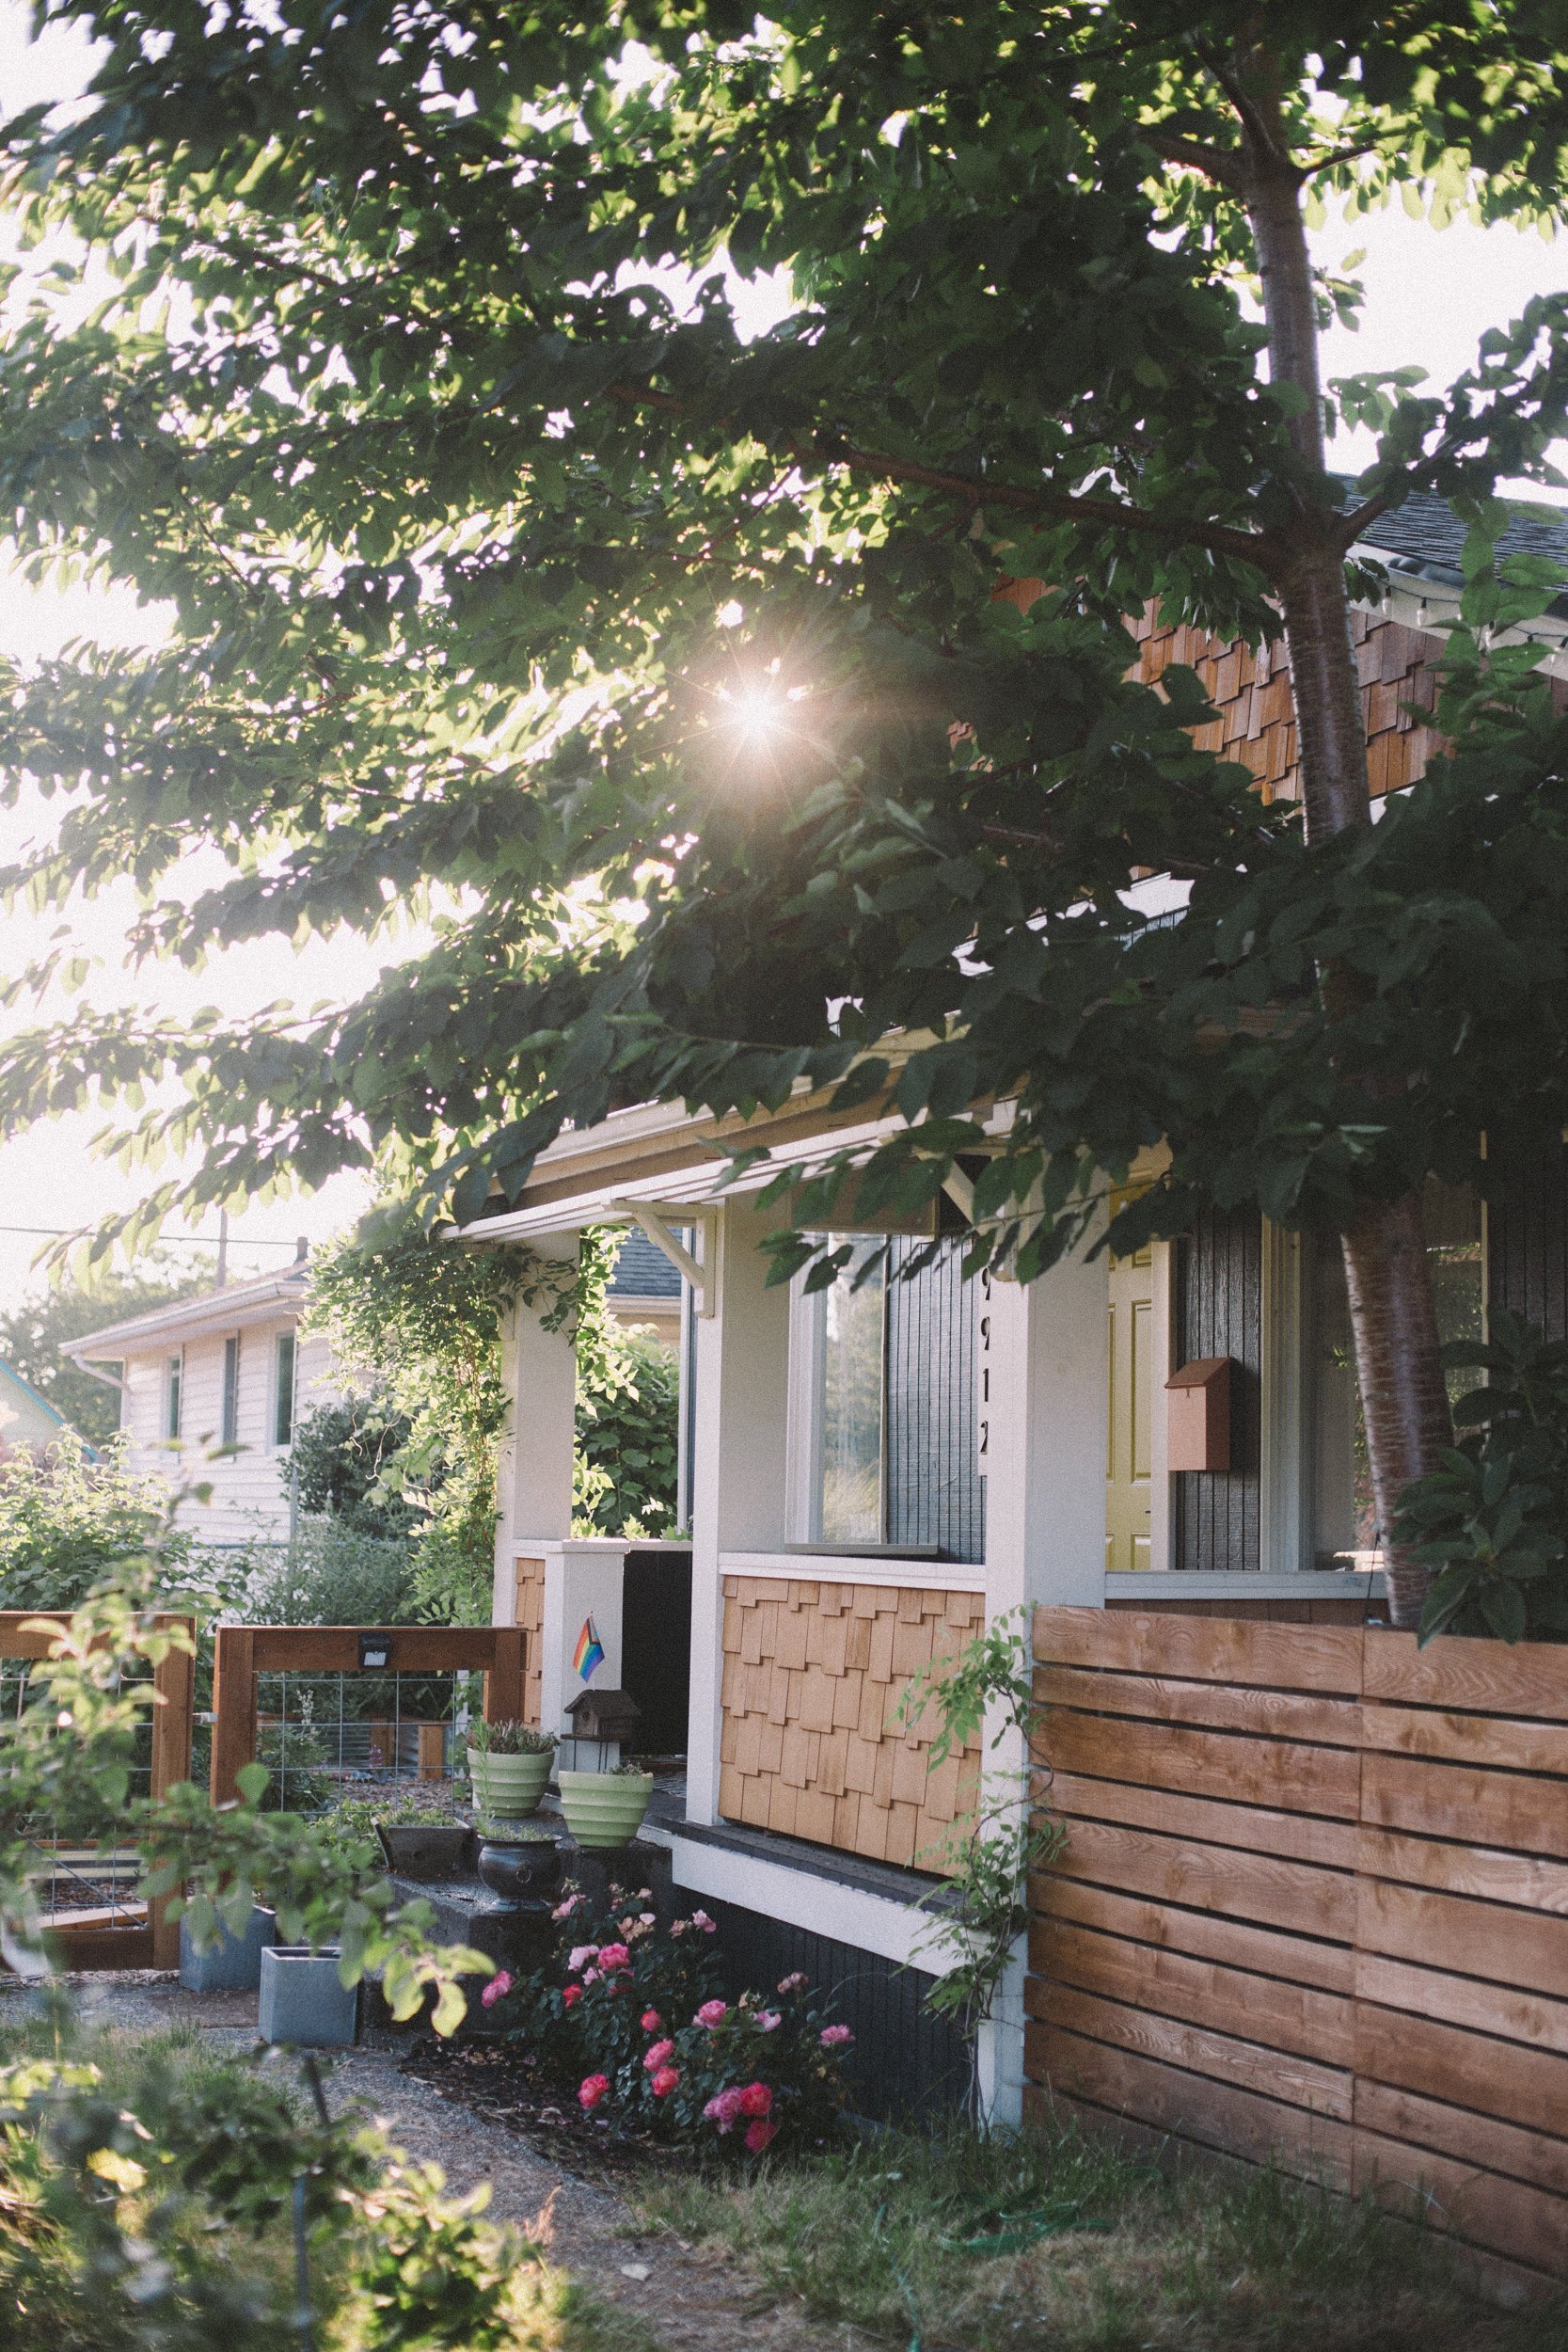
This was the house when we bought it. So painfully underwhelming and neglected.
And this is where it’s at right now. I’m actually starting the process of painting the white trim black to match the body of the house (mocked up on the right), which I’m really excited about, but…if you take a look at that before photo, you can see the cinder block retaining wall along the sidewalk. That hasn’t changed. Dull, boring, meh. But it’s the perfect spot for a splash of color and visual interest!
Top is where we’re at currently, bottom is the idea I think I’ve settled on! I really wanted a way to incorporate some quotes about community, liberation, mutual aid, and the like. I have an Angela Davis quote planned for the left side section, but I’m still working out what quotes I want to put in the squiggles on the right side.
My next step is to pressure wash the cinder blocks so they don’t have moss growing out of them, then do some research into the best primer and paint to use. I’m super excited. I’ll most likely pull the mural into the gap where the stairs go, too, maybe add something cool on the riser sections?
I’ve really been working towards doing more murals and getting involved in the public art scene here in Tacoma, so I figured a great way to build my mural/public art portfolio would be utilizing my own house as a blank canvas. I’m also trying to work on playing around more stylistically. I did a lot of color blocking shapes murals in the past, which I do love, but I also want to keep playing and finding my own style and approach to mural design.
Anyway! I’ll share more as I progress on the actual install of this mural! Hopefully the weather will cool down a bit, and I’ve got a bunch of work to get done creating a booth set up for some pop up shop/markets I have coming up this summer! I have a really fun design schemed up, and I’m planning on doing the build out for that in the coming week so I’ll share more as I build!
Need a mural to take your home or commercial space to the next level? Let’s chat!
The Co-Lab Mural | Tacoma Mural Artist
One of my favorite businesses in Tacoma is The Co-Lab and the Pod Family of Businesses— Tacoma Children’s School, The Pod Works, and The Co-Lab. They’re all businesses aimed at supporting families and parents in Tacoma through childcare, education, and co-working spaces. My son, Jack, attended preschool at Tacoma Children’s School, and has spent countless hours playing at The Co-Lab while I was able to head off and run errands or do work.
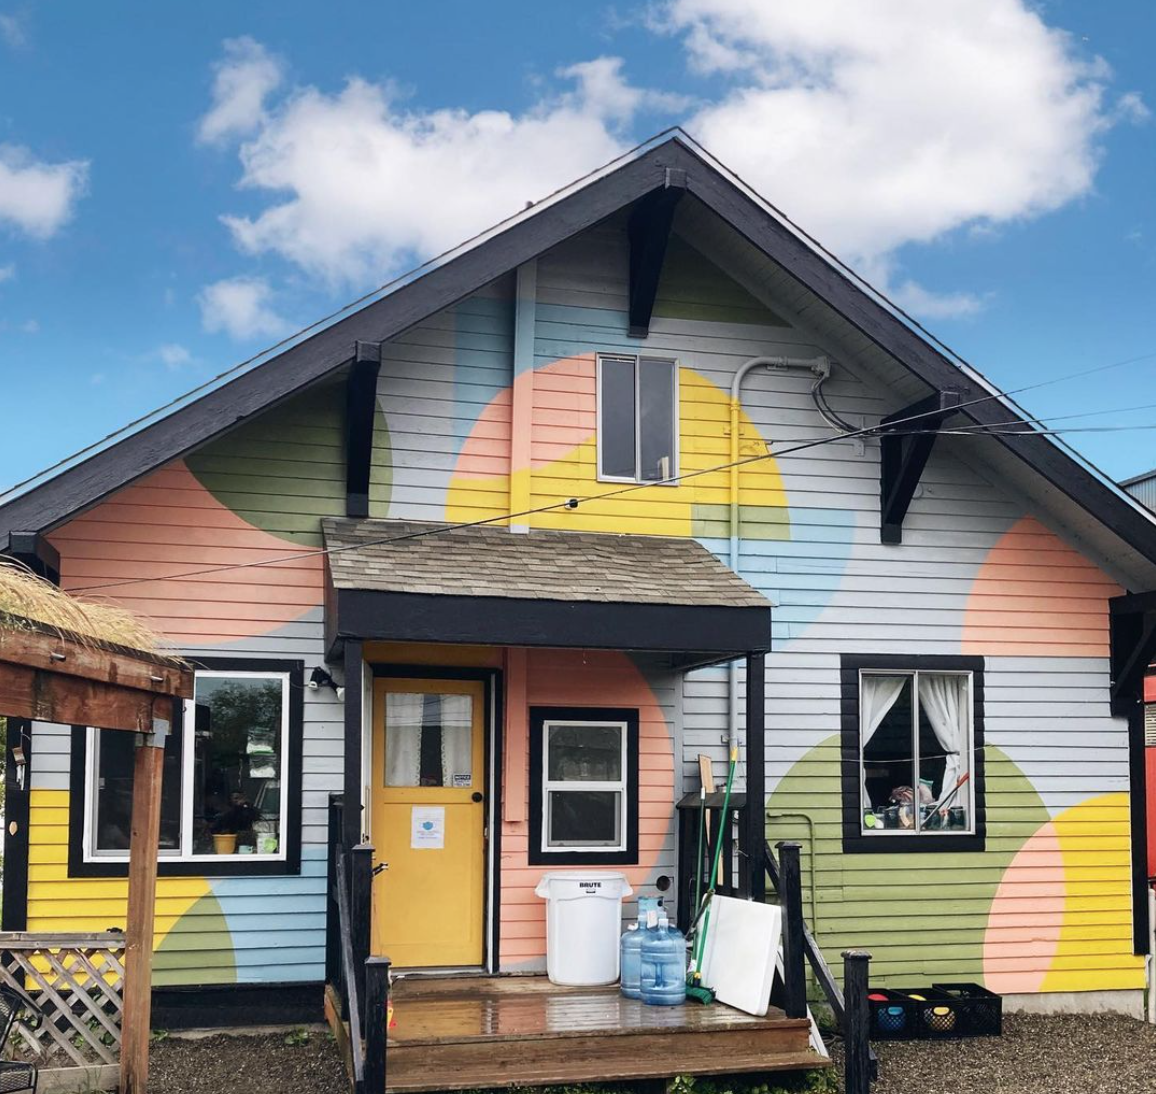
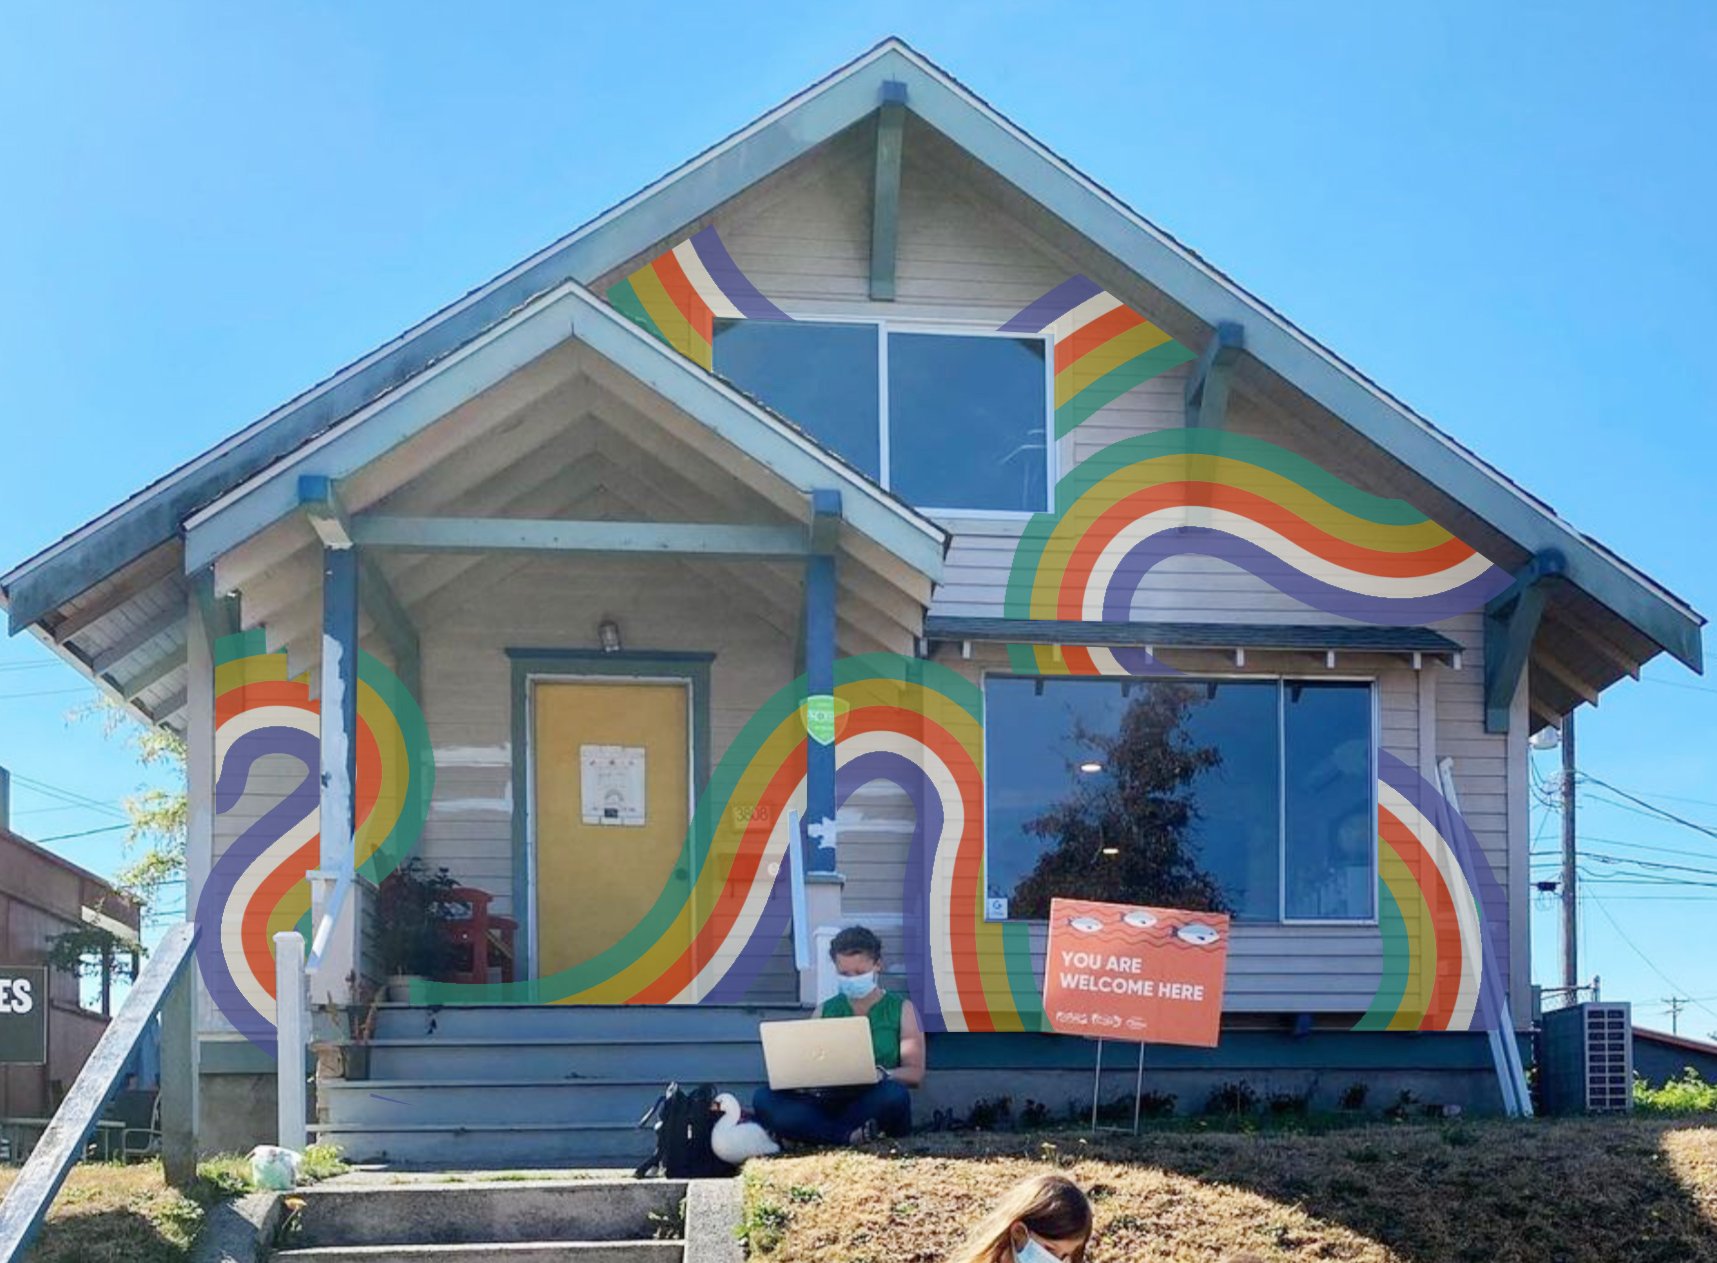
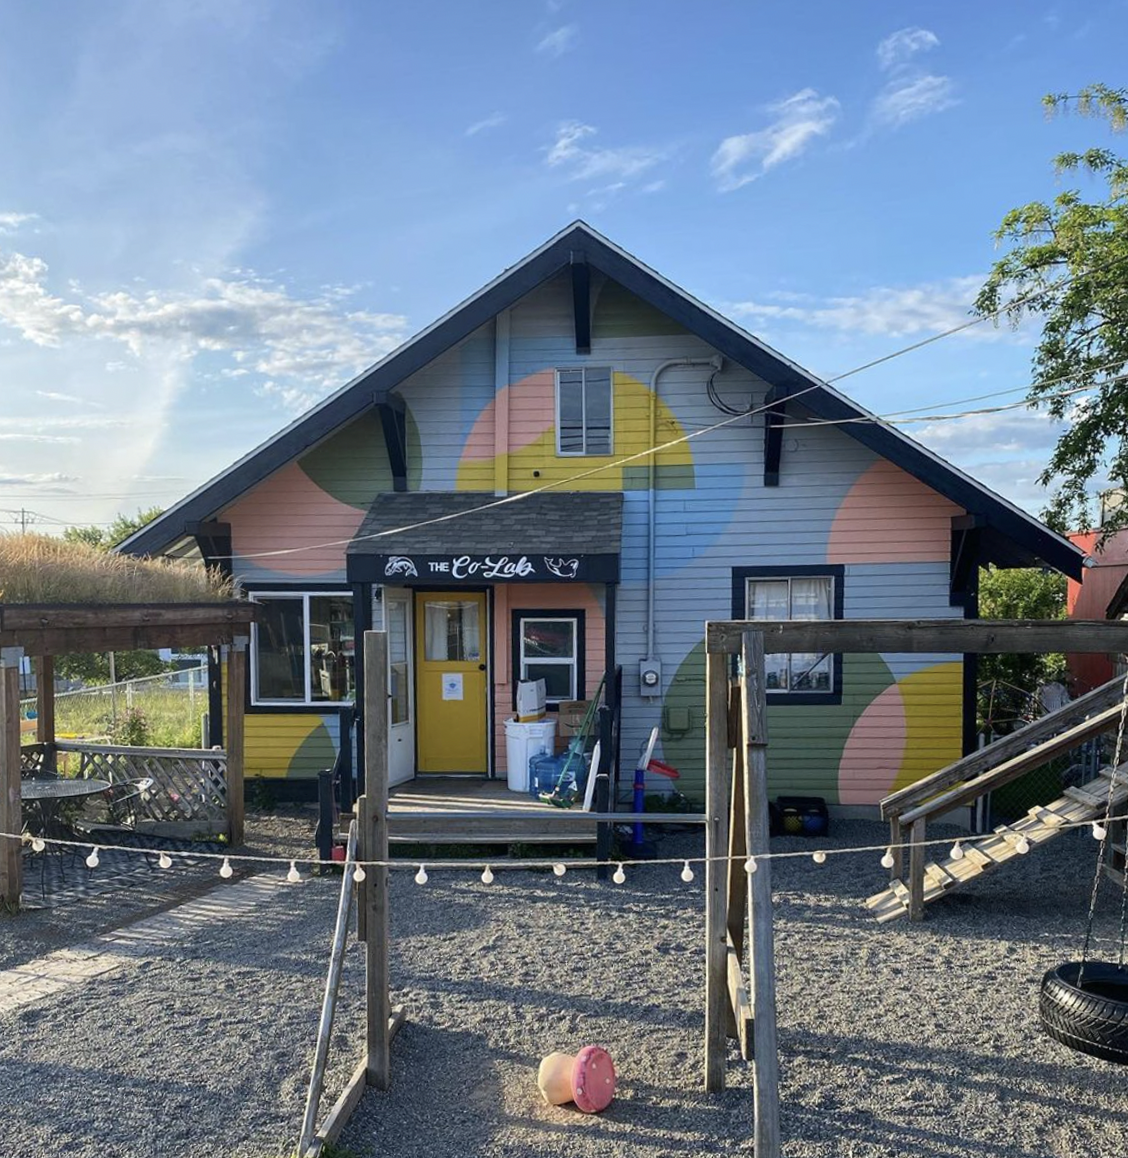
When The Co-Lab opened, they did a ton of renovation work to the interior, but the exterior maintained it’s unassuming light greyish blue paint job— not really giving much of an indication of what was inside. When Natasha and Kayla approached me about doing a mural on the exterior of The Co-Lab I was thrilled. Not only because it would be an incredibly fun project to undertake, but I loved the idea of giving the outside of the building a look that would hint at the vibrant, fun, creative space that existed inside those four walls.
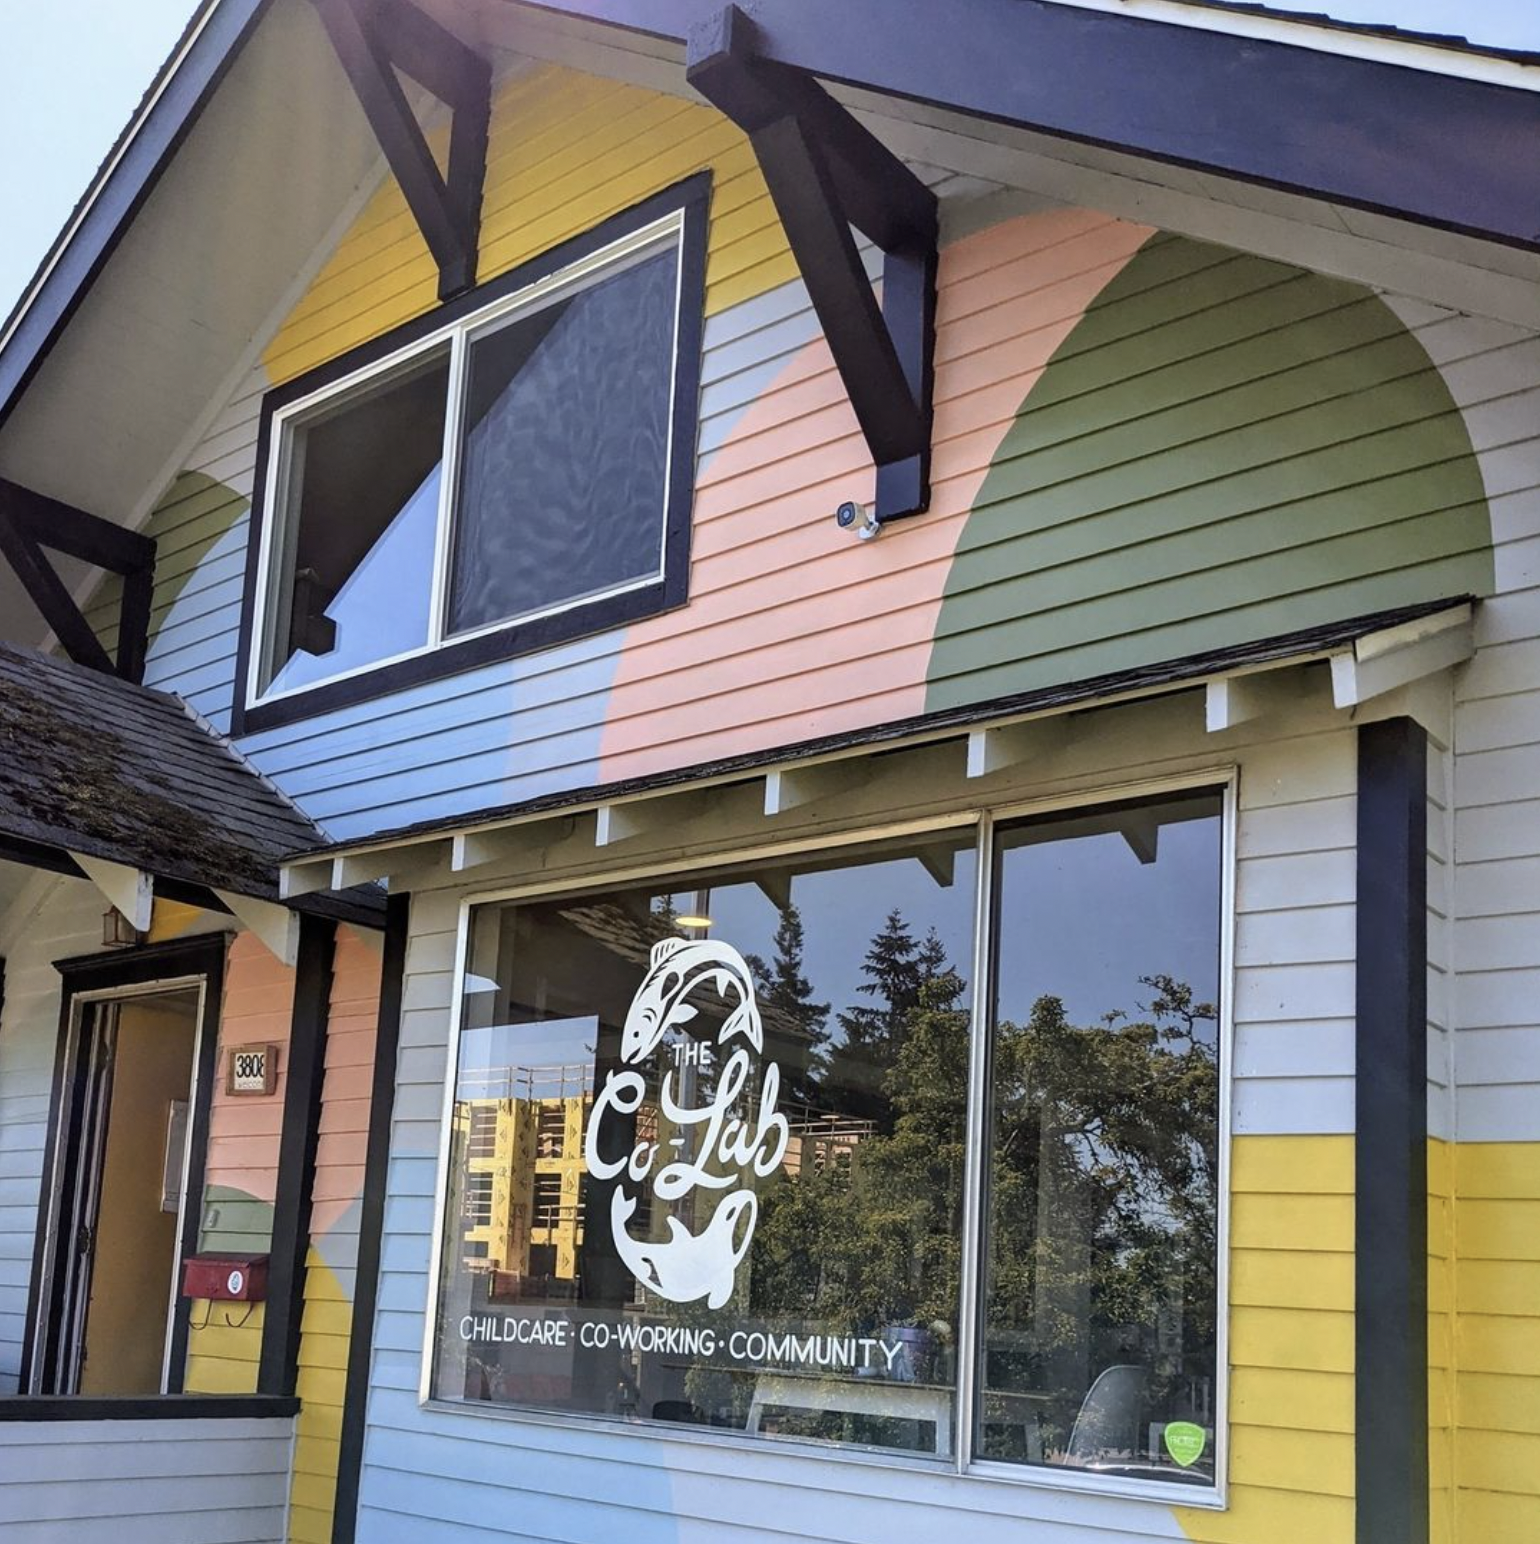
I started the process by brainstorming and mocking up a few different designs for mural options. We wanted to go with a colorful vibe that felt playful, but wasn’t super basic primary-colors. The Co-Lab branding already utilized a somewhat more muted but colorful color scheme, so that was our launching point. Being able to create something fun and playful really meant the world was my oyster when it came to designing, but in the end we went for a circle-based overlapping color block design, which I loved.
The install process for this mural was done by drawing it all out using a pencil., string, and level to draw out all the shapes, then it was just a matter of filling in all the colors. You can watch it come to life in the reels below!
Honestly, I feel like more classic craftsman houses should have fun, graphic murals on the exterior. So many commercial spaces with big flat concrete walls get murals, but I love how this mural looks tucked in among all the architectural elements of this pretty classically Tacoma house.
Jack doesn’t go to The Co-Lab anymore now that he’s a bit older, but I still get to visit this mural every time I drop off a batch of orders at the post office across the street! It’s still one of my favorite projects.
Thinking about getting a mural for your space, either home or business? Amazing! I would love to chat more about the process and your mural dreams!
What's in my Mural Kit | Tacoma Mural Artist
Having an easily transportable mural kit makes traveling for murals so much easier. I ended up using an old laundry tote to bring my mural stuff on site, which I actually like so much more than something like an Ikea tote because it has a rigid wire around the top to hold the bag open, I like being able to see everything in there and not have the sides flop in. The fabric is also somewhat water-resistant and wipeable on the inside which is nice when you’re hauling around paint that sometimes spills.
Since my murals are usually multi-colored, I like to have plastic wrap with me to wrap up the brushes that are painty but not done being used yet.
I keep a rope and picture nails on hand for making circles or arches, and a level for making straight lines. I also have a few different kinds of painter's tape depending on the wall texture (multisurface, delicate surface, etc).
A lot of the time I’ll dip my brush right into the paint can to avoid having to pour paint, but that’s not always convenient, so having easy to hold paint buckets is also a great to keep in your kit.
My go-to brushes are Wooster Short Cuts brushes. I love these with their little rubber handle— my hand never feels crampy or sore after using these brushes all day. I can usually get almost all areas with just this brush, but sometimes I end up with small areas that need a tiny artist/craft brush, so I also keep some of those with me as well.
Mess ups and spills are inevitable, so I love to keep baby wipes and some rags with me to quickly wipe up any mistakes. Baby wipes are clutch, I highly recommend keeping some with you for painting projects, even if you’re not doing a mural.
And for finishing up, I like to have a nice eraser to get rid of any stray pencil lines that didn’t get painted over!
Short Cuts Paint Brushes | Small Craft Brushes | Rope | Painters Tape | Carpenter’s pencils | Baby Wipes | Plastic Wrap | Paint can opener | Hammer | Paint buckets | Level | Picture Nails | Rags | Eraser | Laundry Tote
I hope that was helpful! I’m sure my mural kit will change as I do more and more murals, but for now this is my core kit. It’s easy to throw in my truck and carry with me to the mural site. If you do murals or just paint a lot do you have any other items you keep with you?
Laundry Room Before + After | Tacoma Mural Artist
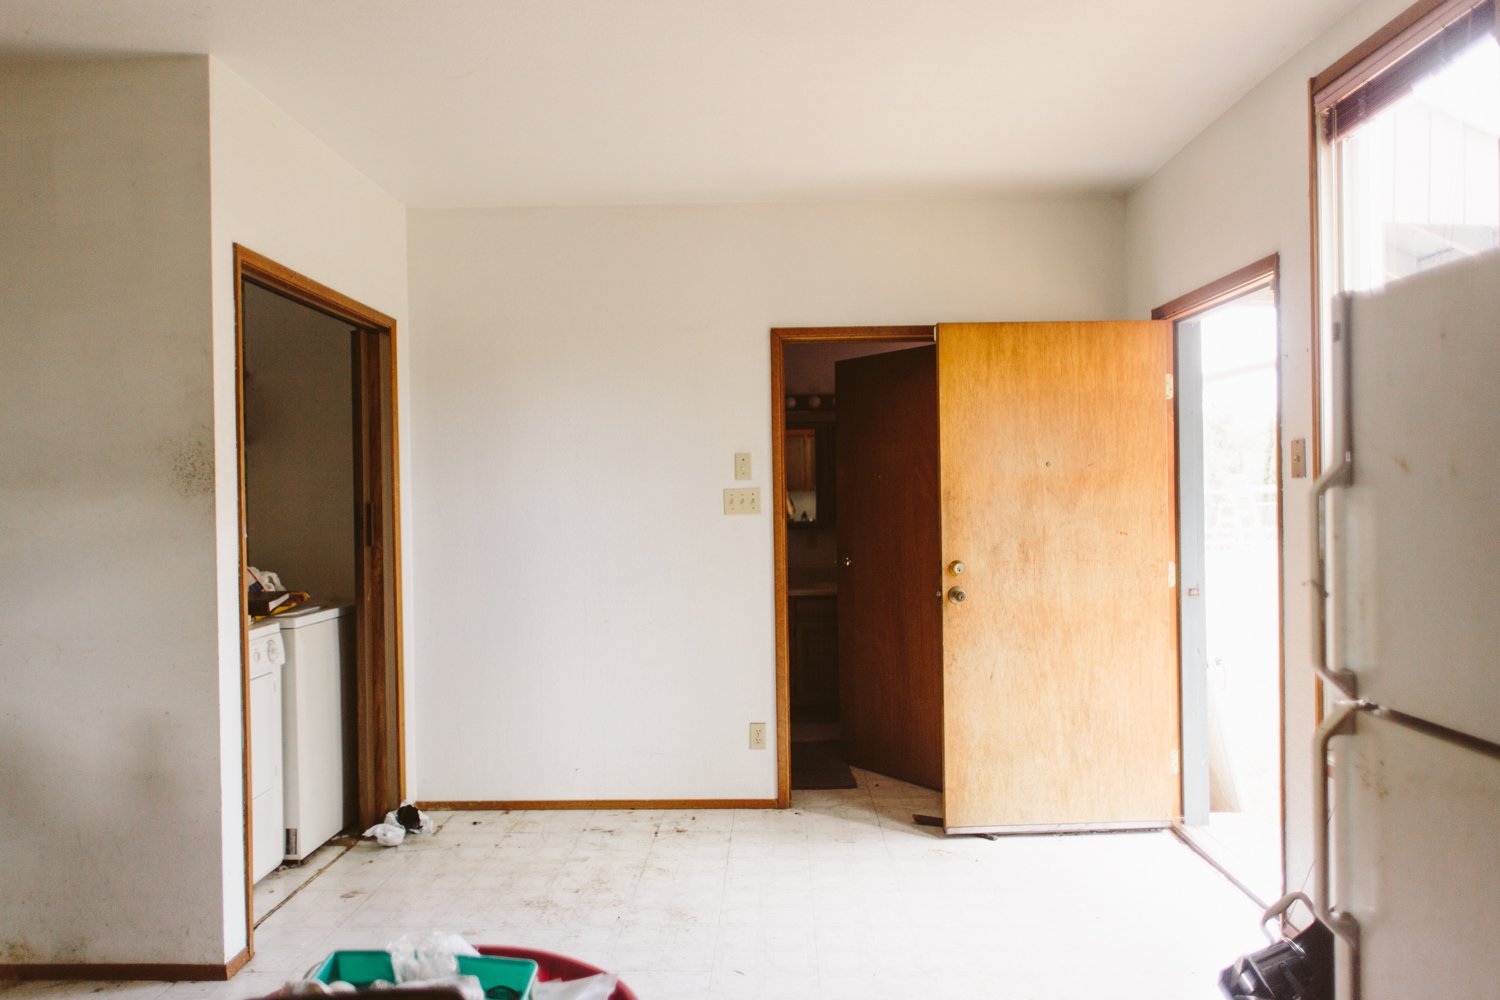
There’s a lot about the floorplan of this house that doesn’t make much sense, and the dead space in the kitchen/laundry closet area was definitely one of the more glaring instances. Since the back door is right there, it became an odd catch-all junk space that you had to wade through to do laundry. Despite the fact that it was open square footage, having that floor space in the kitchen never felt like it actually added anything because there wasn’t much you could do with the room other than fill it with random stuff.
Annoyed with the total lack of a laundry room in the house, I realized that it wouldn’t take much to build a couple of walls that encompassed that awkward dead space and turn it into an actual laundry room.
Material Sources
Wainscoting paint: Behr Paint— Broadway (eggshell)
Sheen mural paint- Behr Paint— Broadway (matte and high gloss)
Cabinets- unfinished cabinets from Home Depot
Cabinet paint- Behr Paint— Lemongrass (eggshell)
Cabinet hardware- Liberty black bar pulls from Home Depot
Ceiling Wallpaper- Zebra Marble gifted from Tempaper
Light fixture: Vinluz 8-light Sputnik chandelier from Amazon
Rug- Buckman flatweave rug from Rejuvenation
Counter- Walnut butcher block from Home Depot
French Door Paint - Behr Paint— Emergency Zone (eggshell)
Backsplash tile - Floor and Decor— Maravilla Basalt Black Stacked Mosaic
Floor Tile- Floor and Decor — Concrete Grey Ceramic Tile
Washer/Dryer- Kenmore (secondhand via Craigslist)
French Doors- second hand from Second Use Building Materials
I pulled out the doorway drywall and framing, then got to work framing out the new walls, adding and moving some electrical outlets and switches, added a ceiling light in the new room, and got the drywall up.
The design for the room, finish-wise, evolved over time, especially as I added the mural on the outside of the wall, which then impacted what I wanted the inside of the room to look like, considering you could see into the room through the glass french doors.
The Lemongrass cabinet color was a last minute decision and I’m really glad I went bold with the cabinets, especially since I went black with the rest of the walls. I love the pop of color and the added lightness in an area that could’ve ended up being a dark corner.
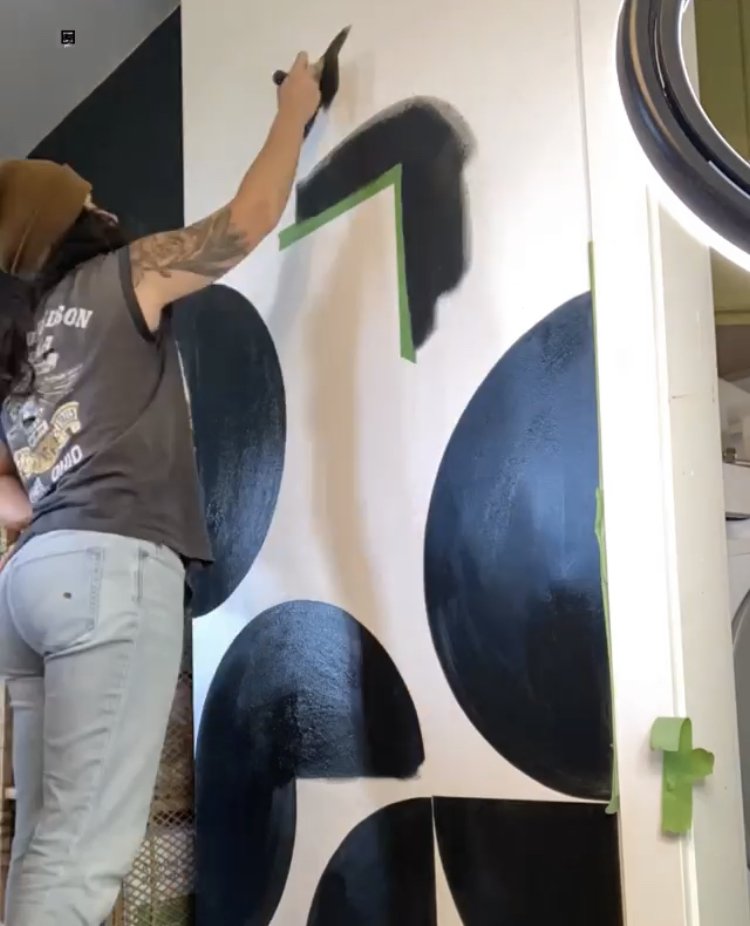
I loved the mix of curved and straight lines of the mural on the outside of the laundry room, and I wanted something that echoed that design without being a direct replica. I ended up doing a mural playing on sheen instead of colors, opting to use both matte and high gloss sheens of the same black I used for the the quarter-circle mural outside the room.
For the ceiling, I knew that I didn’t want a plain ceiling. I love utilizing that wall for a design element, especially in a smaller space. I saw this Zebra Marble removable wallpaper at Tempaper and knew it’d be the perfect design to finish off the room.
Since we have a brass sputnik chandelier in the kitchen, I wanted something that had a similar feel but wasn’t exactly the same. I love this one because it’s more modestly sized, basically flush mount so it doesn’t hang down at all, and it looks especially fancy against the backdrop of the wallpaper!
I think my favorite thing about the whole room is that it feels like it’s always been there. Sometimes I forget that it didn’t even exist when we first moved in. Projects that seamlessly integrate into a house always end up being my favorite because of that reason. It feels like you’re honoring the house itself, creating something that belonged there all along.
And at least now I can feel a little fancier when I’m doing laundry!
Kitchen Mural Reveal | Tacoma Mural Artist
After I built out this laundry room in the awkward corner of our kitchen, I knew the wall wanted to have some kind of statement on it. But dang did it take forever to figure out what that statement was going to be. This design was actually inspired by a tile design where each square tile had a quarter circle on it, when meant you could completely customize the design. So I pulled a pic of this spot into photoshop and played around with quarter circles until I landed on something that felt good.
But my favorite element came later. I had been seeing this orange color around and I knew I wanted to incorporate it into the house. My original plan was for the french doors to be painted black, but then a bell went off in my head and I knew they had to be orange. I grabbed a paint chip (which ended up being the exact same color as Home Depot’s signature orange, haha) and bought a little paint sample (a paint sample size is usually enough to paint a door— and they’re only a couple bucks!). A few hours later the doors were orange and it MADE the space.


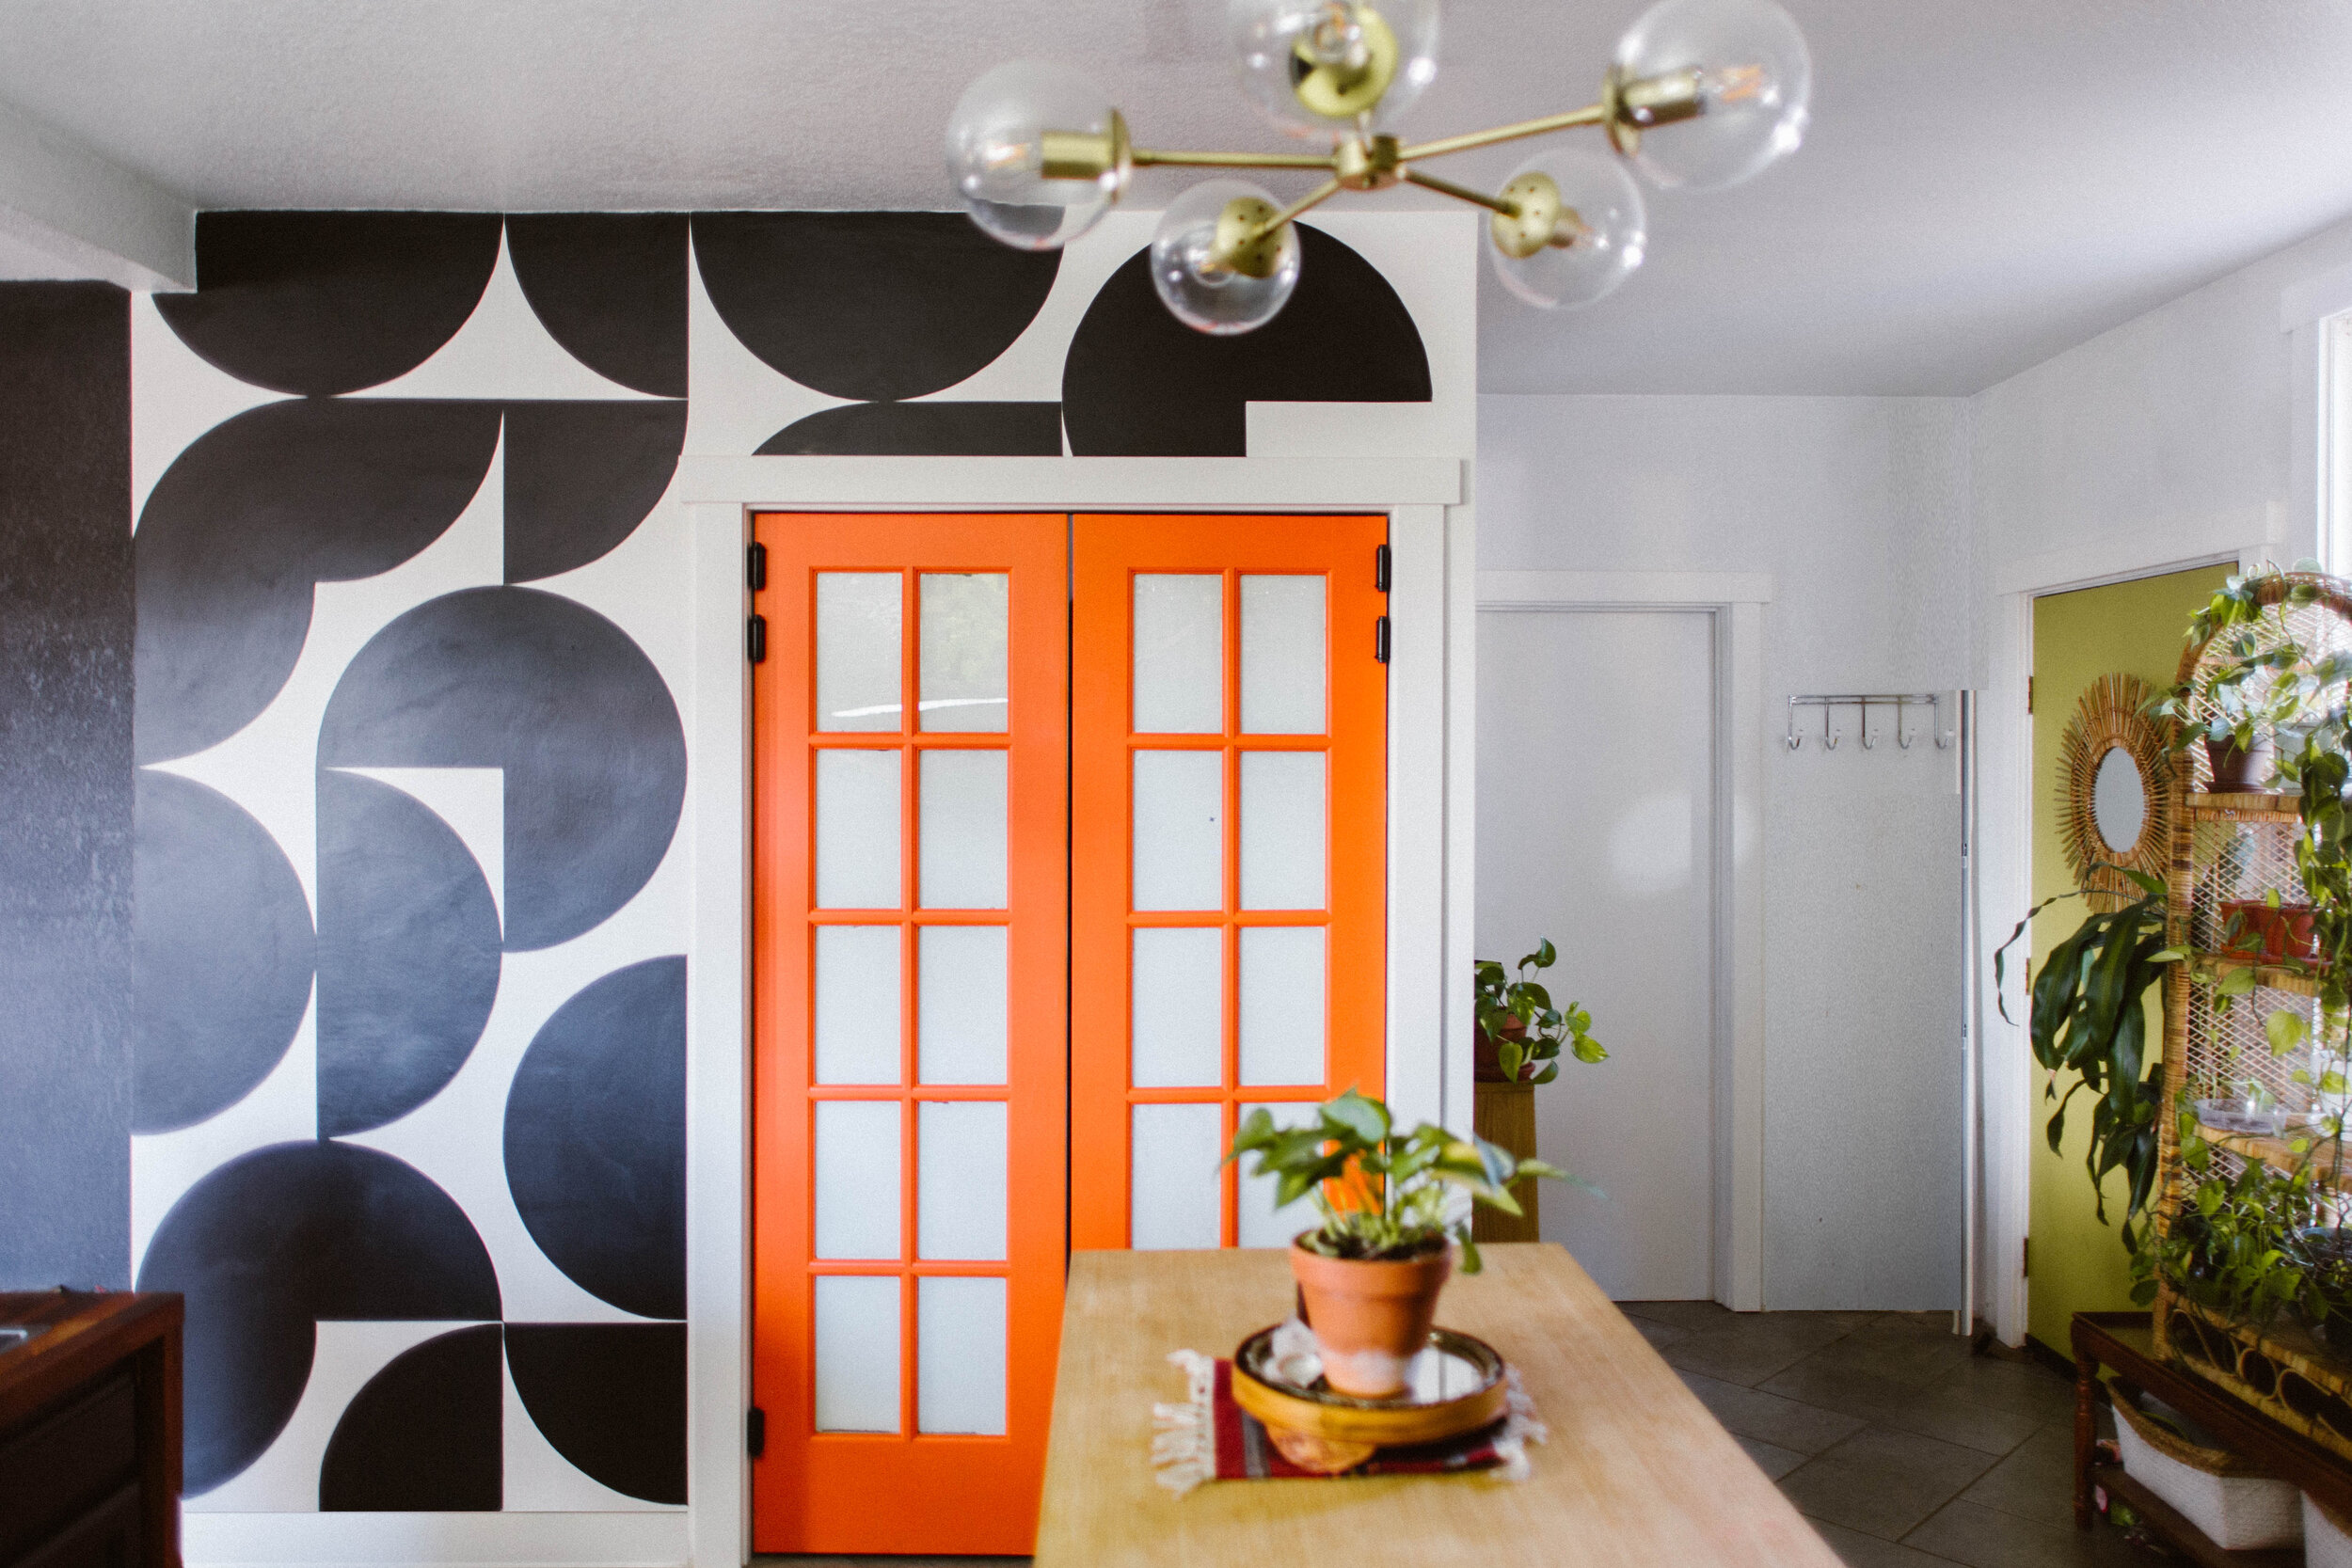
It’s so wild to look at the before pic and see that sad corner with the laundry closet. The space planning in this house by whoever built it is down right bananas, folks. Like… was that supposed to be a breakfast nook? It didn’t feel big enough for a table there, but it’s still a lot of square feet of wasted space. Now we have a laundry room with added cabinetry for storage, a more defined rear entry area for dropping keys, coats, etc, and they functionality and flow through the space isn’t impacted whatsoever.
Now… I just have to finish the final details on the inside of the laundry room…
Hi, I’m Liz
I'm an artist, writer, designer, DIY renovator, and … well basically I like to do all the things. If it’s creative I’m probably doing it. I’ve spent over 30 years voraciously pursuing a life steeped in creativity and I wholeheartedly believe creativity and joy are inextricably linked.
Read more…
Explore The Archive
- July 2025
- May 2025
- January 2025
- December 2024
- August 2024
- July 2024
- May 2024
- April 2024
- January 2024
- December 2023
- October 2023
- September 2023
- July 2023
- June 2023
- May 2023
- April 2023
- March 2023
- February 2023
- January 2023
- December 2022
- November 2022
- October 2022
- August 2022
- June 2022
- May 2022
- April 2022
- March 2022
- November 2021
- October 2021
- August 2021
- July 2021
- May 2021
- January 2021
- November 2020
- October 2020
- September 2020
- August 2020
- July 2020
- June 2020
- May 2020
- April 2020
- February 2020
- January 2020
- November 2019
- October 2019
- August 2019
- July 2019
- June 2019
- May 2019
- April 2019
- February 2019
- January 2019
- December 2018
- November 2018
- October 2018
- September 2018
- August 2018
- July 2018
- June 2018
- May 2018
- April 2018
- February 2018
- January 2018
- November 2017
- September 2017
- August 2017
- July 2017
- June 2017
- May 2017
- April 2017
- March 2017
- February 2017
- January 2017
- December 2016
- November 2016
- October 2016
- September 2016
- August 2016
- June 2016
- May 2016
- April 2016
- March 2016
- February 2016
- January 2016
- December 2015
- November 2015
- October 2015
- September 2015
- August 2015
- July 2015
- June 2015
- May 2015
- April 2015
- March 2015
- February 2015
- January 2015
- December 2014
- November 2014
- October 2014
- September 2014
- August 2014
- July 2014
- June 2014
- May 2014
- April 2014
- March 2014
- February 2014
- January 2014
- December 2013
- November 2013
- October 2013
- September 2013
- August 2013
- July 2013
- June 2013
- May 2013
- April 2013
- March 2013
- February 2013
- January 2013
- December 2012
- November 2012
- October 2012
- September 2012
- August 2012
- July 2012
- June 2012
- May 2012
- April 2012
- March 2012
- February 2012
- January 2012
- December 2011
- November 2011
- October 2011
- September 2011
- August 2011
- July 2011
- June 2011
- May 2011
- April 2011
- March 2011
- February 2011
- January 2011
- December 2010
- November 2010
- October 2010
- September 2010
- August 2010
- July 2010
- June 2010
- May 2010
- April 2010
- March 2010
- February 2010
- January 2010
- December 2009
- November 2009
- October 2009
- September 2009
- August 2009
- July 2009
- June 2009
- May 2009
- April 2009
- March 2009
- February 2009
- January 2009
- December 2008
- November 2008
- October 2008
- September 2008
- August 2008
- July 2008
VISIT THE SHOP
PRIVACY POLICY & DISCLOSURE
We are a participant in the Amazon Services LLC Associates Program, an affiliate advertising program designed to provide a means for us to earn fees by linking to Amazon.com and affiliated sites.


