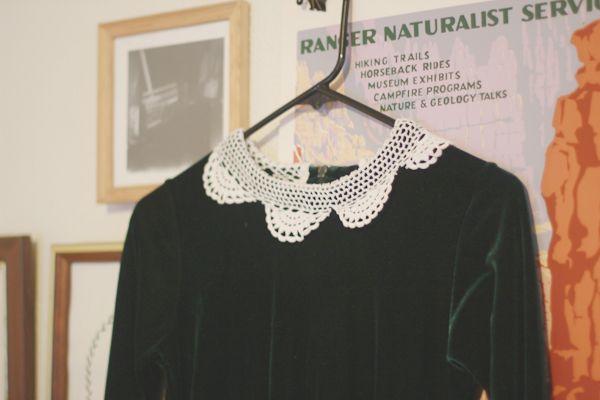
DIY Crocheted Collar
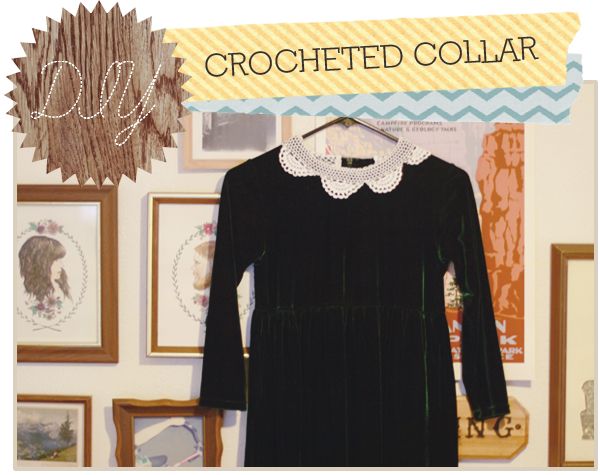
I had this piece of doily edge laying around my house after doing another DIY project with the rest of the doily, refusing to throw it away because it was cute and I knew I could come up with something to do with it. I was sitting around one day, looked at it and realized it looked an awful lot like the collar on one of my favorite dresses! I figured it'd be pretty easy to add it to the collar of a dress, so I set out to do just that!
What you'll need:
A doily with scalloped edges (super easy to find at thrift stores)
Scissors
A sewing machine
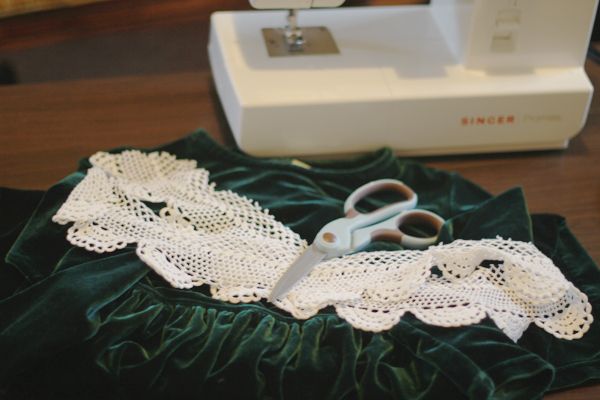
First, cut the center of the doily out. Make sure you leave enough at the edge so when you sew it on, you're sewing the doily on both sides (inside and outside). Cut the length to match the length around the collar, with a bit extra, so you can fold the end of the doily under and hem it so it's not going to fray. After you've done this, pin it to the collar like you want it. I pinned it on both sides and also cut the inside at some intervals to allow it to go around without pulling weirdly.
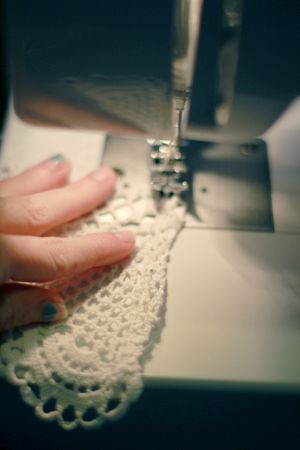
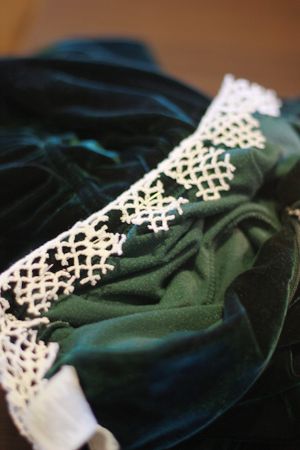
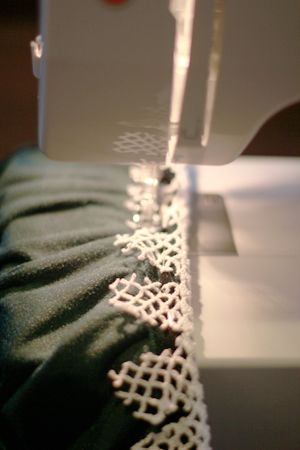
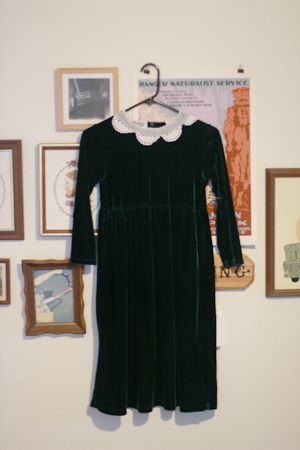
Now just sew it on and you've got an insta-cute collar! I did it on a velvet dress, so it was a bit harder to sew, simply because of the thickness of the fabric, but it would be way easier on a dress made out of thinner fabric.
